
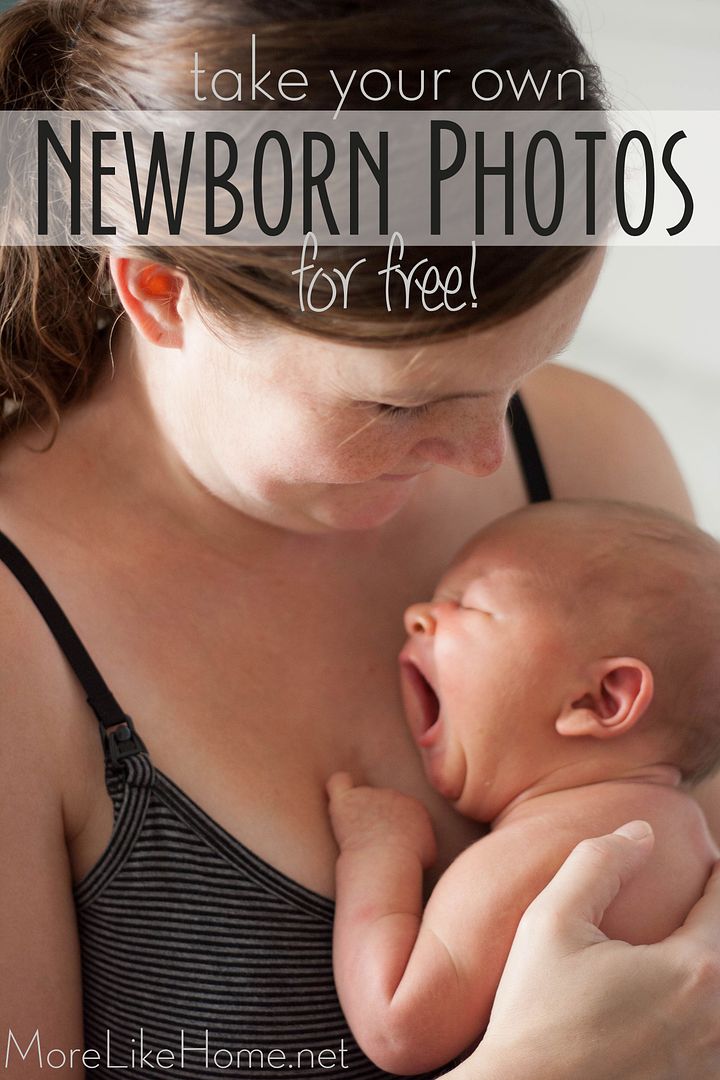
We did the same thing two years ago when boy #2 was born, and managed to get some good shots again this time. We shared more details and tips in that post (you can read it here) so I'm just going to give you a quick refresher course and share some of our favorite pics from the shoot.
I'll start by saying... we are no photographers. And I know that a good photographer is worth every penny. But I also know that no matter how good the pictures are, we can't always afford to invest our money that way. And I've found that with a few simple tricks, we can get decent pictures basically for free. So our pictures may not be up to professional level, but we've saved literally hundreds of dollars over the years by taking our own photos! And that's a balance we're pretty happy with.
Here's a summary of our favorite tips & tricks, and don't forget you can read more details here.
Good Lighting - Use natural, indirect daylight for the best results without spending a penny on lighting.
A Tripod - Helps prevent blurry photos and is great for taking lots of pictures in a row.
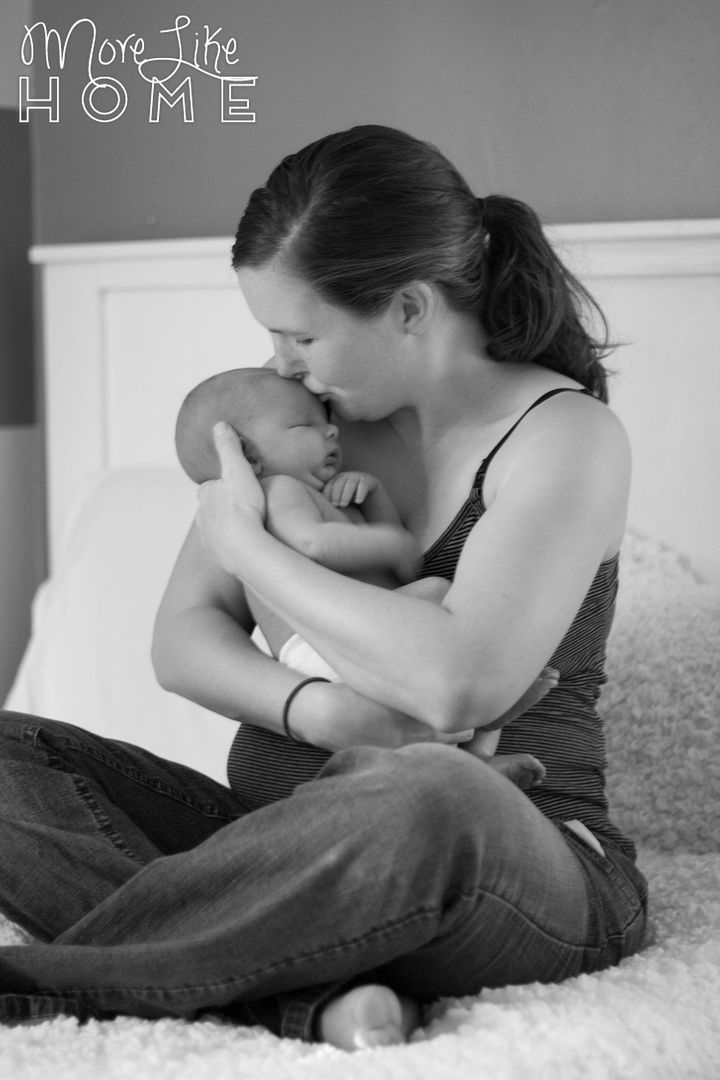
Cozy Setup - Babies like to be comfy. We do our photo shoots on the bed, and for this November baby we warmed the room up with a space heater before stripping him down to show those squishy little arms.
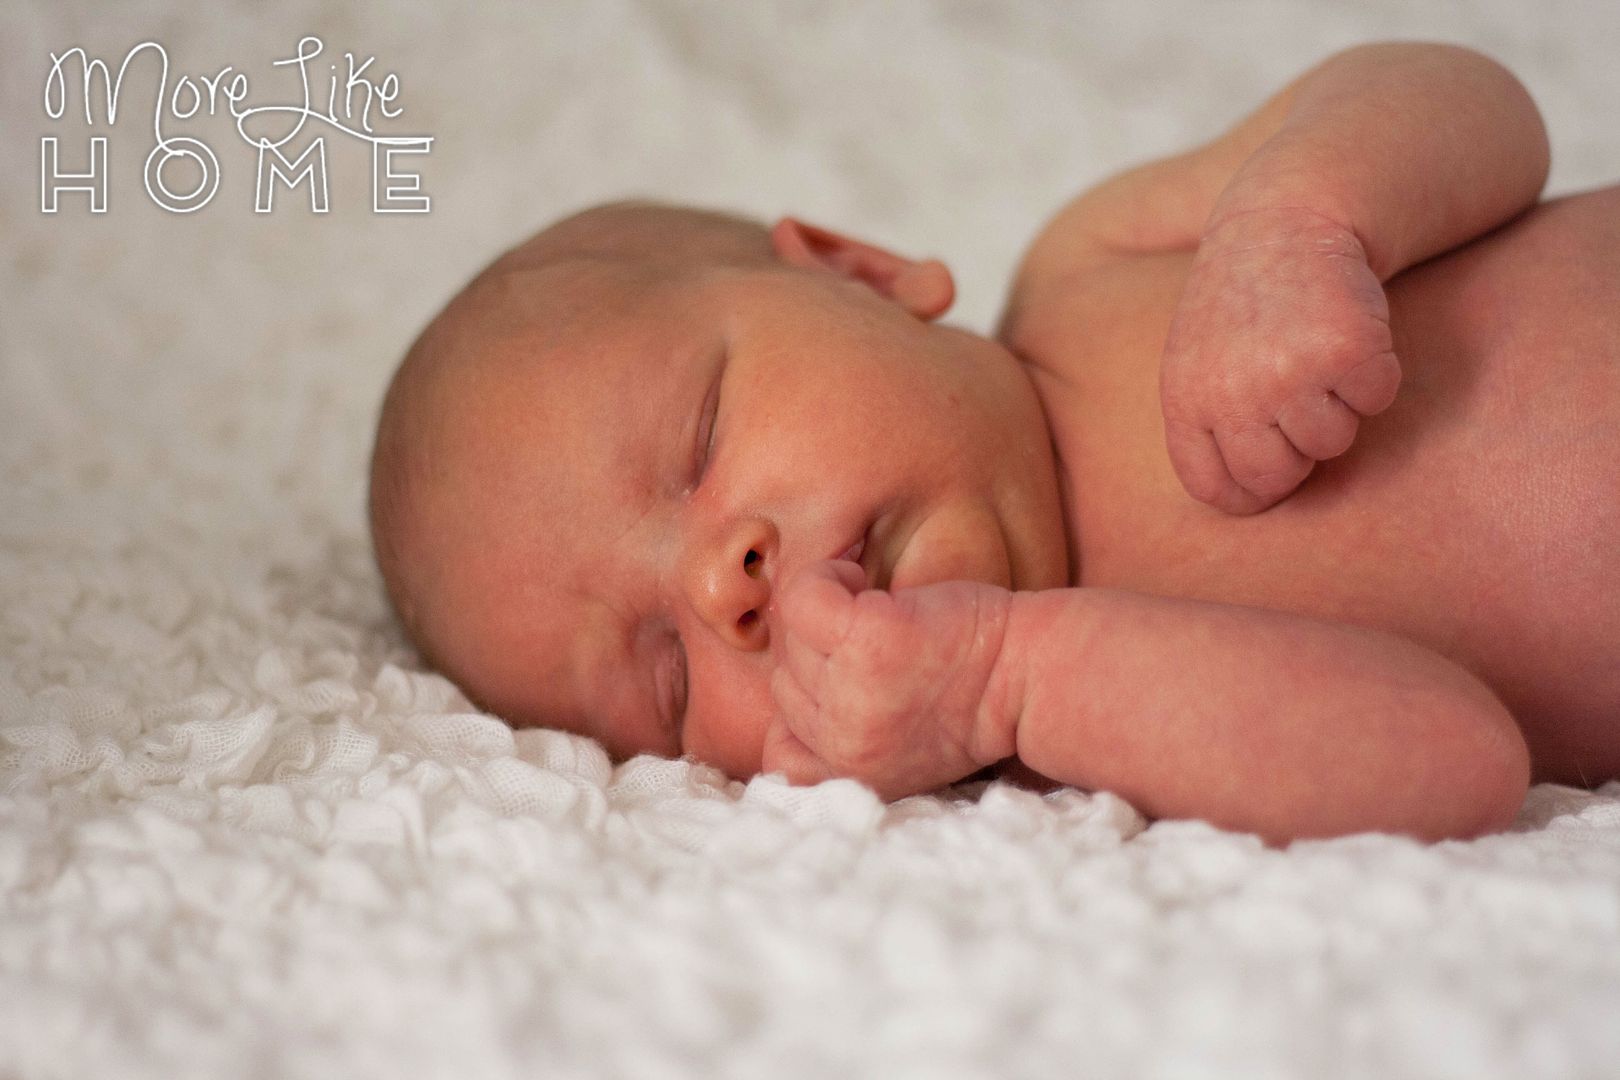
A Sleepy Baby - Or at least not a hungry baby. This time he was awake for quite a bit of it, but he's such a chill little guy that we still got some great shots with his eyes open. Last time around we only had luck once he was sound asleep. So you can feel out your baby's mood and see what will work for you.
A Helper - Have one person to work the camera and one to adjust poses, change outfits, and soothe a restless baby. You won't have a big window to work in before baby wakes up or gets hungry, so make the most of every minute. I had husband shooting this time and there are pictures where I would just pull my hands away for a second so he could snap a couple shots.
Keep Snapping - We took literally hundreds of photos, and probably 80% were no good (blurry, a crying baby, my hands in front of his face, etc.) but the more you take, the higher your chance of getting some good pictures. Husband would snap a bunch of pictures in a row of each pose just in case the first 5 or 6 didn't turn out, and he kept an eye to to snap more any chance he got, even between poses when I was soothing or getting out the next outfit.
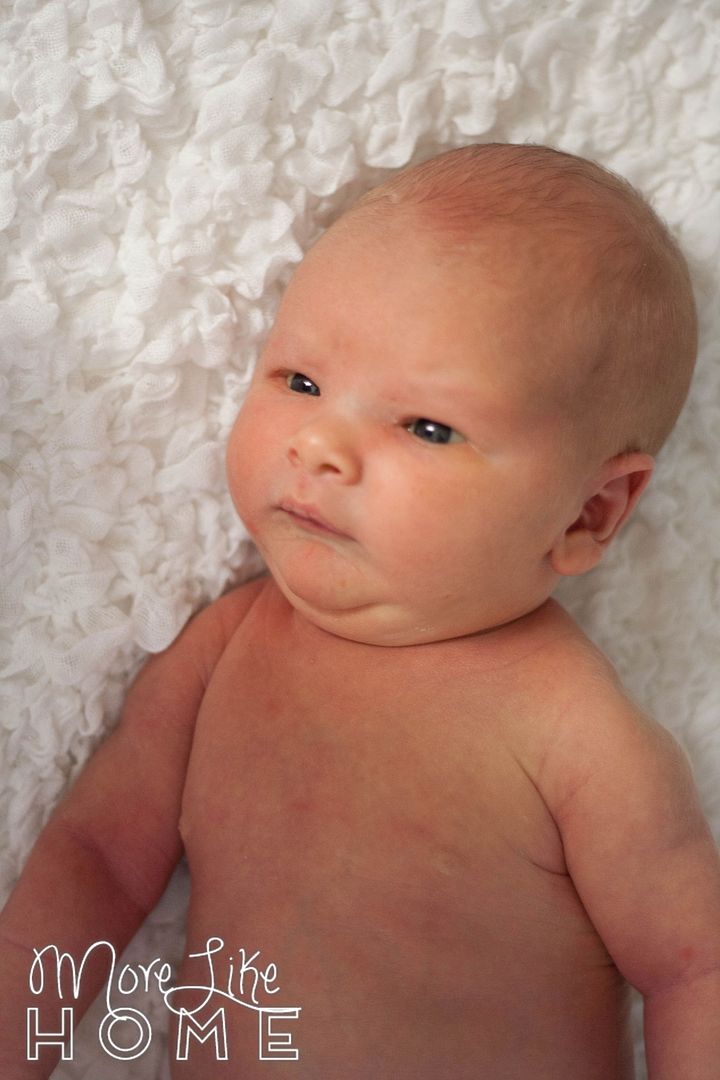
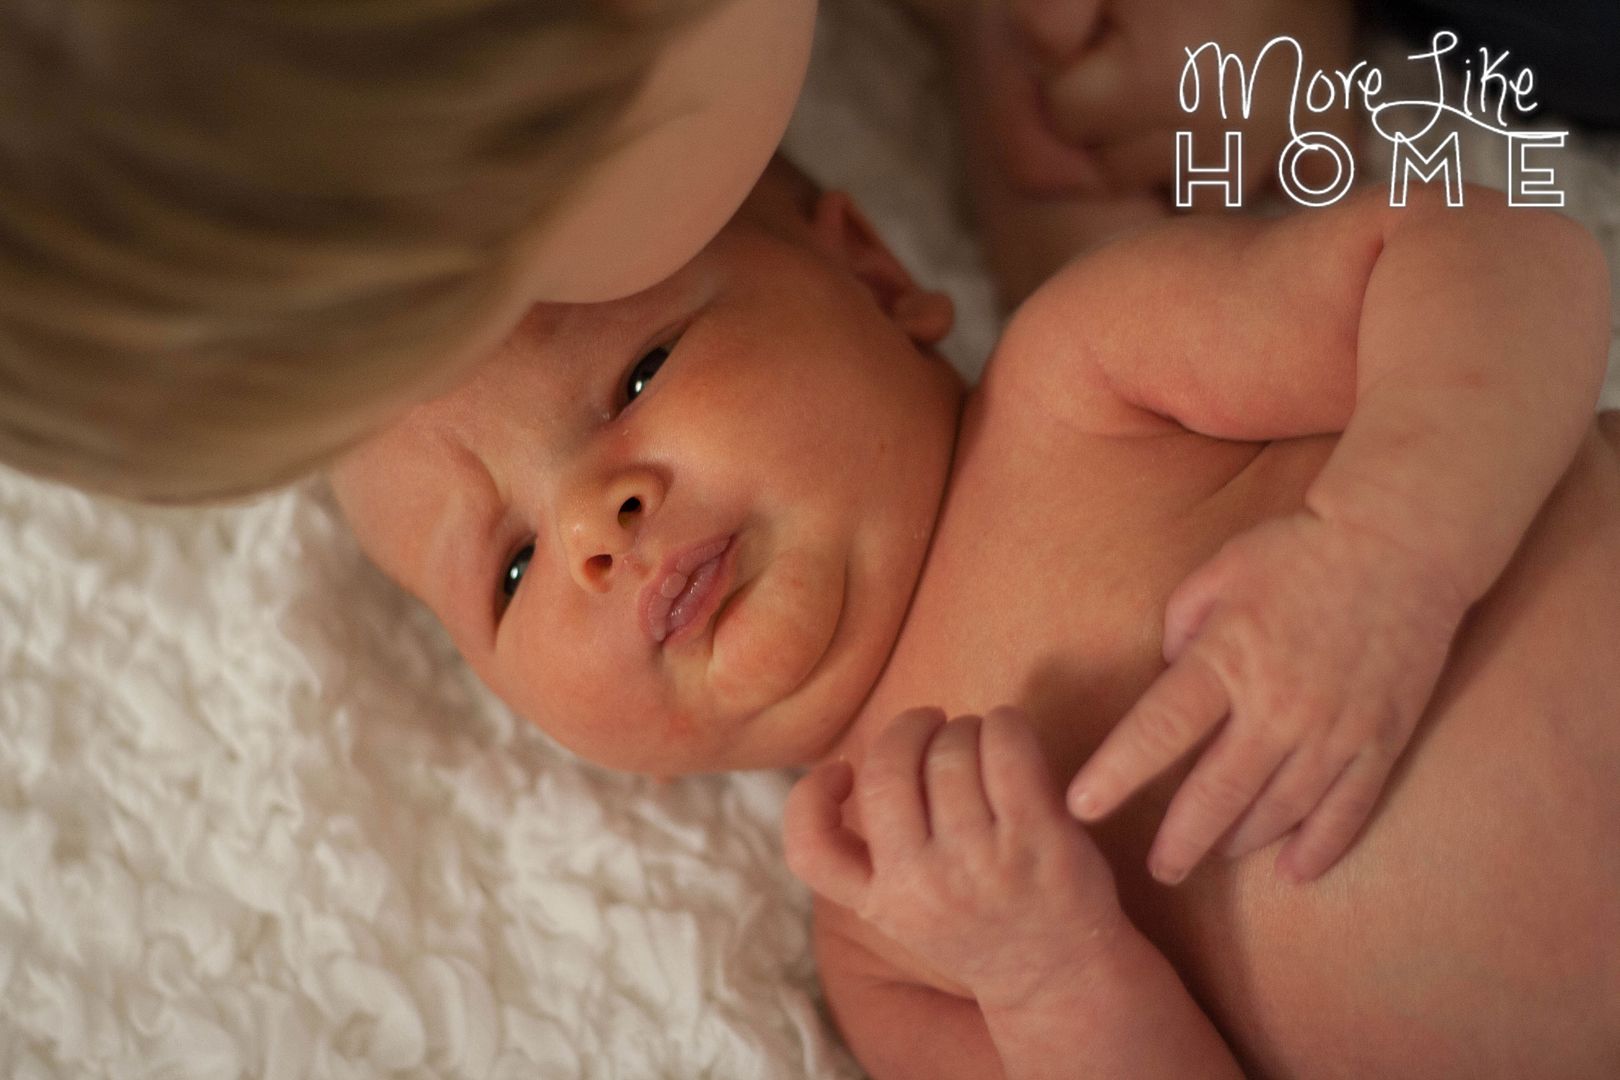
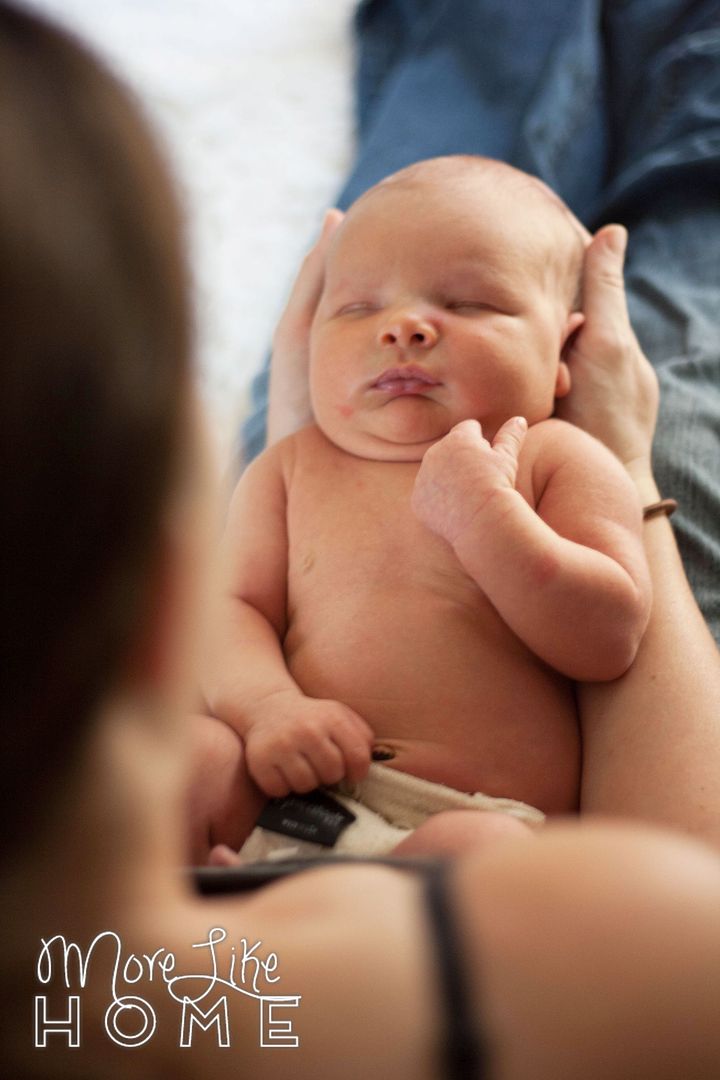
Try Different Angles - If you have a sleepy baby in a cute pose, make the most of it before you move that sleeping baby! Try a few different angles - higher, lower, off to the side. There are some examples in this post.
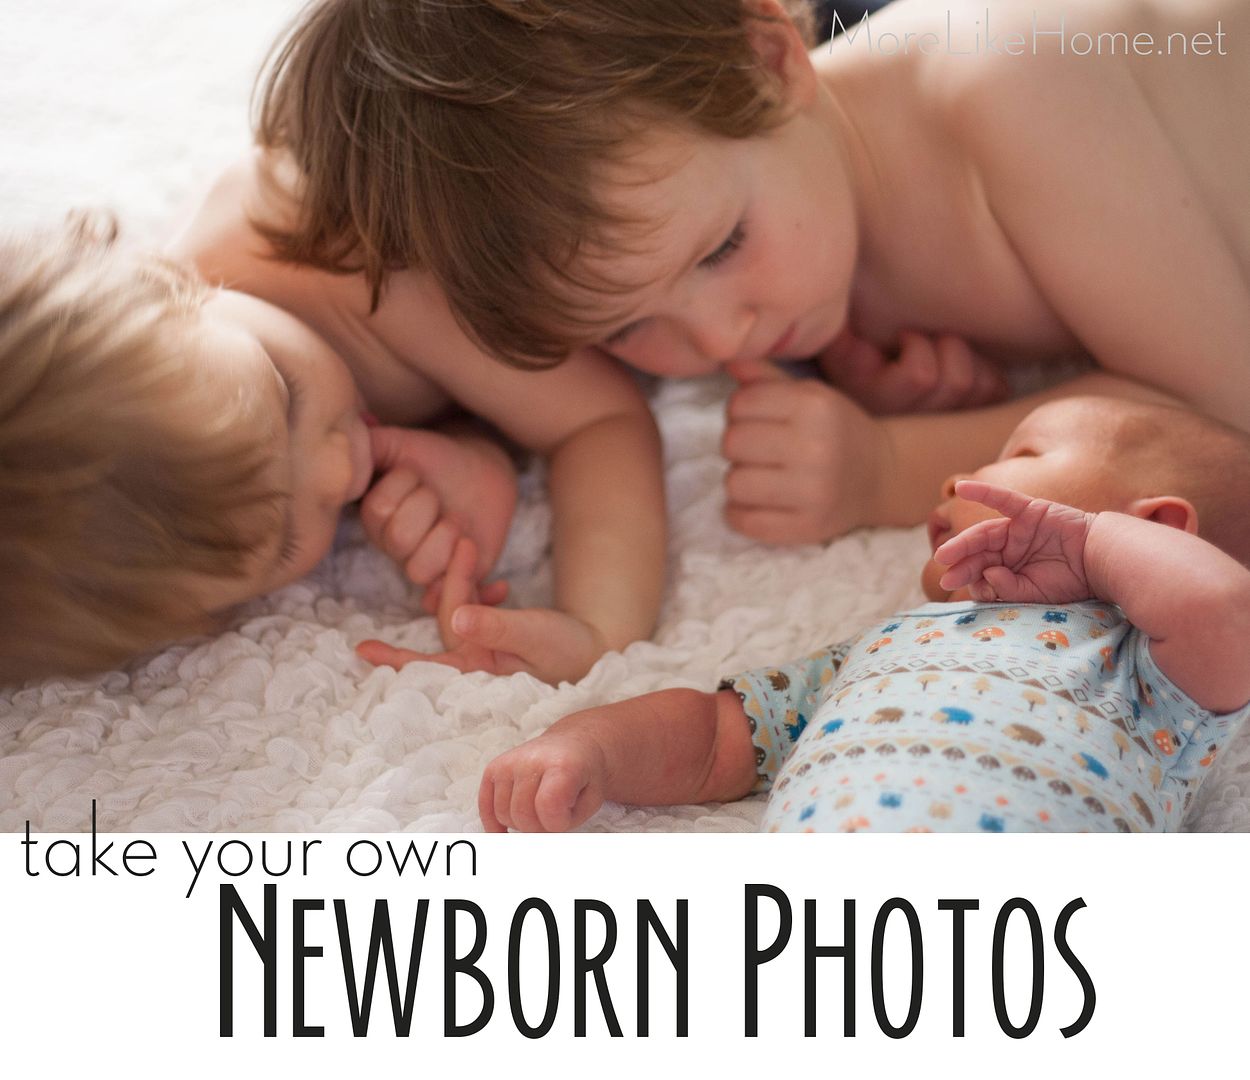
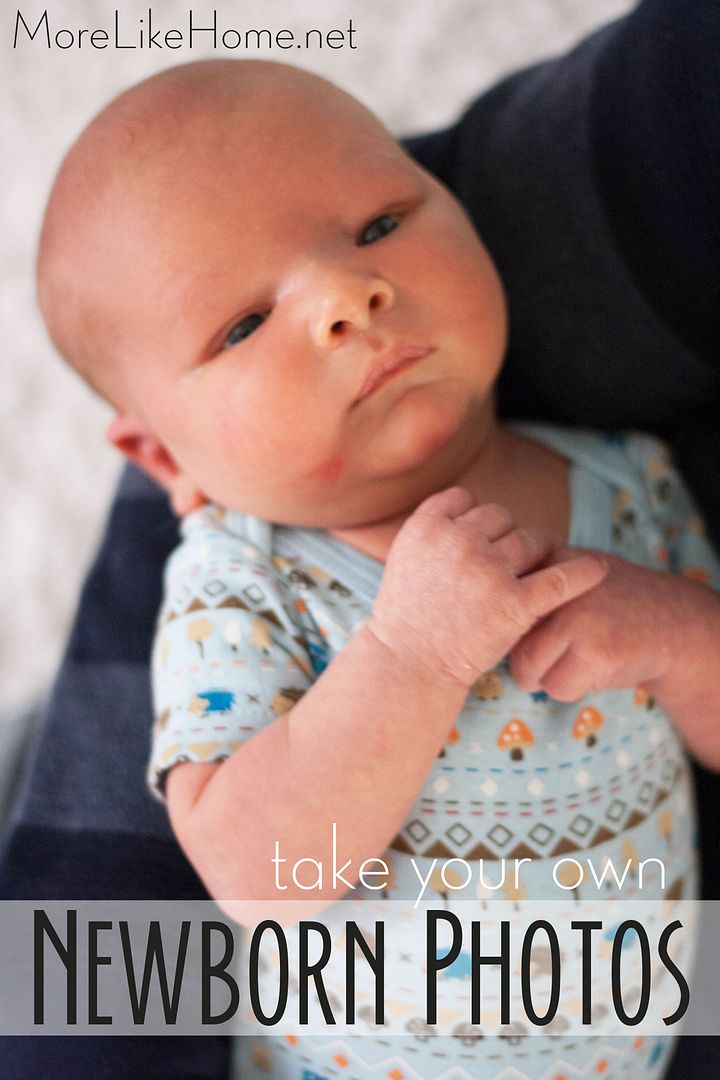
Use Props... Wisely - Look for ideas on pinterest of any props you might want to use like hats, booties, or baskets. But don't forget that sometimes less is more! Don't put so much stuff in the pictures that you lose focus on the squishy little star of the show. This time all we used was a white cloth diaper and our favorite onesie for some of the pictures.
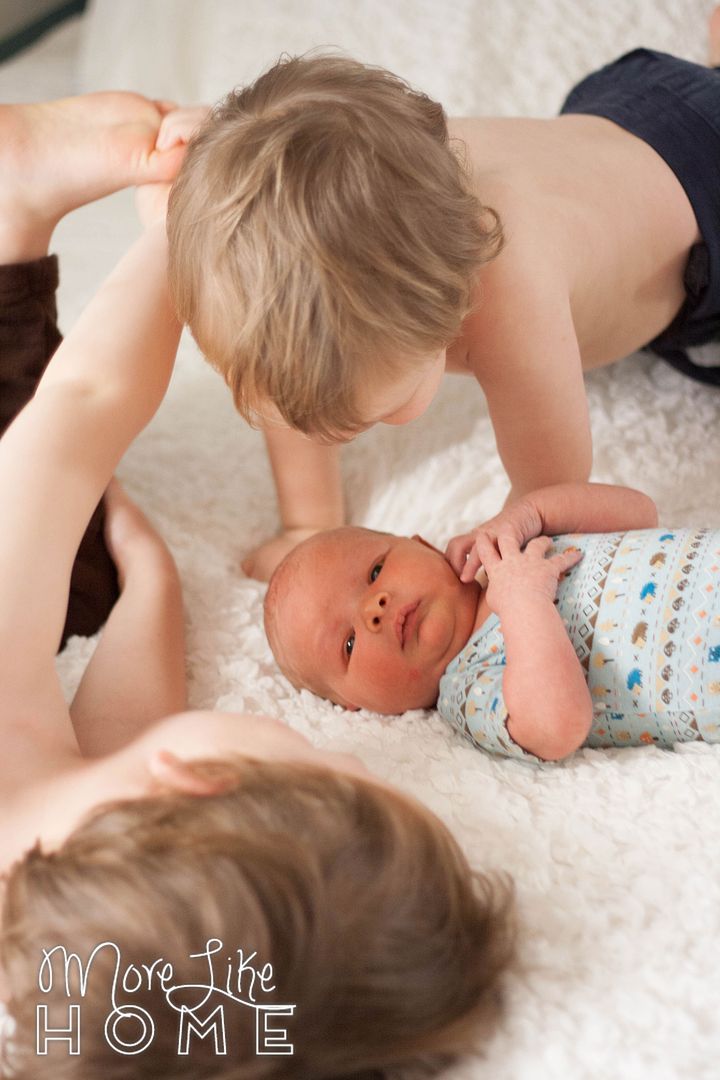
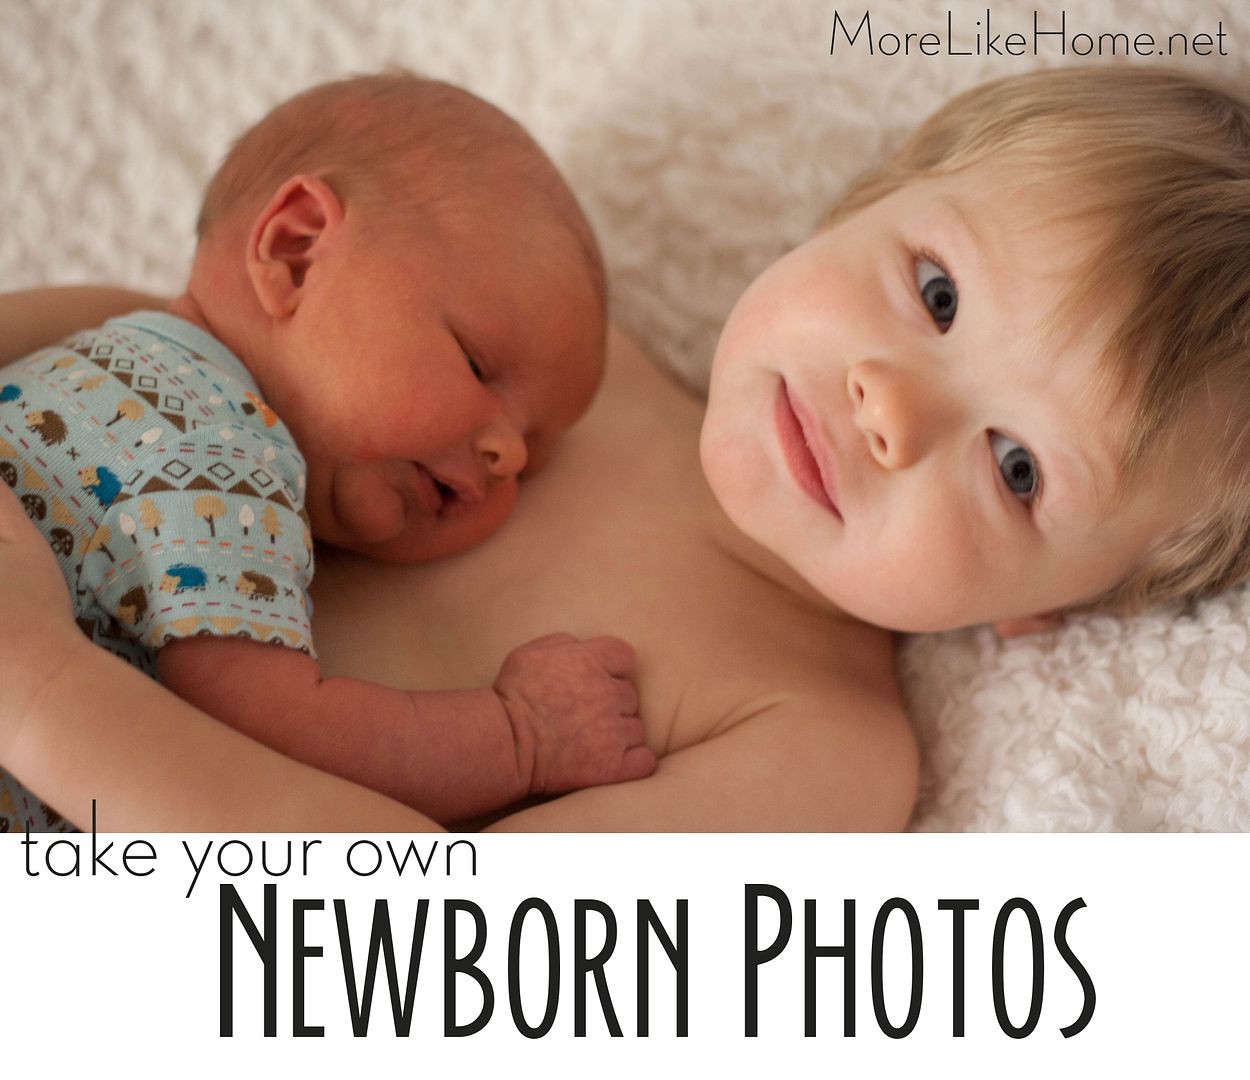
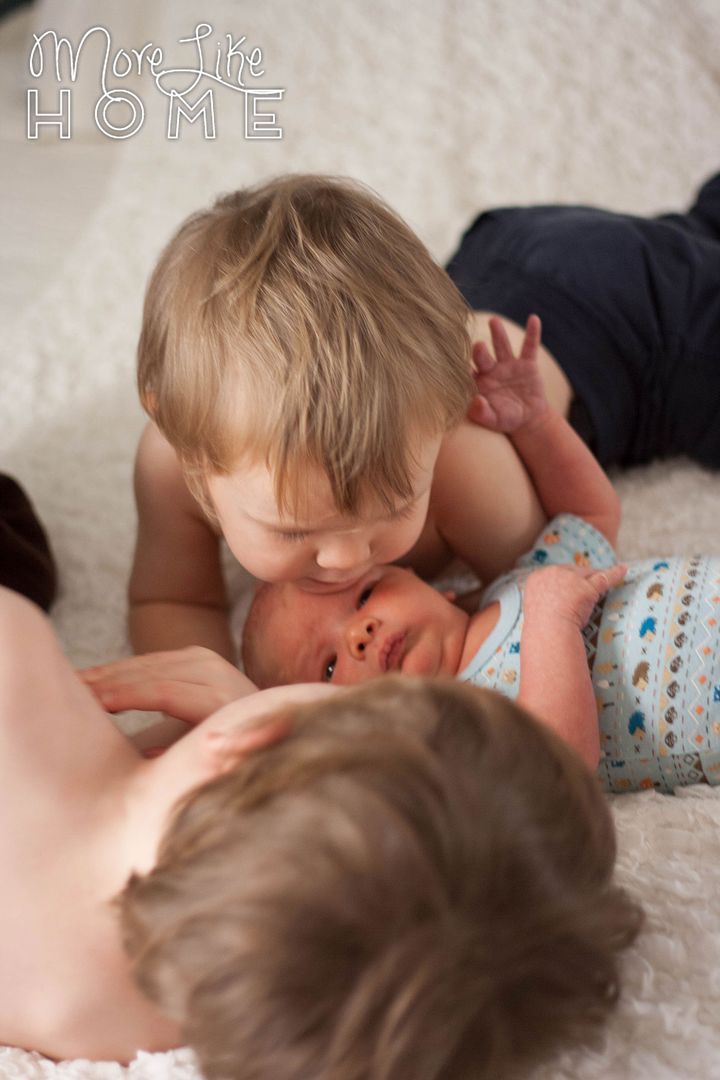
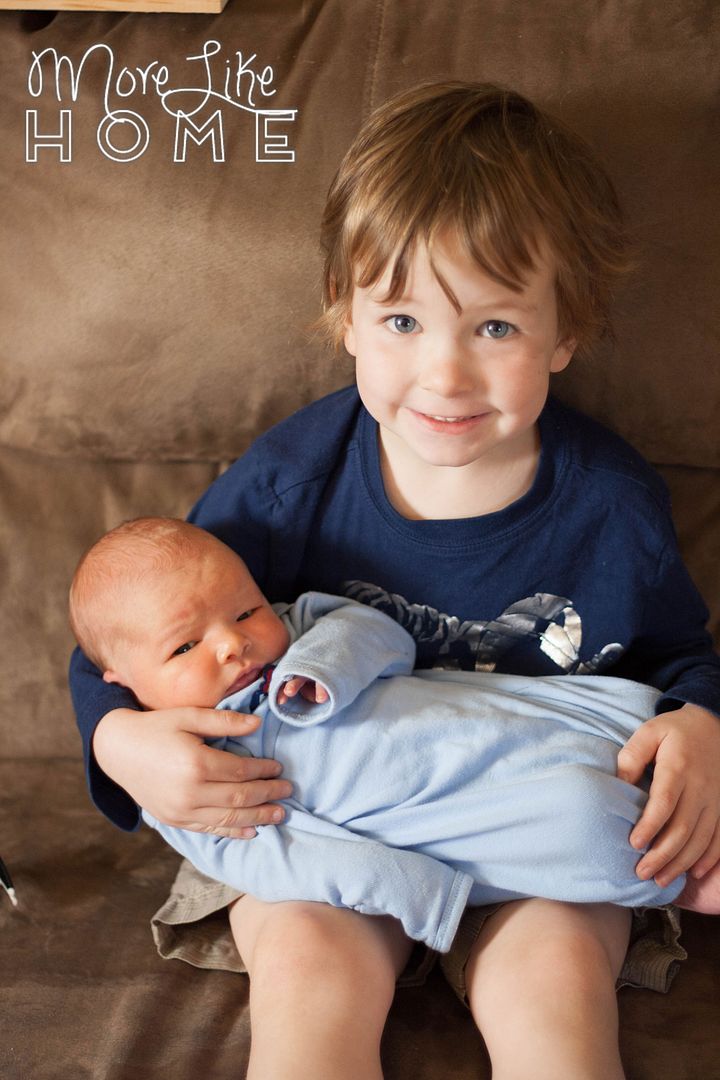
Plan Some Cute Poses - We like to check pinterest for ideas for this too. That's how we got the idea to include the bigger brothers in the shoot this time. But remember babies are finicky, so don't be too upset if you just can't get a good shot in a certain pose. Have some back up plans, and be prepared to wing it and just shoot whatever you can come up with that they'll go for.
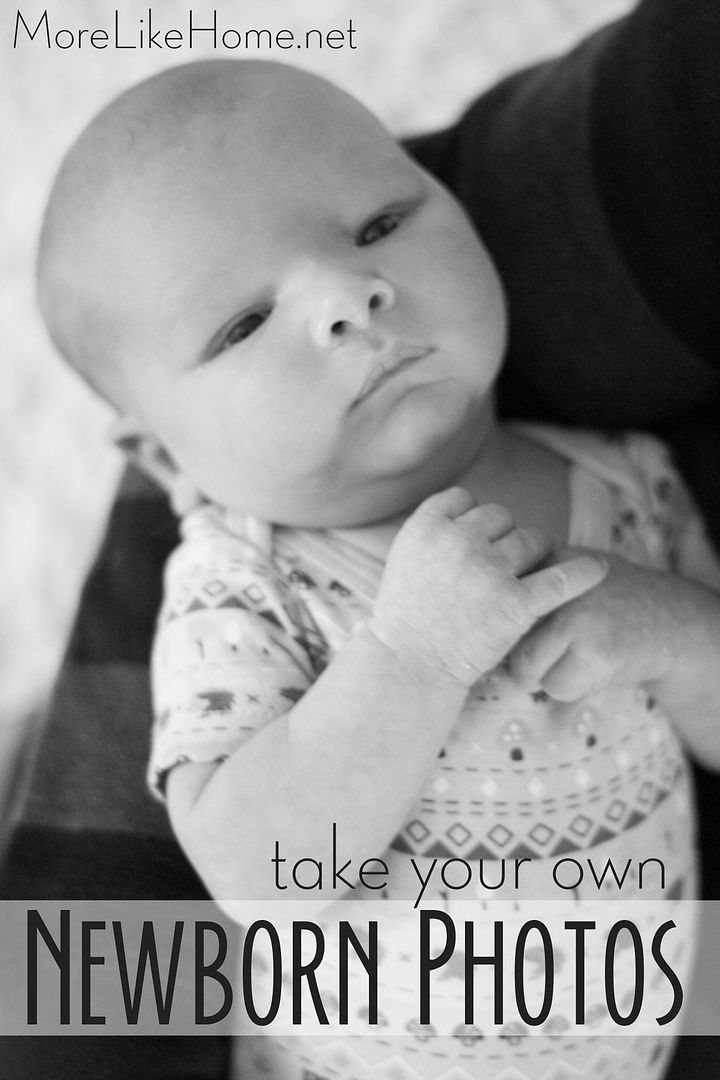
Try Black and White - It's a great way to create a dramatic photo, plus it helps to hide any unevenness in skin tone (like if baby laid on one side too long and the pattern of the blanket leaves a red mark on his cheek).
Use a Good Camera - This is at the end of the list, but it's one of the most important tricks for a good photo! We bought this camera almost 8 years ago and upgraded to this lens and haven't regretted the investment at all. This is one of the few places we've spent money for DIY photo shoots, but we've been using them for all of our family photos, newborn photos, plus all of our everyday photos for the last 8 years (we've even taken our own family photos using a tripod and the camera timer when my sister wasn't available to shoot for us). The $350 investment has more than paid for itself with the money we've saved. (If you want to print large photos like our DIY faux canvas make sure whatever camera you use is at least 10 megapixels)
Editing Software - This is the only other thing we spent money on for our photo shoot (and we've been using it for years as well). We definitely recommend Lightroom editing software. It's easy to use and has probably been the deciding factor to take our photos from "good enough" to frame-worthy. It's another investment for sure, but one that definitely pays off in the long haul.
And without further ado... here are a few of our favorite pictures from the photo shoot:


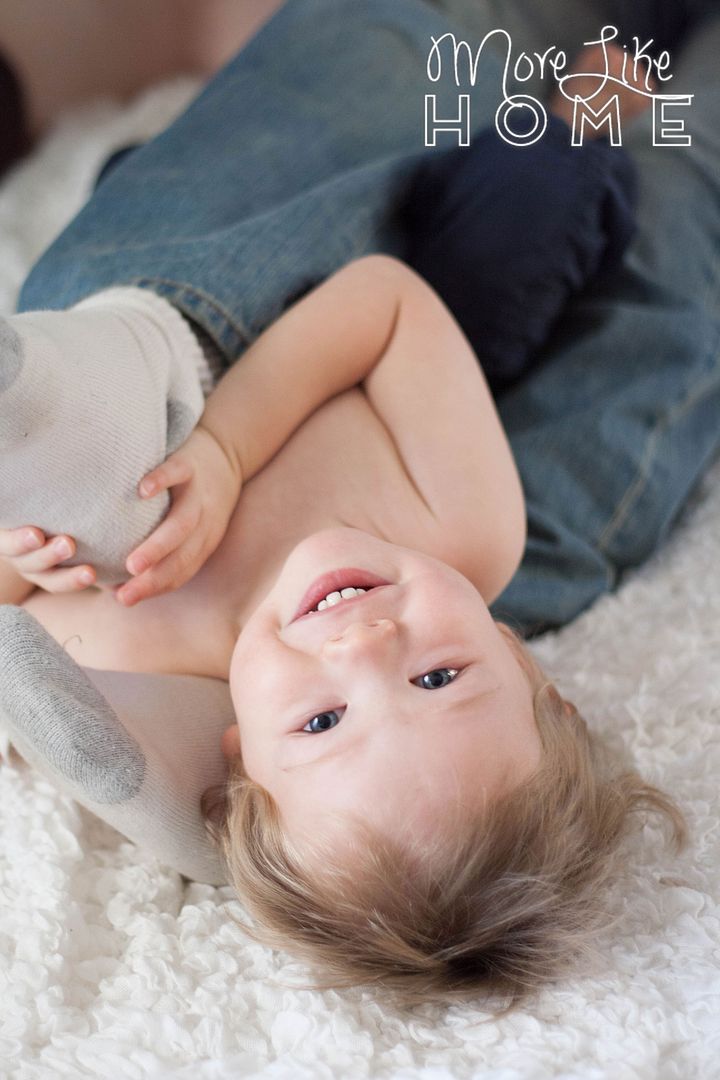
Just be prepared, especially if you're planning to include older siblings in the shoot, you're going to end up with a whole lot of this:

One of our favorite things about investing in a nice camera is that even our day-today photos can turn out beautiful!

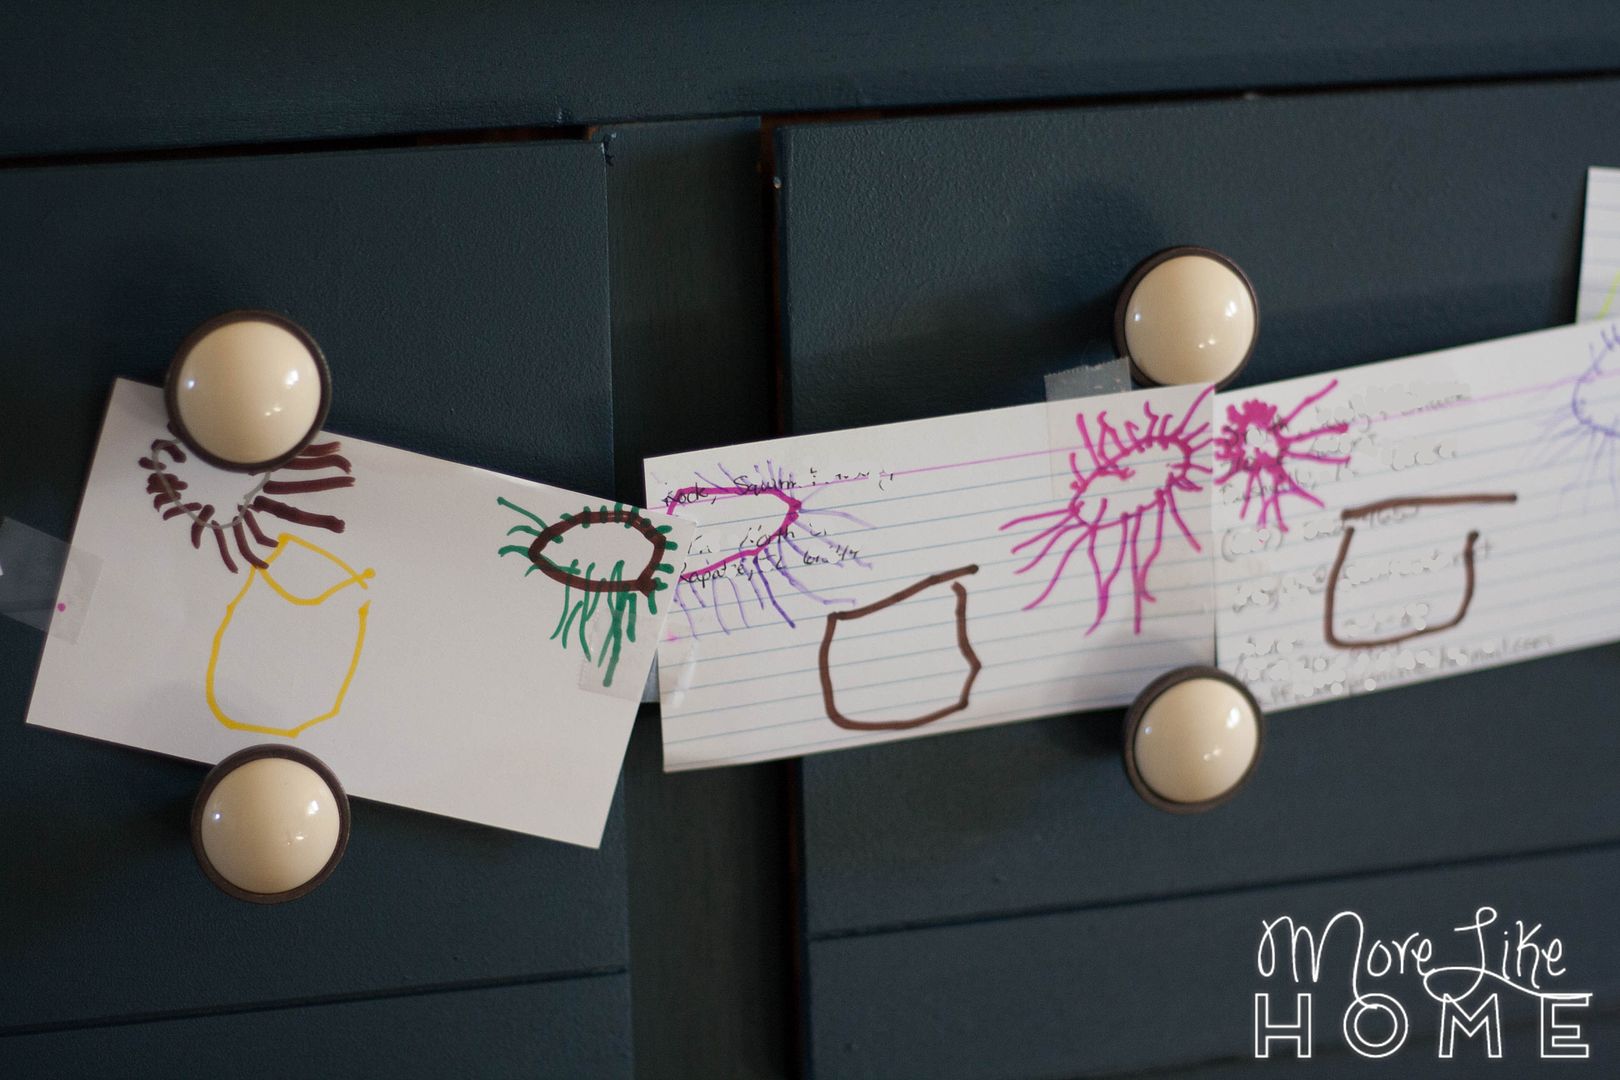
For your daily laugh, Big Brother drew these family portraits which he taped across the drawers. Note the "eyebrows" (eyelashes). He asked each of us what colors we wanted for each of our eyes. Oh, and the ones with lines across the top of the mouth are the boys because they are mustaches.

Now I have to get back to snuggling my newest little squishy guy.
Do you take your own newborn photos? What are your favorite tips?

so amazing
ReplyDelete