
- finding wall space to hang them that doesn't feel awkward or like an afterthought (and that doesn't put holes where I don't usually them)
- storage space when I take them back down
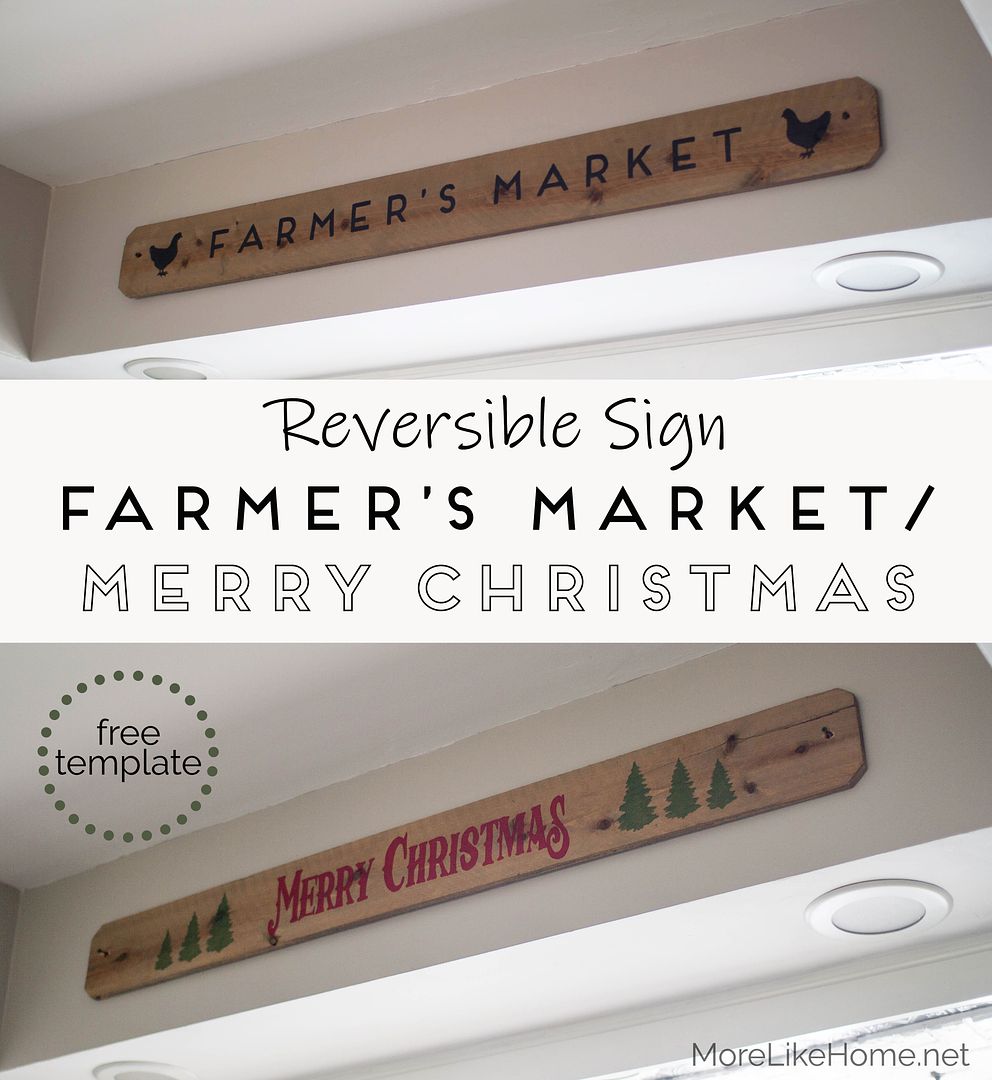
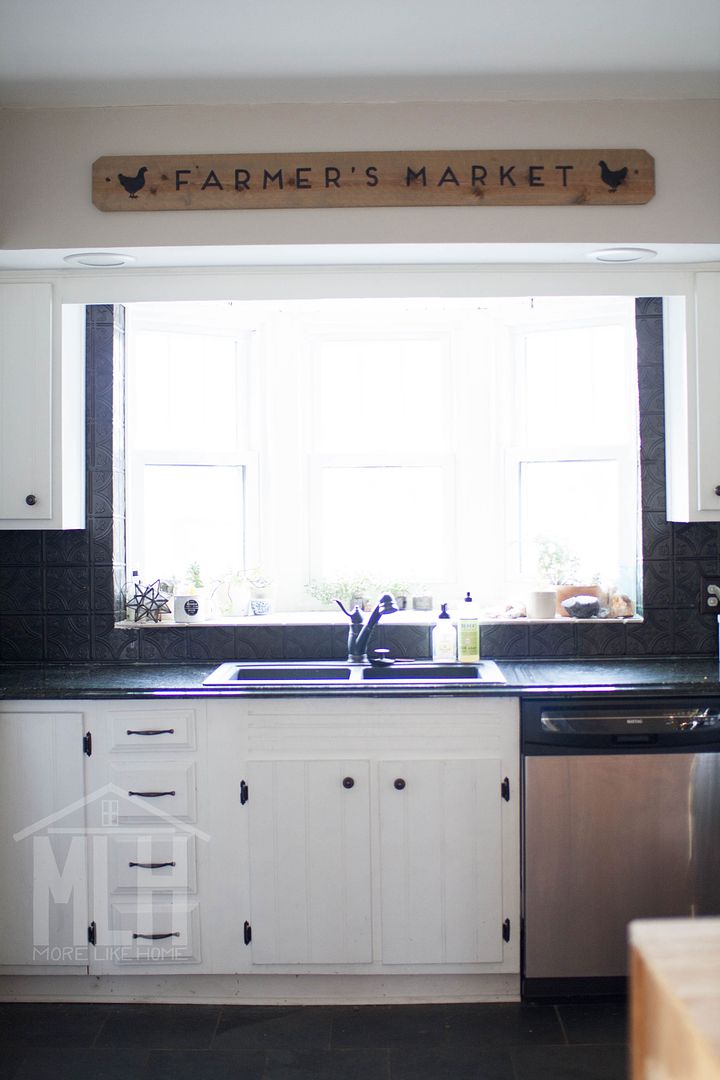
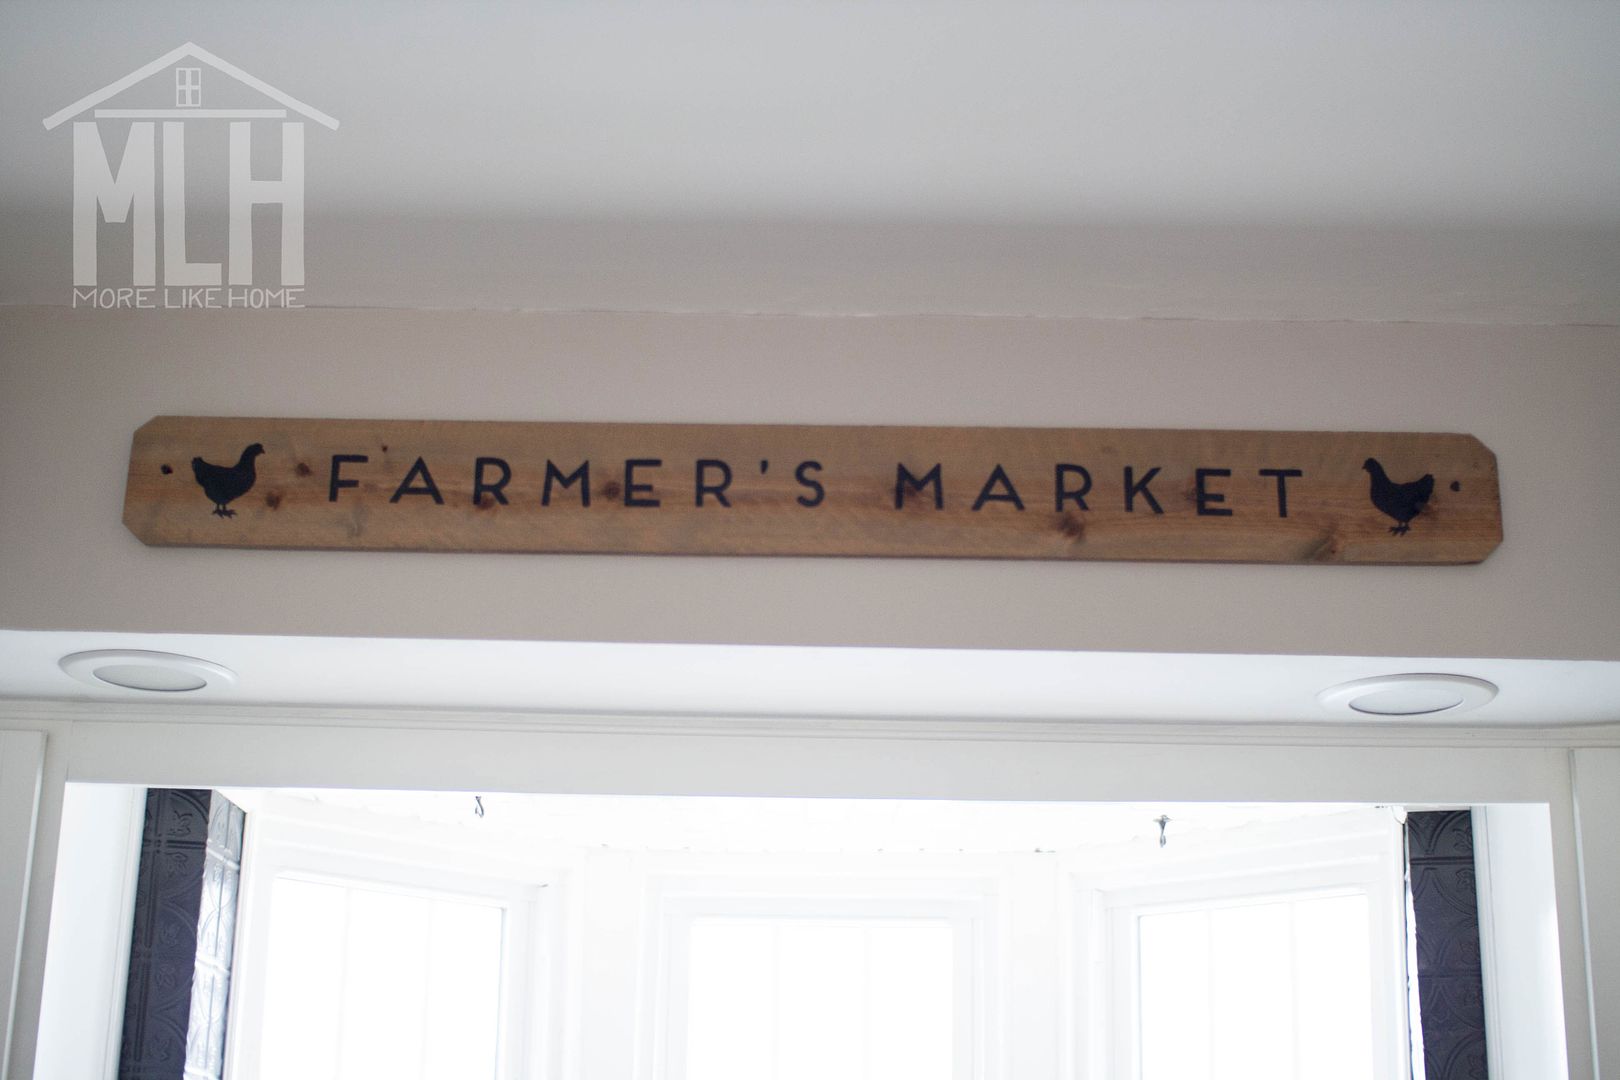
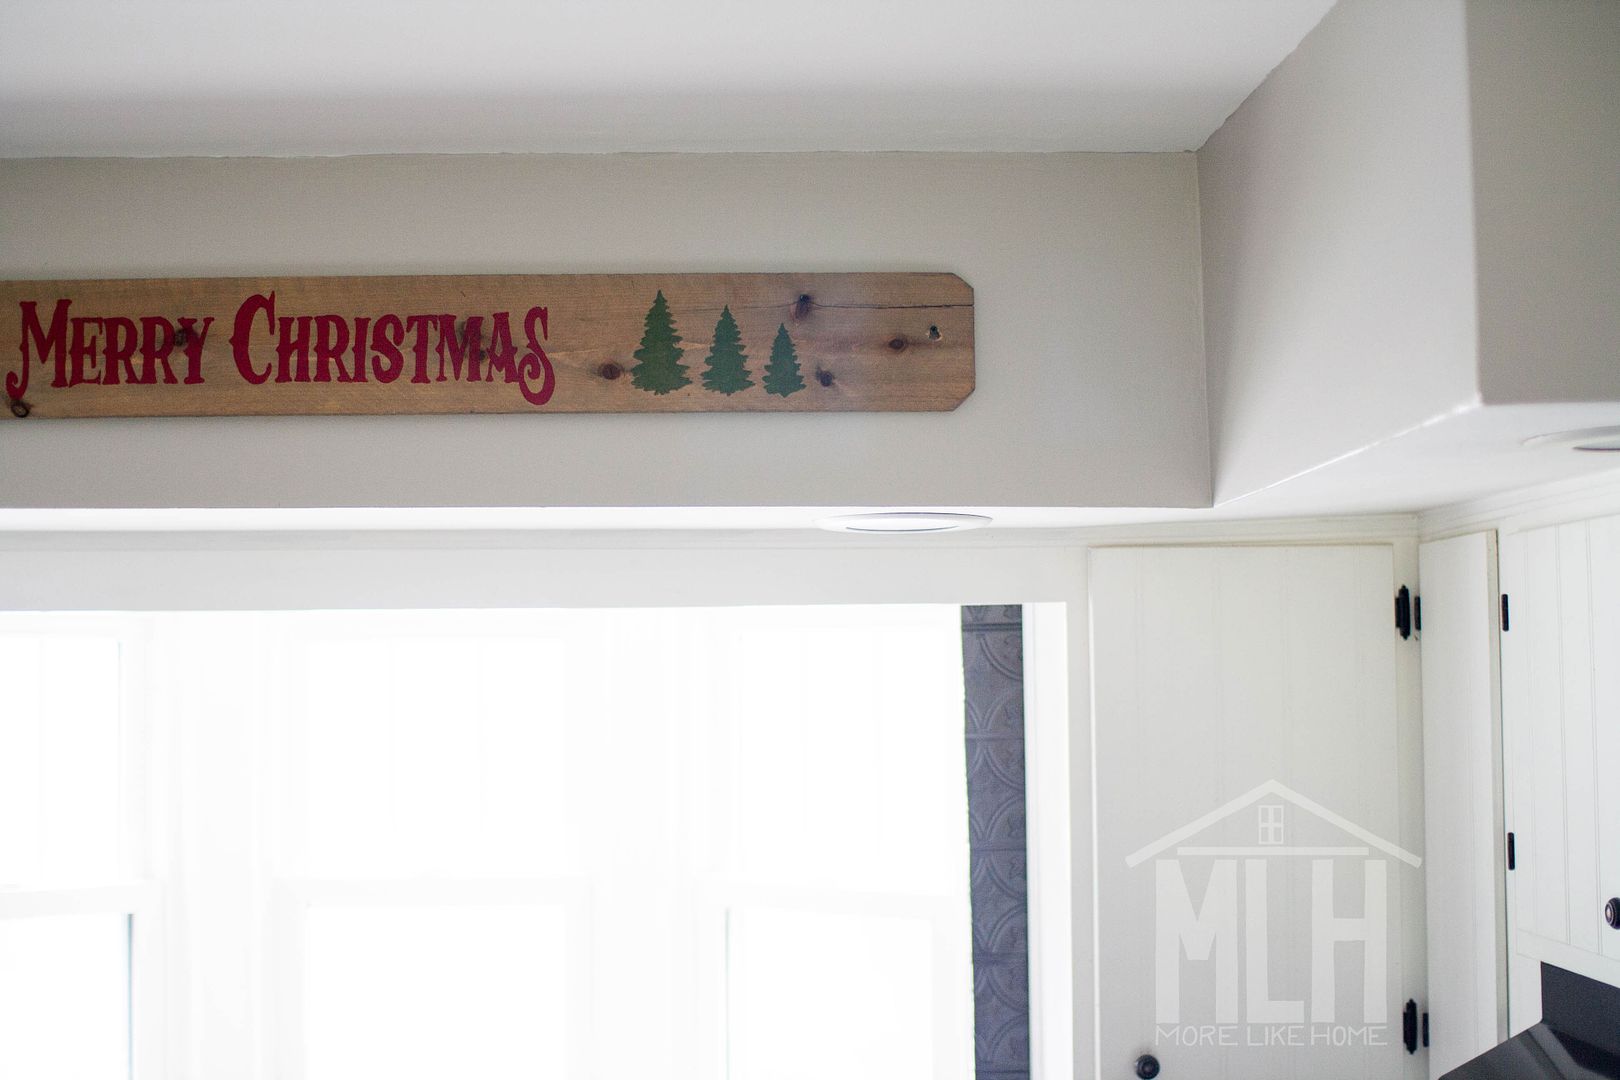
Most of the year it's just chilling in the kitchen as an unassuming Farmer's Market sign. Adding a little rustic charm and perfectly filling the space above my sink.
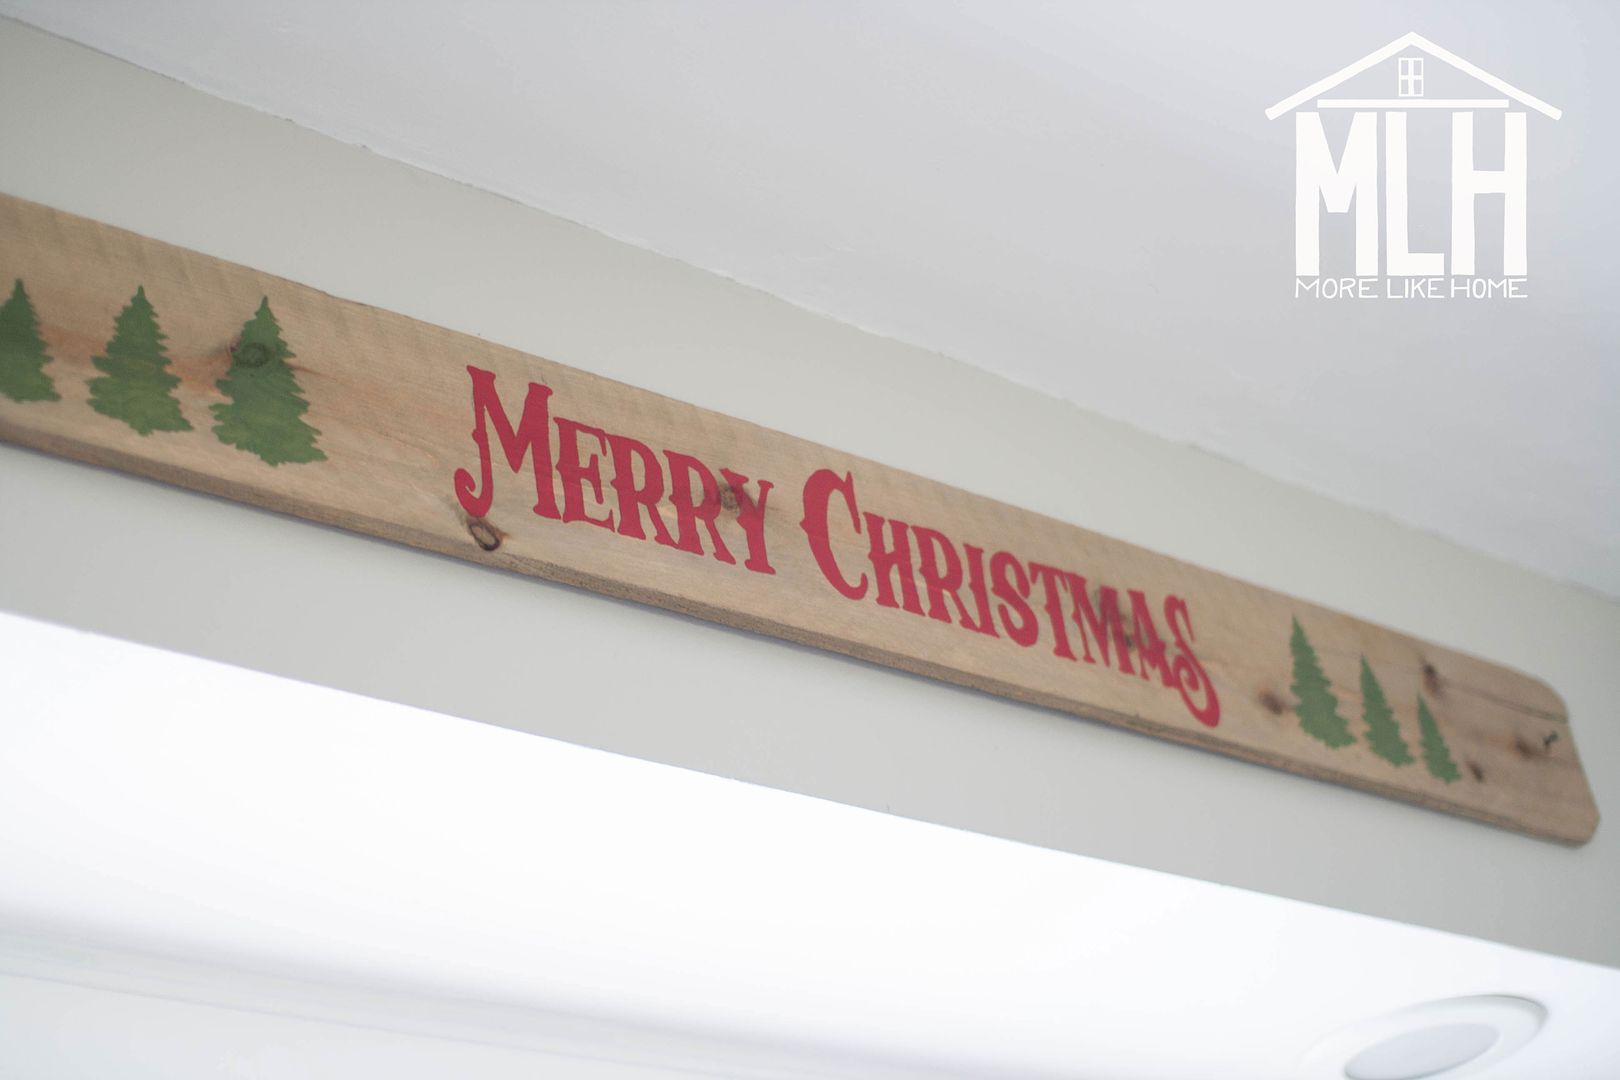
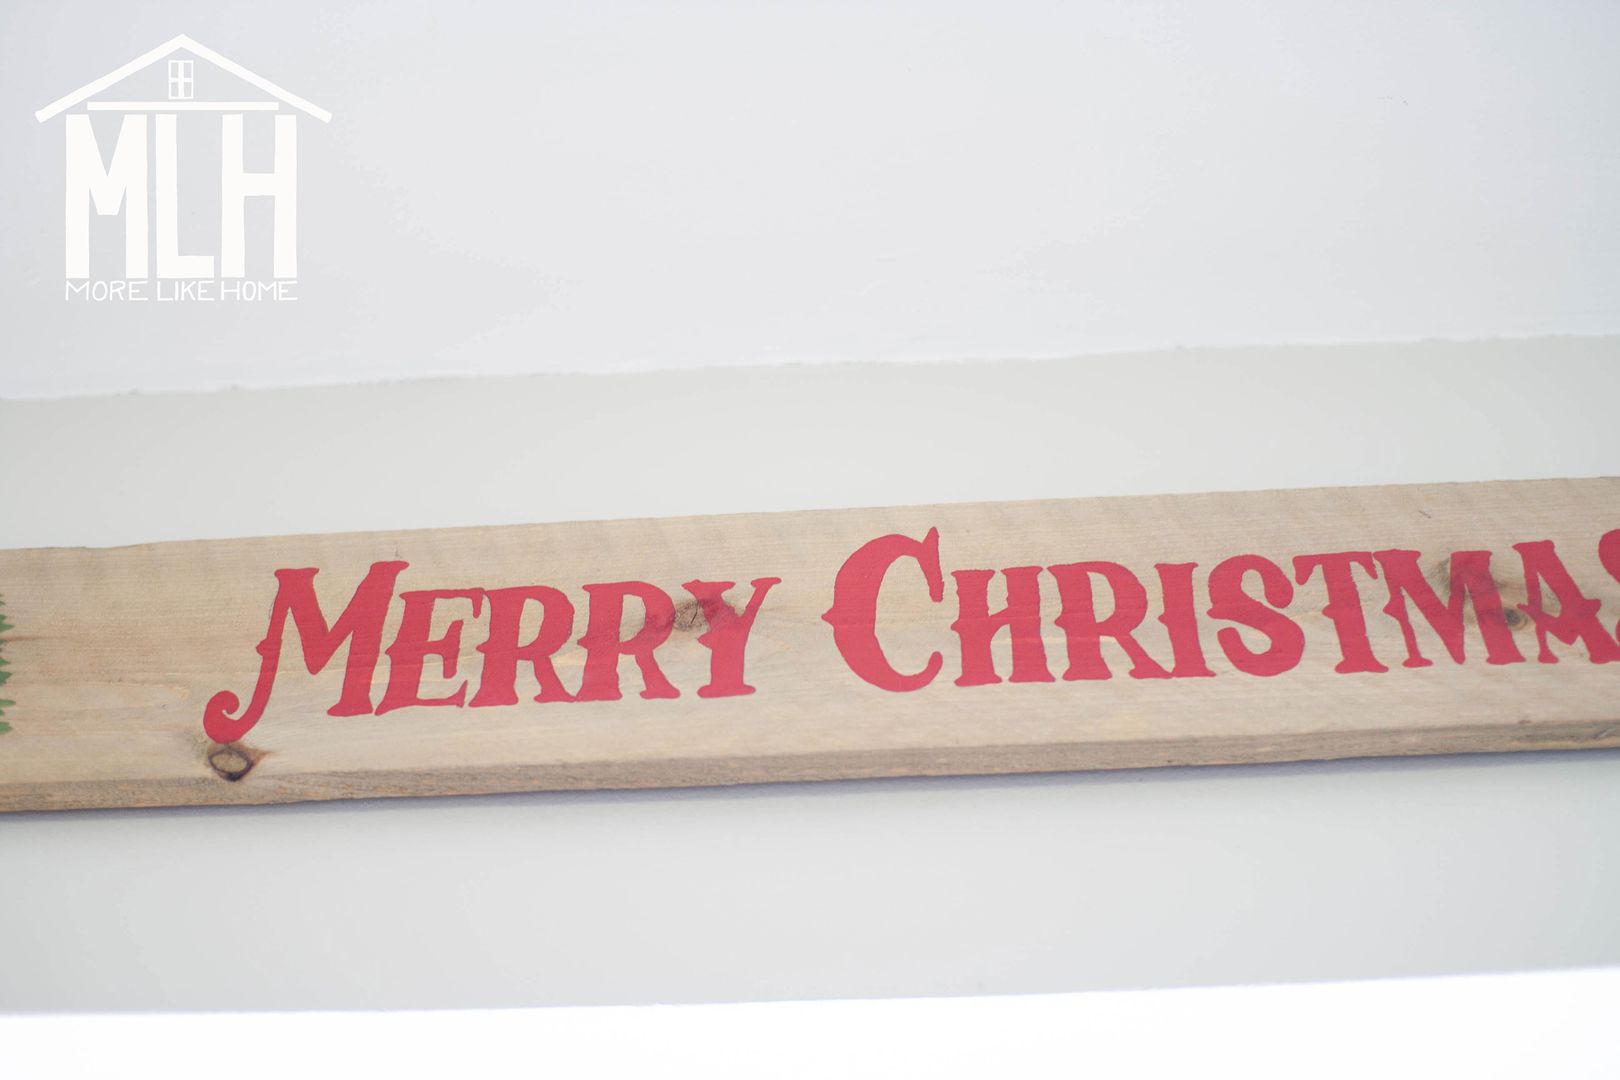
But come Christmas time, I just flip it around and BOOM. Instant Christmas cheer. No hunting for a spot,and no digging it out of storage.

I took a bunch of photos for this post, but they're all basically the same. Turns out photographing the same sign from different angles... isn't that exciting. So let's just skip the filler and jump right into the tutorial so you can make your own!
This is the same technique I've used for most of the signs I've made. I love it because it's so easy and so accessible. No special equipment needed! If you love this idea, but need a different size or design for your reversible sign, you can use this technique to make any design you like!
Here's all you need:
- cedar fence picket (or any wood of similar size)
- printer (or you can have it printed at an office supply store)
- pencil
- pen
- acrylic paints and paintbrush (I used black, red, and green)
- a drill with 1/2" drill bit and 3" screws (only needed for a reversible sign)
- the templates (download below)
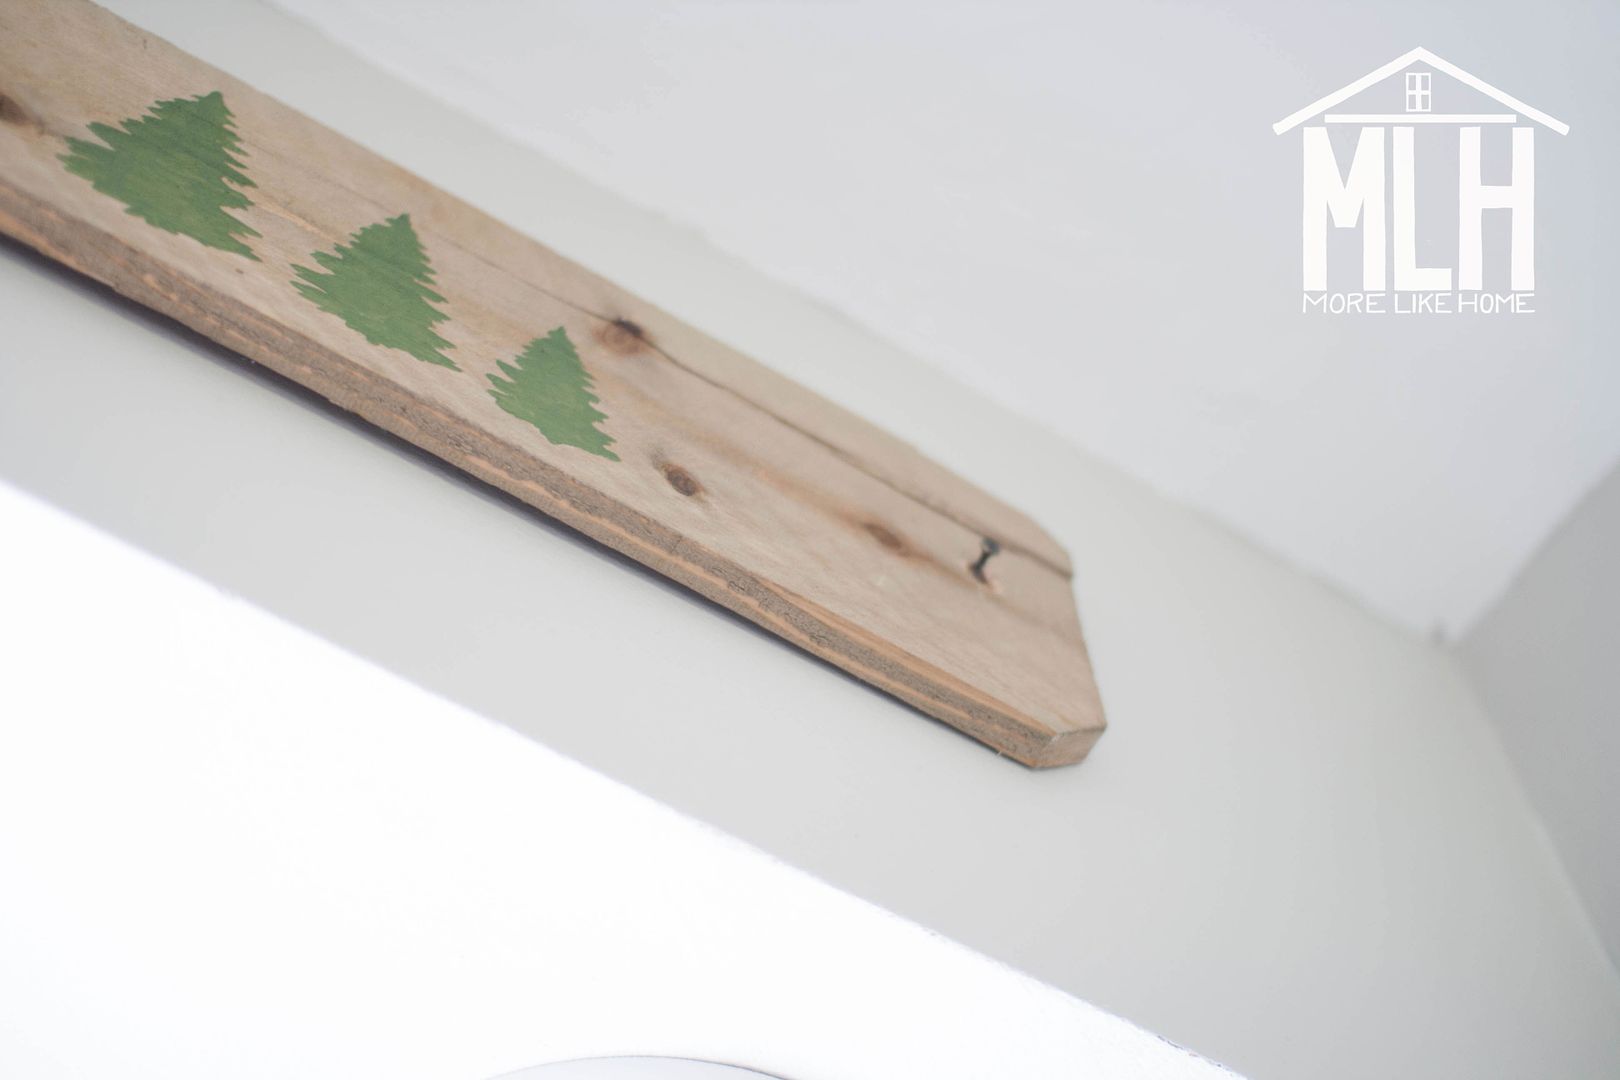
My first step was trimming the bottom corners of the fence picket to match the angles of the top corners. I just eyeballed it and went for close enough. It's a rustic sign, after all!
Then you can either stain your fence picket or leave it the natural cedar color. I used Minwax Weathered Oak to make mine a smidge darker (for more contrast with the wall color).

Print out the sign templates and tape the pieces together (line up the ABCD marks on each page). Then use a pencil to roughly color across the back of each letter on the sign. And don't forget to color the chickens, too.
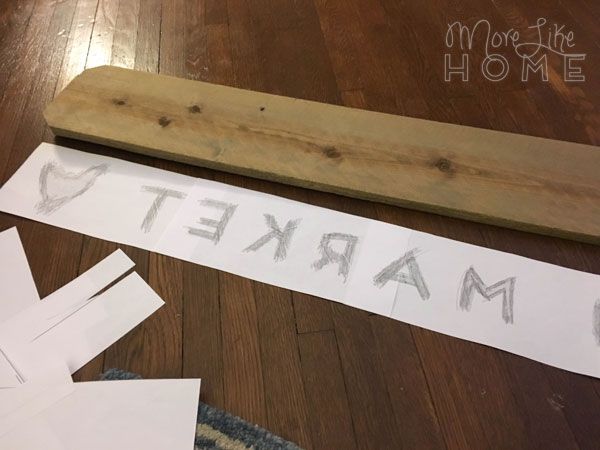
Flip the template right-side up, center it on the picket, and tape it in place.

Use the pen to firmly trace the outline of the letters and chicken. When you remove the template you should have a pencil outline on the wood like this:

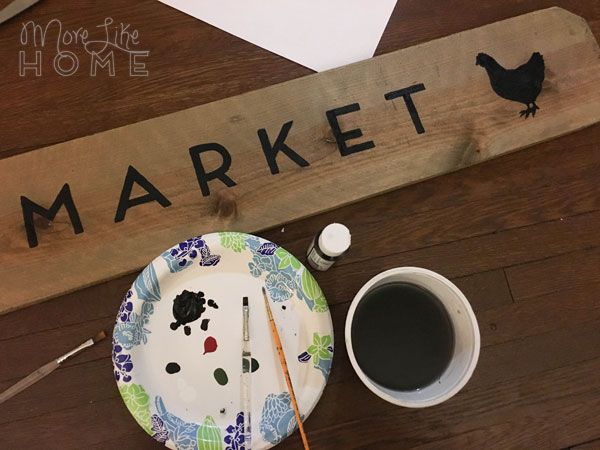
Use acrylic paints sand a small brush to fill in the pencil outlines. This is such a satisfying and peaceful step for me. I could do this all day! You know, if I didn't have kid and laundry and stuff.
Let it dry, then flip the sign over and use the same steps to paint the Christmas side. When I did it, I flipped it so the top was on the same edge for both signs. That will help with hanging it later.
FYI the kids will probably want to watch. And while they watch they'll probably want hot chocolate. You have been warned.

P.S. they use the same formation when they watch me do dishes while the eat breakfast.

But back to the sign!
To hang it, drill a large hole (about 1/2" diameter) in each end of the board. It needs to be large enough to fit over the head of your screws. Make sure the holes are level on the board and put them a little closer to the top than the bottom (so it's not top heavy when it hangs). Then put a long screw (about 3" long) in the wall for each hole. Leave the screws sticking out about 1". Then just pop the sign onto the screws:
When Christmas is over, just turn it around and set it back in place!
That's it! A perfect fit year round, that goes from chickens to Christmas in 10 seconds flat.

There are tons of other tricks that will make your decorating easier and make the most of your space. Here are a few of my favorite tips:
- Take down regular artwork and replace it with Christmas signs for the season. No extra holes in the wall and no crowding decor into your white space!
- Use command strips to hang temporary pieces (make sure they are strong enough for the weight of your signs).
- Slip festive prints into frames in place of your regular photos or prints.
- Christmas-ify your regular decor! Try adding santa hats to your regular decor and photos or wrap a few decor pieces or picture frames with festive wrapping paper.

Check out more Christmas projects and ideas in our archives! Just click here:

Happy decorating! What's your favorite way to decorate for Christmas?
No comments:
Post a Comment