
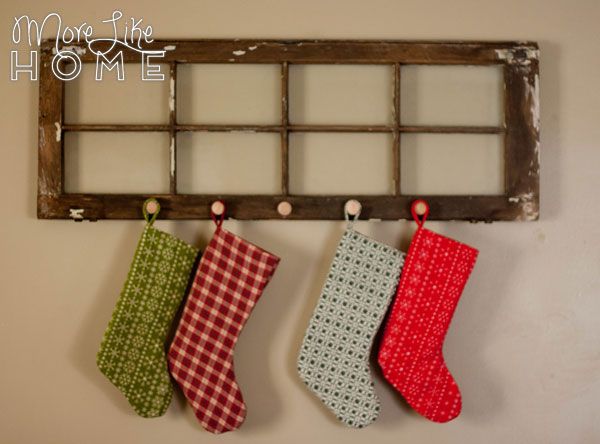
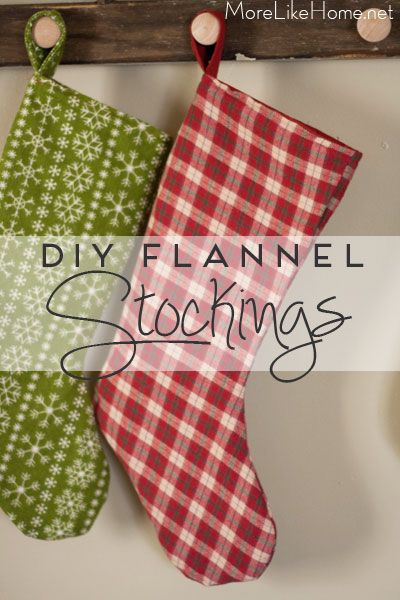
Earlier this week I shared how we turned an old, reclaimed window into a Christmas stocking holder and today we're going to tackle those cozy flannel stocking hanging on it. If flannel isn't your thing, you can totally swap it out for a different fabric. No biggie. These are pretty fast and easy to make, so you can still make them before Christmas! Let's get started!
Here's what you need:
- 1/2 yd flannel (or another fabric you like for the exterior)
- 1/2 yd quilting cotton for the lining
- 1/2 - 1 yd interfacing (I tried several and like the look of a thin fleece batting the best. Don't get one too thick though or it will be too thick to topstitch. But you can do any kind of interfacing you like for a different look!)
- thread
- 6" piece of 1" wide ribbon (or a 6 x 3" piece of fabric)
- a stocking pattern (I used this Martha Stewart pattern without the cuff, or you can draw your own)
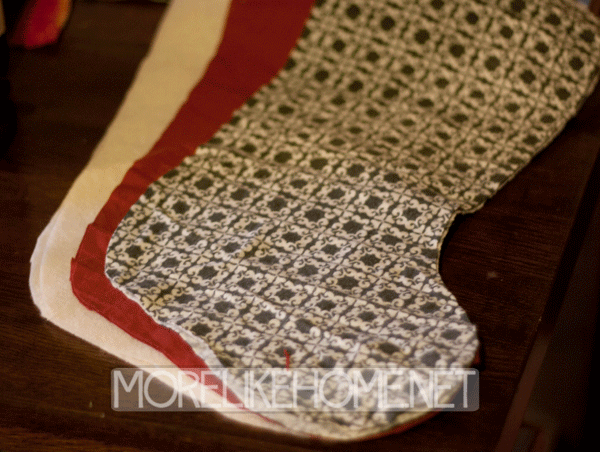
Stack you pieces like this: one interfacing, one outer fabric face up, one outer fabric face down, the other interfacing. Like this:

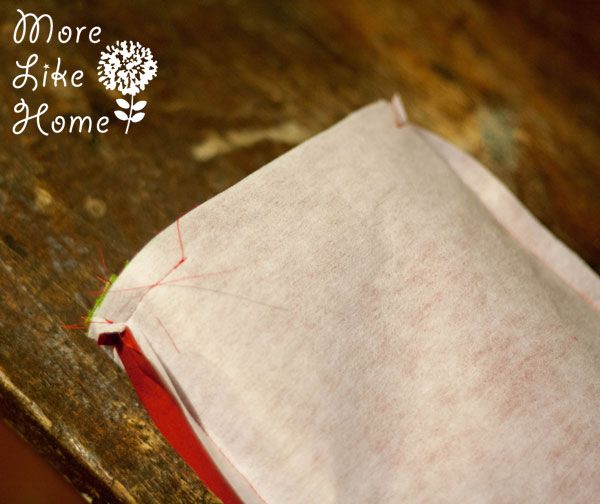
Sew around the side and bottom edges with a 1/4" seam allowance, but leave the top open. Then clip around the curves like this:

Stack the two lining pieces with right sides together and sew along the sides and bottom, again leaving the top open. Clip the curves like you did with the outside pieces.
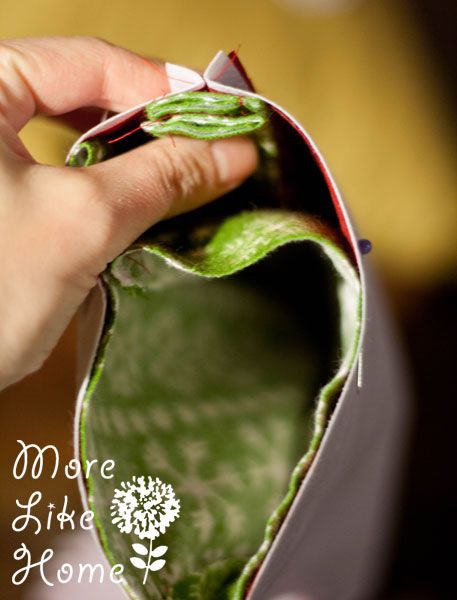
I switched stockings for the rest of the pictures so the fabrics are different - the green the outside fabric and the red is the lining. Flip the exterior right side out and slip it inside the lining (right sides should be together). Make sure the toes are pointing the same direction and line up the seams. Pin the layers together.

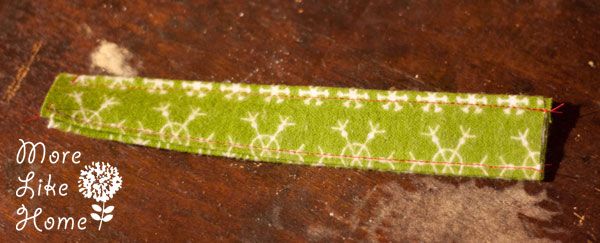
If you want to use fabric to make the hanging loop this is how to do it, but if you're using ribbon you can skip to the next step. Also if you're using fabric I DO NOT recommend using the flannel like I did here. It was very thick and hard to sew through. Unless you want to sew by hand, then go for it! For some of my stockings I used the lining fabric and that worked much better. To make the loop, fold each long edge under 1/2" and press. Then fold the whole thing in half length wise and press. Sew along each long edge.
Take your loop (either made from fabric or ribbon) and fold it in half. Slip it between the lining and outer layers on the heel side of the stocking, lining up the raw ends with the top edge of the stocking. Pin it in place.
Sew around the top of the stocking with a 1/2" seam allowance, leaving a few inches open for turning.
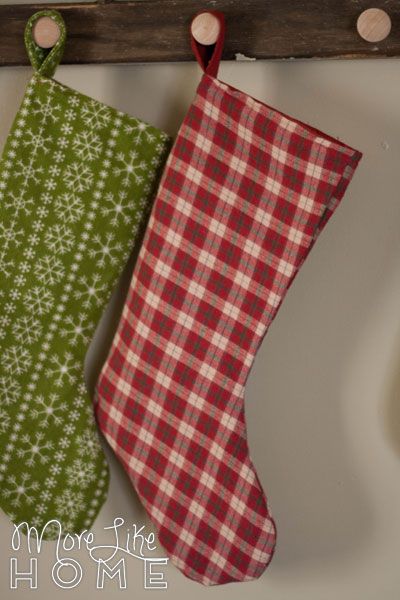
Flip the stocking right side out, tuck in the fabric at the opening, and topstitch around the top of the stocking with a 1/4" seam allowance. All done! Now just do it a couple more times to make enough stockings for everyone.
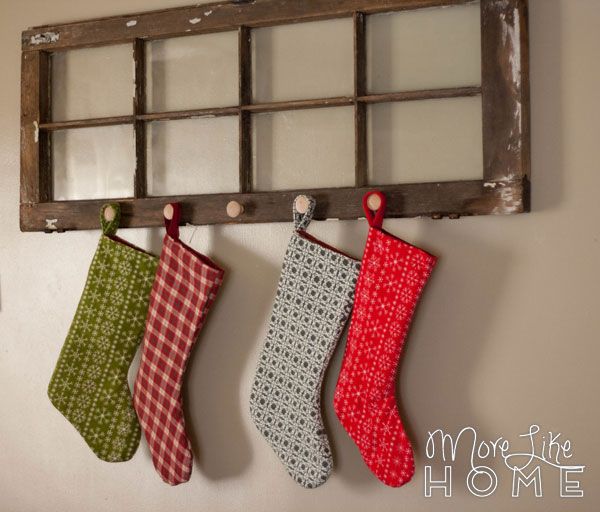
We went for a kind of eclectic mix. We kept it in the red & green family so they kind of go together, but since they don't match we'll easily be able to add more down the road if we need to.
What are you guys making this week?
P.S. Don't forget, this is the last day to get in on the Black Friday/Cyber Monday sale on my Etsy shop!

Great tutorial. I will absolutely try out this one. I will have visitors from home coming this Christmas, for the first time since I moved abroad ten years ago. To make a pretty stocking for everyone to bring home feels like a great idea. Thanks for sharing. I am so happy I found your blog.
ReplyDelete