Tuesday, February 10

Pantry Junior {a closet-to-pantry makeover}

If you've been reading for awhile, you may wonder why we just updated our entryway corner (with new coat hooks and a key holder) when we have a little mudroom closet by the back door. Well, two years after turning that little closet into a mudroom, we had never really used it. Sure we hung winter coats there during the summer. And I stashed a box of outdoor toys under the bench. But that was it. Our everyday shoes and jackets still landed by the front door. We finally realized there was no point trying to make that closet be something that just didn't fit for us. So we switched it up again, but still not into a coat closet - we made a pantry!
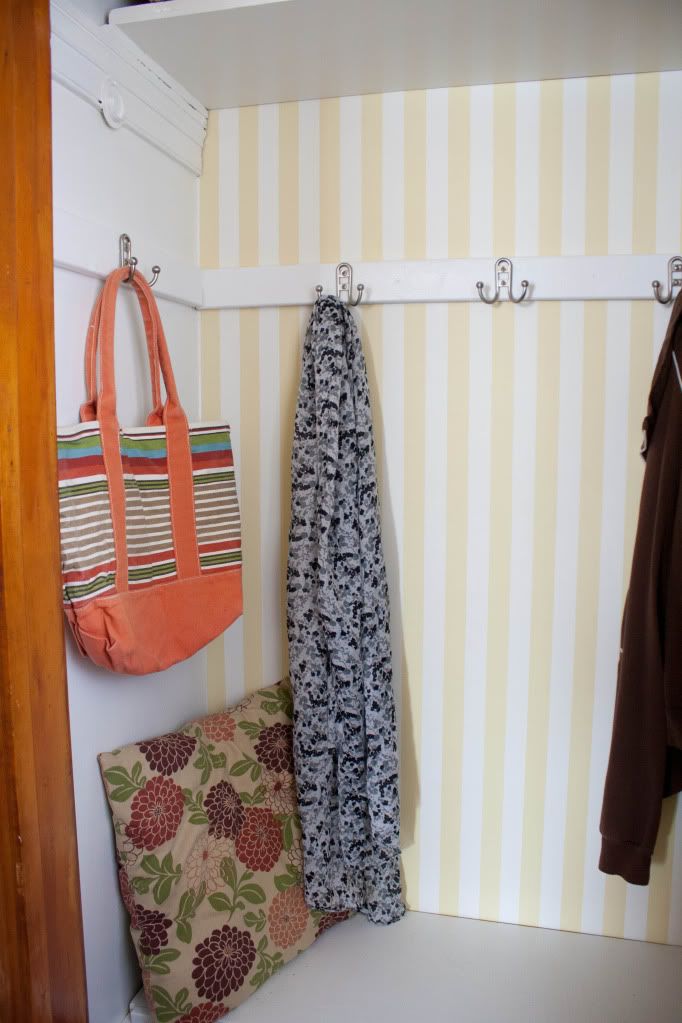

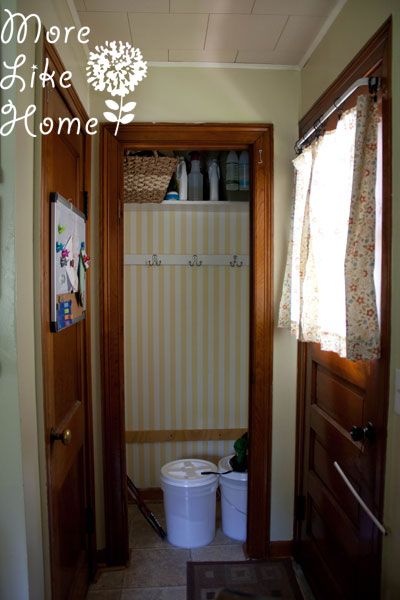
I call it Pantry Junior. Because it's the younger pantry. It keeps Husband in a healthy state of confusion since Pantry Senior is actually a much smaller pantry (and therefore more fitting to the Jr. name). The mudroom-to-pantry conversion was actually pretty simple. We ended up leaving the coat hooks in case we change our minds again later (we actually used the boards they are attached to as supports for a new pantry shelf) and the bench worked perfectly as a bottom shelf with room under it for a few gamma seal buckets that hold bulk foods.

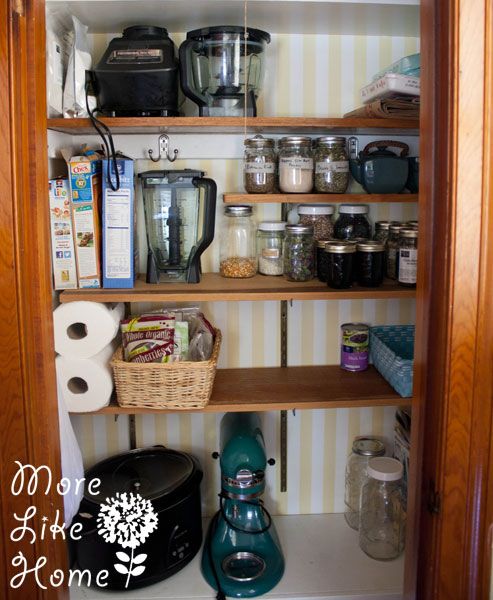
And above that? We added more of the adjustable shelving we got for $2 at a yard sale (we also put some in the garage and the master closet). The adjustable brackets will give us plenty of room to move things around if we need to. Plus the original wood color worked well with the white and yellow so we didn't need to paint! We did a few varying heights for now to accommodate as many different sized items as possible.

Friday, February 6

Easy DIY Branch Key Holder

Today we're looking at phase two of our entryway mini makeover. Heavy on the mini. Part one involved upping our coat rack game with more, bigger hooks (see how we did it here) but this part focuses on a much smaller problem that caused much more grief. They keys.


We've spent seven years of married life keeping our keys in a bowl. Then Baby Brother learned to climb. Nothing is safe. After countless times swiping our keys, losing them for days at a time, and setting off our car alarm (apparently we're slow learners?) we finally decided it was time to move them somewhere higher. We figured hanging them would be the best option to get them out of reach but still easily accessible for us. I looked at a few key holders but nothing felt like a good fit, so I decided to just make our own with a branch straight out of our backyard.


Here's all you need to make your own:

Wednesday, February 4

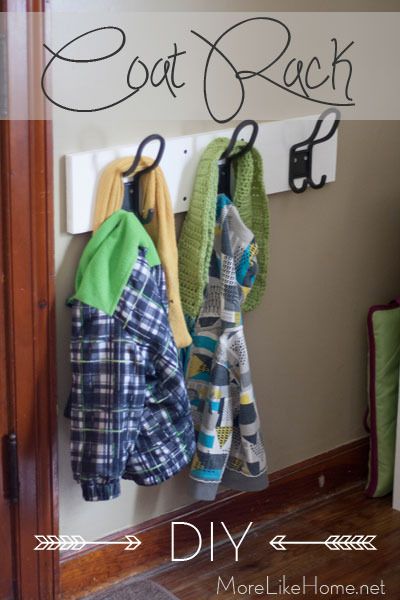
Easy DIY Coat Rack {entryway mini makeover)

We spent a little time this week on a few easy projects to upgrade our little entryway. Our "entryway" is actually just the corner of our living room (which is also our dining room and open to the kitchen) so when it looks sloppy, basically the whole house looks sloppy. Now that winter is here we've found that our few little coat hooks just were not up to the task at hand. You guys, so. many. coats. All on the floor. (you might also like our new DIY coat racks!)


So task #1 was cutting back the number of coats. That helped quite a bit. The next item on the agenda was upping the number of coat hooks so that we could each have a space for our own coats, plus a little room for guests.


But first let's review. This is how our entryway looked for the first 3 years we lived here (you can see how the whole living area was set up here).


About a year and half ago we finally spiffed it up a bit when we added a new entry table with baskets to hide the shoes (plans to build your own are here).


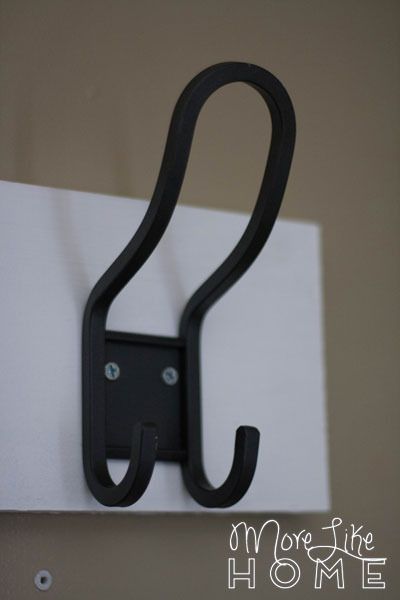
Cue trip to Ikea. I'd been keeping an eye out for new hooks (the ones we had originally were discontinued) so when we went to Ikea last month I made sure to check the coat rack section. It left me pretty disappointed. But then I spotted these guys in the bathroom section! Two hooks in one, room at the top for scarves or purse, and pretty to boot? I'll take six, please.


We decided this time around to attach the hooks to a board instead of straight into the wall. This gives it a more built-in look and allows us to anchor the whole board to a stud (no need to worry about plastic anchors or the hooks ripping out of the drywall). I cut two 26" pieces from a 1x6" board (of course you can do whatever size fits your space best) and Big Brother helped me paint them white. And Baby Brother kept touching the paint. If you're feeling too relaxed today, try painting indoors with small children. It's perfectly nerve wracking. Once the boards dried I attached one hook right in the middle of each board, then one about 6.5" away on either side.


My stud found a stud and used 2" drywall screws to attach the board (and made sure it was level). We added 2 more screws on the other side to make sure it won't pull away from the wall and to make it look more balanced, but the ones in the stud will be doing most of the work here.


We did two rows of the hooks so the kids can reach to hang up there own. The top set we put as high as we could comfortably reach, and the bottom set we put high enough that the boys' coats wouldn't drag on the ground (and tried to keep them low enough that they weren't totally inaccessible behind our coats).


It's looking much better... but how will it look with those rowdy coats?


They boys' hooks are working perfectly. Big Brother loves having his own hook with a special spot for his scarf.


And even our coats are pretty neat and contained. Whew.


Do you have an actual entryway or do you have to squeeze it in a corner too? What are your favorite ways to keep it tidy and organized?

Monday, February 2

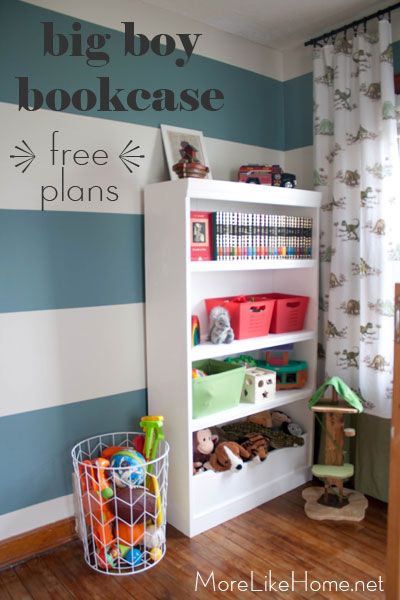
Big Boy Bookcase {free plans}

Last summer we did a full makeover to bring the nursery up to big-boy status (read all about it here). Part of the makeover included building a new storage-packed bookcase (based on this one by Land of Nod) to house the toys and books. Today we're sharing the plans so you can make your own!


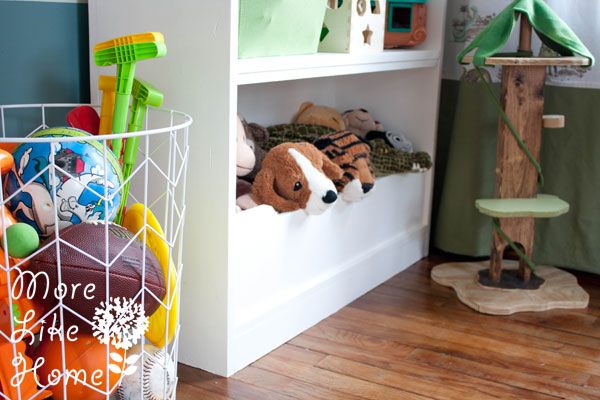
On of our favorite features of this bookcase is the built-in bin at the bottom. It's perfect for corralling balls or those pesky stuffed animals that never want to stay put. Plus it easily converts to a regular shelf when the kids get older (you know, past the stuffed animal stage).


The three shelves hold lots of toys and are easily adjustable to fit your specific toys or bins. Plus you can add a fourth shelf if you have shorter toys to organize, or cut back to two to fit taller baskets. And if this isn't enough storage for you, just build a pair! The flat sides make this bookcase perfect for lining up multiple units side-by-side (like this).


Overall dimensions for one bookcase are 33 3/4" wide x 60 3/4" tall x 12" deep.


Subscribe