Wednesday, August 5

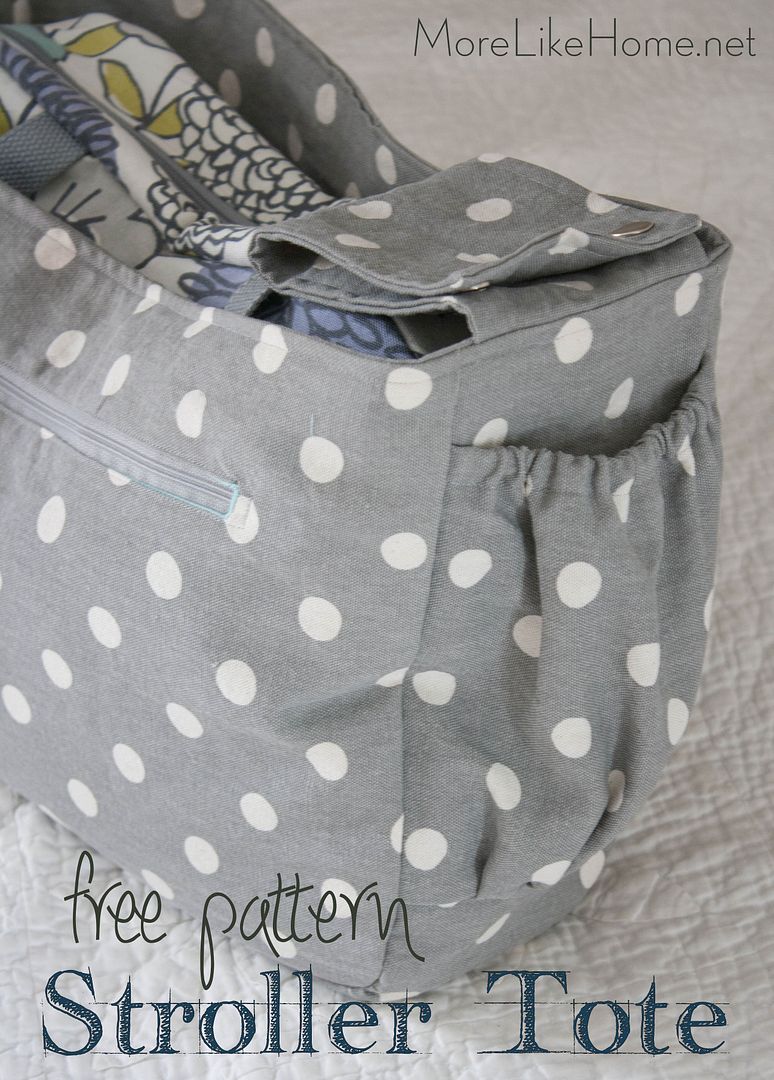
Stroller Tote {free pattern & tutorial}

One of our most popular posts lately has been the Stroller-Friendly Diaper Bag tutorial. You guys have been loving it for the same reasons we do - it's super versatile with tons of storage space, and of course it attaches to a stroller in seconds to keep your hands free when you're out and about. But a custom request in my etsy shop has led to a cousin bag - the Stroller Tote!


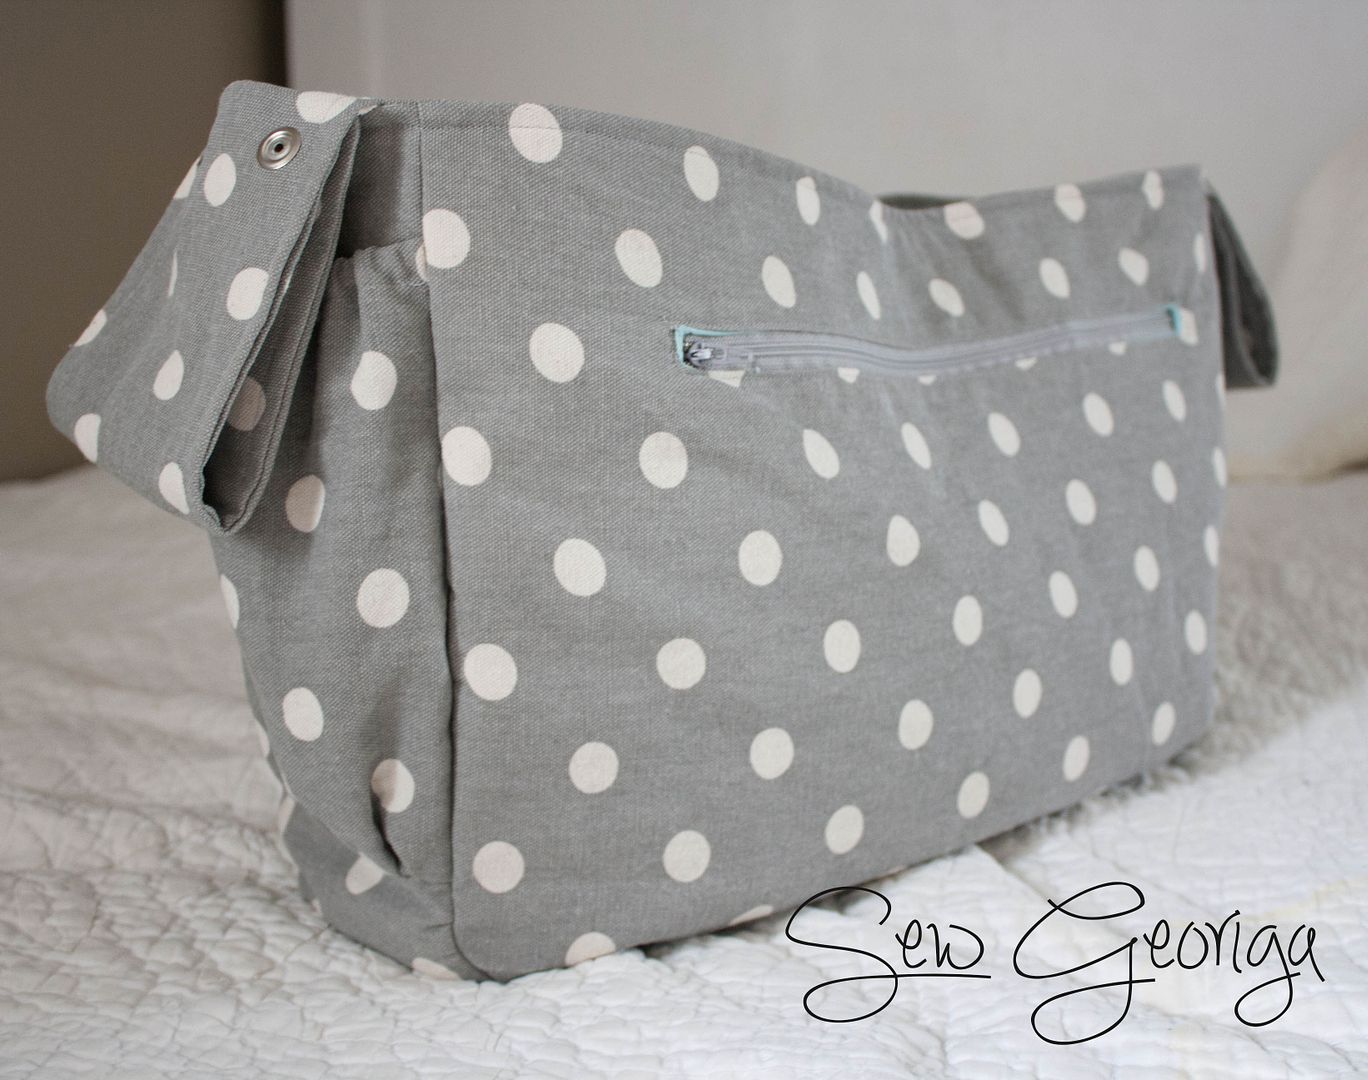
This tote is like the original in that it attaches easily to a standard stroller, but instead of being a full diaper bag it's simply an open tote that is a full-time stroller bag (it doesn't have the option to convert to a messenger style bag... but of course you could add a shoulder strap if you want to. DIY, guys!)
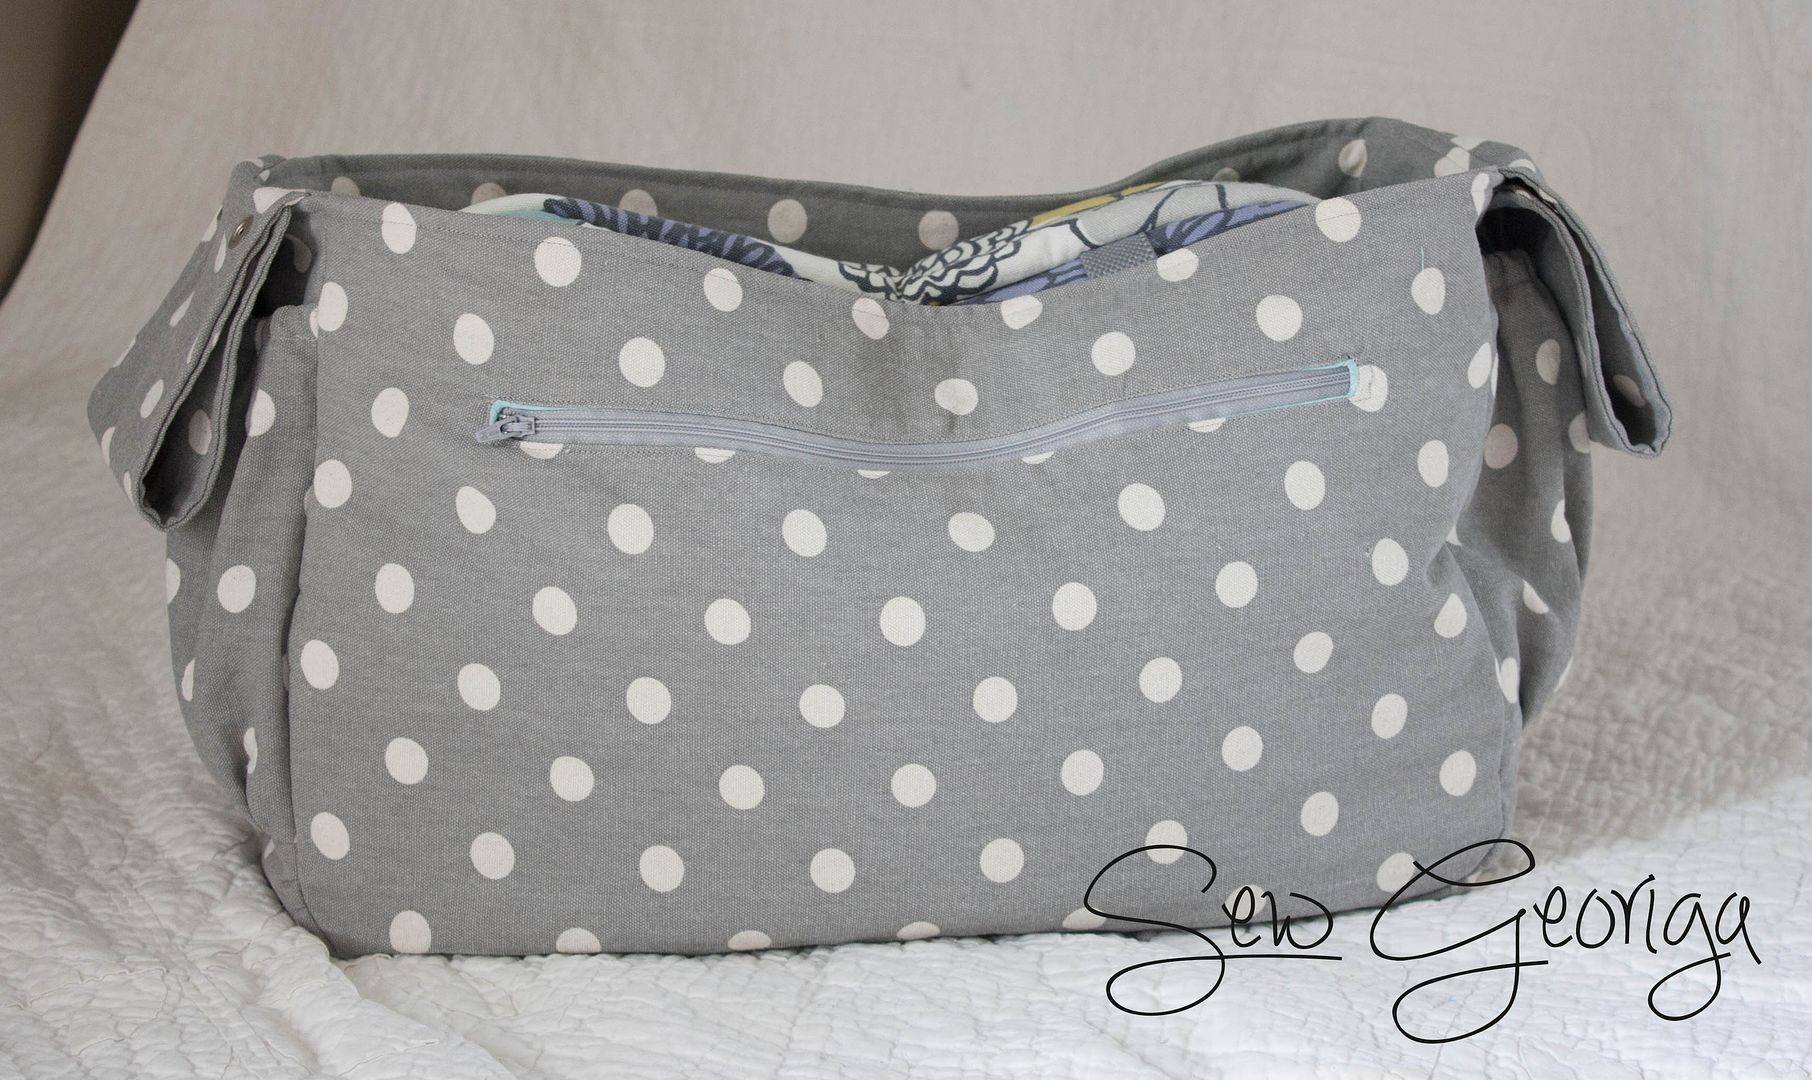

This is perfect for anyone who already has a diaper bag they love because you can just tuck your favorite bag inside the tote. Plus you can leave the tote attached to the stroller so it's ready to go any time. If your kids are a little bigger (like our four year old who doesn't really need a diaper bag anymore but still needs a stroller sometimes) this is a great option to tuck in a jacket, some snacks, and a sippy cup for while you're out.
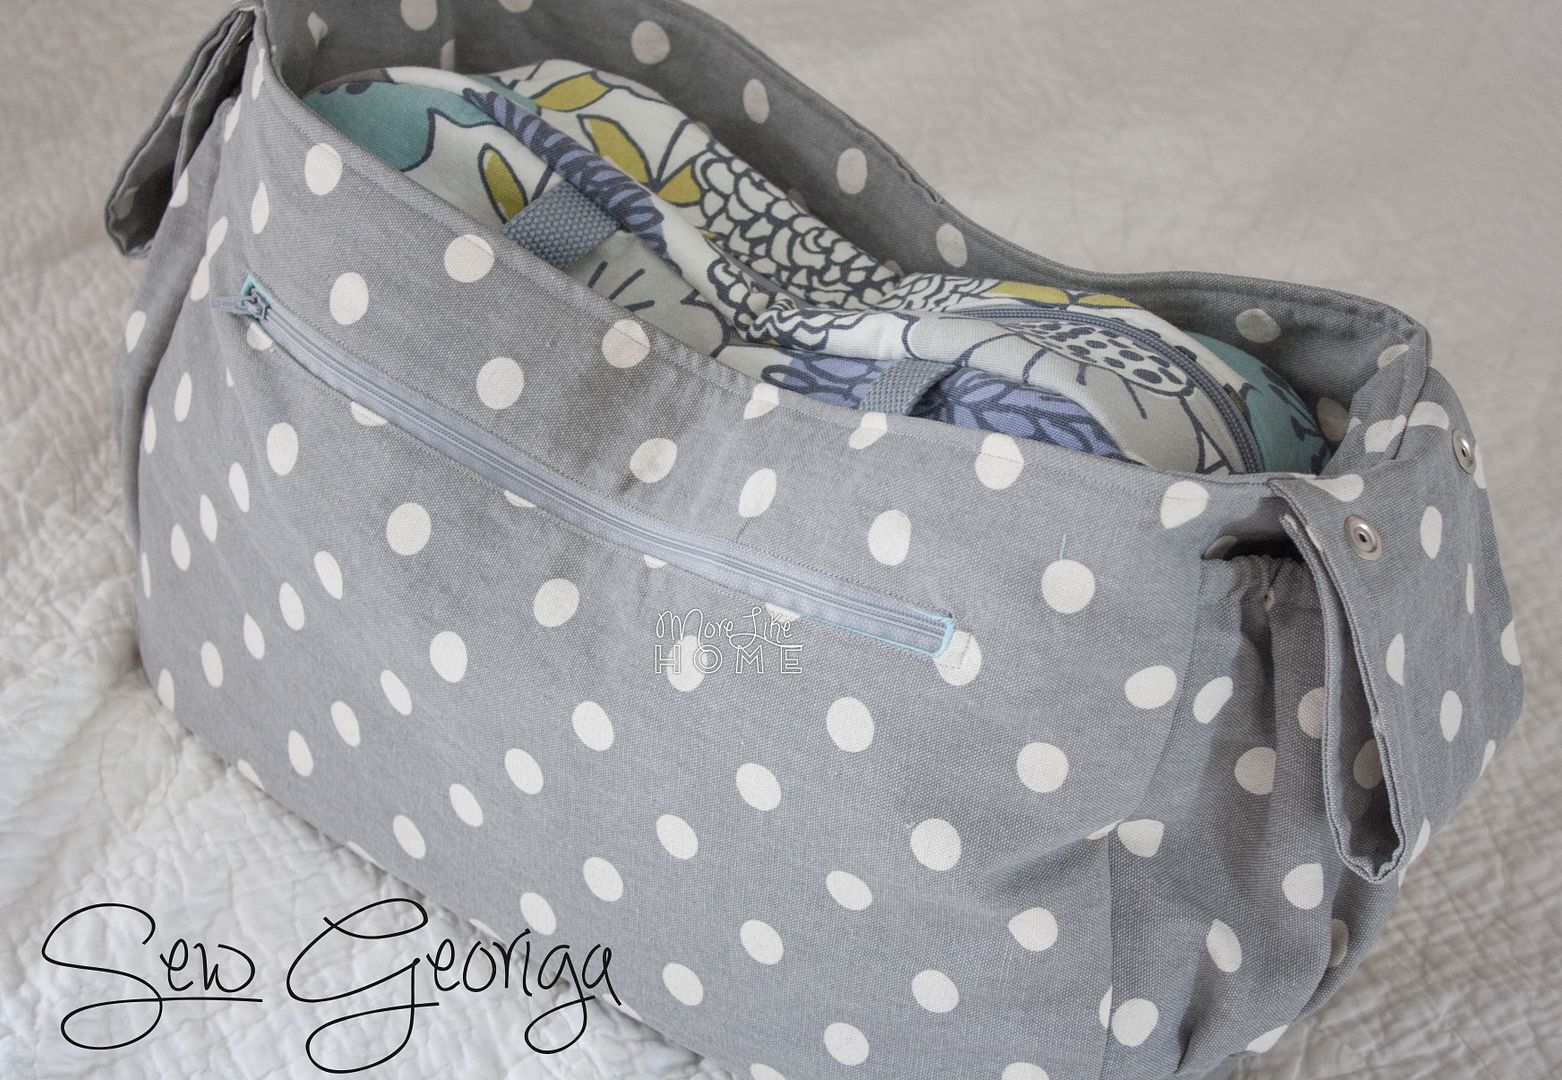

We've had several beginners make our stroller-friendly diaper bag already with great success (check out some of their finished projects here), but this is a simpler pattern with fewer parts (and fewer steps!) that's good for anyone feeling overwhelmed with all that goes into the original stroller bag. As-is, it includes two water bottle pockets and two hidden zipper pockets (one inside and one outside), but as always feel free to customize it any way you like! If you're a beginner and feeling nervous you could skip all the pockets and just make the shell, or if you want more organization go ahead and add some extra pockets!

This pattern is for personal use only. I'm happy to offer all my plans and tutorials for free but I've put a lot of work and planning into these stroller bags & totes, so please don't ask others to pay for the work I've done. Thanks! :)

What you need:
  • 2 yards duck cloth, canvas, or similar weight fabric I used the same fabric for the outer fabric and lining. If you want a coordinating lining instead you could get 1 yard each of two different fabrics. You could also make the bag reversible just by adding an extra set of water bottle pockets to the bag lining.
  • 1/2 yard quilting cotton for the hidden pockets
  • 1 1/2 yards medium weight fusible interfacing
  • 12" of 1/4" wide elastic
  • 9" zipper
  • 12" zipper
  • 4 sets of heavy duty snaps
Use a 1/2" seam allowance unless otherwise noted. Start by pre-washing your fabric (always a good idea in case it shrinks!). Then cut out the following pieces:

Friday, July 31

Dresser Dilema... what would YOU do?

Update: see the finished dresser here!
We need some input on our next furniture makeover project! We brought this dresser home but can't decide what to do with it!


We've made it this far in parenthood with just one dresser shared by our two boys, but with baby #3 on the way it was clear we'd be needing a second pretty soon. So when we stumbled across this guy for just $10 we decided to go for it. The finish was pretty rough but it had nice, sturdy construction (hello, dovetail drawers!). We spent an afternoon sanding it down to bare wood and that's where we're stuck. We've been throwing around several ideas but can't settle on anything, and we'd love to hear what you would do! A couple notes:
  • We'll be using this for kids clothes and want something that can grow with them for years without having to be redone. 
  • It needs to go with light gray walls (side note: we moved the boys into the former guest room last weekend so they would have more space - surprise! - it's currently a darkish gray but we'll likely repaint it a lighter shade.
#1 - The White/Wood Combo
I've been digging this two-tone style lately but I'm afraid it's too trendy and we'll get tired of it before long. And if we do go with this style I can't decide if we should do white drawers with wood frame, or wood drawers with a white frame. Does pregnancy make me super indecisive? Maybe. I'm leaning toward a wood frame because the top wouldn't get marked up like a white top would.

https://www.pinterest.com/pin/27514247694669678/
images via pinterest here and here

#2 - Solid White
Clean, classic, simple. But hard to keep clean with little boys running rampant around here? I do think we'll probably like it for years to come.

image via pinterest

#3 - Keep it Wood
I've been favoring painted furniture lately, but maybe it's time to mix it up with another wood piece? I would normally stain anything wood, but once we sanded it down the grain is so pretty I've been considering just doing a clear coat to seal it (that would be a first for me!). The main problem with this plan is that once everything was sanded it became obvious one of the drawers is a much darker shade than the rest. Hmm.

image via pinterest

pretty wood grain peeking out

rogue drawer on the bottom left
#4 - Navy Blue
A little more adventurous than the other options, but not too crazy. It seems so pretty and fun. Maybe the boys room is a perfect place to take a little more risk?

images via pinterest here and here


Of course there's always the tropical island option. Jk, guys. Jk.

image via pinterest

I'd also love to do something pretty in the drawers if I can find a good price on some contact paper... anyone know where to look?

image via pinterest


Okay. You've seen the contestants, and it's time to vote! White and wood, solid white, plain wood, or navy blue (and of course we'd love to hear any other suggestions as well)?

What would you do with this dresser?

Wednesday, July 1

Quinoa, Chicken, Avocado & Cranberry Bowl

We all love quick, easy, healthy dinners and this has quickly become a family favorite! It only takes four ingredients and you can have it on the table in just about 20 minutes. I especially love it in the summer because I'm not cooped up in the kitchen on a beautiful day, and the only cooking is simmering a pot of quinoa.


Ingredients:
  • quinoa (cook as much as your family will eat, plus some extra for leftovers!)
  • shredded cooked chicken (we use leftover from roasting a chicken but you can also use a rotisserie chicken)
  • avocado, diced
  • dried cranberries
I don't have amounts because this is one of those throw-it-together meals! Just use as much as your family will eat. :)


Start by cooking your quinoa according to the package instructions. I like to cook it in chicken broth instead of water for a little more flavor (we make our own broth after we roast a chicken). I also like to soak the quinoa in water for a few hours ahead of time if I remember, then drain and rinse before cooking. But I don't sweat it if I forget. While this cooks you can chop the avocados and shred the chicken.


When the quinoa is ready just scoop some in a bowl and top it with your yummy add-ins. Easy, right?


Just be warned, the kids like it so much they might try to swipe it before dinner even starts!


What's your favorite, healthy summer meal?

Wednesday, June 17

Bryan Coffee Table Twist

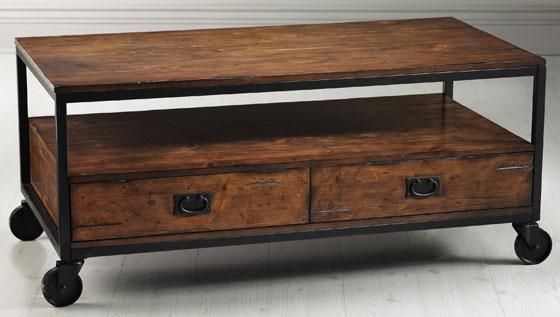
I've seen this style of coffee table pop up quite a few times lately. I spotted one on pinterest and fell in love with the industrial vibe and the combo of open shelving with drawers.

image via pinterest

Then another turned up in an issue of Better of Homes and Gardens. And it suddenly reminded me of something very familiar.

image via Better Homes and Gardens magazine

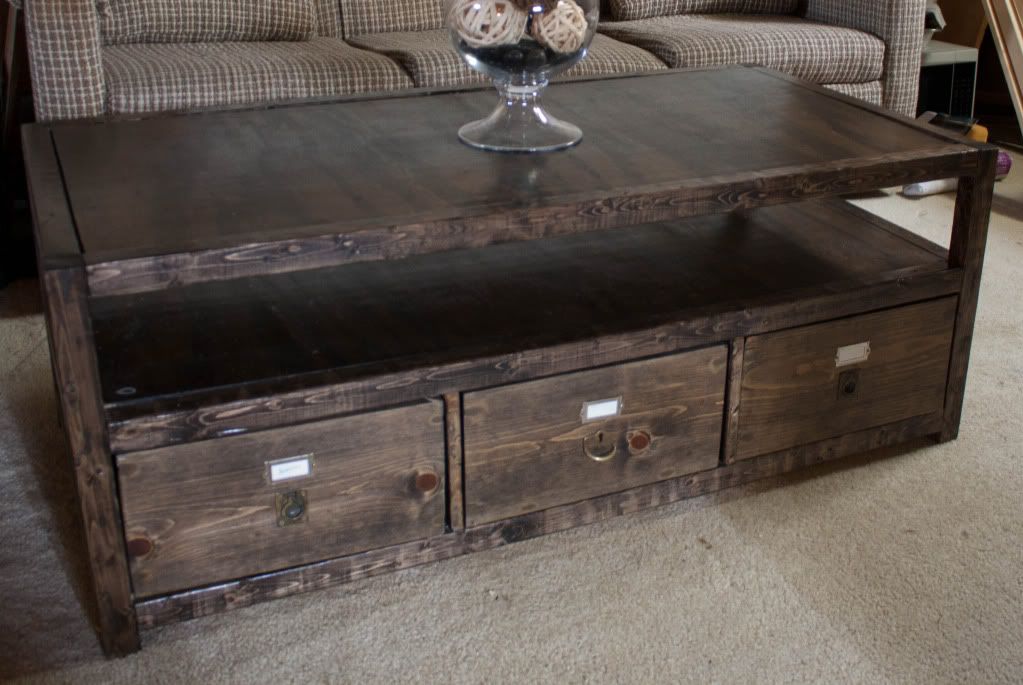
Our very first building project, my very first plan, and my very first post. Hello, beautiful. Our Rhyan coffee table has been taking a beating for over seven years and is still going strong, and it shares a lot of features with the tables I've been pinning (the same basic layout with an open shelf on top and drawers below).


So today we're looking at how you can make a few simple changes to turn a Rhyan table into... let's call it a Bryan table.


The tables are very similar with just a few differences. The Bryan table is wider, the drawers are more shallow, and there are only four drawers instead of six. Plus you can add wheels to finish off the more industrial feel. Sounds easy enough, huh? We'll also look at two options for the drawers - one using drawer slides and one without (our original table and the PB table it was based on did not use slides, but if I did it over I probably would).
Subscribe