

You can often have furniture professionally re-upholstered for less than the cost of buying a new piece. But even cheaper is doing it yourself! The closest I've come to re-upholstery so far is recovering the seats of chairs, like this one.

I also just re-covered some floor cushions that I picked up at a yard sale for $1. Auntie I sleeps on them when she comes to visit, and the rest of the time the live in Baby B's room, unless we pull them into the living room to sit on, so I wanted to cover them to fit into his room better.

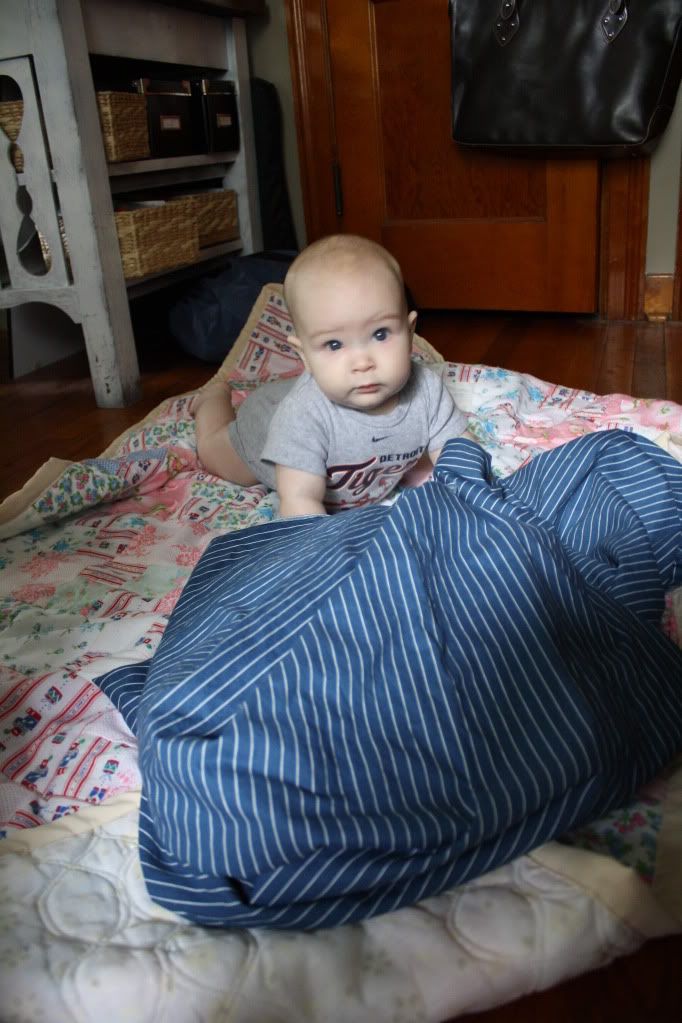
When I found 4 yards of blue striped fabric at another yard sale for $0.25, I knew it was perfect for the job! Baby B pondered my selection for a moment before he agreed.
I started by using my seam ripper to take apart the old covers so I could them as a pattern. I paid attention to how the pieces were assembled so I could repeat it with my fabric. I also saved the cording and zippers to re-use on my covers (because I'm

Using my pattern, I cut out all the pieces. (the dark blue is an sheet from the thrift store for recovering the cording)

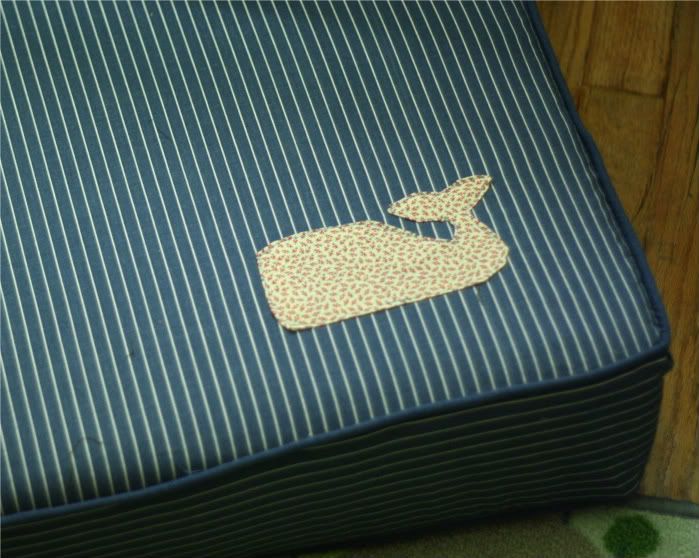
I put on my fancy pants and got ready to dress up the cover a little bit. I've been seeing a lot of whales lately so I decided to hop on board with a little whale applique. Cute.

Then assembled my new cover in the same way as the old covers. I just tried to copy what I had taken apart. I even made my own cording! Cording and zippers have been by nemesis enemies in the past, and proved to be tricky yet again. By the end I was at least starting to get better, I think. :) I also probably shouldn't have used a striped fabric, since I've never worked with one before! It shows off the wonkyness and imperfections more than another fabric would. Anyway, I tackled all these new and tricky obstacles all in one project and didn't shed a single tear. Although there was some frustrated sighing involved. :) And it turned out pretty ugly back there, but it is functional which is more than I can say about my zipper ventures of days past. :) Overall, this cover definitely isn't perfect, but I'm happy with how it turned out and proud of my results for my first attempt! And I think it's much better than the boring old brown cover it replaced. (I haven't tackled the second cushion yet, but I'm confident I can do better the second time around!)

I pinned these children's cushions a while back on pinterest, and decided to use them as inspiration to finish off my cushions. I love the children's fabric, which is why I wanted my cushions to work in Baby B's room. My other favorite thing about these are the handles - perfect for little ones to drag around.

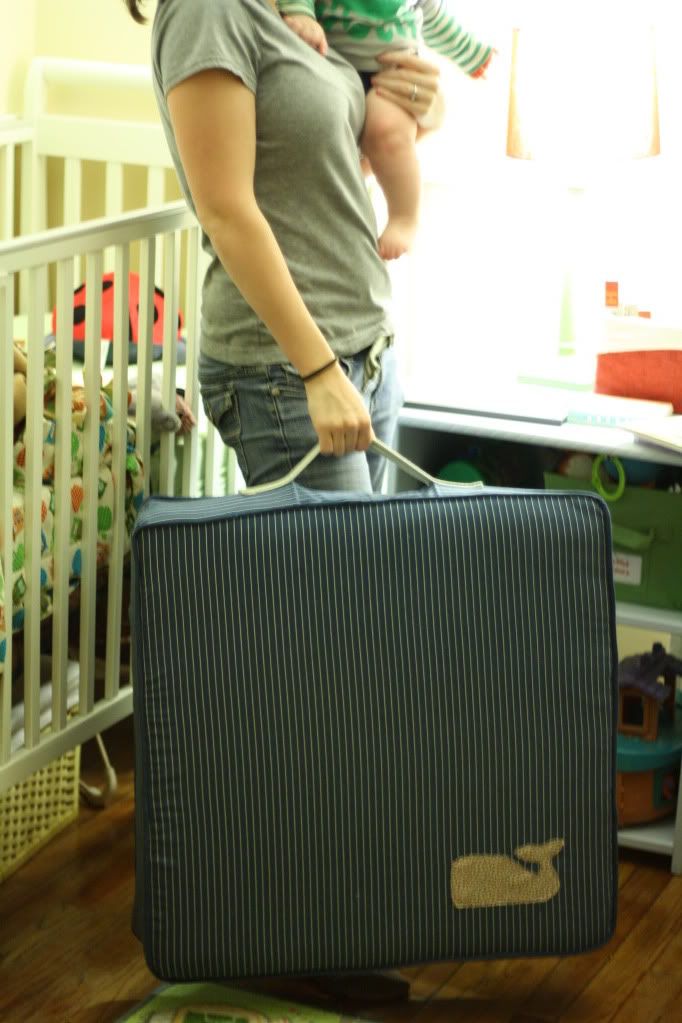
I cut up an old fabric belt to make my own handles. Then all I had to do was fold the ends under and attach them to the sides of the cushions. Now Baby B can drag them around to wherever he wants to play! Perfect.

Project Cost Breakdown:
$1.00 - cushions (from a yard sale)
$0.25 - fabric (from a yard sale)
$0.50 - belt (from thrift store)
$0.50 - extra cording (from Hobby Lobby, to fill in some gaps in my cording fiasco. oops.)
Total: $2.25
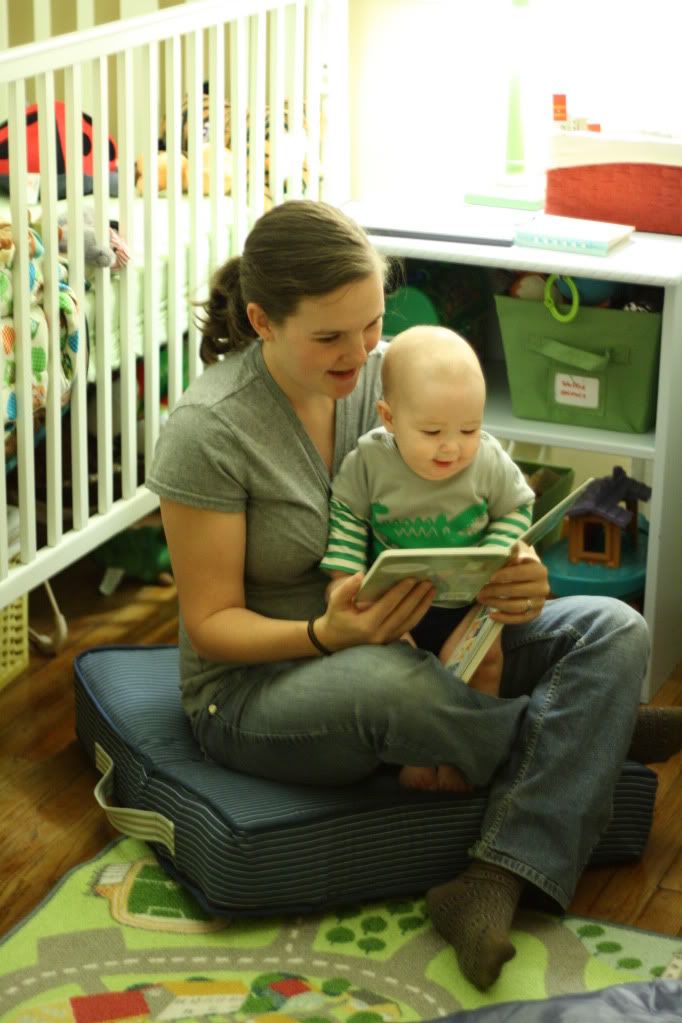
Now that they've had a little makeover, I think these cushions will be great for Baby B to play on or snuggle up on for story time. Not to mention that they will be excellent additions to any fort or tent building adventures we tackle in the future.
That's my experience so far with re-covering, and I think I'm ready to try my hand at re-upholstery. This will be my first real upholstery project, but I am excited to give it a try! My subject: this sleeper sofa I picked up at a yard sale for $10. Yes, $10 for a sleeper sofa. I was giddy. The fabric is worn out, but structurally it's great! So I'm on the hunt for the perfect fabric to get it all spiffed up.

Like I said, this is my first time with upholstery but I'm sure I'll be able to find some tutorials online. And it just so happens another 31 dayer is doing a whole series on upholstery! I will definitely be checking out all the tips Three Boys has to offer. And of course I'll share the details here once I tackle the project.

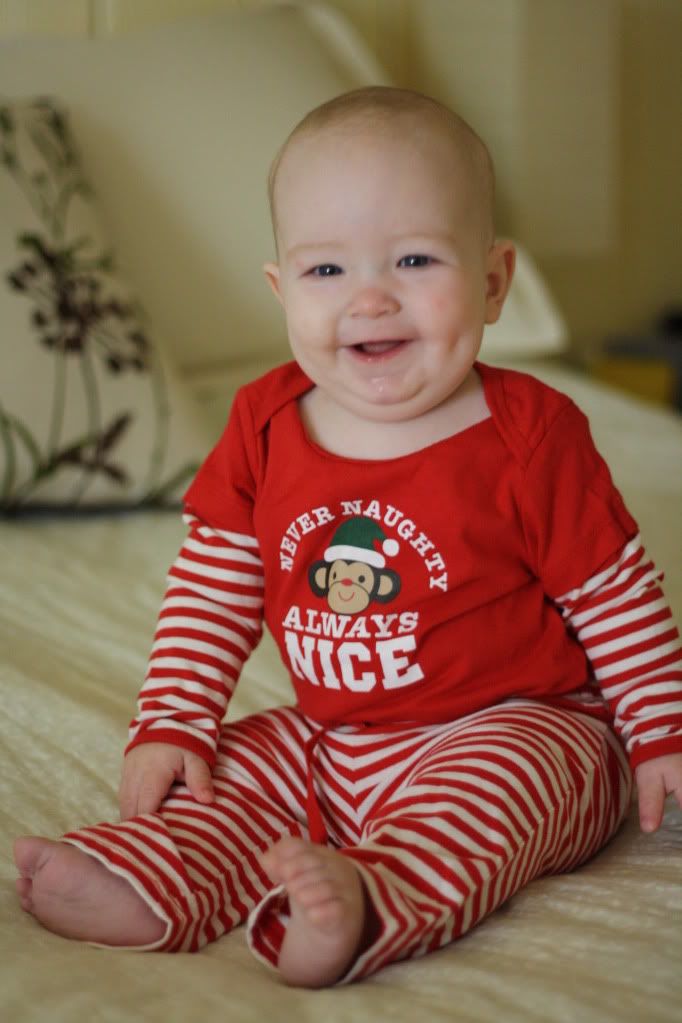
And before we wrap up, here is my new favorite picture of Baby B. In full Christmas garb. Oh my goodness. This makes me one happy momma.
So, have you ever made a slip cover or re-upholstered anything? Any advice for me?
Pin It
Nice job on the floor cushion! And Baby B always makes me smile. Just. So. Cute.
ReplyDeleteI'm sitting in our bedroom on a comfortable upholstered rocker at the moment...covered in faded country blue. Will stay tuned for inspiration to spruce it up.
Thanks! He keeps me smiling, too. :)
ReplyDeleteSounds like a fun future project! I think our couch will be a nice winter project once I can't work outside anymore. Gotta keep crafting somewhere! :)