
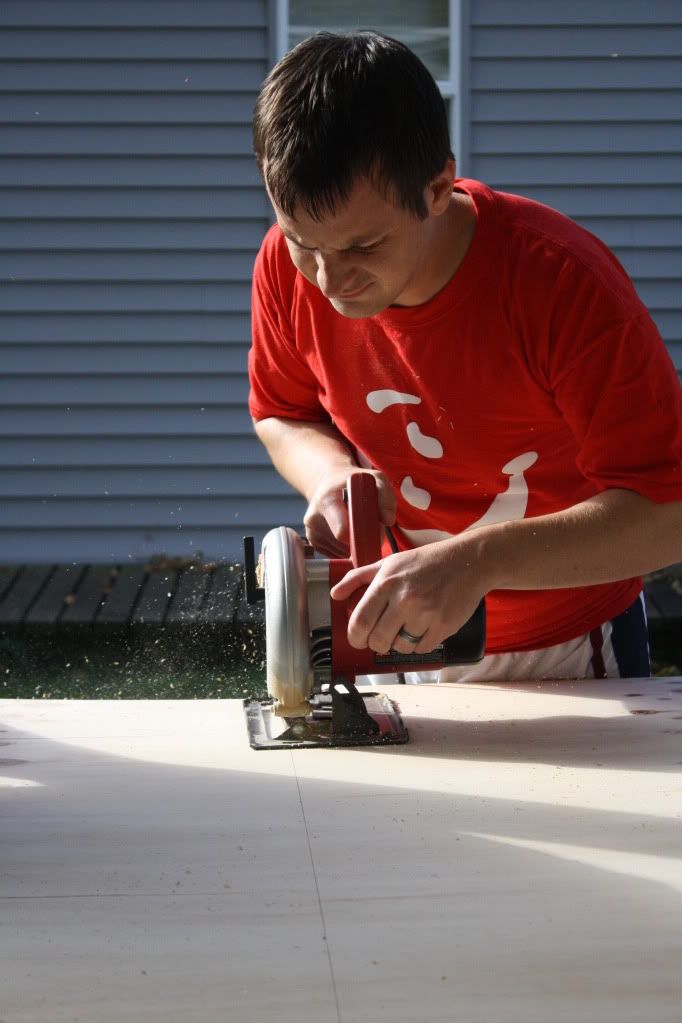
And gluing and nailing....

And drilling and sometimes an extra set of hands....
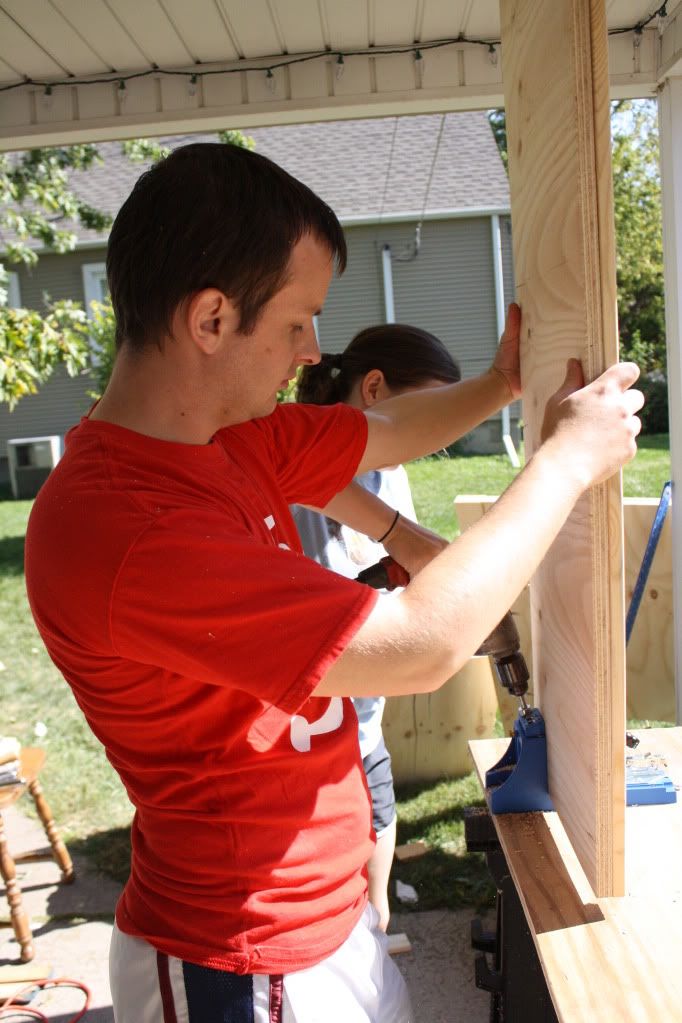
And waiting for glue to dry...
And a whole lot of mess on the patio! It's our best project-tackling spot. :)

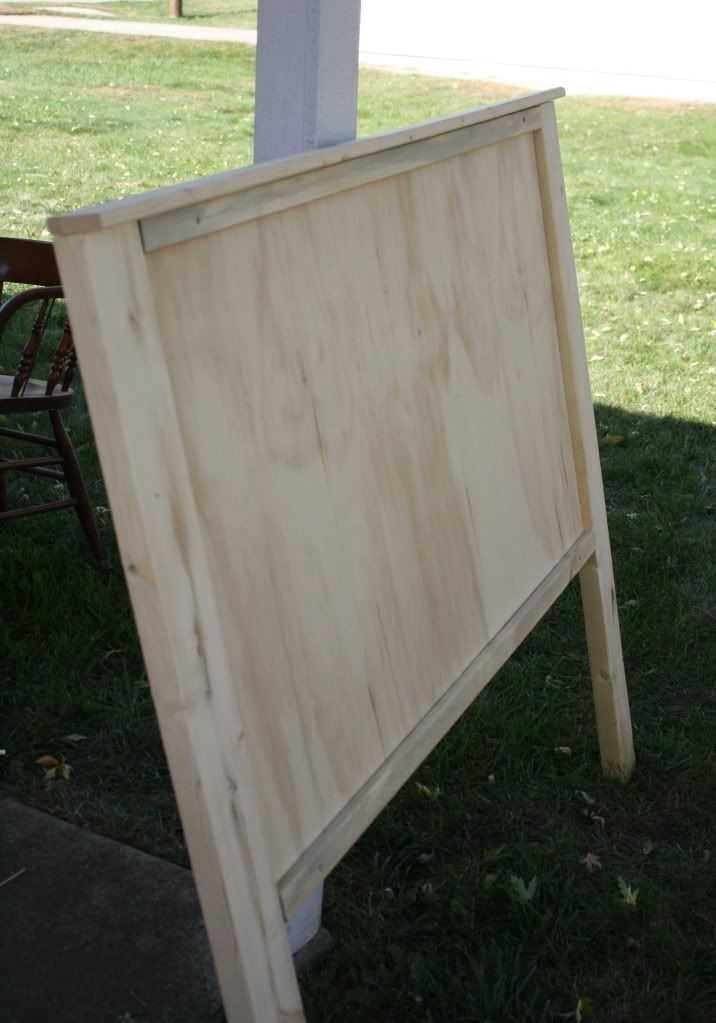
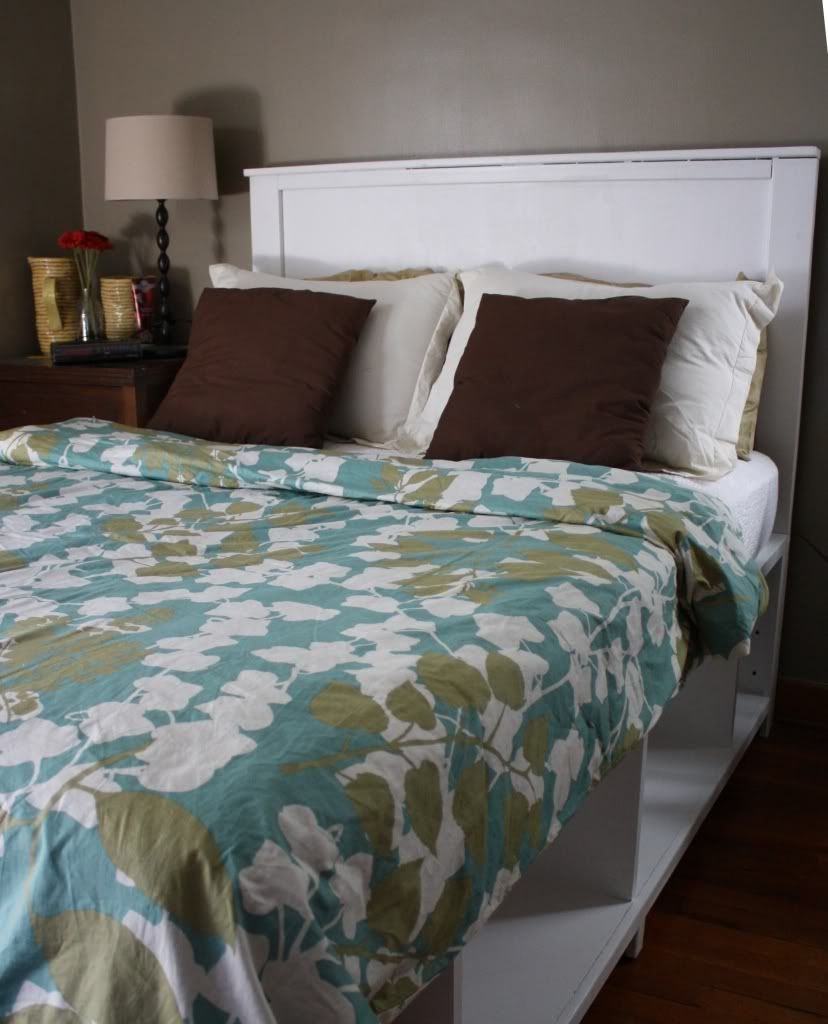
And in the end we had all the pieces for the new bed for the guest room! It is the Hailey Storage Bed from, you guessed it, Ana White's website.
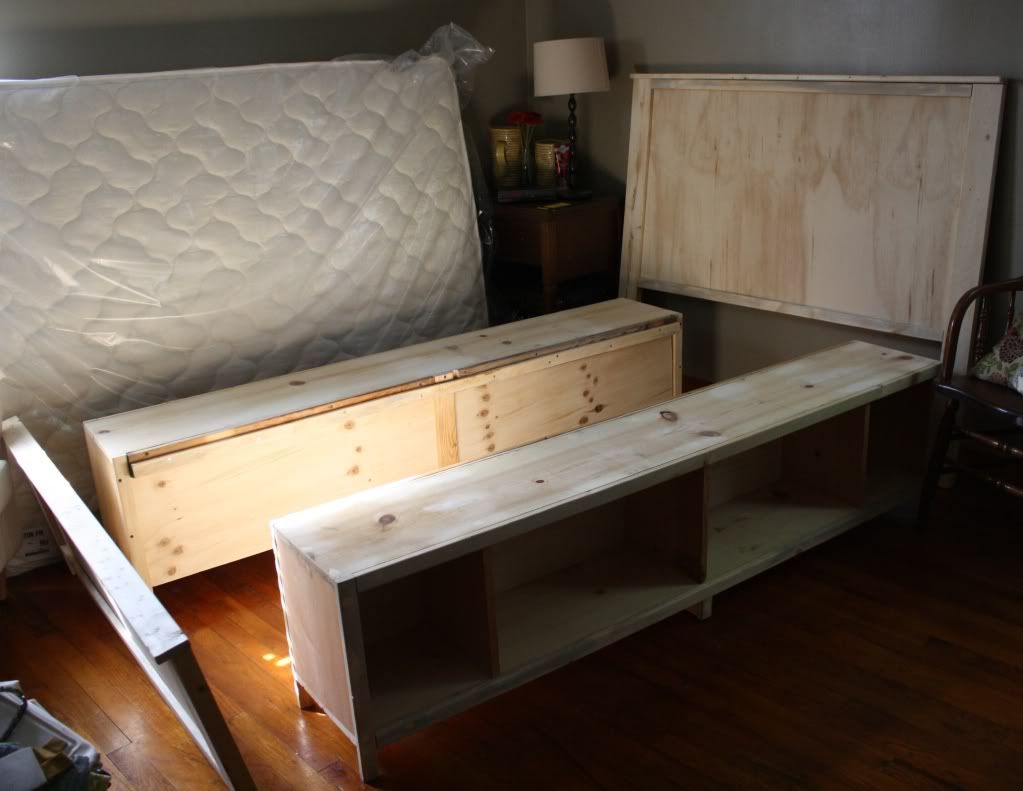
I decided to paint it a bright white so it would really stand out against the darker gray of the walls. I used two coats of Olymic Premium White in semigloss. This is the first piece I've painted instead of staining, and I'm really happy with how turned out. Once it was painted we assembled the pieces.

Then put on the new mattress. We were able to get the mattress at Big Lots during a 20% off sale. It ended up being about $160, which was quite a bit less than anywhere else we looked.

Baby B helped me make the bed. He's such a good helping boy. But it did take longer than usual since I had to stop and give him kisses on several occasions.

We made a few tweaks from the original plan, and in the end it turned out great! The changes we made were making it a full instead of twin, adding extra legs in the middle of each bench for more support, and using 1x3s instead of 1x2s to support the slats. We also used plywood instead of particle board for the headboard and footboard.
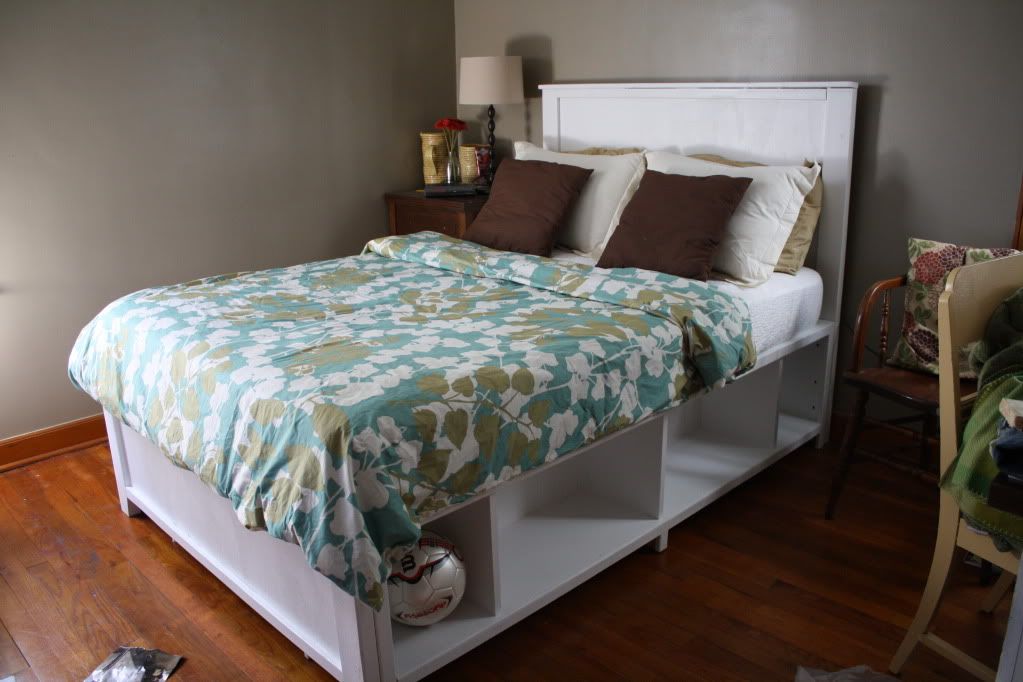
Things I love about this bed:
- It's full size (instead of the twin we had before) so it will be comfier and more spacious for guests.
- The storage underneath will be great for extra blankets or craft supplies (we plan to add doors to the middle sections).
- We gained a foot of floor space at the end of the bed because the headboard is so thin (our last bed had super thick headboard & footboard).
- The short footboard lets you sit on the end of the bed and makes the space seem more open.
- The bed is made of parts that can be rearranged to make other designs from Ana's website.
- It's beautiful.
The Details:
Cost: $150 for wood & $160 for the mattress (we got the wood from a small home improvement store, but it would probably be less from Lowe's)
Time: We built it in two Saturday afternoons while we had babysitters in town. Then spread the painting out over a few nights.
Wood: We used pine boards and plywood.
Finish: Olympic Premium White in semigloss

My sister visited last weekend and said it was nice and comfy. So bring on the guests!
Pin It
Looks cozy! :D
ReplyDeleteYou can make it. look for woodprix website! I think it's the best way to learn how to make it in the better way.
DeleteGreat job, one of your best projects yet!
ReplyDeleteLooks inviting! Love the storage and the white finish. Great job!
ReplyDeleteThank you! My dad tried it out and said it's so much better than the smaller bed we had before. We're glad we got it done before the snow comes!
ReplyDeletehow did your measurements/dimensions change for a full size as opposed to a twin size? i want to do a full size also. thanks :)
ReplyDeleteI believe we added 15" to all the dimensions for the width of the bed (the headboard, footboard, and slats). The bench units were built just the same as for the twin size. Ana mentioned in her plans how much to add, but it looks like the site is down at the moment so I can't double check. Pretty sure it was 15" though. Happy building! I'd love to see pics when you are done! :)
Delete