

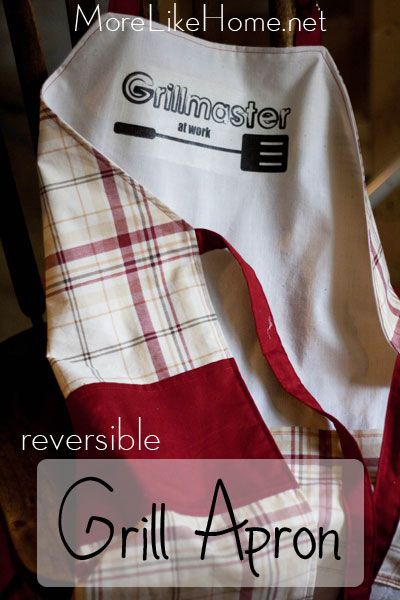
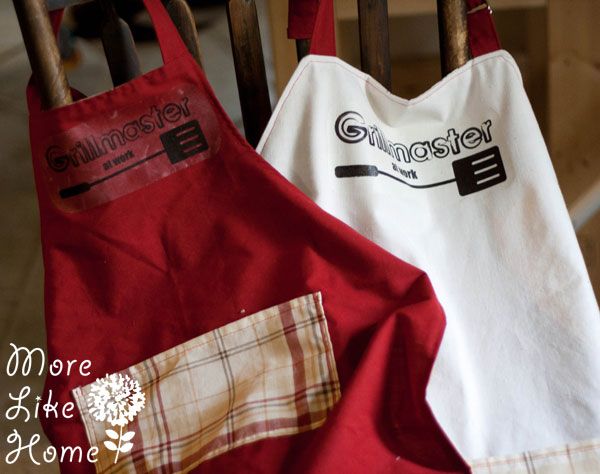
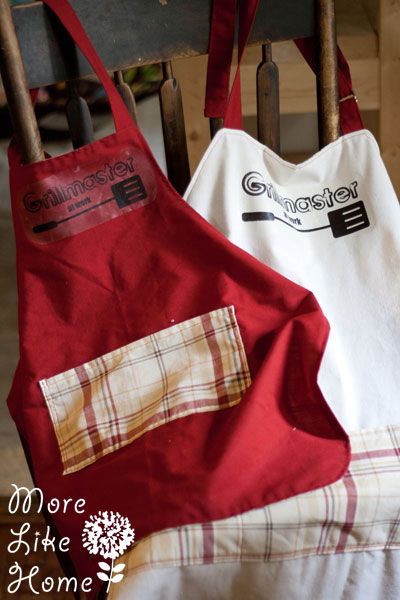
Today we're NOT making a key chain (I know!) This one is for the guys who like to grill. It's a reversible grill apron!
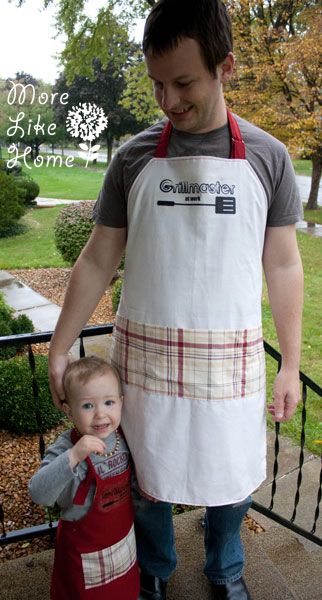
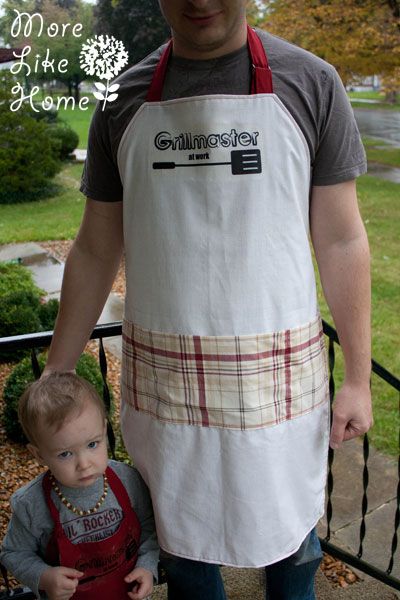
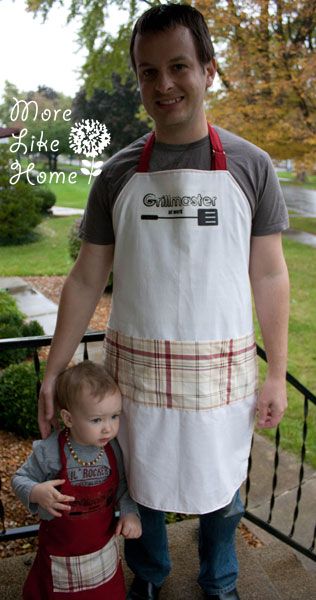
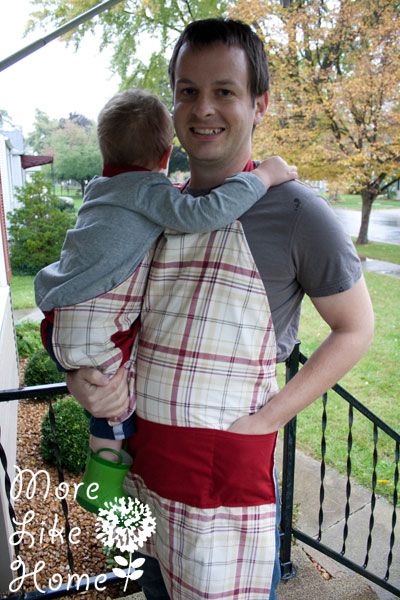
And here's my main squeeze showing it off. It's nice and wide to keep the mess off his clothes and has a couple pockets to keep things handy.
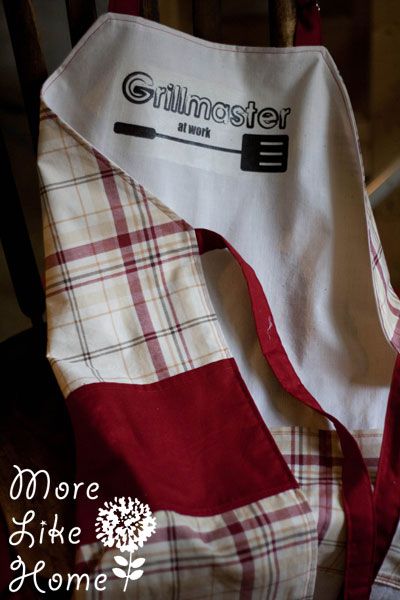
And did I mention reversible? Why hello, plaid. Let's be friends.
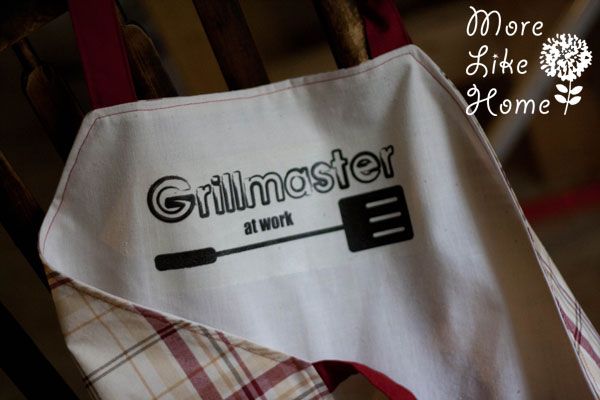
I even made this fun "Grillmaster" logo you print onto iron-on paper. You can choose black print like I did, or red print. And just like with my child-size apron, I save a bunch of money by using flat sheets to make this!
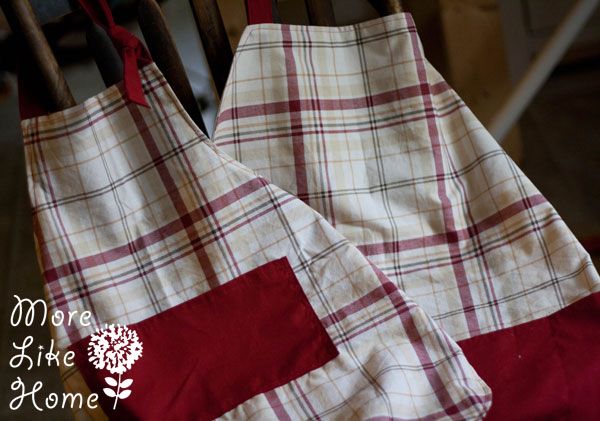
And while I was at it... I made a smaller version too that you can use to make a matching grill apron for your littler guys! (use this apron tutorial and just skip the ruffle)
Here's what you need to make one:
- red flat twin sheet
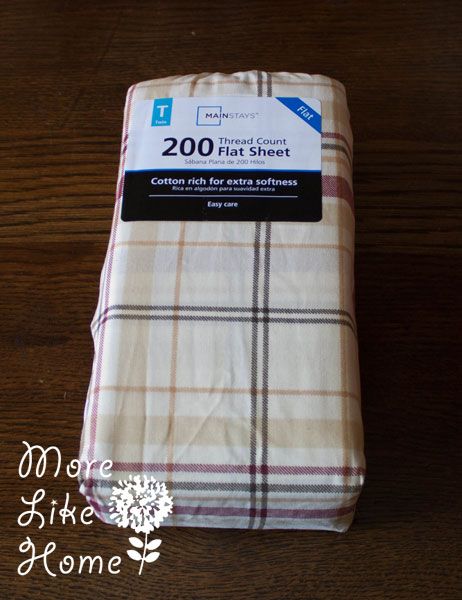
- plaid flat twin sheet
- 1 yard off-white fabric (or you can use another sheet, or use the red sheet for the reverse side like I did for the child size apron)
- 2 D-rings
- thread
- iron-on paper (optional, it is different paper for light vs. dark fabrics, so read the package carefully)
- "Grillmaster" logo (download the black version here, and the red version here.)

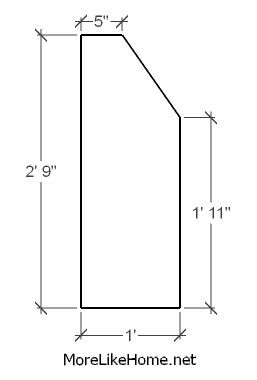
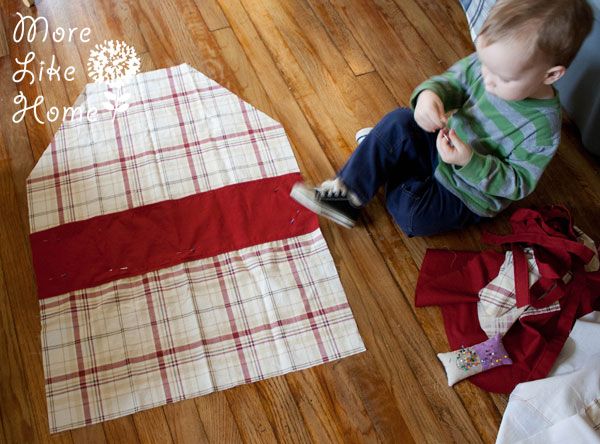
Start by prewashing and drying your fabrics (including the sheets!). Then you can cut out your pieces. Cut a body piece from the plaid sheet and the off-white fabric, using the picture below as a guide. The right side should be on the fold of the fabric, then use a fabric marker and yardstick to draw the shape.
Cut out the following pieces too:
From the plaid sheet:
1 pocket - 8 x 24"
From the red sheet:
1 pocket - 8 x 24"
2 waist straps - 4 x 30"
1 neck strap - 4 x 26"
1 strap tab - 4 x 3"

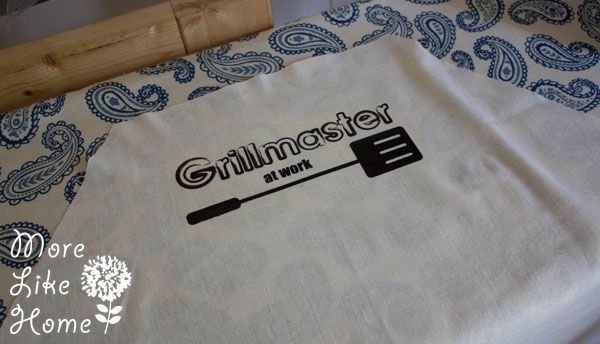
Then go ahead and print out the iron-on logo if you want to use it. It prints an adult size and child size on the same page so you can make a matching set. And just to warn you, it does print out backwards so it will face the right way when you iron it on. And make sure you use the right kind of iron on paper. I used the one for light fabrics on B's red apron and it shows pretty badly. Oops.
Download the black iron-on here.

Download the red iron-on here.

Follow the directions on the iron-on paper to apply the logo.
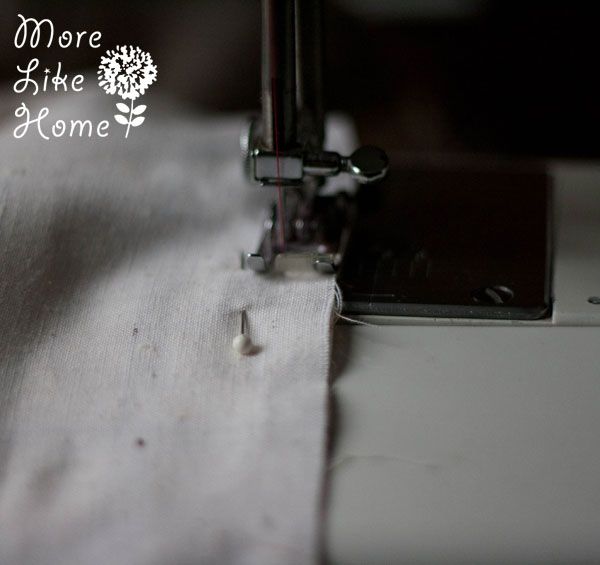
Now make the pockets. Fold one long edge under 1/4" and press, then 1/4" again and press. Repeat for the other long edge, and both long edges of the other pocket.
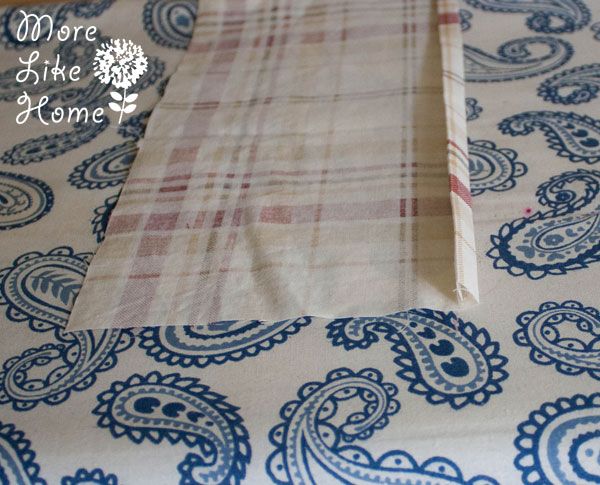
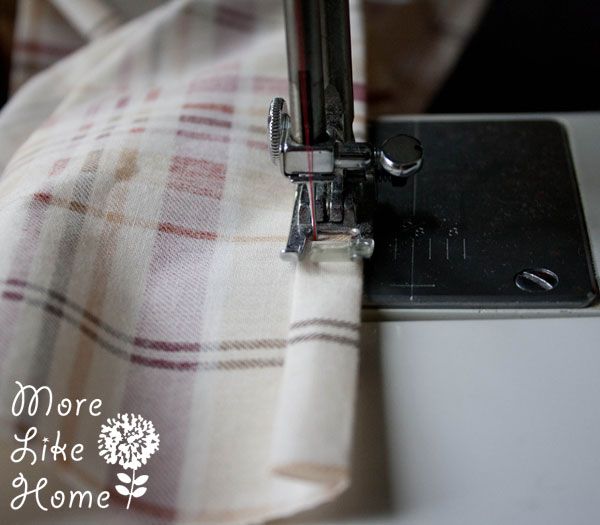
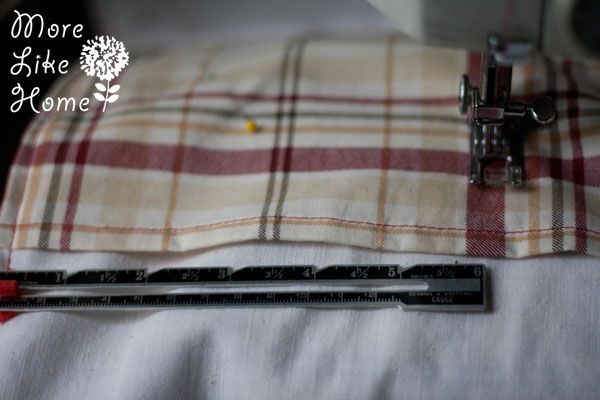
Sew right along one folded edge on each pocket (this will be the top edge if you use a directional fabric).
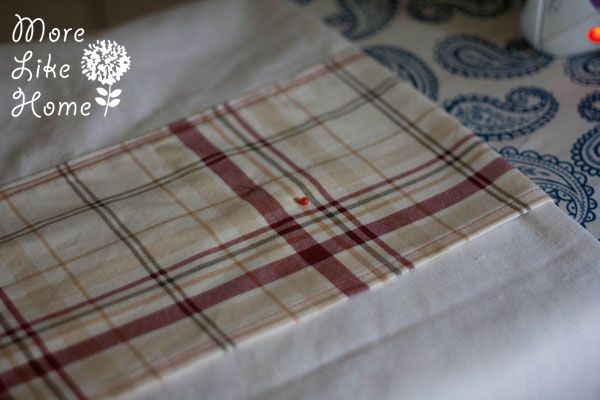
Lay the red pocket out on the plaid apron and set it up 11" from the bottom edge. Pin it in place. Pin the plaid pocket to the white apron the same way.
Stitch right along the bottom edge of the pocket to attach it to the apron, then stitch another line about 1/8" above that. Repeat for the other pocket.

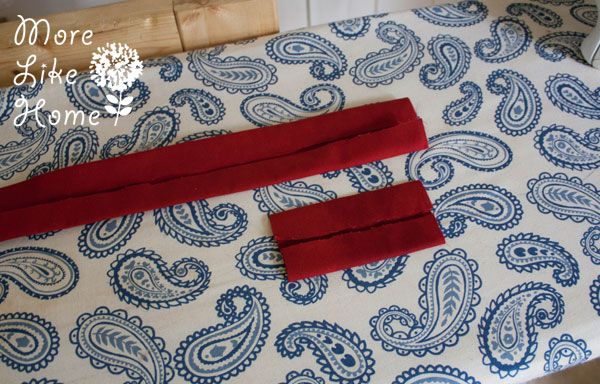
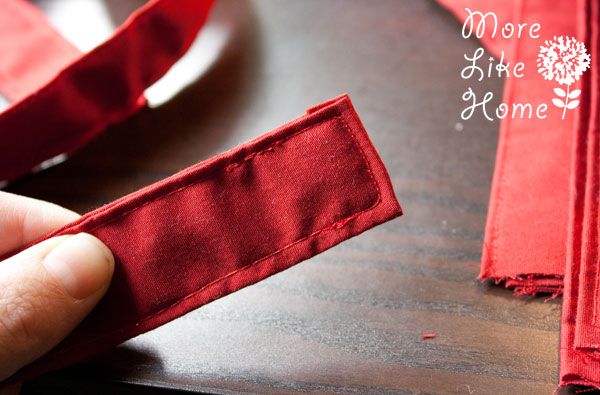
Now we'll work on the straps (do this for all three straps and the strap tab) fold in half lengthwise and press (for the tab fold in the 3" edges). Open up the straps and press the edges in toward the center crease (see pic below). Then fold on the center crease and pin the straps.
Sew along both edges of the tab (leave the ends alone).
Sew right along one edge of each strap, but when you get close to the end tuck it under like this.
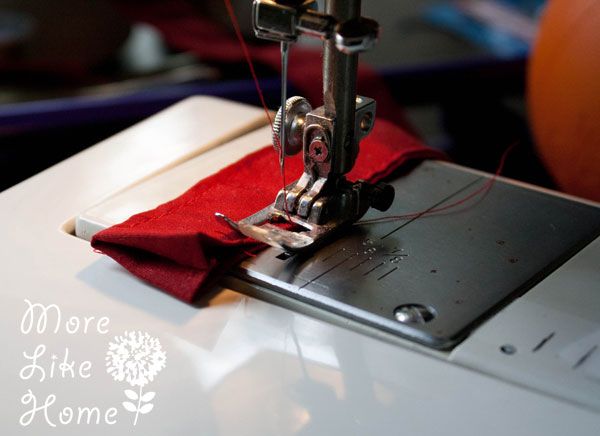
Then finish sewing down the edge, across the end, and back up the other edge.
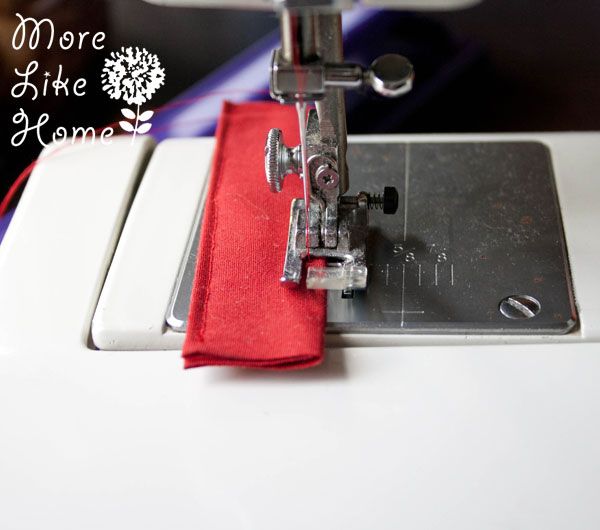
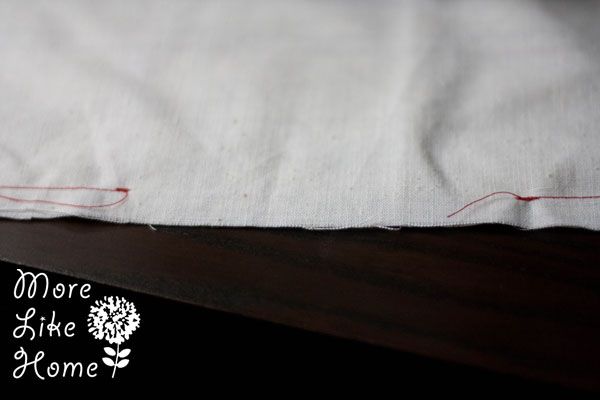
So when you're done one end will look like this and the other will be raw.
At the top edge of one apron piece, pin the the neck strap in 1/2" from the corner with the raw end lined up with the top edge of the apron. Pin it in place. Slide the two D-ring onto the tab and fold it in half. Place the tab in 1/2" from the other corner with the raw ends lined up with the top edge of the apron. Pin it in place.
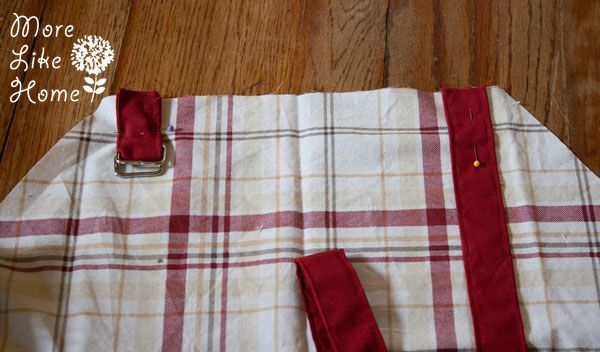
On the sides pin one waist strap on each side 1/2" under the corners with the raw edges lined up with the edges of the apron. Pin them in place. Then go ahead and pin all the strap tails down in the center of the apron so they don't get in the way for the next part.
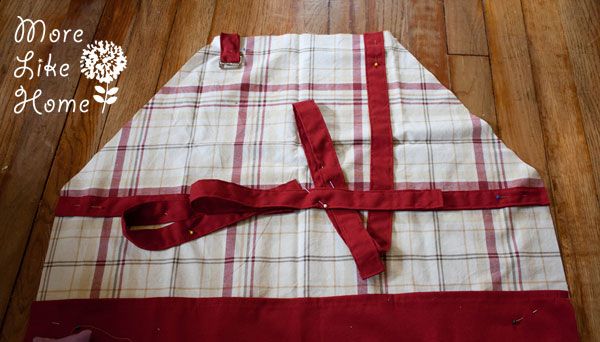
Lay the other apron piece face down on top of this (so right sides will be together), line up the edges, and pin them together. Sew around the outside edge with a 1/2" seam allowance.
Leave a 4" opening in the bottom edge for turning.
Clip the corners.

Flip it right side out and push the corners out nice and sharp. Tuck the fabric under at the opening and pin the opening closed. Iron the apron, especially around the edges so they look nice and tidy (go ahead and put a few pins across the pockets to keep them from shifting while you sew). Sew all around the outside edge with a 1/4" seam allowance.
Now you can create some dividers on the pockets. I just sewed a line up across the pocket in 6" from each edge to create a smaller pocket on each side (good for spice shakers) and one larger pocket in the middle (good for oven mitts). Make sure you sew from the bottom edge of the pocket up towards the top so the fabric doesn't get bunched up. This will make dividers on both sides at once! Woohoo! It was super easy for me to sew on the plaid side because I could just follow the lines on the print to get straight lines. :) You can make the pockets custom sizes instead if you want to put specific things in the pockets.
And you're done!
That looks like a man ready to make me some dinner. So it's kind of like a present for the whole family. ;)
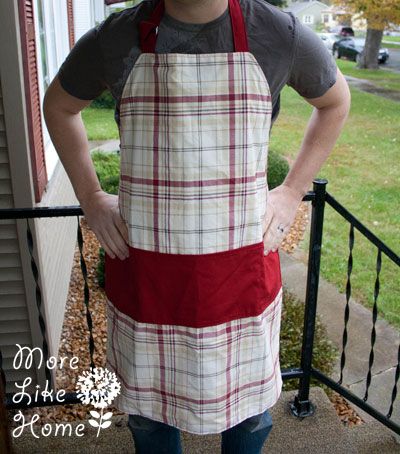
Here are the plaid sides. I like that they are more fun with a print but still pretty manly. And I can borrow it to feel all festive when I do Christmas cooking! And a certain husband looks smokin' hot in plaid... so there's that....
Here's what it cost to make one:
$10.00 - two flat sheets
$3.00 - one yard of white fabric on sale
$2.00 - d-rings on sale (two sets)
$0.00 - thread, already had it
$0.00 - iron-on paper, already had it
Total: $15.00
But don't forget that you can make more than one apron with this (you can get at least three out of the sheets!) So it would come out to more like $7.00 per apron.
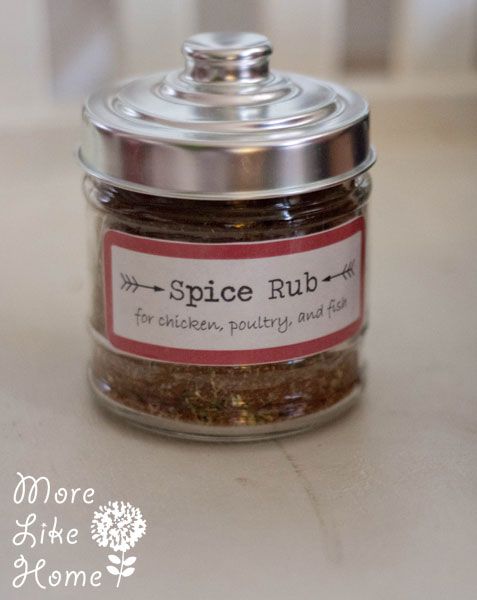
For a more complete gift you could pair the apron with some grilling tools, and come back tomorrow to make a yummy spice rub!
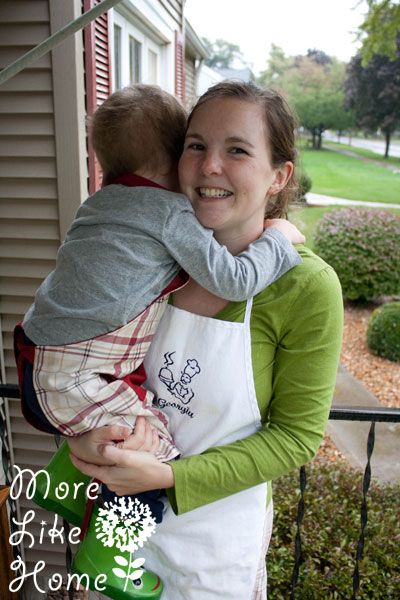
Don't they look so cute?! So don't forget to make one for the little guys too!
B was on the fence about posing.
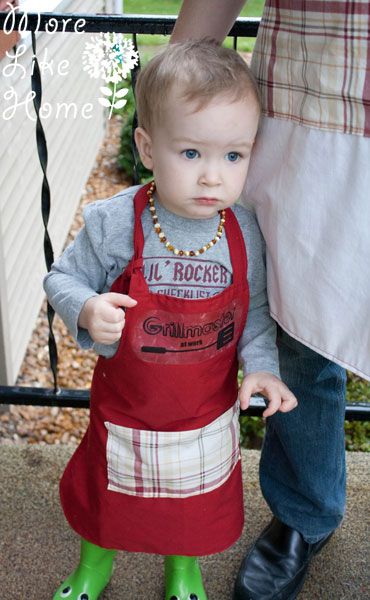
Then I flipped his apron around... and apparently that was the most horrible thing I've ever done. So many tears.
Fortunately I know how to cheer him up.
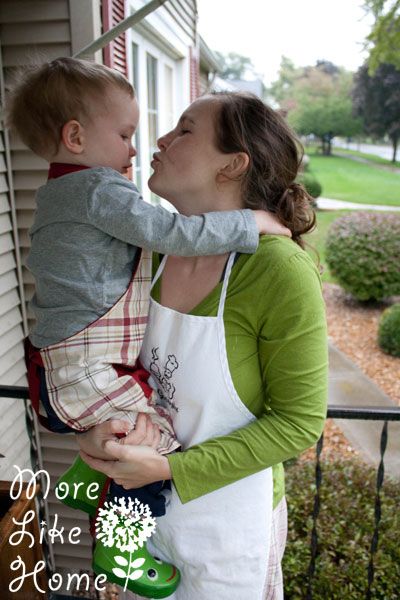
Well, at least one of us cheered up....
Who would you make a grill apron for?

No comments:
Post a Comment