

Today is day three of baby week. This time we're going to be making some fluffy and super cute bibs!
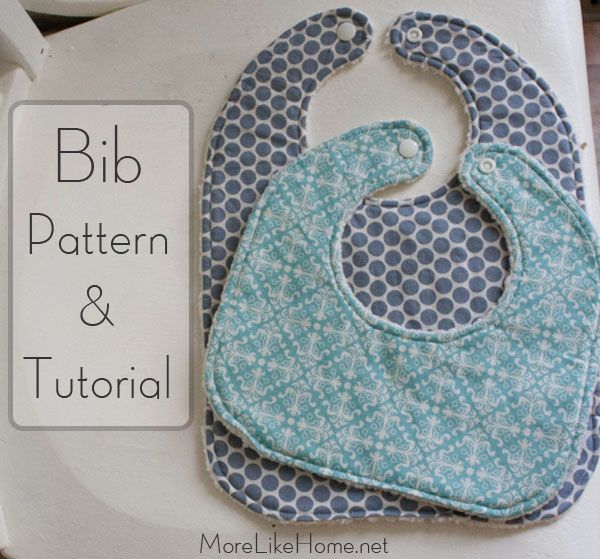
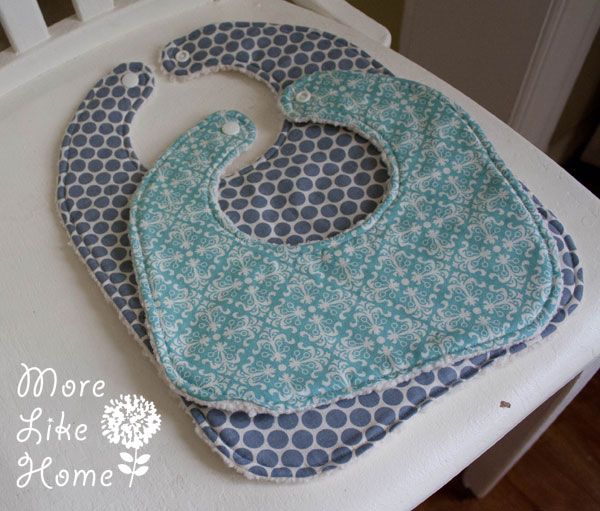
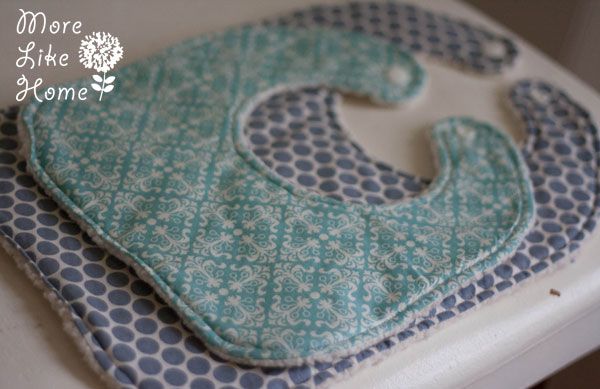
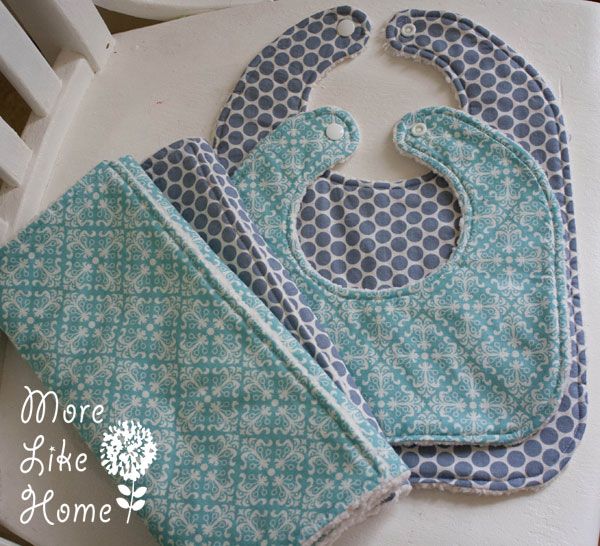
You can make bibs in two sizes - a bigger size that's better for babies who are actually eating, and a smaller size that is great for droolers. The possibilities are endless for cute fabrics and prints!
Here's what you need to get started on your own bibs:
- 1/2 yard quilting cotton for the front
- 1/2 yard fluffy backing fabric like chenille
- thread
- snap or velcro
- bib pattern (you can download it here)
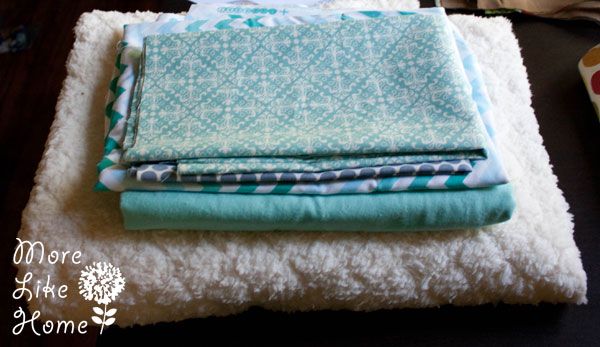
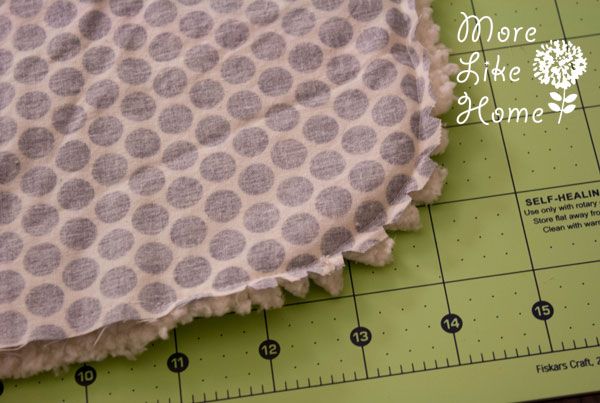
Start by pre-washing and drying all your fabrics. Then use the bib pattern to cut out one bib from the cotton fabric and one from the backing. You can see in the pic below that I cut out the cotton fabric completely, but I just cut around the outside of the backing (not inside the neck hole) because I was afraid it would shift around too much while I was sewing. Also, for the record, this isn't actually chenille. I was on my first outing with two boys and just grabbed the first fluffy thing I saw. Oops.
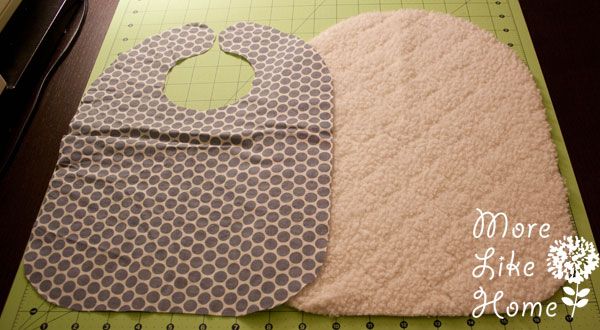
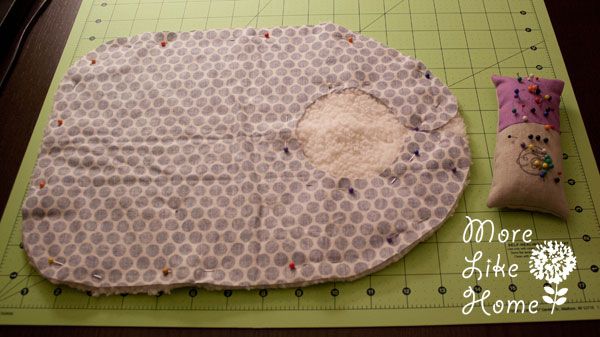
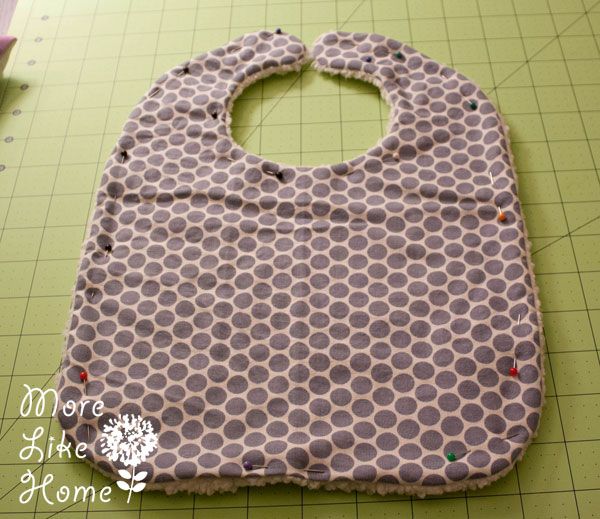
Place the cotton face down on top of the backing fabric (right sides should be together) and pin it in place.
This is the same step on the small bib:
Stitch around the outside of the bib with a 1/4" seam allowance, leaving an opening at the bottom for turning. Make sure you have the cotton side on top while you sew so you can stitch around the neck hole.
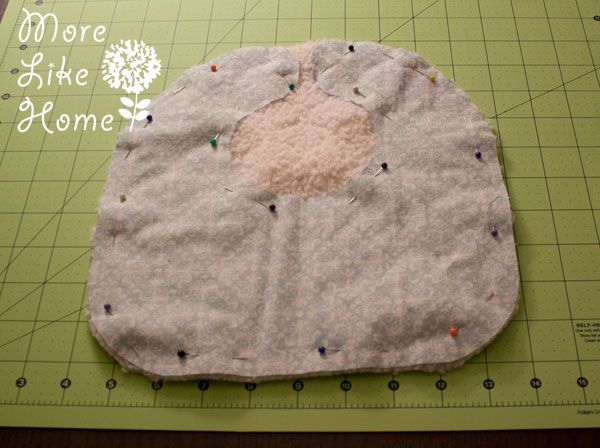
Here it is all stitched up with an opening at the bottom.
Now you can go ahead and cut out the extra backing in the neck hole.

Clip the corners.
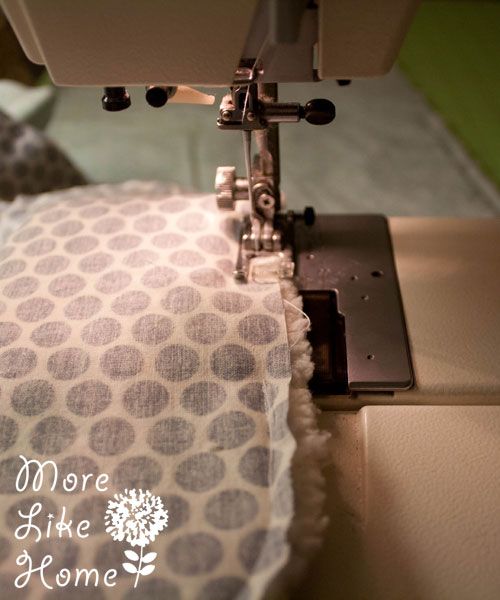
Flip the bib right side out through the hold. Push the seams out nice and smooth. Tuck the seam allowance into the opening. Pin around the edges of the bib.
Stitch all around the bib with a 1/4" seam allowance. Make sure you catch all the layers at the opening.

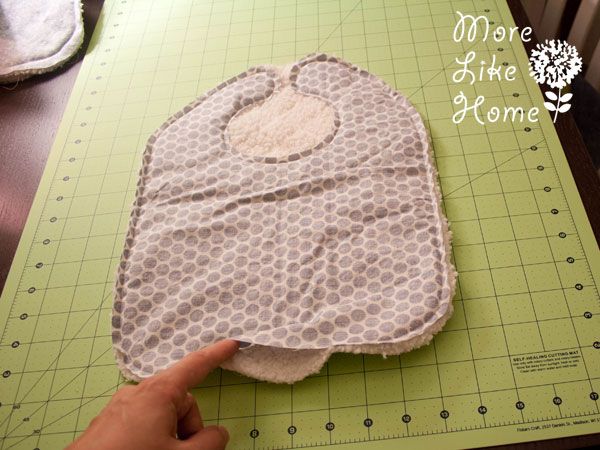
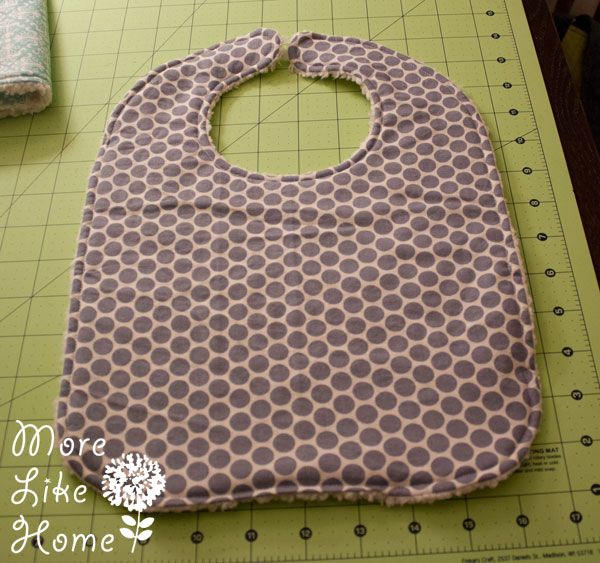
Ooo, almost done!
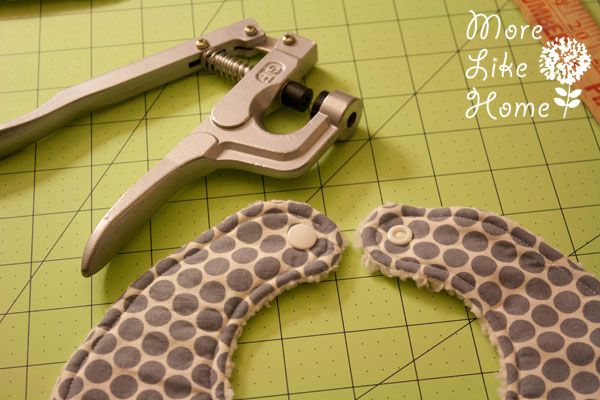
All that's left is attaching a closure. I used plastic snaps left over from my diaper making (I get them from Kam Snaps) but you can use whatever kind of snaps or velcro you like. I prefer snaps because velcro always snags things in the washer.
You're done! Go ahead and make a couple to give as a gift set, or make a few to use as stocking stuffers.
Here's a breakdown of what I spent on supplies for this project:
$3.00 - cotton fabric
$4.00 - backing fabric with a 40% off coupon
$1.80 - thread, on sale
$0.00 - snaps, left over from other projects
Total: $8.80
You can get at least three bibs out of this depending on what size you make so it comes out to less than $3 per bib!

Or you could make a combination of bibs and burp cloths (we'll talk about how to make those later this week). These would also make a great baby shower gift!
What's your favorite baby gift idea?

So, so cute!
ReplyDeletecurious about the neck holes....what age baby will these fit?
ReplyDeleteWe only used them for a newborn. It would have fit longer, but I don't know how long. Sorry!
Delete