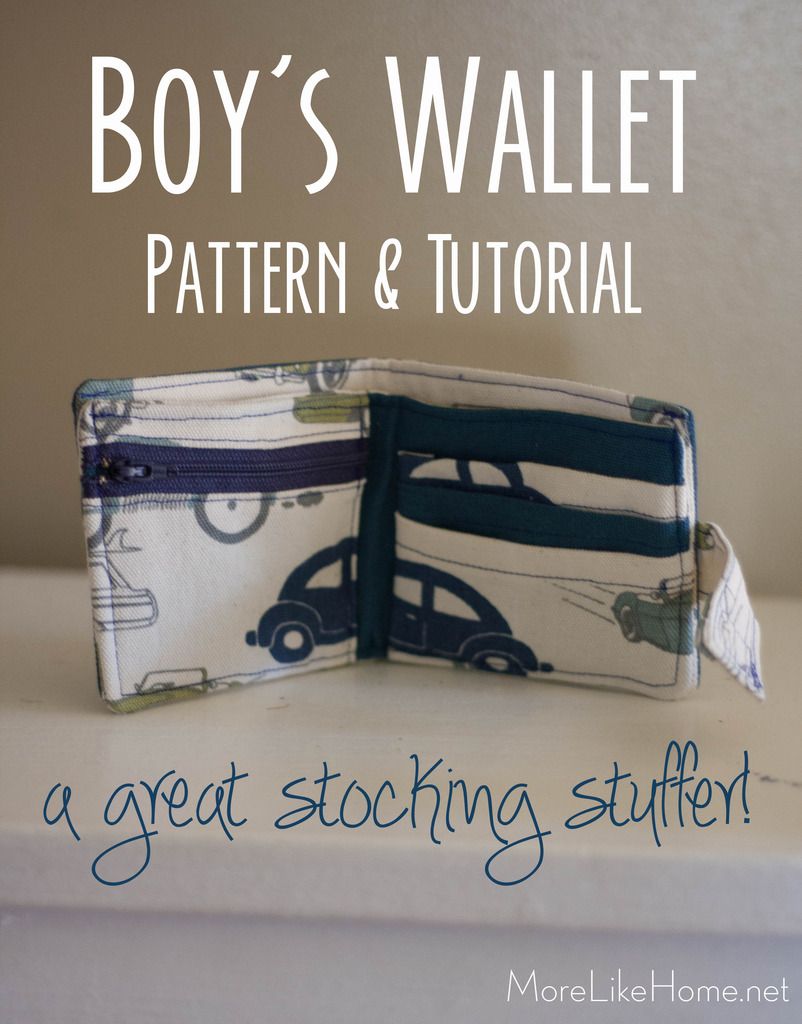
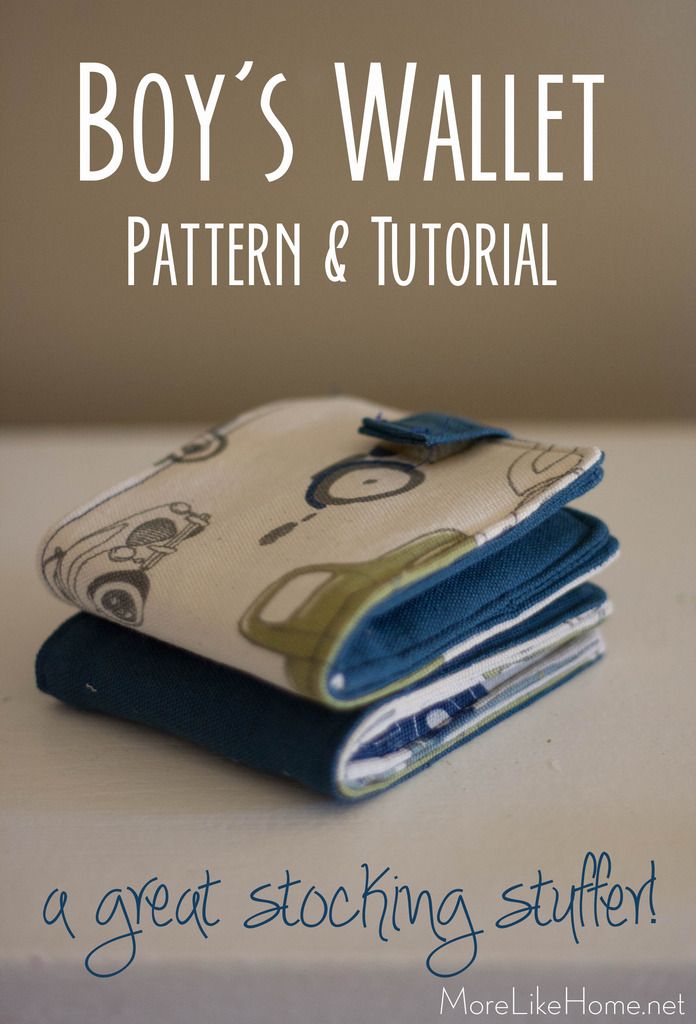
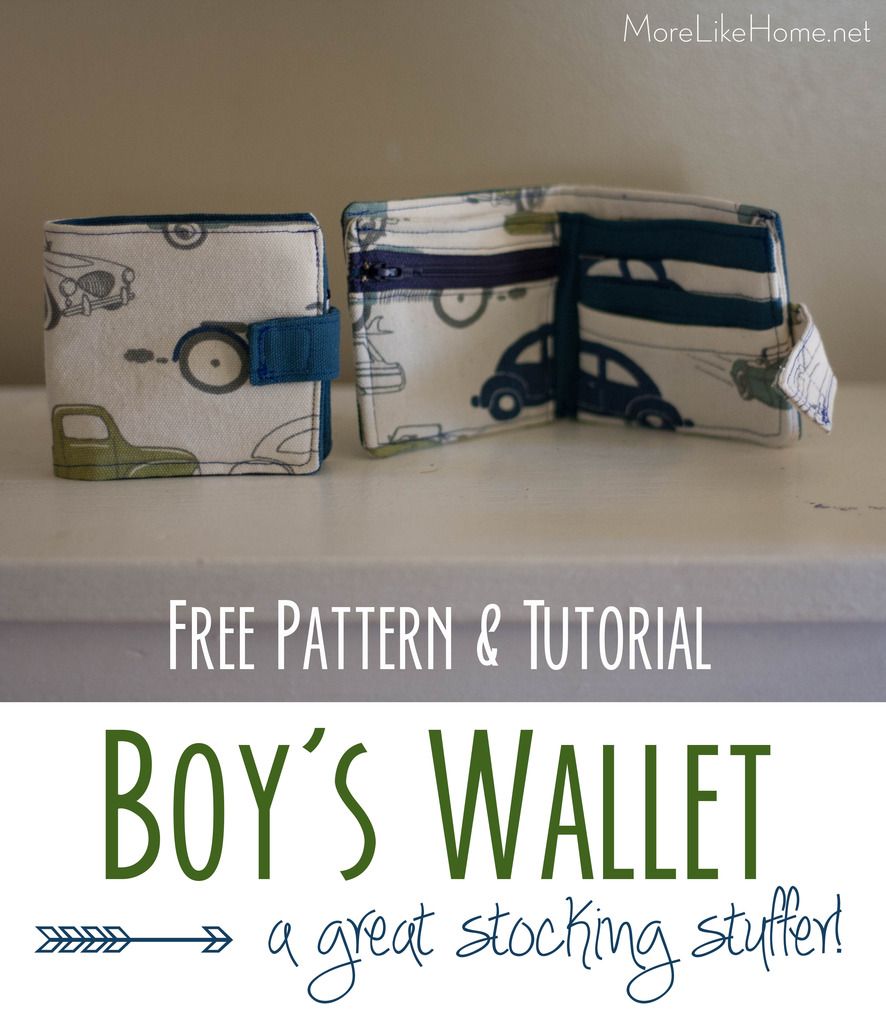
They are cute as can be, and you can make them in any fabric your kids like! I know I call it a boy's wallet (because boys everywhere around here) but it really is great for any kid and a girl would love it just as much. You can change the fabric to suit anyone on your list!
The best thing about this wallet is the kid-friendly features, like a zipper coin pocket (they have an amazing amount of change in those banks) and a velcro closure to keep everything secure.
Here's all you need to make your own:
- 1/4 yard main body fabric
- 1/4 yard accent fabric
- 1/4 yard medium weight, iron-on interfacing
- thread
- zipper (any size, you'll be cutting it down anyway)
- small piece of velcro
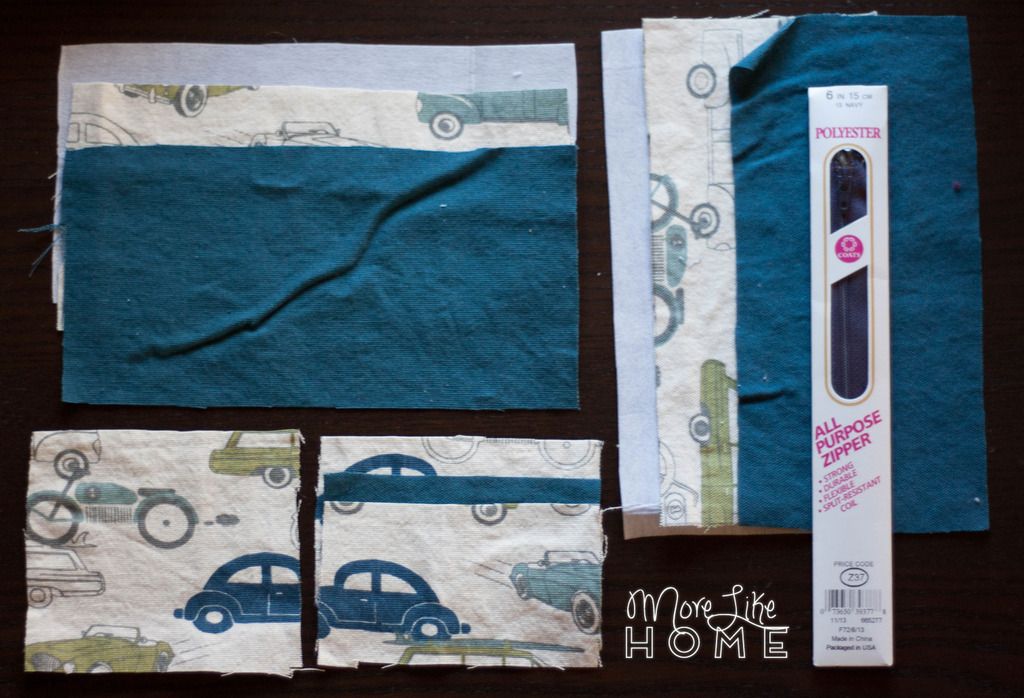
Start by cutting out the pieces.
Main Fabric:
1 exterior body 9 x 4.5"
1 interior body 9 x 4.25"
1 card pocket 4.75 x3"
Accent Fabric:
1 exterior body 9 x 4.5"
1 interior body 9 x 4.25"
1 zipper pocket 4.75 x 3.5"
1 zipper pocket tab 4.75 x 1.5"
2 card pockets 4.75 x3"
1 velcro tab 4.25 x 4"
Interfacing:
1 exterior body 9 x 4.5"
1 interior body 9 x 4.25"
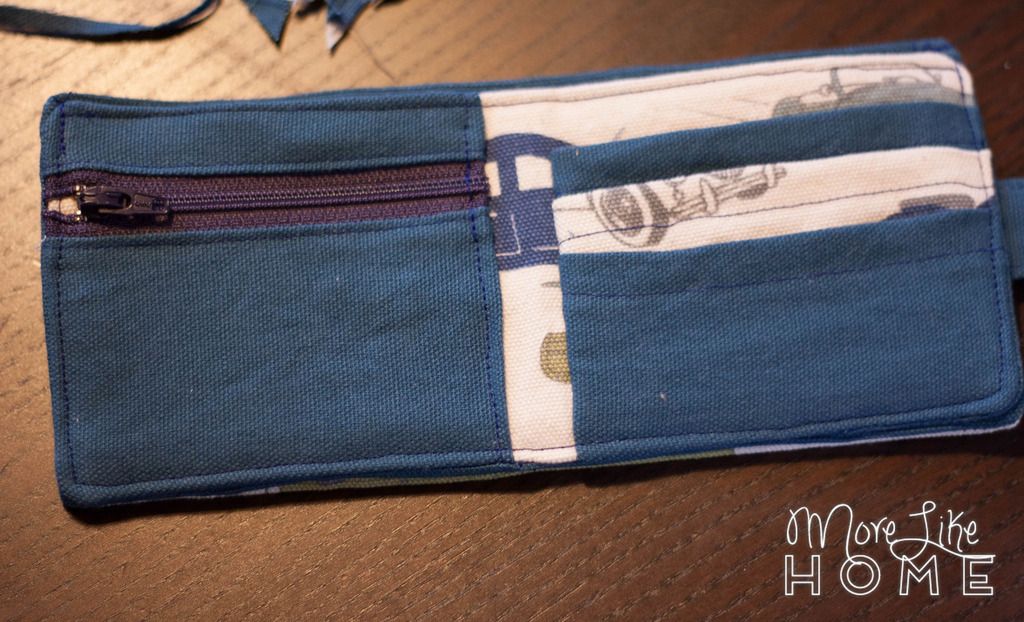
In this photo the blue is the main fabric and the car print is the accent fabric. And this might be confusing, but - in the tutorial photos it's reversed, I'm using the cars for the main fabric and blue for the accent. So... you've been warned. :)
This wallet is made in two sections - an exterior body, and in interior body that will have all the pockets. The two pieces are combined in the last step. Let's start with the exterior body.
Iron the exterior body interfacing onto the wrong side of the exterior body main fabric. Set it face-up and lay the exterior body accent fabric face down on top.
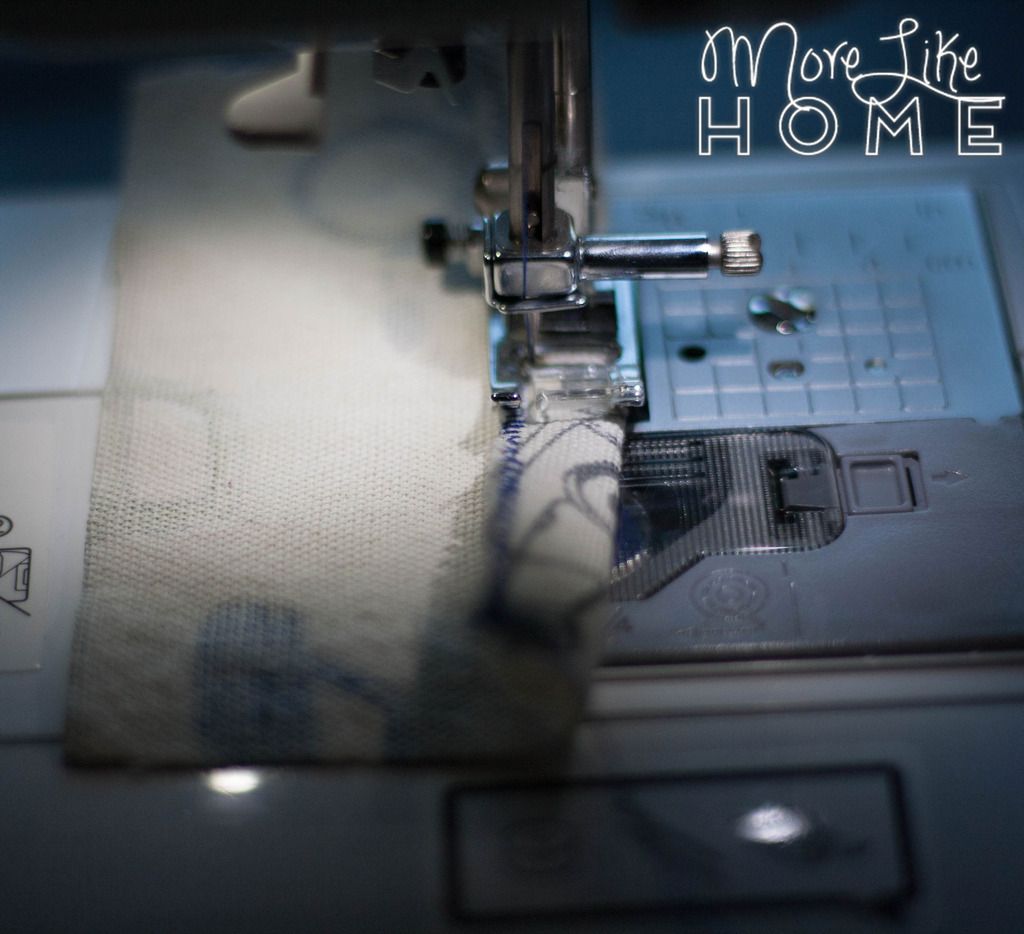
Sew around the edges with a 1/2" seam allowance, leaving an opening for turning at the top. Clip the corners.
Turn it right side out and push the corners out square. Tuck in the fabric at the opening and sew right along the top edge.
Set that aside and start on the interior body section:
Serge or zig-zag stitch along the top edge of each card pocket.
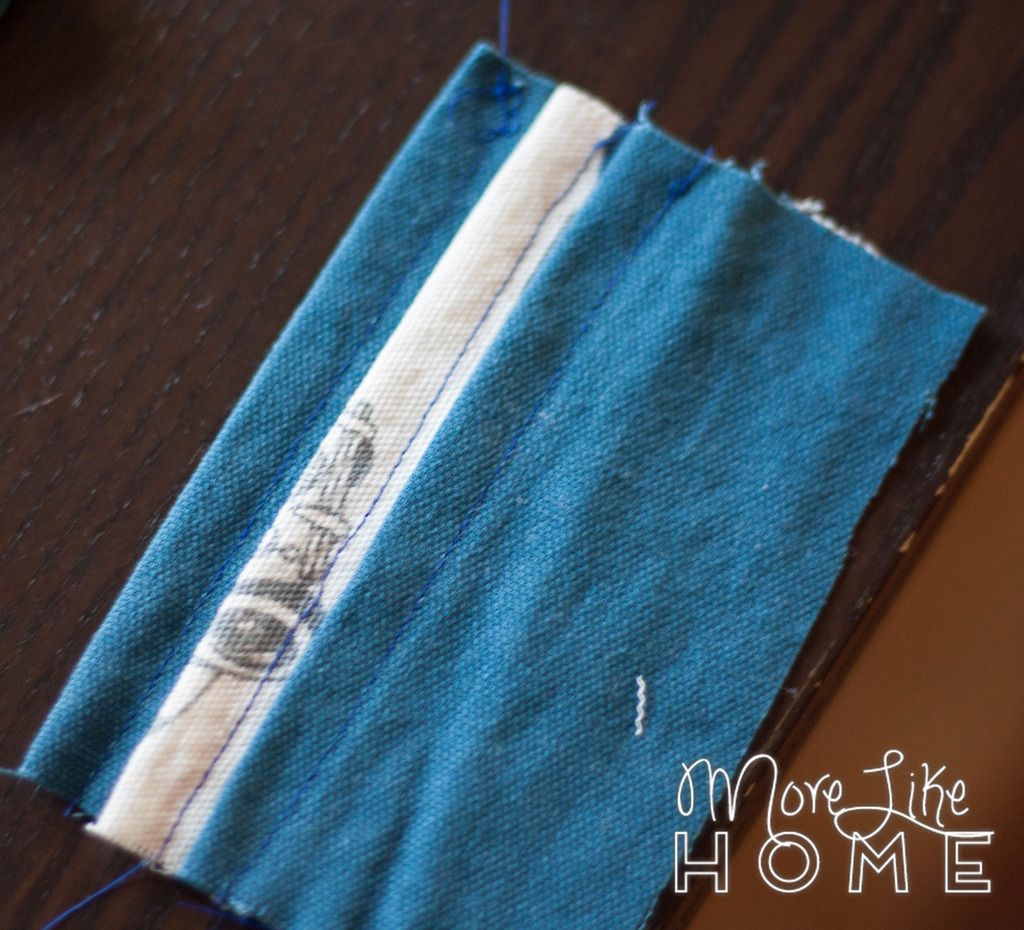
Fold the top edge of each pocket under 1/2" and sew along the edge just above the serging.
Stack the three pockets with 1/2" staggered height like this:
Iron the interior body interfacing onto the interior body main fabric.
Lay the pockets face-down on the interior body piece, 3 1/2" from the right edge. Sew along the right side of the pockets, 1/2" from the pocket edge.
Flip the top pocket toward the right, and sew along the bottom edge with a 1/2" seam allowance. Repeat with the second pocket, then third pocket.
Place the zipper pocket tab face down on top of the zipper (zipper is right-side up) and line up the top edges. Cut the zipper to the length of the pocket, being careful not to cut off the zipper pull. Stitch as close as you can to the zipper.
Open up it up, and place the zipper pocket face-down on the other edge of the zipper. Sew along that edge of the zipper.
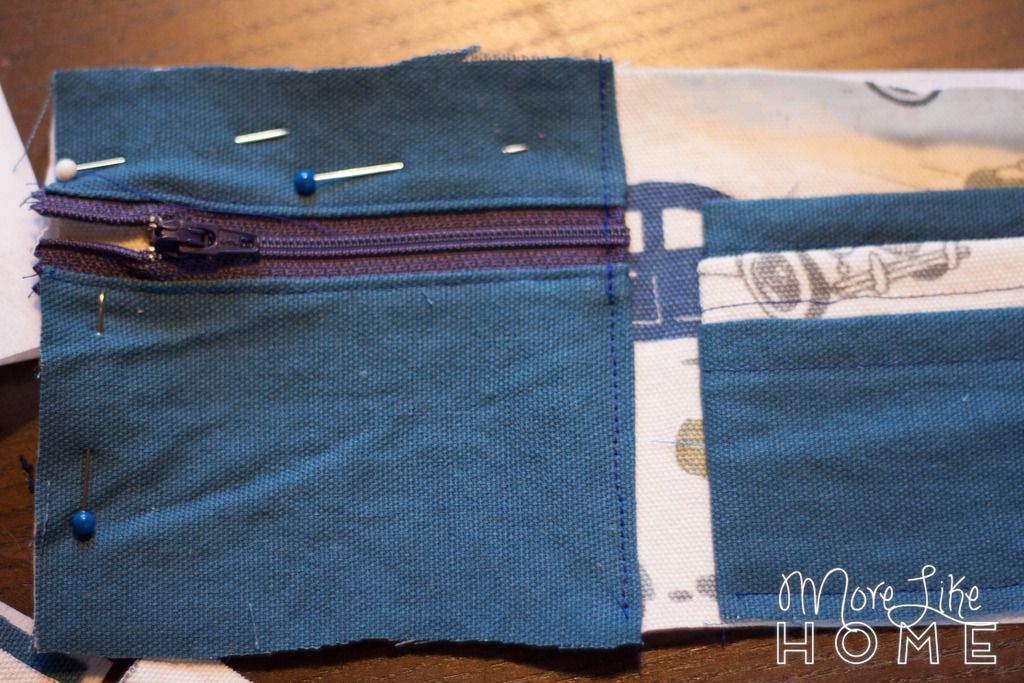
Open it up and it should look like the pic below. Line it up with the left edge of the interior body and trim any extra fabric at the top or bottom.
Tuck the right edge of the zipper pocket under about 1/2" and sew right along the edge.
Finish the interior section just like the exterior - lay the accent fabric body piece face-down on top of the piece you just added all the pockets to, and sew around the edges with 1/2" seam allowance, leaving an opening at the top for turning.
Turn it right-side out, push out the corners, and sew along the top edge.
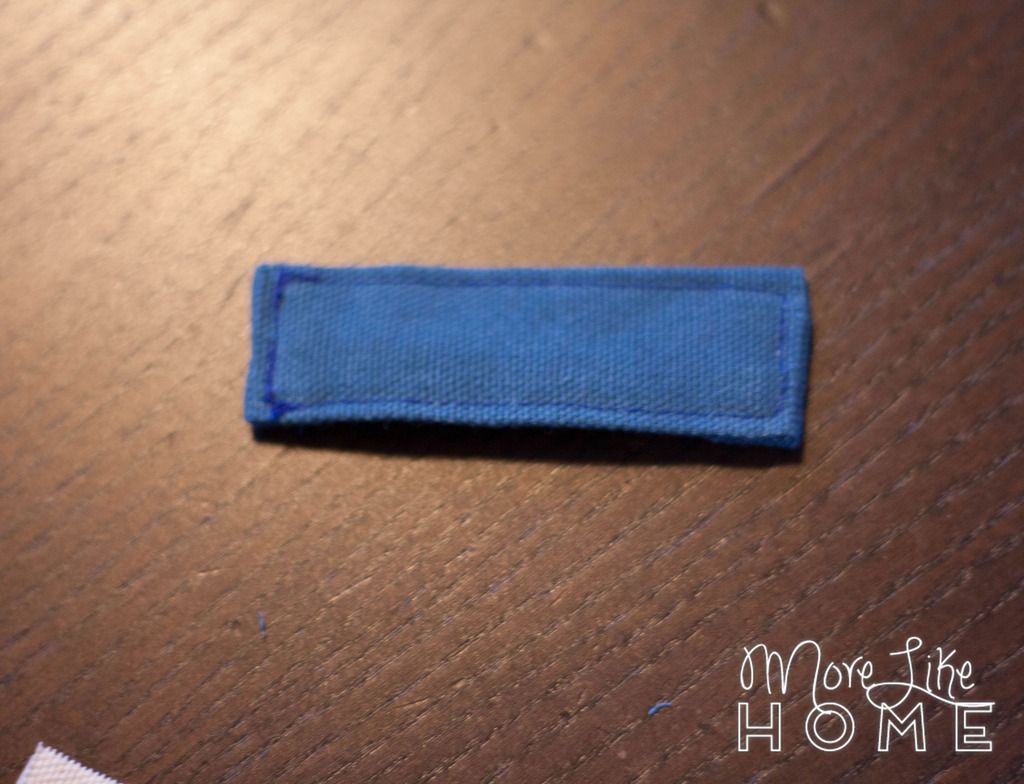
Now go back to the exterior piece for a moment. Make the velcro tab by folding the strip in half lengthwise and press, then open it up and fold both long edges in toward the center crease and press. Fold it back along the center crease again. Tuck both short ends in 1/2" to hide the raw edges. Sew along all four edges with a narrow seam allowance.
Lay the strip at one end of the exterior body and sew it in place:
Sew a small square of velcro at the other end.
Lay the interior section on top of the exterior and fold it in half to get a good idea of how thick your wallet will be, and wrap the tab around to see where you need to put the other piece of velcro. Sew a small square a velcro to the exterior piece right where the tab will overlap it.
Stack the interior piece on top of the exterior piece. Make sure the velcro tab is on the bottom and the pockets are on top. Sew along the sides and bottom with a very narrow seam allowance. You're done!
It's ready to go in a stocking just like this, or you can fill it with a few goodies first! You could tuck in a few dollars, add gift cards for their favorite restaurant, or add one of our printable zoo passes (a big hit with the little guys!).
Check out more DIY stocking stuffers, gifts, and decor ideas here:
What are you making this year?










Thank you for sharing this wallet pattern! It is easy and a perfect gift for my grands for Easter!
ReplyDeleteGlad you enjoyed it! My boys are love theirs! :)
DeleteWONDERFUL tute! And perfect timing as I am in desperate need for a good new wallet. Hopefully these dimensions will fit US money well too..
ReplyDeleteThanks for the share. Very nice and functional wallet for both girls and boys.
ReplyDeleteThank you for sharing this tutorial. Your directions were easy to follow and my grandson will love his new Pokémon wallet!
ReplyDelete