
There is something special about giving handmade gifts to our kids. Even when we don't have larger handmade gifts on the Christmas list, I love tucking a little surprise in my boys' stockings. Today I'm going to show you how to make this sweet little pirate map, and then I'll link a few more of our favorite handmade stocking stuffers down at the bottom of the post!
Supplies:
- felt - for this map you'll need two full sheets of sand-color, a sheet of blue for water, and any other colors you want (I used greens, brown, grays, red, and yellow)
- thread (I used a sewing machine, but you can also stitch by hand)
- 22" long ribbon
You can customize this tutorial to make any design you want! You can make pine trees for a forest map, add a castle for a knight's map, or make an outer-space map for an astronaut!
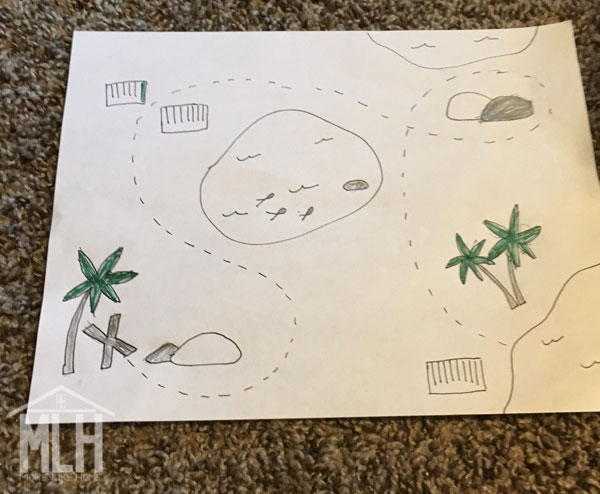
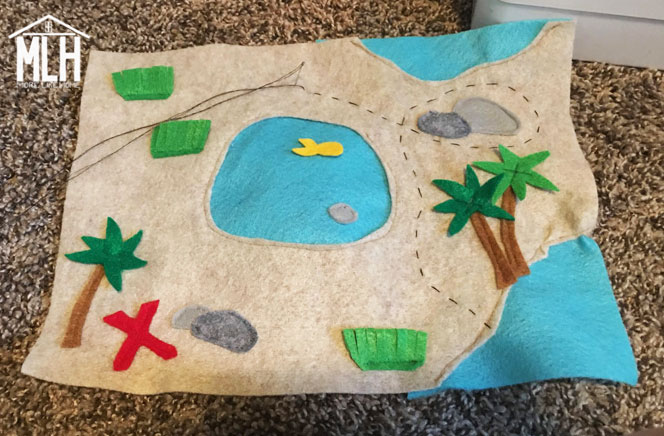
For this pirate map, I started by drawing up a basic idea of what I wanted my map to look like:
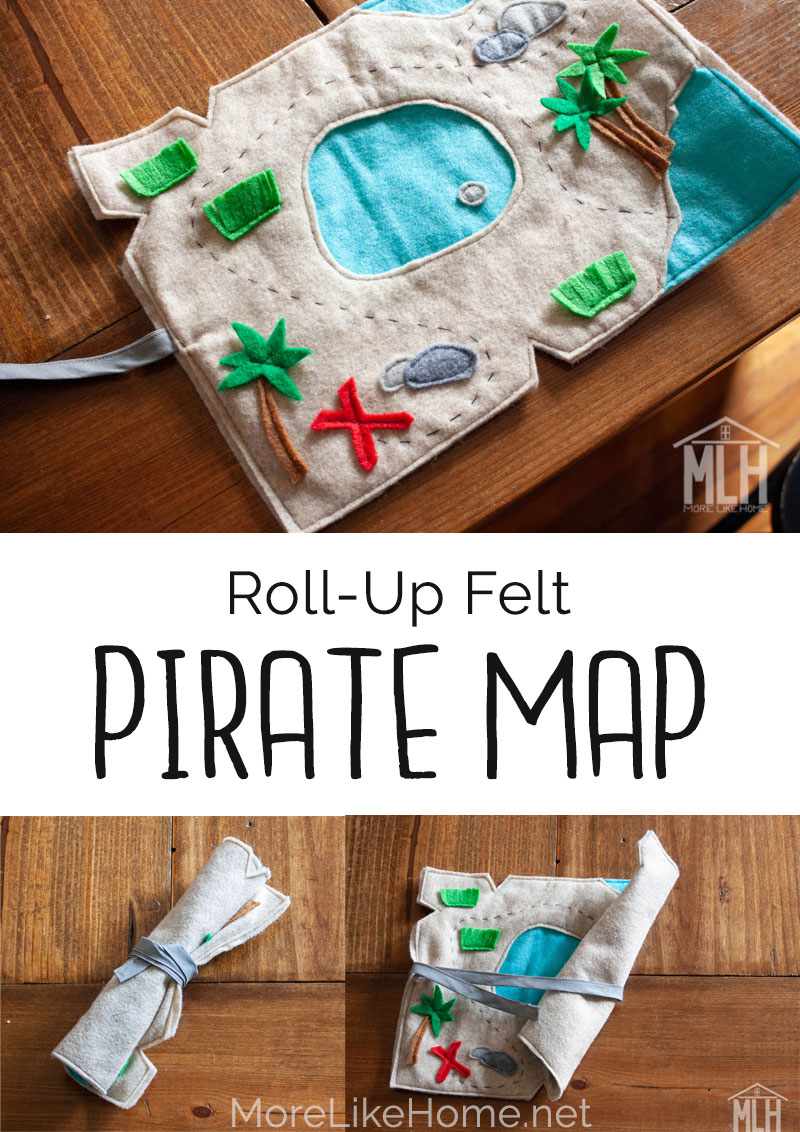
I started with a full sheet of sand-colored felt for the base of my map. I cut out a circle from the middle and a couple notches from the corner and edge where I wanted water to be. Then I laid blue felt under the opening and notches and stitched around the edges of the sand to attach it.

Then I cut out all the little rocks, trees, and plants I wanted to use:
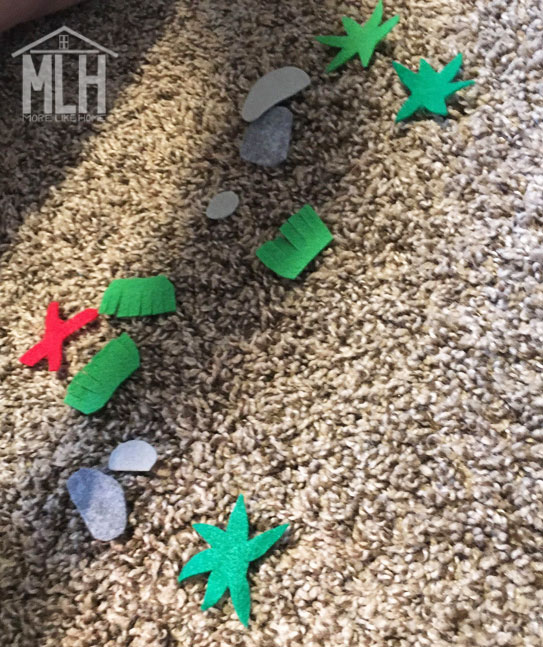
I laid them out to make sure I liked the arrangement:
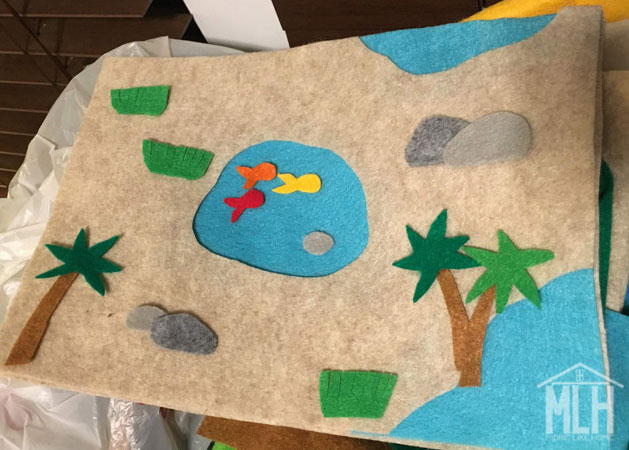
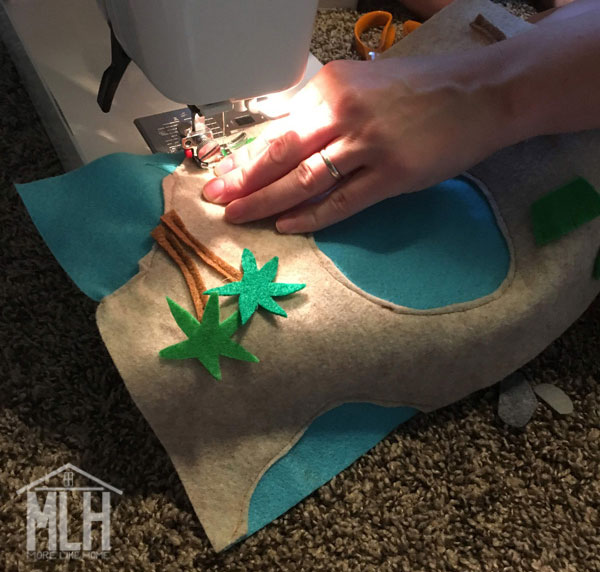
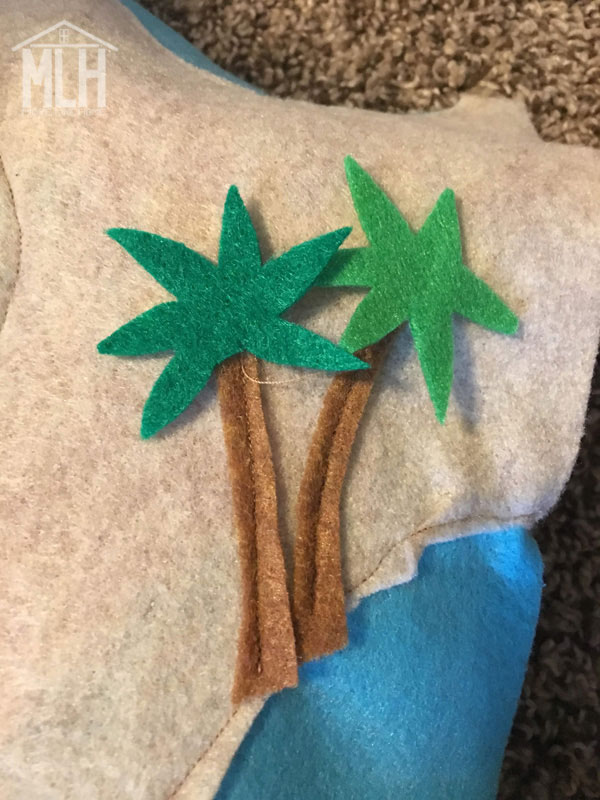
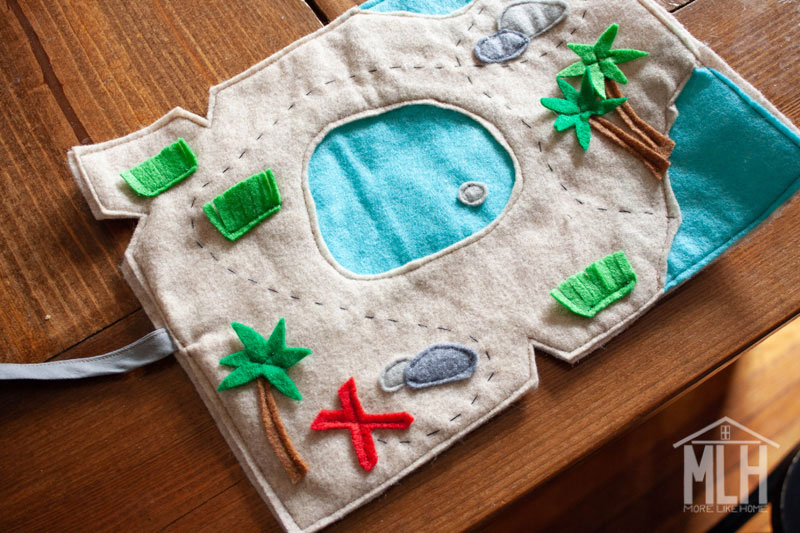
For things like tree trunks I just sewed right down the middle:
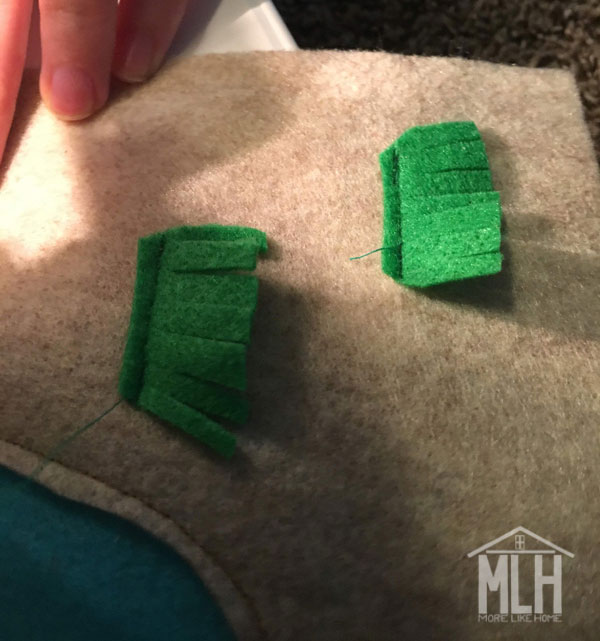
I made "grass" by cutting little slits along the top of a green rectangles, then sewing down the bottom edge of the rectangle:
And I just sewed a little "x" in the center of each treetop:

I sewed around the edges of each rock and sewed down the middle of the treasure "x":
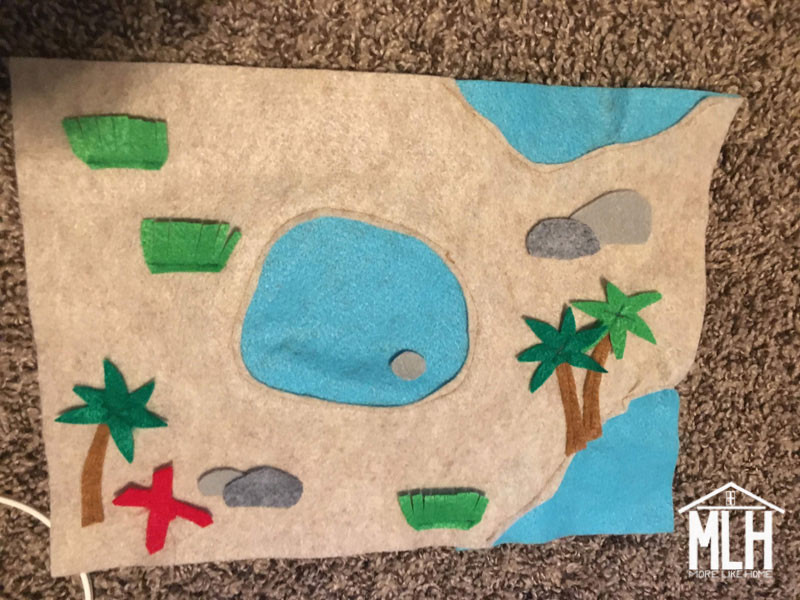
Then I took some black thread and hand-stitched a dashed line around the map to mark the path to the treasure.
Once I was done attaching all the pieces and stitching the path, I stacked this map on top of the second piece of sand felt and pinned them together. I cut a couple notches around the edges to make it look more like an old, worn out map:
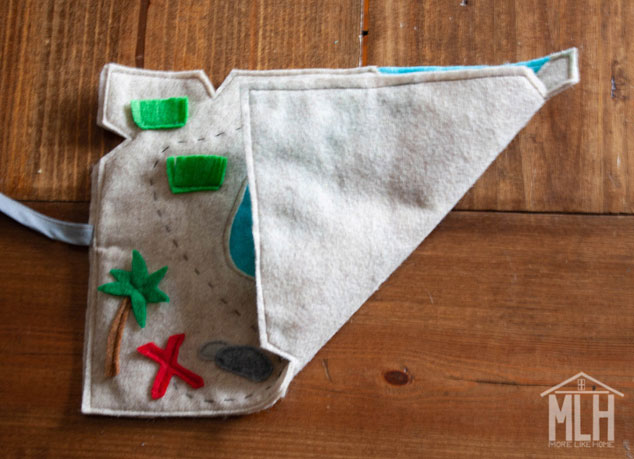
On the left side, I stuck the ribbon between the layers about halfway down. It's tucked in about 1" so there is a nice long tail for wrapping up the map. Then I stitched all around the edges of the map to finish it off.

Make sure stitching around the map is your last step - the second sand layer will hide all the ugly stitching on the back of your first layer!
Then I rolled it up, wrapped the ribbon around a couple times and tucked in the end. I love the wrap-around ribbon because even kids who don't know how to tie knots can do it!

It's ready for a stocking!

And here are a few more DIY Stocking Stuffer ideas (I'm a big fan of felt, guys):
Peg Doll Camping Set
Pocket-Size Unicorn Playset
Kid's Wallet Tutorial
Pocket-Size Bear Playset
Make-Your-Own Mask Kit
Roll-Up Car Playmat
What are your favorite stocking stuffers for kids?
No comments:
Post a Comment