
New year, new stockings... again.... How often is it normal to get replace your stockings? Growing up we had the same stockings my whole life (my parents still use them!) and I feel like that's the normal thing to do. It's all part of the nostalgia of Christmas, right? But here I am replacing my stockings for the... fifth time? I've started from scratch every time we added a baby (since we needed to add a new stocking) but almost every time I breathed a sigh of relief that I could finally ditch stockings I didn't love and try again. Here's what I've tried so far (you can read the full saga in this post):
- Failed Sweater Stockings
- DIY Flannel Stockings - I ended up hating these. I was on a tight ($0) budget and made them out of leftover flannel from other projects that didn't match my Christmas style. I won't totally knock this idea though - I think a cute plaid set would feel wonderfully cozy!
- Cheap Hobby Lobby Stockings
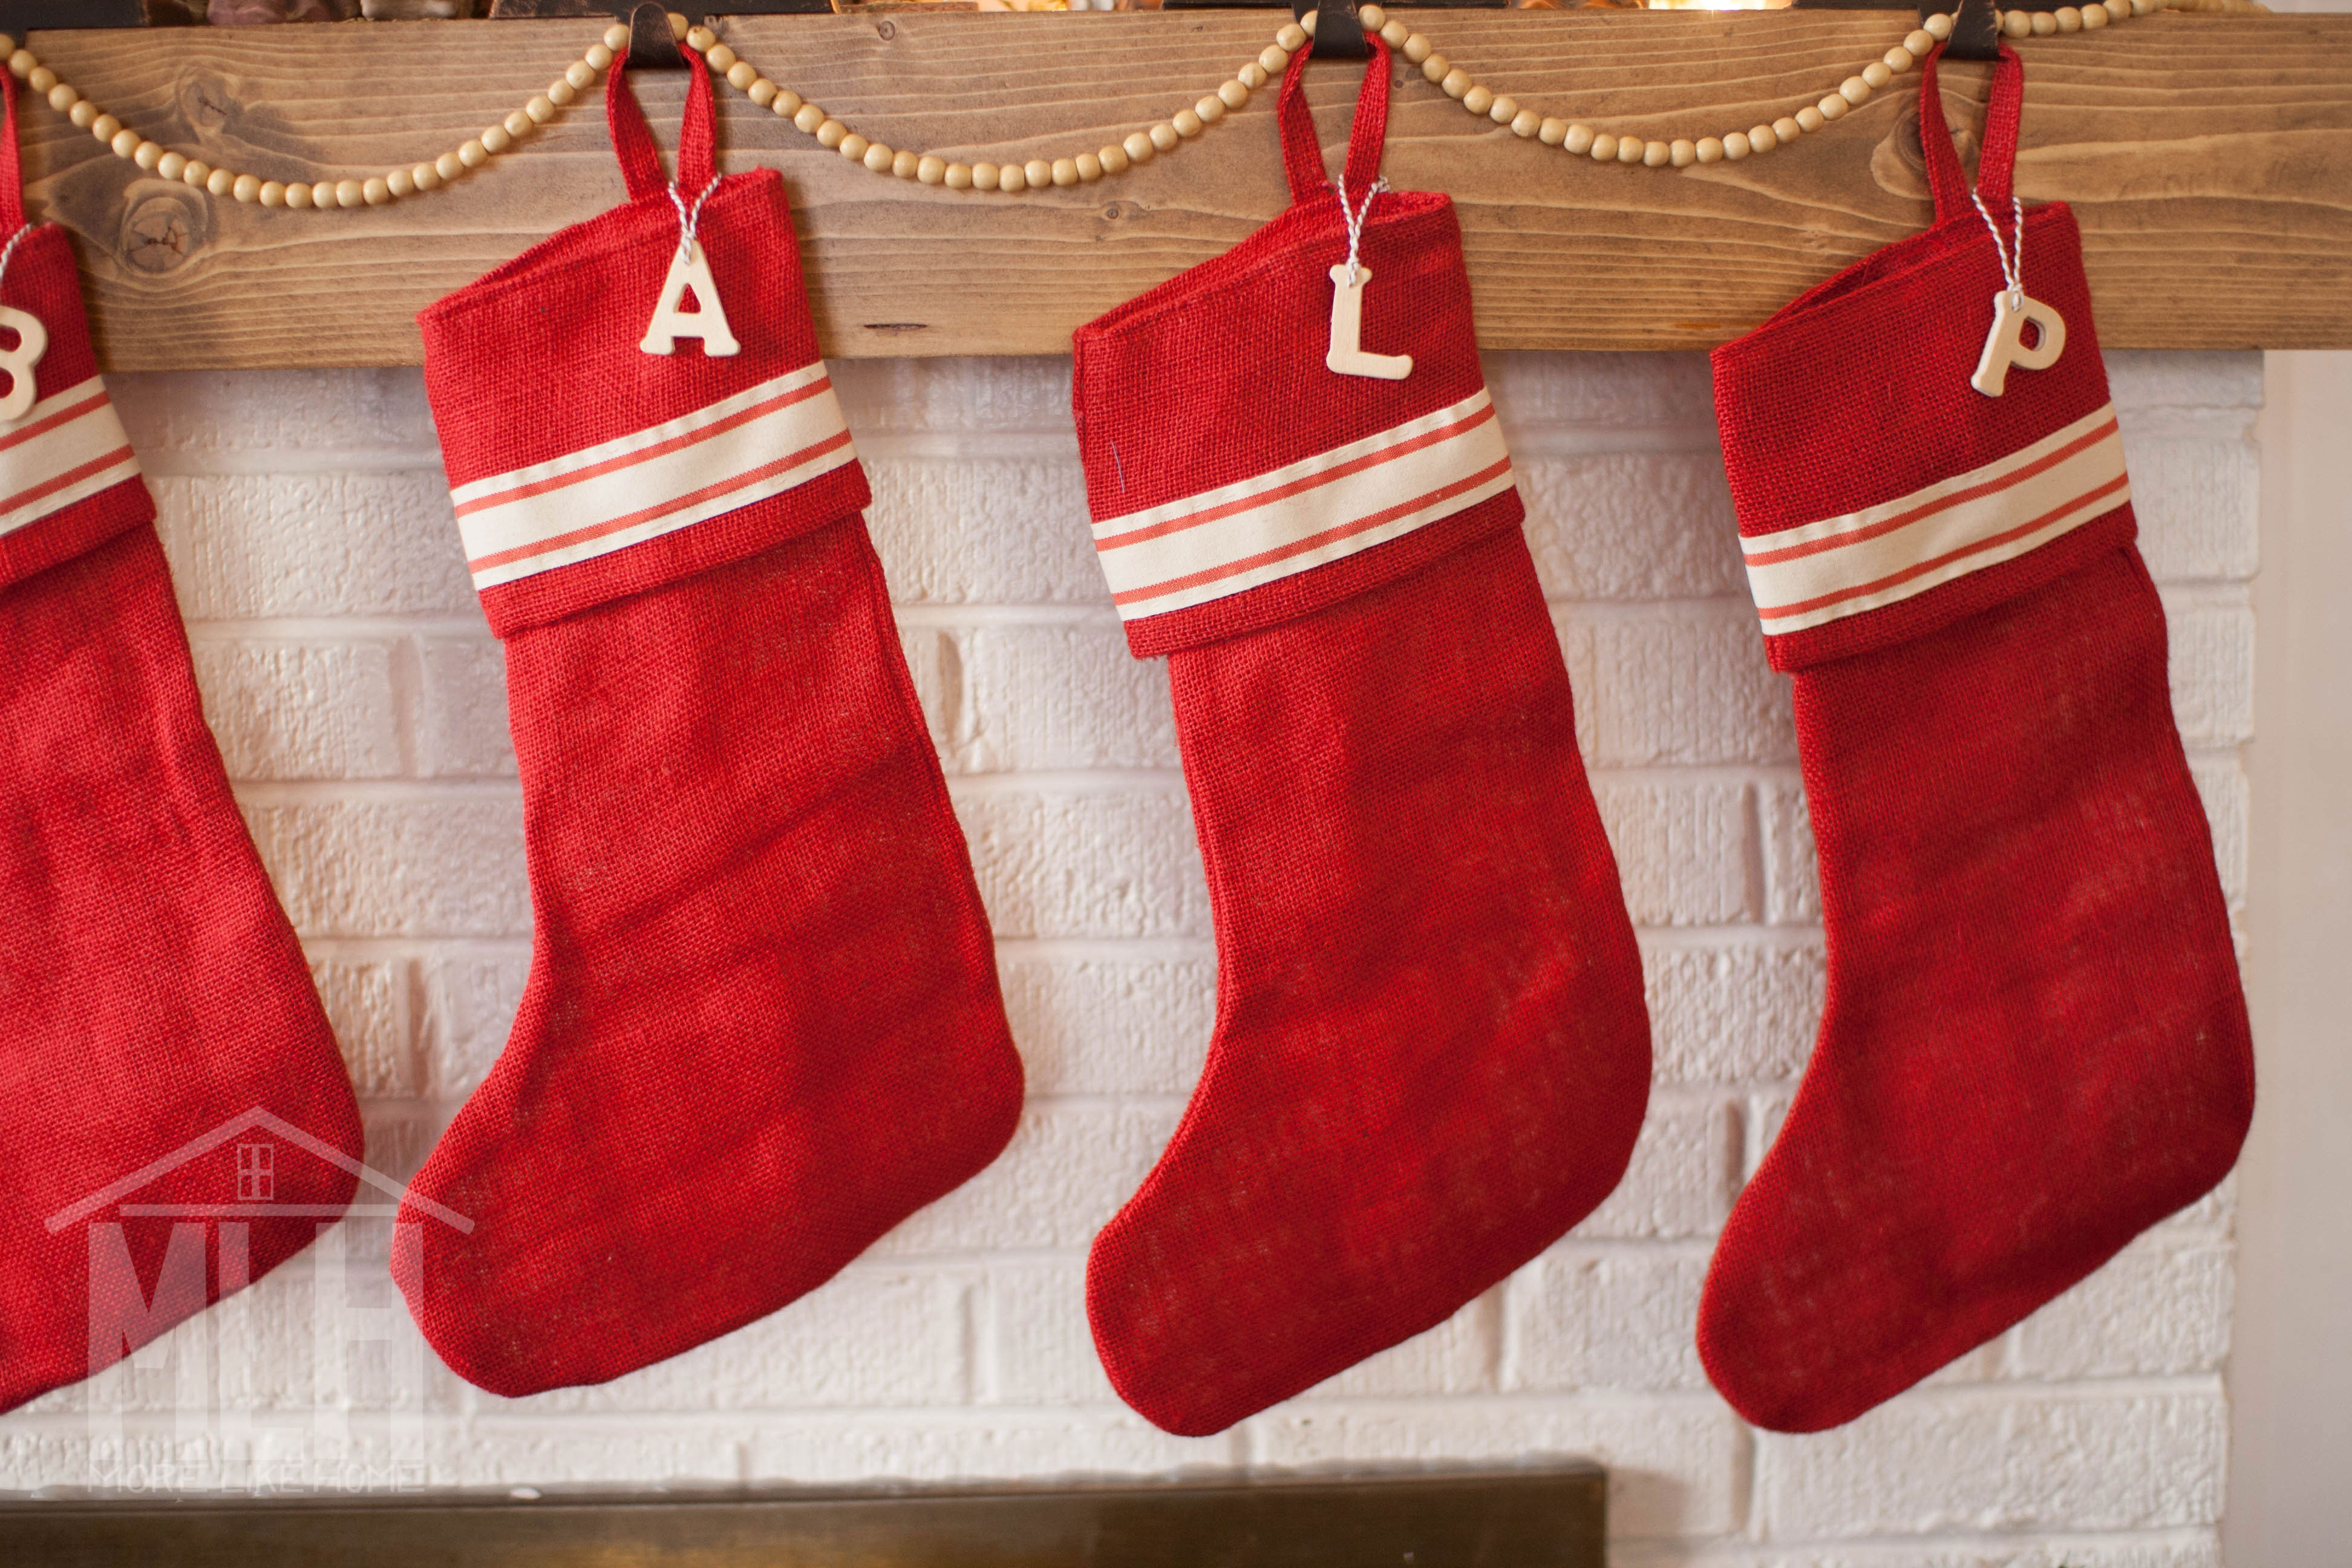
- $5 Christmas Stocking Hack - I actually really liked these ones! And I honestly don't have a good reason why I didn't just make a seventh one to match for our newest addition - it was just so much red when so many of them were up there together, and! So this time I'm trying something that feels a little more organic - like a collection we can add to over time.
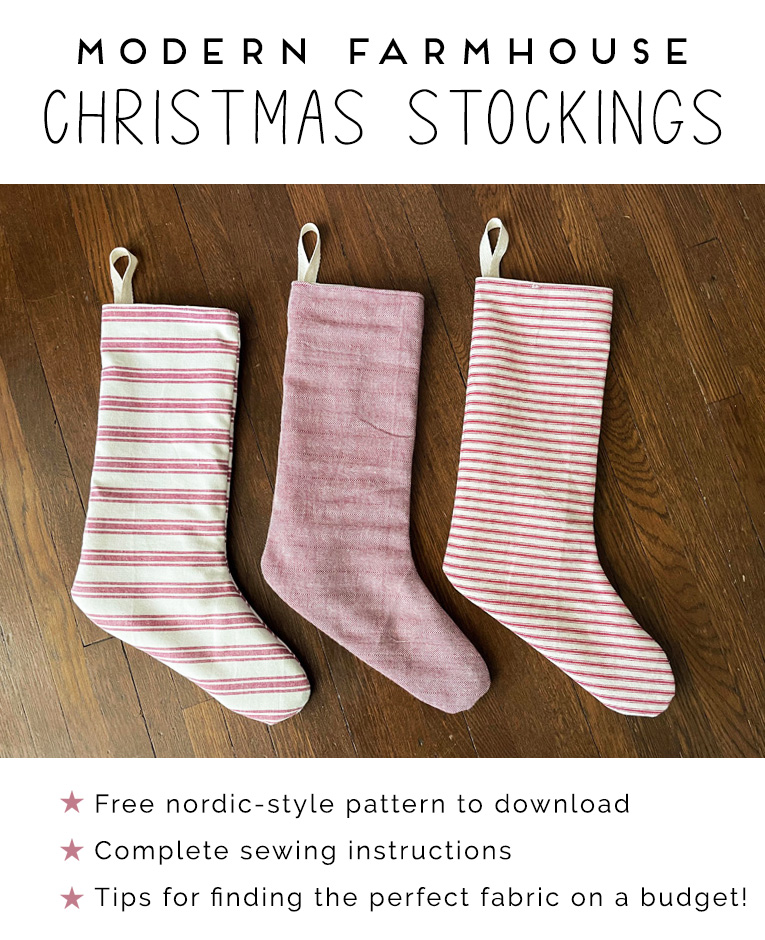
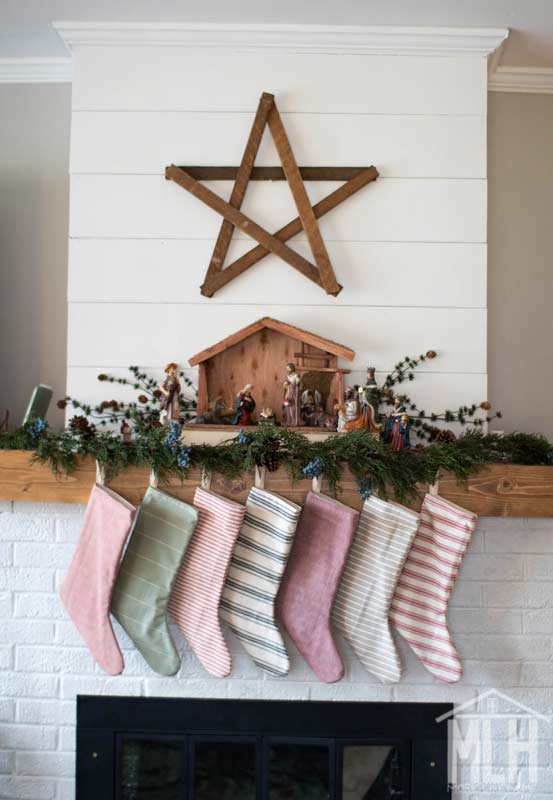
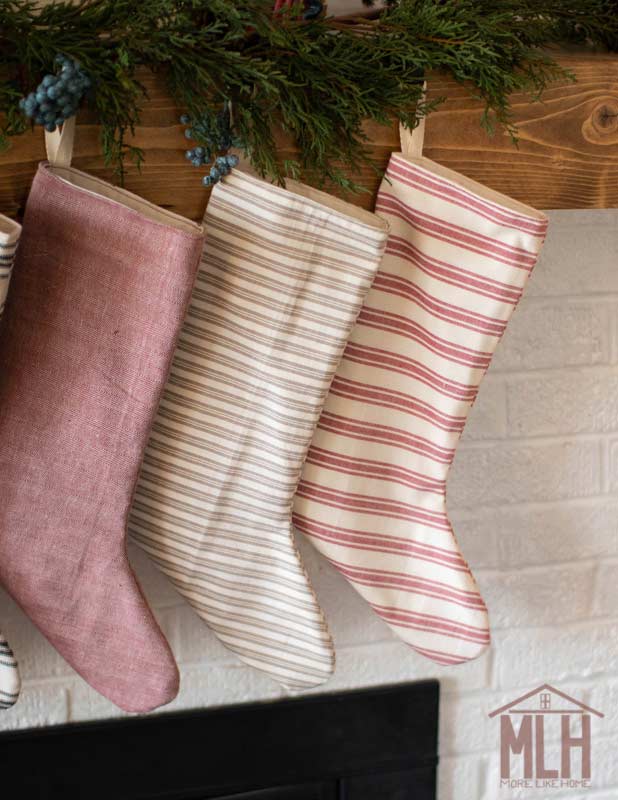
And now I'd like to introduce you to my newest stocking love: mix-and-match modern farmhouse stockings!
I always like a little red in my Christmas decor, so I started by searching on pinterest, etsy, amazon, and anywhere else I could think of for red stockings. And I found tons of beautiful options, but... all the ones I really liked were $40-50 per stocking. Multiply that times seven and it's time to keep looking. But all that searching was actually really useful, because I began to see patterns in the things I was drawn to:
- stocking collections that go together but aren't all the same
- stripes!
- Nordic-style shapes with a longer toe
- simple design with no cuff or frills
And once I was more aware of what I wanted, I realized I could easily design and sew my own simple stockings with a Nordic vibe for a fraction of the cost. So I just had one more hurdle to overcome: finding the right fabrics for the job that would still be affordable (the first two times I made stockings poor fabric choices were my downfall).
So let's talk a little bit about fabric selection! The fabric you choose can make a big impact on your final project and how high-end your stockings feel. If you want to stick with the modern farmhouse vibe, stripes are a great choice! You could also try plaids (so cozy for Christmas time!), solids, or any other pattern you like to fit your own style and tastes. But beyond the pattern (and colors) you choose, did you know that the way some fabrics are made actually give them a more high-end appearance? And that you can skip the pricey websites, save a ton of money, and find some of these great fabrics at your local Hobby Lobby?? Once you learn a few key features to look for, you'll be able to pick fabrics with a high-end vibe just about anywhere you go!
At Hobby Lobby, fabrics like this are mixed in throughout their selection. I found some with the Christmas fabrics, some on the wall with the cotton fabric, and some in the back with the utility fabric. It might take a little searching, but there were quite a few options at my local store (including some really cute plaids!). And the best part? It's all Hobby Lobby prices! I mean, obviously, but if you're looking at higher-end fabrics in the upholstery section or online fabric stores, you can easily see prices $30-50 per yard or more! I mean, you only need 1/2 yard per stocking so it still would come out cheaper than the pricey stockings that caught my eye earlier, but still! Ouch! So I decided to try Hobby Lobby, and I'm so glad I did! The most expensive fabric I bought was $10/yard (most were $6/yard and one was as low as $3/yard in the clearance bin!), and I only needed 1/2 yard per stocking. I also used cheap muslin fabric for the lining and in then end spent less than $10 total per stocking (most were only $7 each)!

So what should you look for in a fabric?
First, and most importantly, look for fabric that has the pattern woven into the fabric instead of printed on. High end fabrics always have the pattern woven in. I'm not saying you *can't* find printed patterns that will give a high end appearance - I'm just saying that a woven pattern is one of the marks of a high end fabric, and one of the easiest ways to know you are on the right track (and that your final product will look sharp)! Now, at Hobby Lobby prices, the only woven pattern fabrics you're going to find are going to be patterns with straight lines (stripes or plaids) unless you get reeeeally lucky. (More complicated patterns are much trickier to weave, which is why they typically carry a higher price tag.)
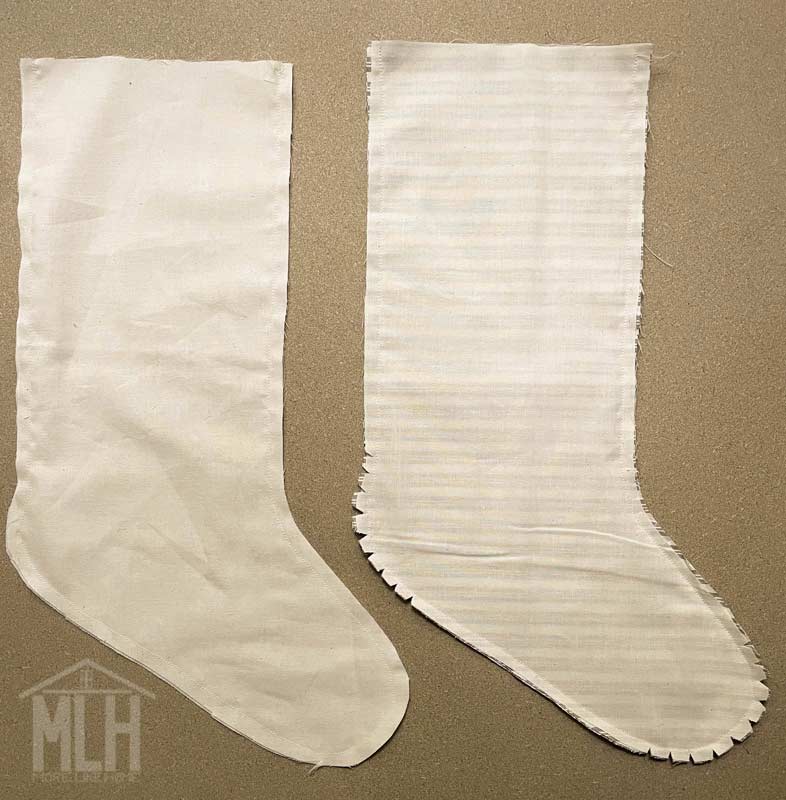
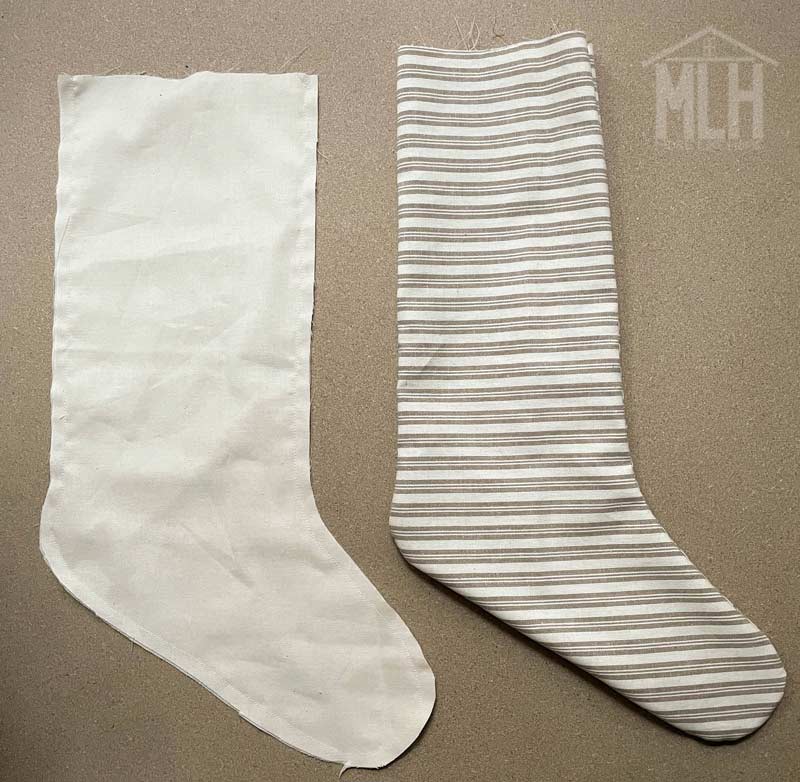
Luckily, there's an easy way to check if a pattern is woven in - just flip the fabric over and look at the back. A woven pattern will often look the same whether you look at the front or back! See how the stripes on the left fabric below look the same on the front and back? But the printed fabric on the right is much more vibrant on the front and faded on the back:
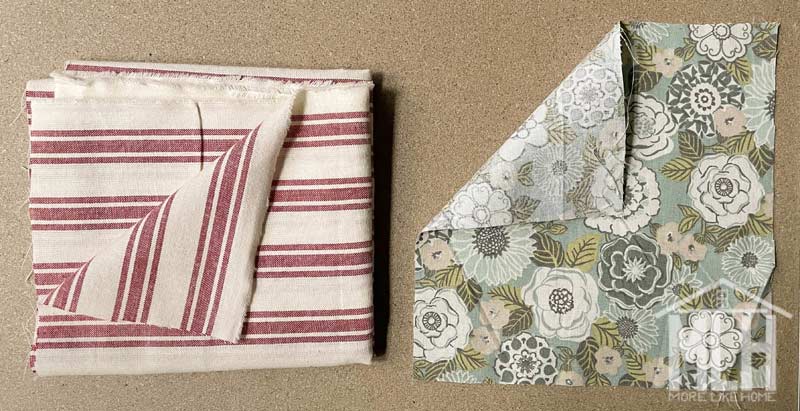
Now, this won't be true for every woven fabric, like the striped canvas below. The back pattern is slightly different than the front due to the weaving pattern, but the colors are just as vibrant on the back and if you look closely you can see that the pattern is made by the weaving (it's actually pieces of white and red thread woven together) vs. a printed fabric where the pattern is printed across a finished piece of fabric.

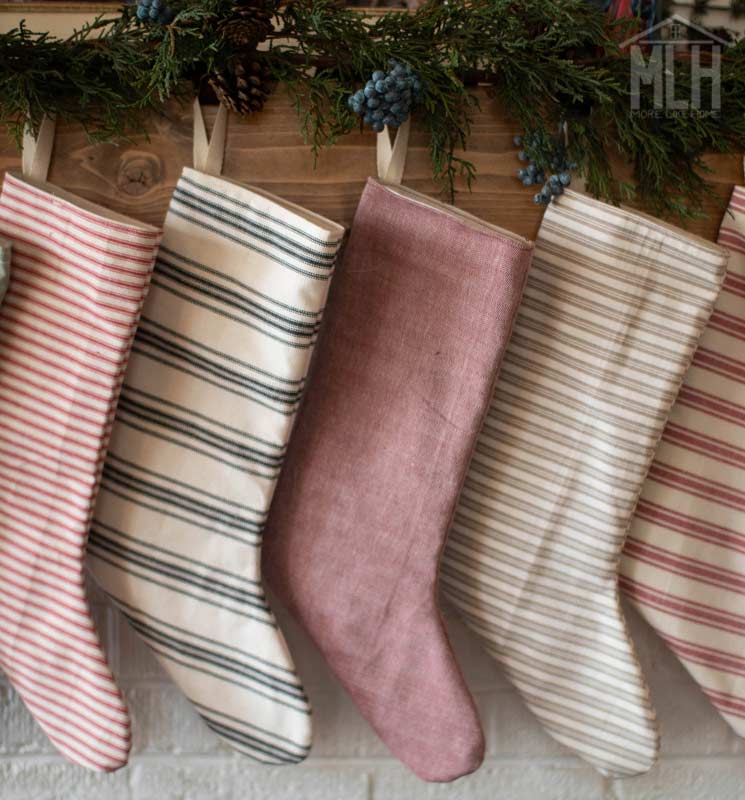
Second, look for a fabrics with a nice "hand." Which just means... they feel nice in your hand. I know, super technical and scientific. Look for fabrics that feel a little thicker and have a nice texture. Avoid fabrics that are too stiff or too thin. The fabric I used for the black and white stocking especially feels really nice, looks really nice, and made a really spiffy final product. Check it out if you go to Hobby Lobby.
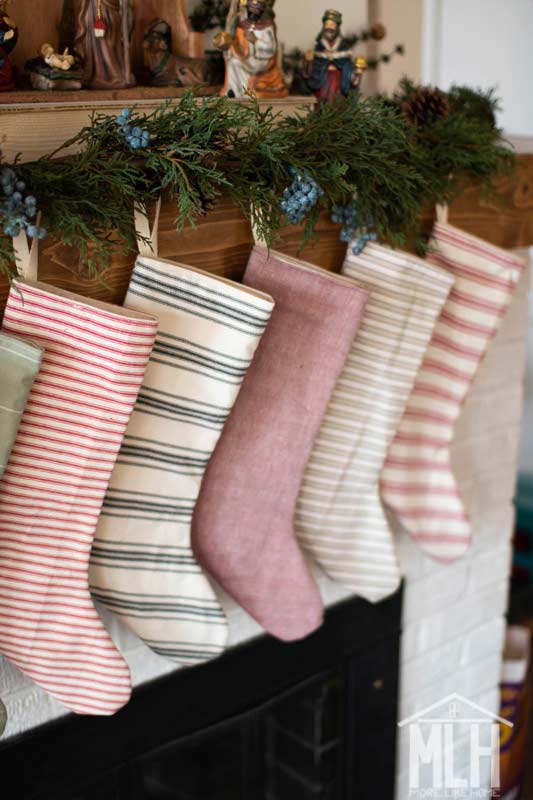
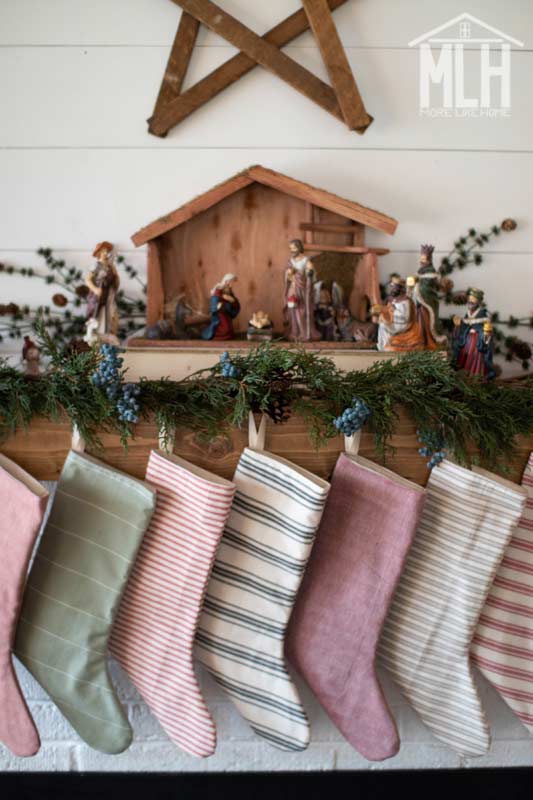
Finally, look for colors and patterns that work well together. I lined up all my picks at the store before buying them to get a good feel for my final aesthetic. It helps to pick a color palette and stick to it! I stuck with more muted tones and looked for reds, greens, and neutral colors (black, white, and gray). The main problem when I made flannel stockings years ago was that the colors and patterns I used totally clashed with each other. The same would happen with this set if I tried adding a bright blue stocking! It just wouldn't fit. So whatever your style is, make sure your fabrics stick to the plan!
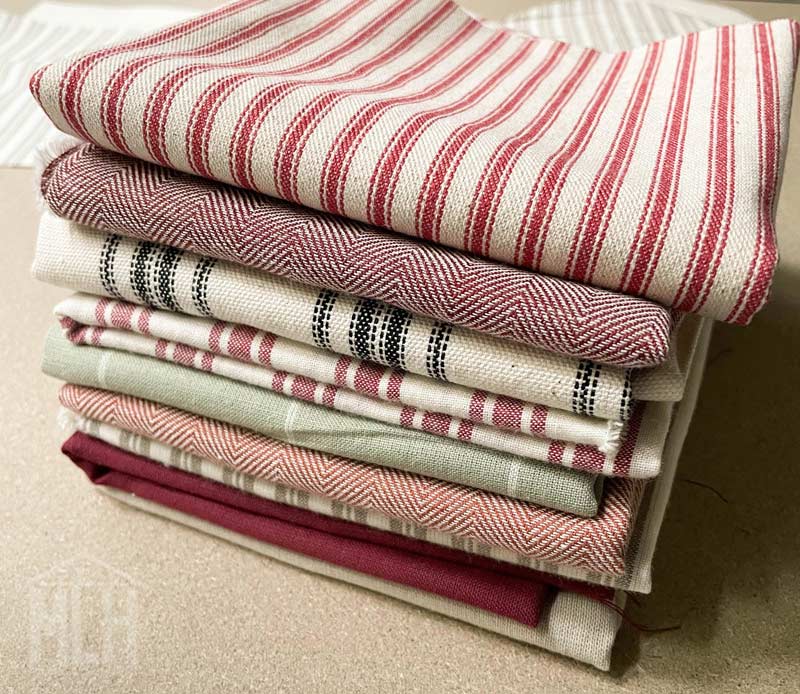
I think this lineup made a nice little collection that I can easily add to if we ever need another a stocking!

So wherever you buy fabric, just look for those three features (especially a woven pattern) and you're on your way to a low-budget stocking with a high-end style! I should also note that shopping in-store for fabrics is incredibly helpful when you're looking for fabrics like this. It's really difficult to judge fabrics online when you can't pick them up, turn them around, and feel them with your own hand.
But enough chit-chat! Ready to make your own stockings?? Here's what you need:
- The Pattern
- 1/2 yard fabric for the body
- 1/2 to 1 muslin for the lining - 1/2 yard for thicker body fabrics, 1 yard for thinner
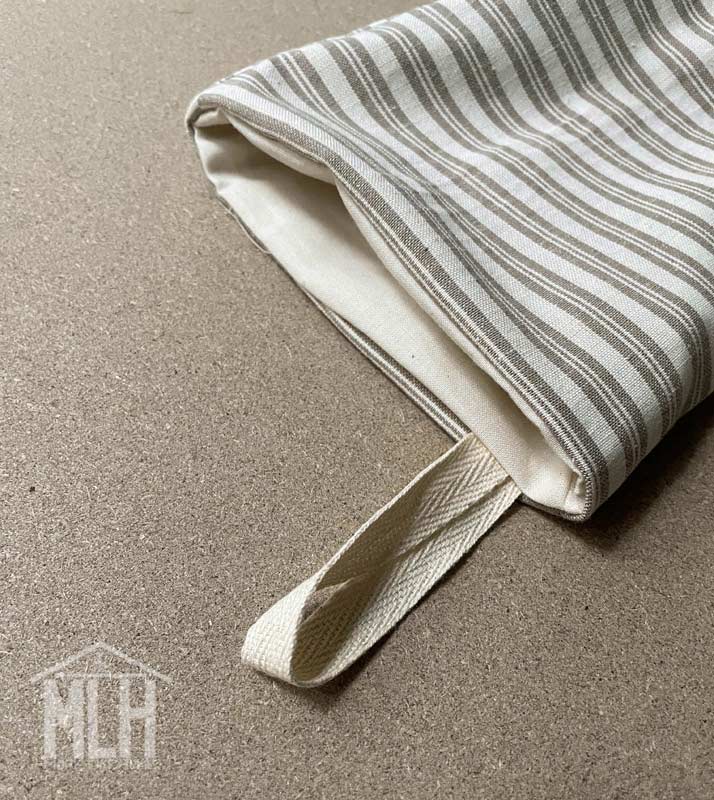
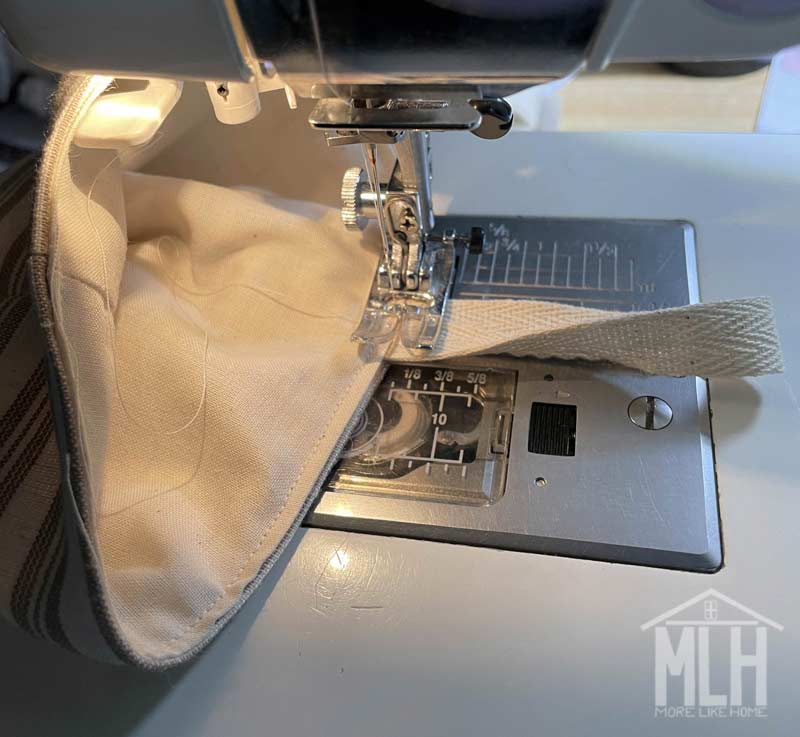
- Twill Tape (or sturdy ribbon) for the hanging loop
- Thread
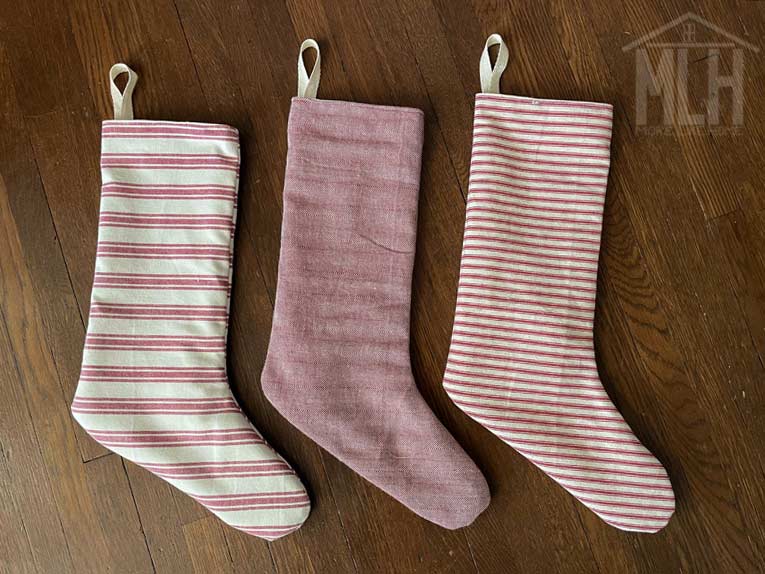
Start by printing the pattern and taping the pieces together. Use the pattern to cut two pieces from the body fabric. If your fabric has a "wrong" side, make sure you end up with a front piece and a back piece! The easiest way to do this is to keep the fabric folded in half and cut through both layers at the same time (this also makes it easier to line up your stripes and plaids!). Remember to pay attention to the direction of the stripes (do you want them horizontal or vertical? I went horizontal because it's more traditional, but vertical would feel a little more modern if that's your preference).
Next use the pattern to cut out the lining pieces from your muslin. If your stocking body is a thicker fabric, you only need to cut two lining pieces. If the body is on the thinner side, cut four pieces of muslin instead - doubling up the lining will give those stockings more body so they will hold their shape more like the thicker stockings. Muslin only comes in white/cream colors, but you can use any regular quilting cotton for the lining if you want a different color! A colored lining would be super cute, I just went with muslin because it's so cheap!
If you're cutting multiple stockings, I find it easier to use my first cut as a pattern for the rest of them instead of the paper pattern because the paper always wants to slide around, but the fabric stays still enough I don't even need to pin it (time-saver for the win!).

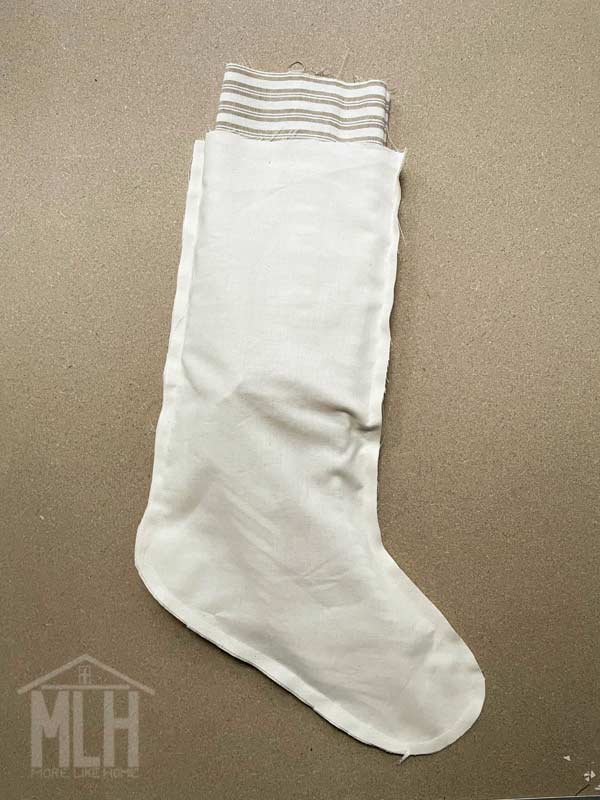
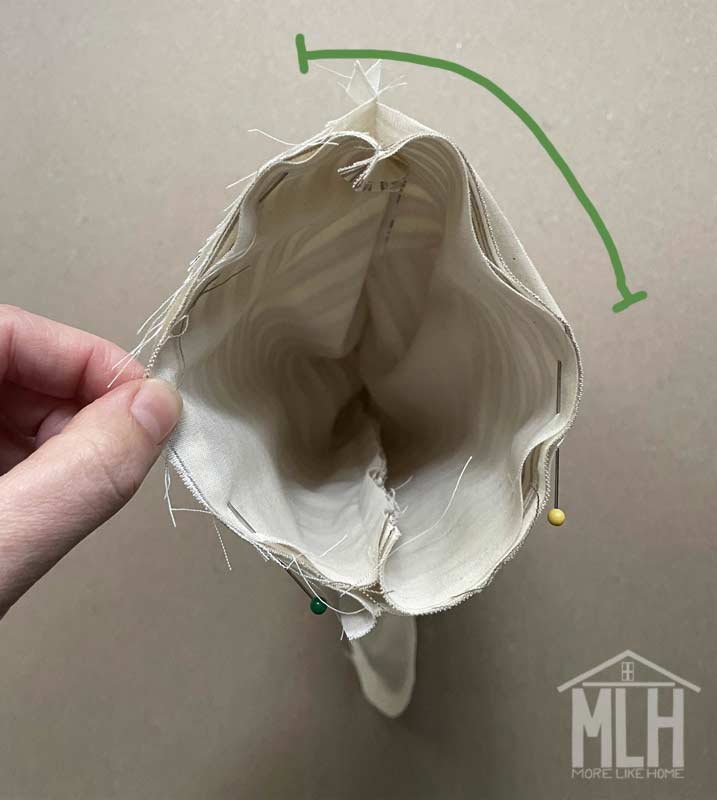
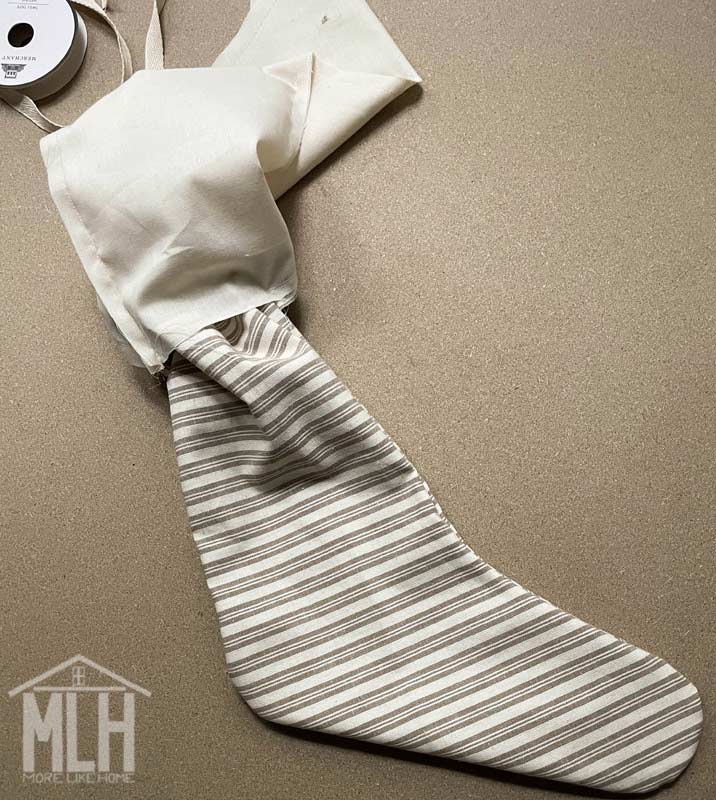
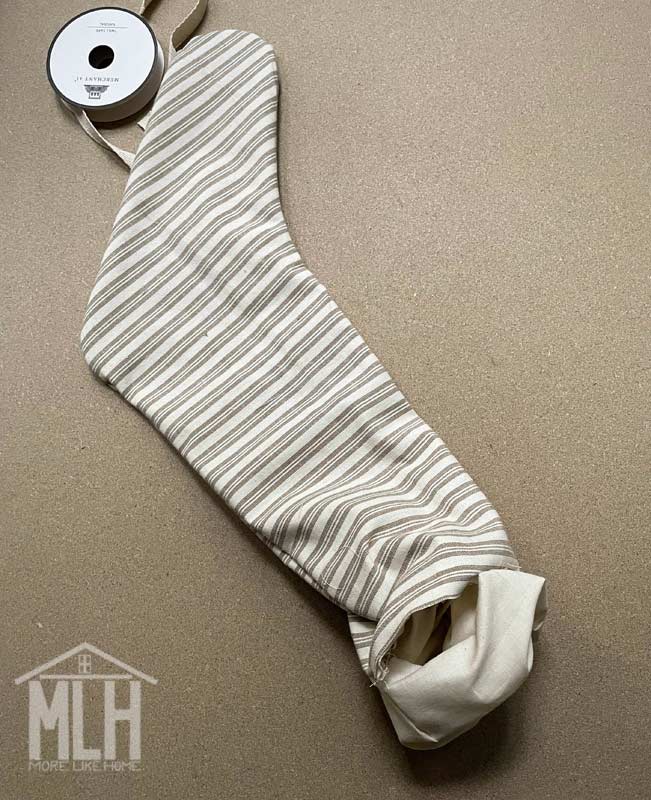
Assemble the body of the stocking. If it's a thicker fabric, just stack the two body pieces with right-sides together and pin around the edges. If it's a thinner fabric and you want to double up the muslin, stack the body pieces right-side together and then add a piece of muslin to the top and bottom of the stack (so you'll have muslin on bottom, then a body piece right-side up, a body piece right-side down, then another muslin):


I would not have picked the assortment of fabric colors and patterns you did, but once they are hanging up, they look so cute!
ReplyDelete