
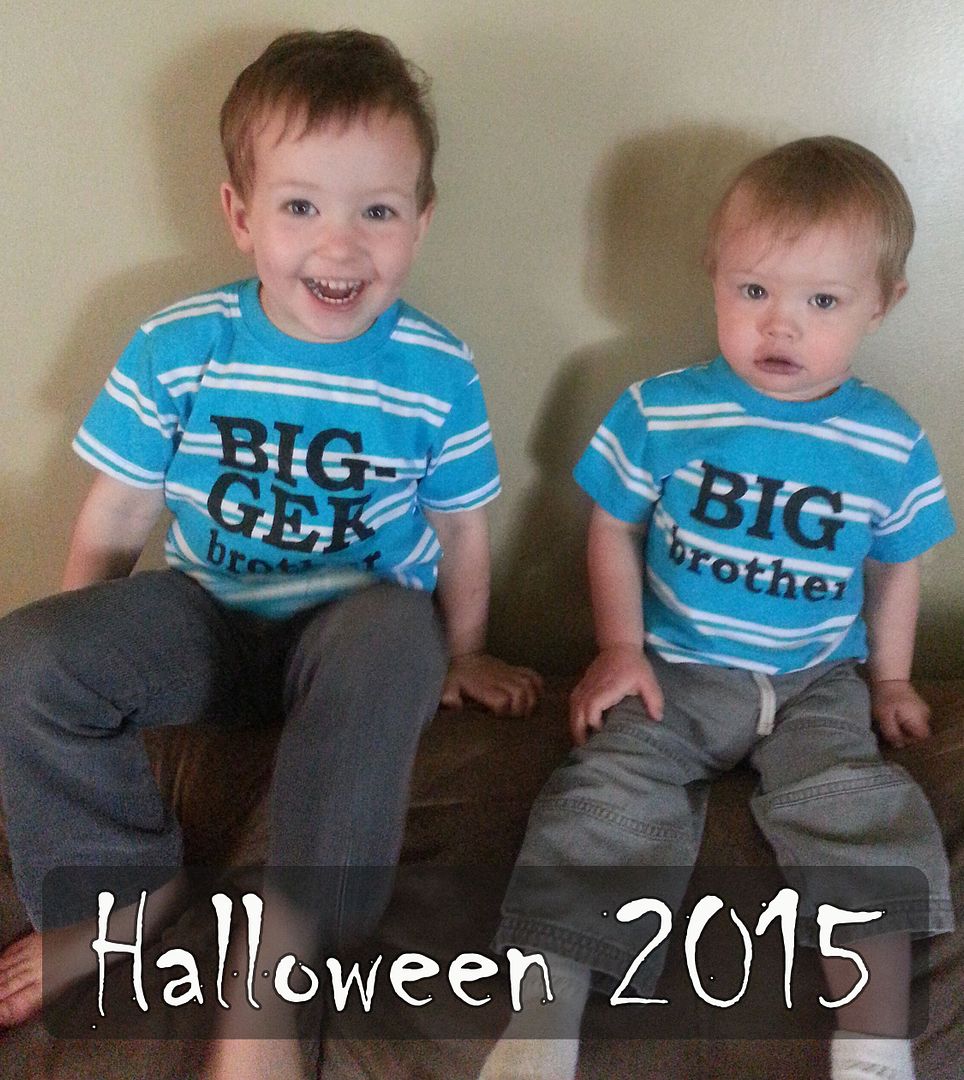
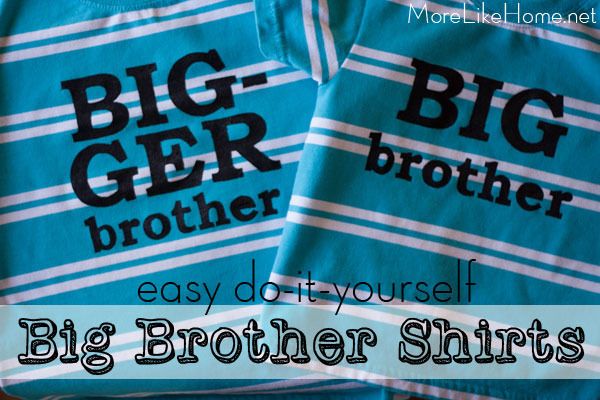
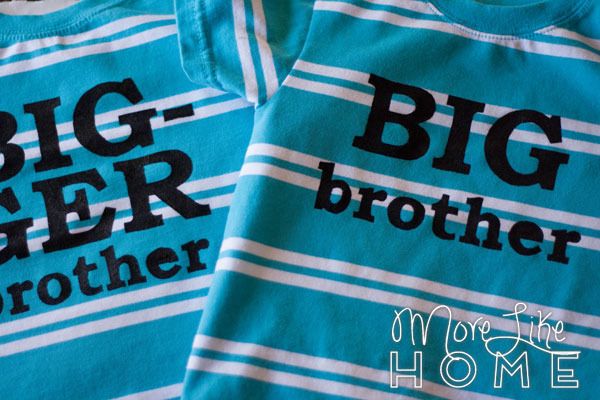
Yep, coming this halloween there will be TWO big brothers in the house! We are all so excited, and apologize for the lack of posts as most of my free time has been spent napping lately. Babies make me tired, you guys. But I wanted to stop in and share how we made the big brother shirts we used to make the announcement to family and friends. This was my first time finally trying freezer paper stenciling and it turned out great!
What you need:
t-shirts
fabric paint & brush
freezer paper
an exacto knife
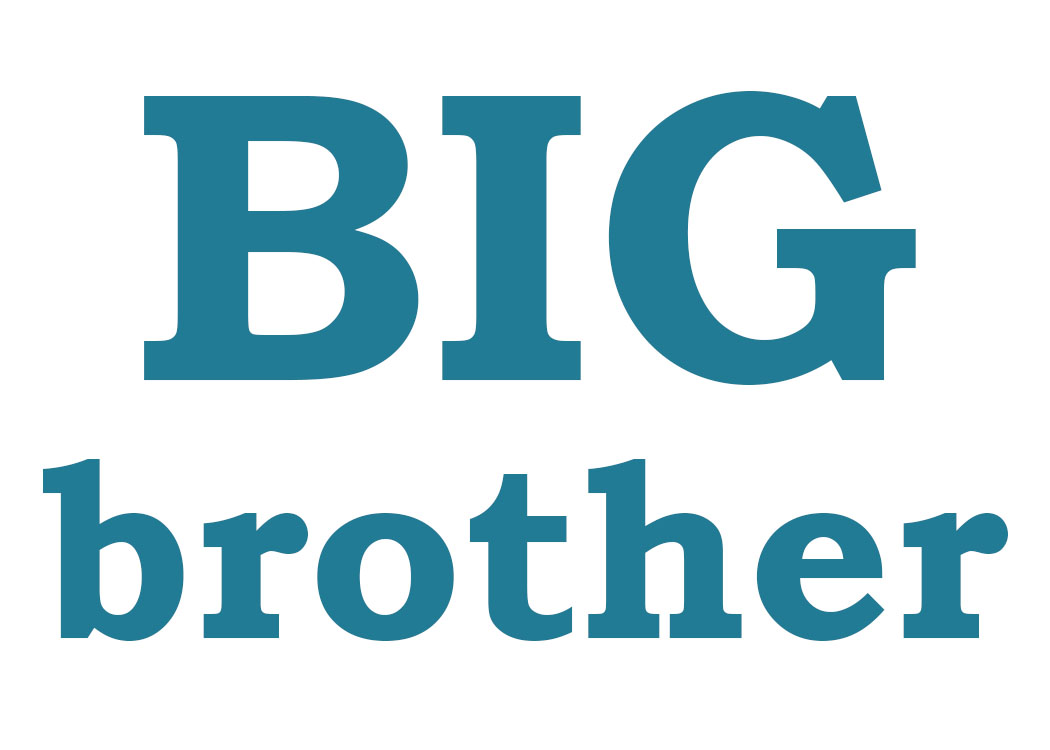
"big brother" printable
"bigger brother" printable
Start by printing out the images for the shirts. Printing them full-size worked great for both a 4t shirt and an 18m shirt, but you can scale them up or down if you want a different size. And of course you can print your own using any fonts you like!
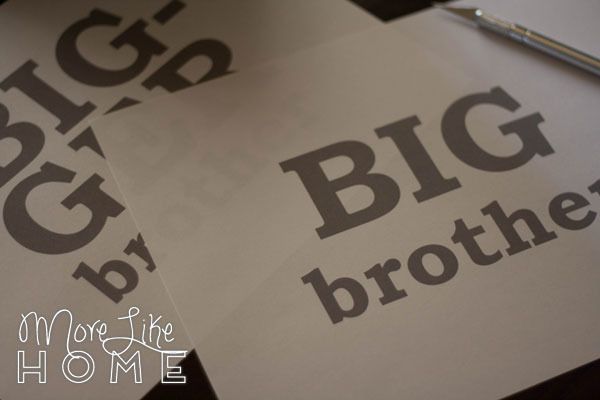
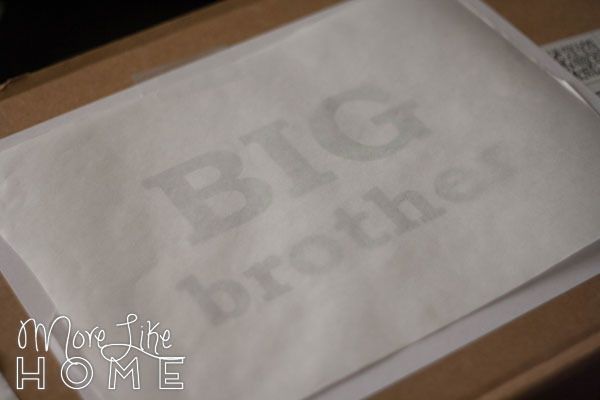
Lay a piece of freezer paper on top of the image with the glossy side down and tape both papers down. I taped them on a cardboard box so I wouldn't scratch the table with my exacto knife. You should be able to see the words through it like this:
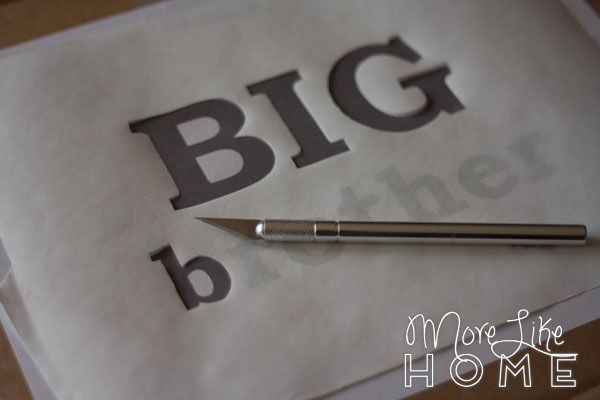
Use the exacto to cut out the letters.
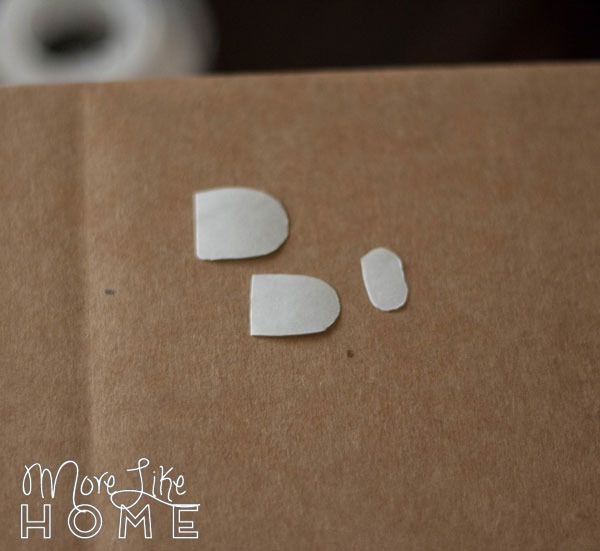
Don't forget to save any center parts you cut out! You'll need them later. These are from the "B" and "b."
Once it's all cut out, use an iron to apply the freezer paper (glossy side down) onto the from of the shirt. Using striped shirts made it easy to keep the stencil straight. I just carefully ironed across the freezer paper for a minute or two until it bonded nicely. Once the main stencil is in place, carefully iron all the middle cut-outs into place as well.
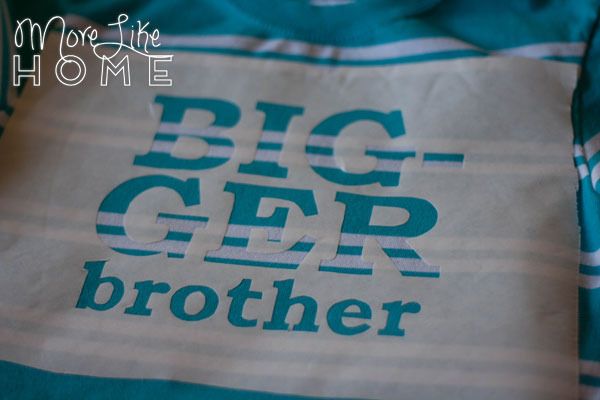
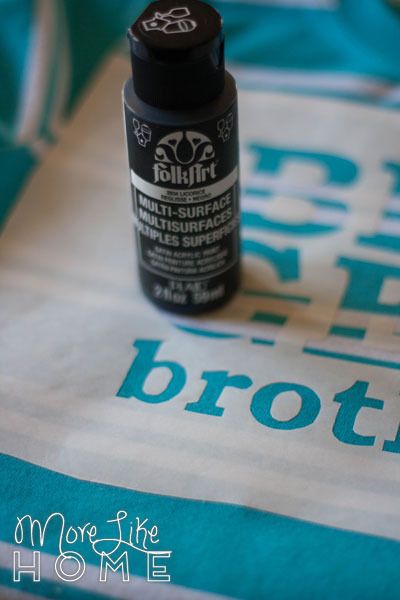
I used a multi-surface acrylic paint for my shirt. I did black so it would show up well on the striped shirts (I originally wanted to do solid color shirts with white letters but this was the only shirt I could find that had both their sizes).
Use a paint brush to fill in the stencil. I used a dabbing motion to make sure I didn't accidentally loosen the edges of the stencil.
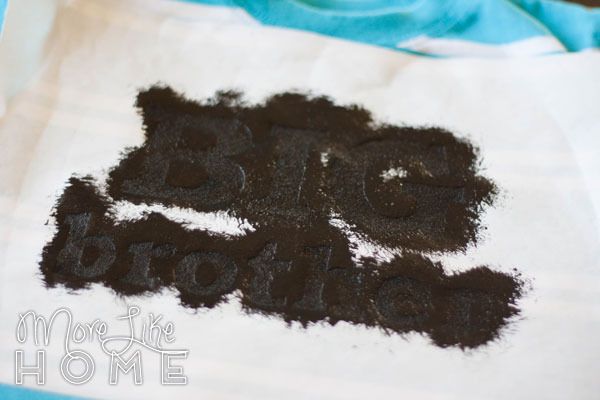
When you're done peel off the stencil. I did it while the paint was still wet, mostly because I was impatient. I used tweezers to remove the smaller middle pieces.
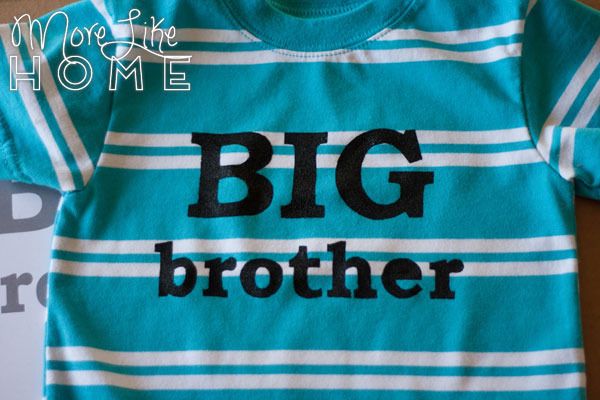
And I forgot to take the center out of both "e's" before I took pictures. Oops!
And here are the big brothers-to-be, in all their mischievous glory. We wouldn't trade them for the world.
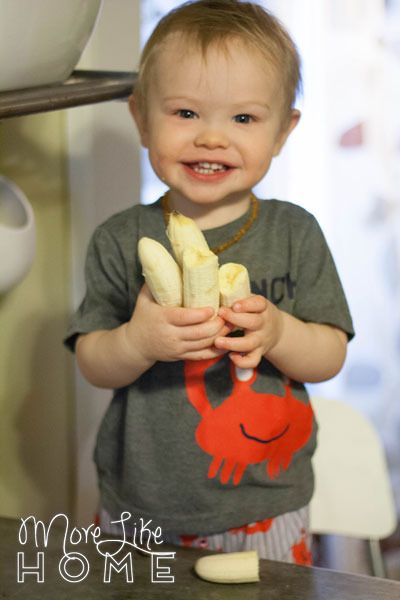
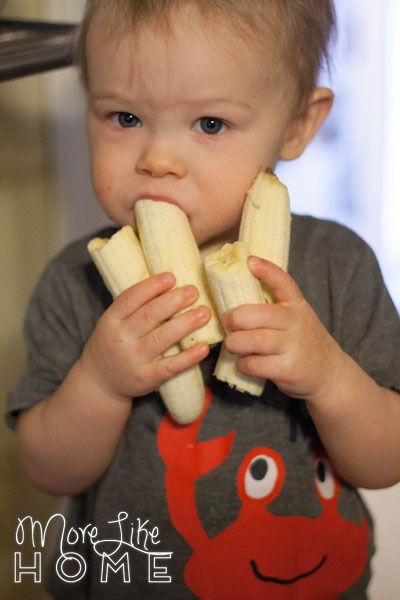
This was one of those times Baby Brother was so quiet I had to go find him. He had opened every banana in the kitchen and was working on eating all of them. And he was so. proud.

They put themselves to bed. Baby Brother tucked himself in with that tiny little handkerchief. Big brother was fake snoring and Baby Brother thought it was the funniest thing he ever heard.
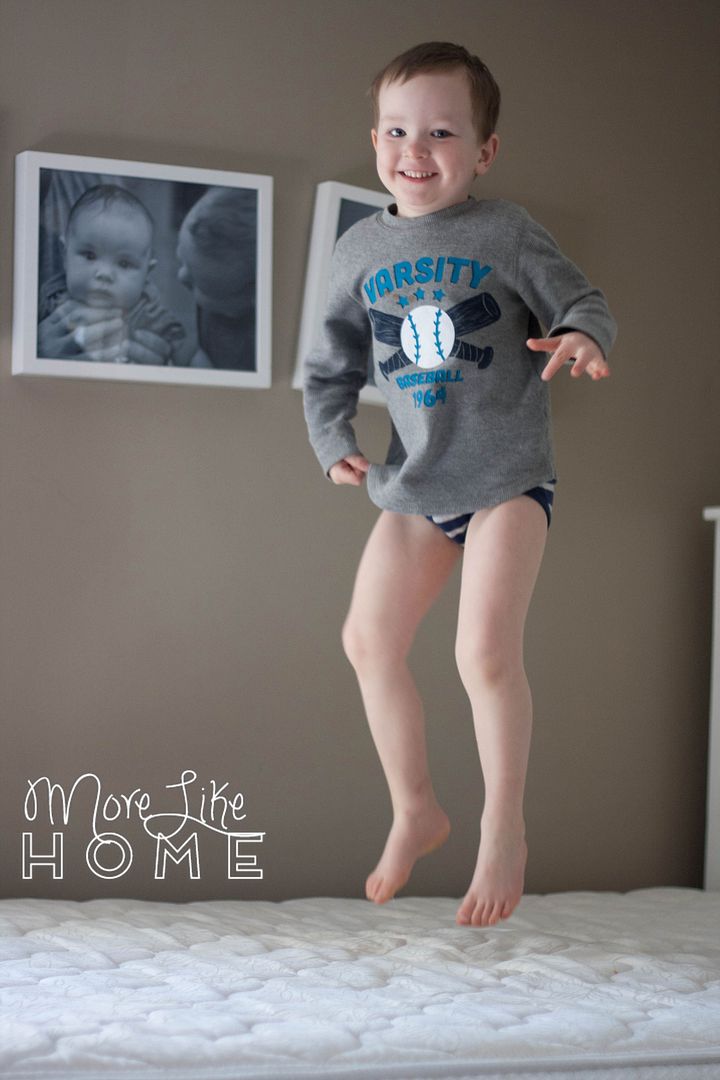
Big Brother's favorite activity is jumping on the guest bed. He does it almost everyday at rest time... which is more rest for me than him. :)

A boy and his monkey watching daddy mow.
I'd love to hear what you've done with freezer paper stencils!
%20-%20MoreLikeHome.net)
Congratulations!!
ReplyDeleteLove this! Thank you!! I want to do their nicknames on the back and would love to know what font you used?
ReplyDeleteHi! The font is Bookman Old Style. Have fun! :)
Delete