Saturday, March 25

The Thrifting Madness

We have five thrift stores near our house. I was raised in a very thrifty family, so without fail every time my mom or sisters come to visit, we hit at least one. Our favorite lately has been the Goodwill Outlet. If you've never been to one before, let me tell you about it. It's like a warehouse, and there are just lines of these big bins filled with everything. And you have to sift through to see what's in them. And every so often they roll them all away and new bins come out and they yell "NO TOUCHING. NO TOUCHING." And most of the stuff in the bins is 0% interesting to me. But the thrill of hunt. That's what gets me. And as you hunt, you start to find a little gem here. A little treasure there. And next thing you know, you have an armload of fantastic stuff. But wait, there's more. You pay by the pound. Which makes for some pretty amazing deals. We had never been to a store like this before. It's so crazy. And now we can't stop won't stop.

The Baby was already paid for.

Tuesday, March 21

Exterior Paint Debate

A couple months ago we asked you guys on Facebook an Instagram how crazy it would be to paint our house red. Verdict = not crazy. At least not too crazy. But Husband still feels a little like this about it:


Not an ideal response, right? So we're still flipping and flopping on a color scheme. But the more I look at the siding, the more I think we may need to paint it this year rather than next. It's time to get serious and make some hard choices. I don't want to put it off and make a frantic decision I regret for the next 5-8 years. So last Saturday we spent the morning hardware store-hopping (it was our cheapest Lowe's trip ever) and I grabbed another stack of paint chips to try out. This time all more neutral colors.


And now - after all this time - I might have made a teeny bit of progress. This feels like such a big decision because we are NOT going to repaint the whole house if I decide I hate it (so yes, we'll definitely be buying a few sample cans). But I think I'm starting to get there so we want to hear your thoughts again:

What do you think would look best on our house?


These pinterest houses are some of my favorites at the moment. I love using pinterest for things like this - I just save anything that really jumps out at me, then as I scroll through my pins I can start to see patterns in what I like. So I've narrowed my scope to gray, white, and three very specific colors.
Okay, let's get started.

Thursday, March 16

Replacing Elastic in Bum Genius Diapers - Cloth Diapers on a Budget

One of our favorite money-saving strategies has been 
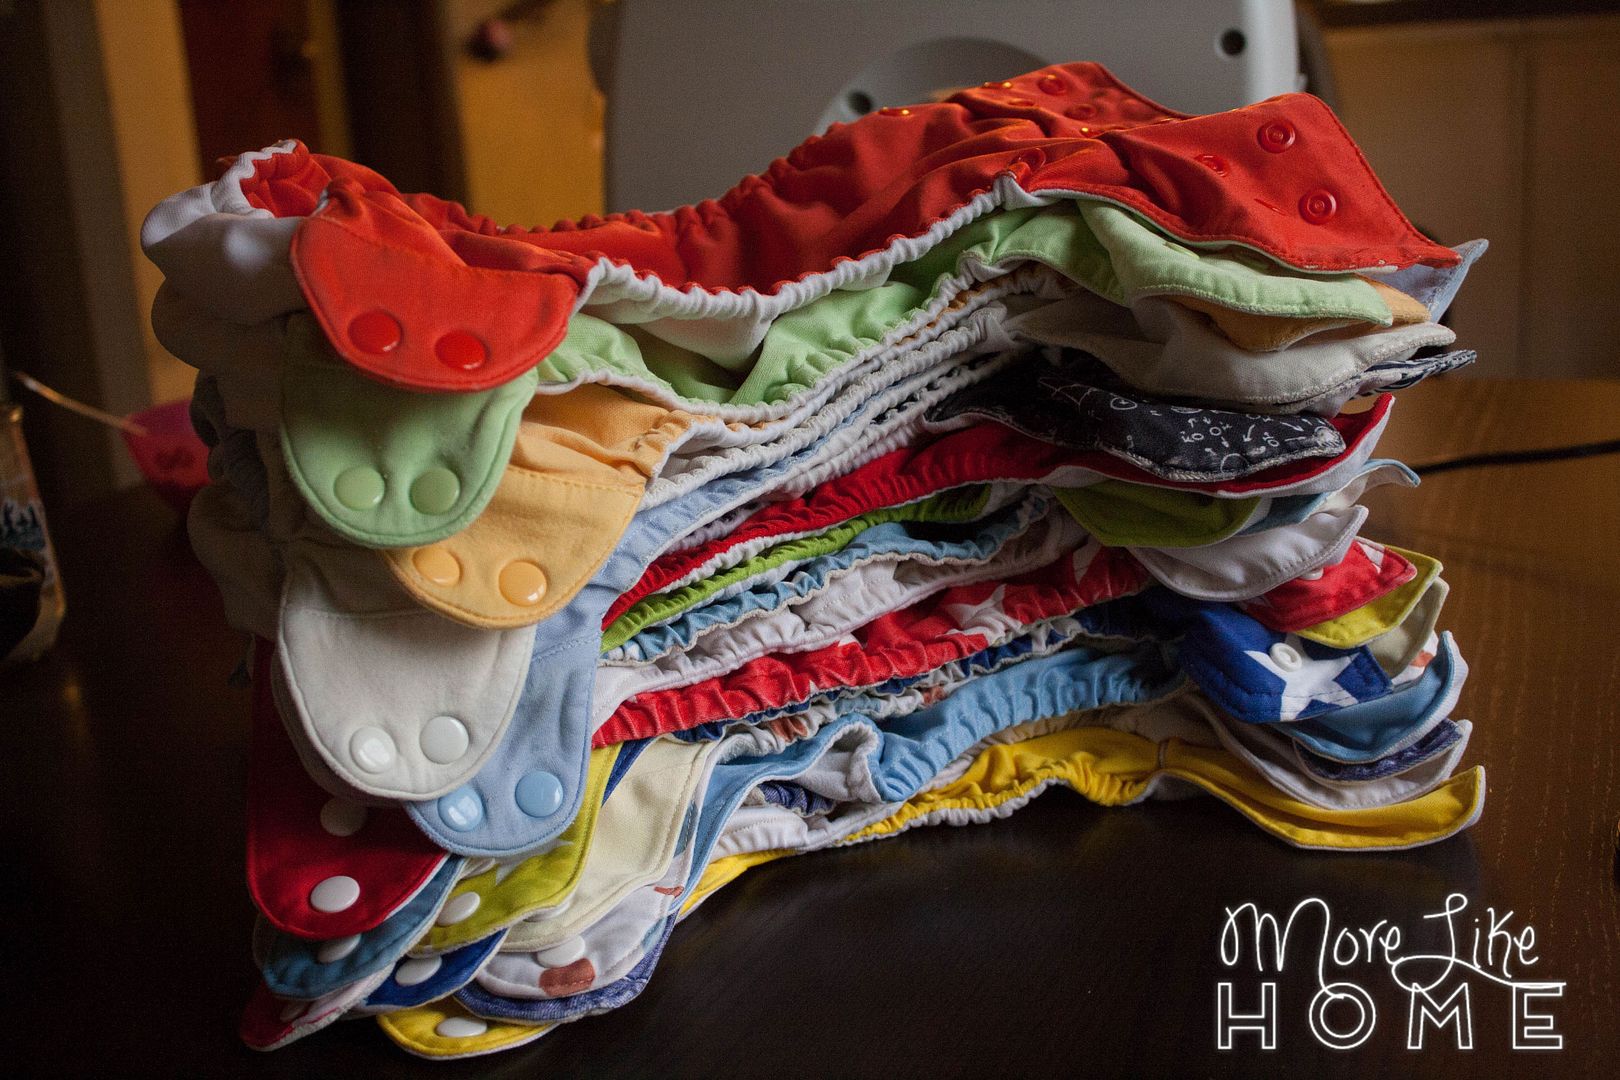
cloth diapering our babies. We've saved even more money by buying some of our diapers second hand. But we're on our third baby now and some of our diapers... aren't looking so hot anymore. And worse, aren't working so hot.


As any cloth diaper parent will tell you, elastic wears out over time. It becomes more and more relaxed until it doesn't have any stretch left at all. It's just kind of there. When our diapers started losing there zing, boy #2 was big enough we could still get by. He didn't need much elastic around those big legs. But with baby #3 on the way, I knew something would have to give. Tiny baby legs need good elastic to cinch up and keep the mess in.


So we faced a dilemma: buy new diapers, or try to save the ones we have. I started by looking them over and, apart from the elastic, most of them were still in pretty good shape. I tossed a couple that had torn or peeling PUL (waterproof layer). But I decided to take a swing at replacing the elastic on the rest. Here's a little before/after action:

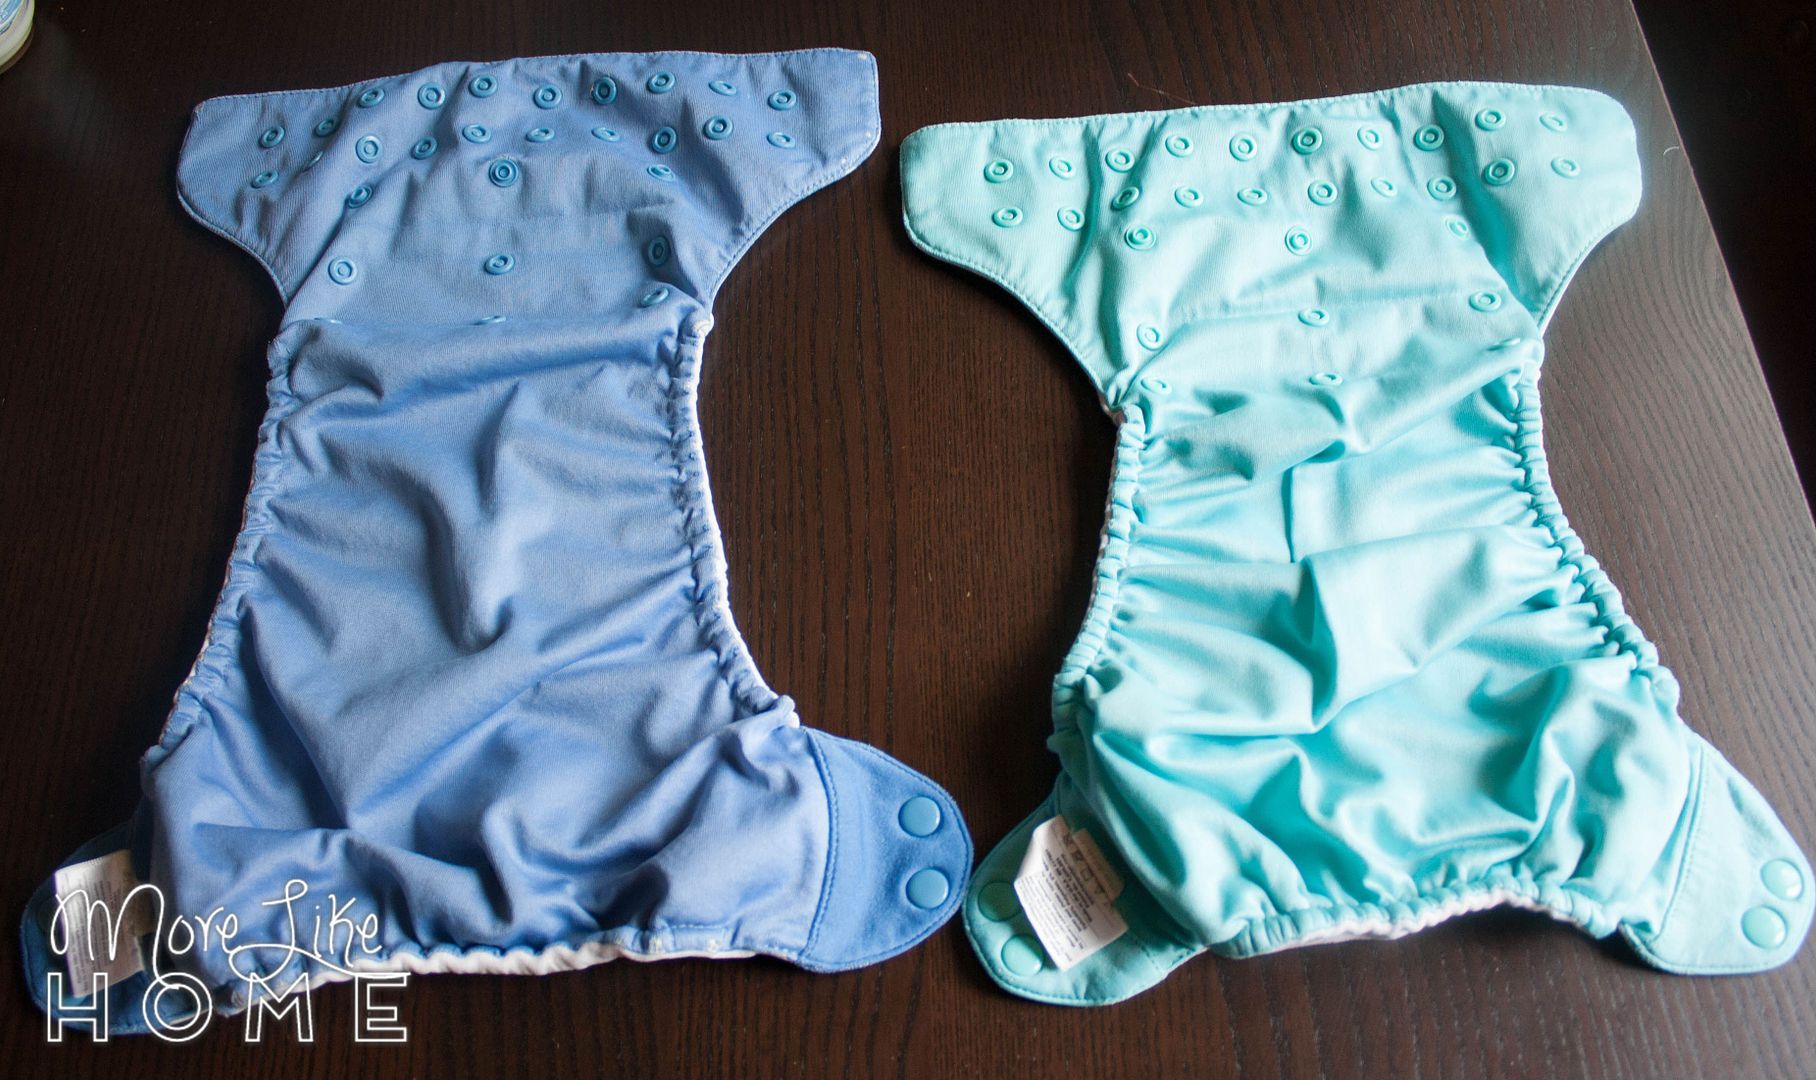
I feel like it doesn't look super different in pictures, but it made a huge difference in use.

And this is when Bum Genius really became one of my favorite diapers. The elastic was so simple to replace! I ended up scrapping some other brands of diapers because the elastic was sewn all the way through and I could not. get. it. out. But these guys were pretty much a piece of cake. Here's how to do it:

Saturday, March 11

DIY Slatted Floor Bed

You may have already seen we switched to a floor bed (and built new crate nightstands to go with it) but today we're talking about what's under the bed. Yes, I know the floor is under the bed. It's a floor bed. But it turns out we actually needed to get it off the floor... without getting it too far off the floor.


A mattress straight on the floor can trap moisture and land you in a terrible world of mold and mildew. So I'm told. I don't intend to test that theory, but it does make sense. So while we want our bed as near the floor as possible, we also want to allow airflow underneath to keep things fresh. And sanitary. So we built a simple, low-profile slatted bed frame for the mattress to rest on. Problem solved.


It was a quick little family project. We squeezed it in one evening after dinner with our little troop of minions at our knees. The littlest one might be the heftiest board-carrier.


Here's all we needed to make our king size bed frame (you can easily make a different size by adjusting the length of your boards):
  • 3  -  2x4  @  8'
  • 2  -  1x2  @  8'
  • 18  -  1x3  @  6'
  • 1 1/4" wood screws
Finished size is 75" wide x 80" long x 2.25" high


Wednesday, March 8

DIY Superhero Mask Kit (and princess mask kit)

It's been a mild winter, but a winter nonetheless. And winter is the best time for cozy indoor projects with the kids. Especially projects that use creativity, and that they can play with for hours afterward. Like a DIY superhero mask kit. Last Christmas we were looking at craft kits to give as gifts to a few kids on our shopping list when I came across a line of mask kits (superhero masks, princess masks, and animal masks). They were perfect for the kids we were shopping for... but they were $20 each. And I had a whole box of felt scraps in the closet. 


So I pulled up a mask tutorial I'd found on pinterest, and with my box of felt and a pair of fabric scissors I whipped up our own little mask kits! Our little superheroes were thrilled. (we also made a princess kit for the girls)


Here's what you need to make a mask kit:
  • the mask pattern
  • felt in a few coordinating colors
  • 12-14" of 1/4" wide elastic (12" worked for my 3-year-old, but it was a bit snug for the 5-year-old's high-percentile head size. It pulls the eye holes a little flat and makes them harder to see out of.)
  • fabric glue
  • glitter glue (optional)
Start by making the basic mask. Cut out two matching mask pieces (you can download the superhero mask and princess mask patterns here) from your main felt color. Stack the pieces on top of each other and sew around the outside edges and the eye openings. This makes a sturdier mask than a single layer.


Friday, March 3

Crate Nightstand Plans

Are you ready for this? These little crate nightstands are some of the easiest things I've built, and they're some of my favorites, too! They are so cute and I love the rustic, casual feel they bring to the room. Today I'm posting the plans so you can make some too!


The whole crate nightstand idea came about a few months ago when we got a floor bed. Our old nightstands were just too high for the new setup so we needed a change, and I happened to stumble across a pinterest photo of a floor bed with... crate nightstands. Bingo. I started searching craigslist and ebay for a few crates to call my own and discovered two things:
  1. Real, vintage crates are expensive. At least on craigslist and ebay.
  2. I couldn't find any crates the size I wanted anyway. 
Thank goodness for DIY. With just a couple boards we made our own custom crates!


We made two different styles because we needed different things for each side of the bed. For Husband's side we raised the crate on hairpin legs because it sits over a vent and we didn't want to block that air flow (bonus = the legs are super cute).


For my side I made the crate full-height with a shelf for books, but it's super narrow to fit between our mattress and the wall.


I love that they don't match perfectly, but they still go together! It just adds to that crate charm.


Subscribe