Wednesday, September 28

Farmhouse Dining Table - the BIG one

*UPDATE: More than 3 years later we still use this table every day and LOVE it!

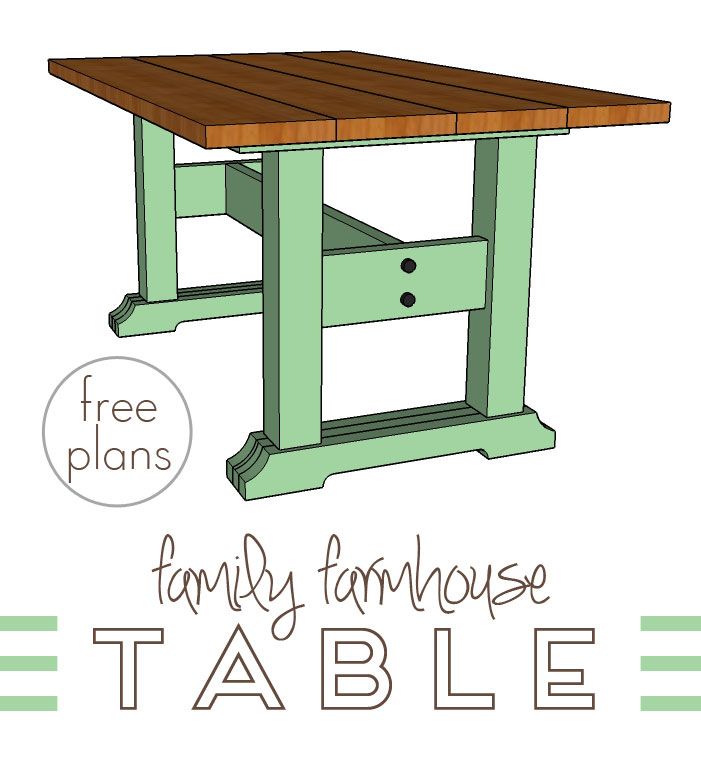
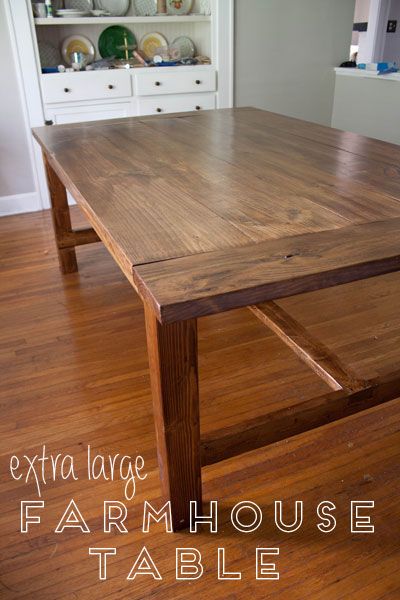
You guys have probably heard us mention that this is the first time in almost nine years of marriage that we've ever had a dining room. And on top of that, it's a huge dining room. So we found ourselves faced with a brand new opportunity - we got to build a table! A slightly mammoth sized table. We wanted a table with room to grow and plenty of space for guests, plus one that would make sense in the space. (see the matching bench plans here, and another fun farmhouse table plan here)


Our house is actually an old farmhouse that used to manage the 60 acres around us. The original owners left a packet of information and old photos with a pretty complete history of the house & property that's been passed down from owner-to-owner. It's pretty cool and we plan to add a few photos of our own! With our home's history, a traditional farmhouse style table seemed like a fitting choice.


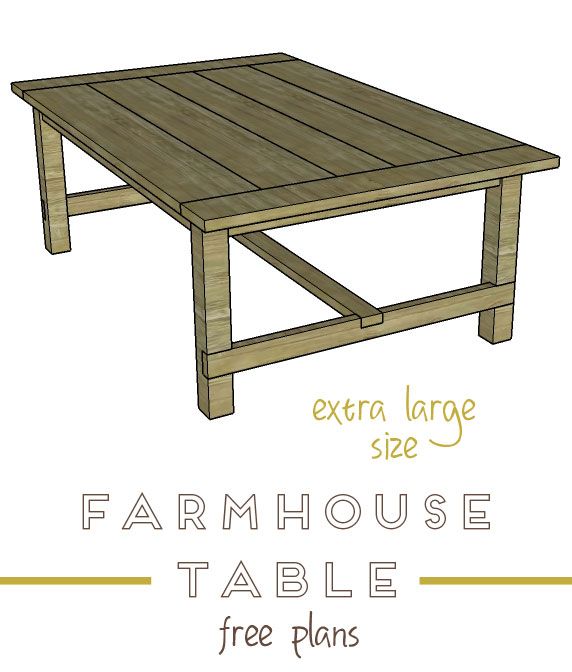
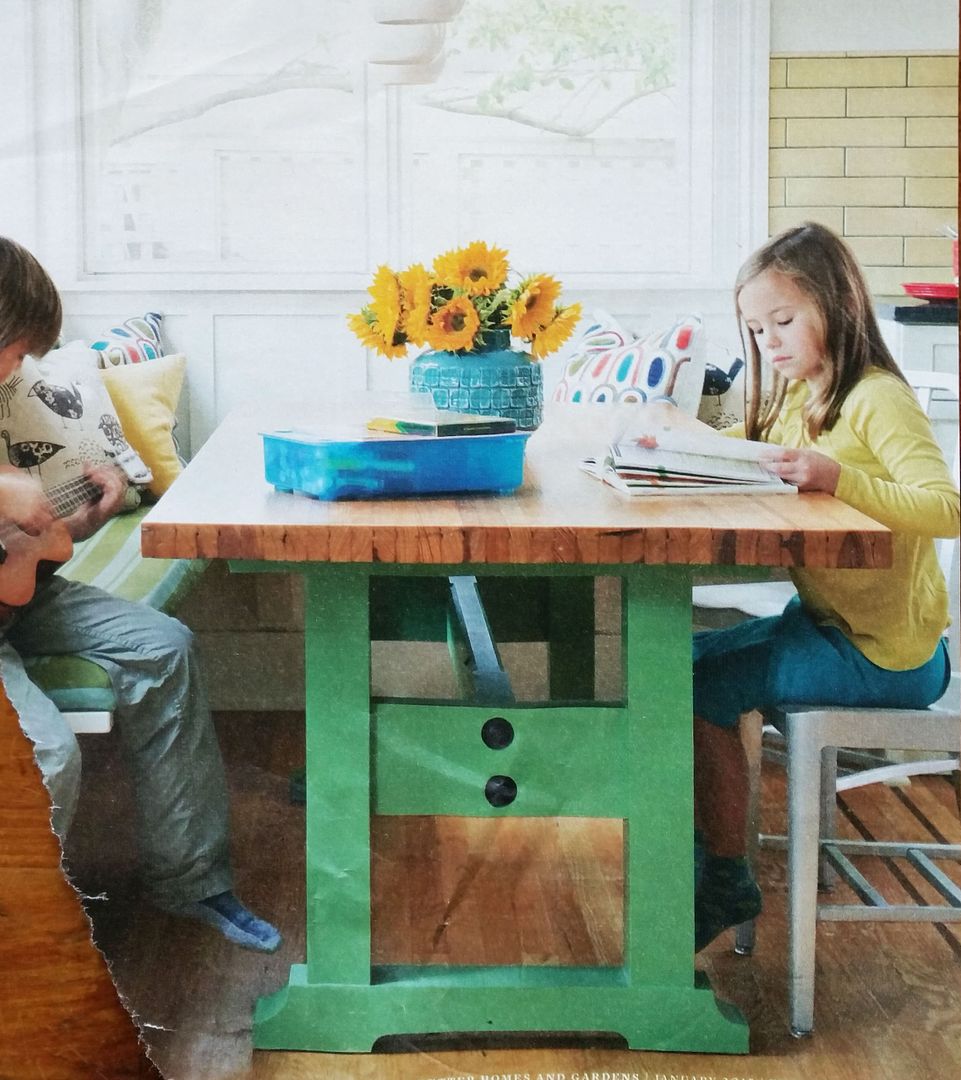
After looking at dozens of table designs, I finally narrowed down my favorite features: I like it simple, I like stretchers, and I like wide planks for the top.


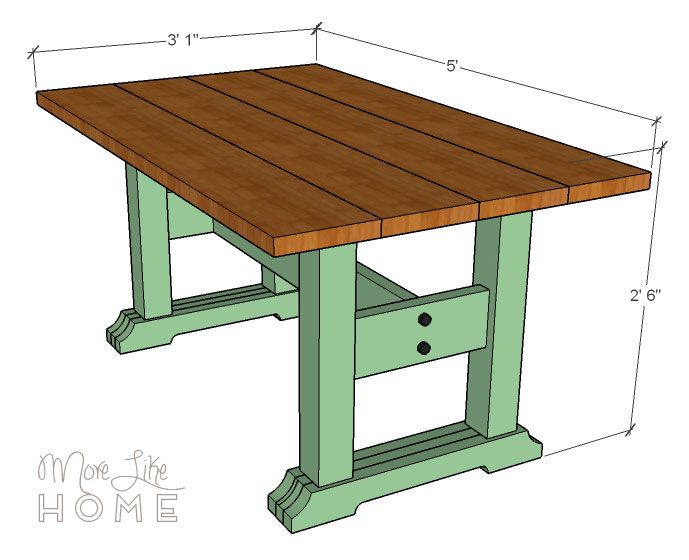
And that landed us with this design (based on Ana White's farmhouse table with the size modified). It's a little longer than most tables (7') but it's also over 4' wide, giving us plenty of space to fit serving dishes or spread out with art supplies.


Saturday, September 24

Organizing the Van with Kids (and our "backup box")

Traveling with kids usually mean hauling a lot of stuff. The more kids. Even a trip to the grocery store can mean sippy cups, lost shoes, and an outfit change if you have a potty trainer. Sometimes we feel like we're packing enough for a weekend trip when we're just heading out for a few hours! Rather than lugging a huge diaper bag every time we leave the house, we've found it's much easier to keep a few key items stashed in the van permanently. Things we don't necessarily need to carry in our bag, but we want to have access to without running home. Here's what we pack and how we do it:


We have a Grand Caravan with "Stoe and Go" storage, which is wonderful for storing these extra items without sacrificing our trunk space! But if you have a car, you could totally do the same thing in a trunk with a couple small totes. Before we had our van we actually kept this first box on the floor below one our rear-facing carseats for easy access. This box was the first thing we ever packed for emergencies. We call it our "back-up box." Which is basically all the kids stuffs we might need in a emergency.


We use a small 5 gallon tote from Walmart, I think it was $6 but that was a few years ago. It's enough space to pack for our three kids without taking up too much room in the van.


What's in it? Let's take a look. A few books, a soft ball, and a few small toys (cars or animals) in a baggie. We always have something to entertain them if we end up having a long wait! We also kept a baby sling in the box while it was in our car, but now it's usually stuffed right in the Stow and Go so we can get it out quickly.


Tuesday, September 20

DIY Mini Van Stroller... Holster?

We always keep an umbrella stroller in the back of our van. We've been caught a few times wishing we had one with us and, frankly, we're tired of it. And tired of carrying tired kids. But when our travel stroller lays in the trunk, it takes up all the floor space and has left us pulling it in and out every time we need groceries. So we had to choose between being stuck stroller-less or wrestling with the stroller while loading groceries with three kids. I don't know which was more inconvenient. We needed a better way to have our stroller with us without using up our valuable storage space.


That's when I stumbled across a picture of a stroller hanging on the back of a van seat using an old belt. BOOM. That was the answer to our woes. Except without the belt, which actually seemed difficult to get the stroller into. So I bought a few simple supplies from the fabric store and got to work making our very own stroller holster. It only took about 20 minutes to make both straps! Here's what you need to make your own:
  • four 1" D-rings
  • two 1" slide buckles
  • two 1" swivel snaphooks (or any similar kind of clip) 
  • three yards of 1" webbing you can probably get by with two yards, but I bought three to be safe  (they had several colors, but I chose with white because I didn't want to risk color bleeding onto the seat upholstery)

Start by cutting your webbing in half to make two straps. Thread the end of one strap through a D-ring so about 1.5" is through. Fold under the raw edge, then sew along the folded edge to lock in the D-ring. I did a second line of stitching to reinforce it:


Friday, September 16

Friendly Family Farmhouse Table - Friday Hack

Welcome to our Friday Hack! Today we're tackling a beautiful little farmhouse style dining table. I found this in an issue of Better Homes & Gardens and fell in love with it. The style is simple without being boring, and the bright two-tone finish makes it cute, welcoming, and full of charm. It's the perfect little table for your family to come home to at night!

Image via Better Homes & Gardens magazine

I'm calling it the Friendly Family table because the finish of the original is so bright and friendly. It's the kind of table that will welcome your guests in and invite them to stay. It's relaxed and comfortable so everyone can feel right at home. And what a perfect table for the center of life with your own family! The big work surface is great for homework, crafts, coloring, and of course dinner together. But enough chit chat, let's get started!


Read all the steps before beginning (and the notes on making the tabletop). Work on a level surface. Cut your pieces as you go, double checking measurements before each cut. Pre-drill and countersink your holes, and always use glue. Use necessary safety precautions, and don't forget to have fun!

Shopping List:
1  -  4x4  @  8'
1  -  2x6  @  6'
2  -  2x4  @  10'
4  -  2x10  @  6'
wood glue
2.5" Kreg Jig screws and a Kreg Jig (OR regular 4.5" wood screws)
2.5" wood screws
4 - 3" large bolts with washers (optional)

Finished dimensions are 60" long x 37" wide x 30" tall. You can easily adjust the length by changing the length of your table top & stretcher.


Wednesday, September 14

Organizing the Boys' Room + Free Printable Toy Labels!

We have to make a choice. Keep the toys under control, or be overrun. We're doing our best to choose the former, and we've found two main weapons in this battle - limiting the number of toys we keep, and finding a way to organize/manage the ones we have. Most of the toys are stored in the boys' room, so that's where we've been targeting our organization tactics.


We want them to have plenty of space to play with the toys we have. Because toys do their job better when the boys have room to spread out and stretch their imaginations. Keeping fewer toys stored on the floor helps, and so does our Ikea bunk bed.


Next to the bed we keep our basket of board books (these are books the baby can pull out, too!) and a box of wooden blocks (also baby-friendly).


Monday, September 12

Backpack Diaper Bag - the What & the Why

Update: I'm still loving a backpack diaper bag, but I upgraded to this LAND backpack and it changed my life. So organized. So compact (yet spacious... how?!). Definitely recommend it!

The diaper bag. It's no fun to lug around, but you don't want to be caught without it. So we do the best we can to make our diaper bag work for us, not slow us down. But this season of life has us ditching the traditional diaper bag and reaching for something a little different - a backpack!


With three little boys to corral, I need my hands free as much as possible! Even having our messenger-style Stroller Friendly Diaper Bag swinging around has frustrated me. The last straw was a hike down to a creek at a local park. When it was time to leave, the boys pulled the old "my legs are too tired! I can't walk!" and left us dragging three children and an unruly bag all the way back up the hill. That was the moment I decided to go backpack shopping.

So today I thought I'd shared a quick peek inside our pack at what carry in it for our 5 year old, 3 year old, and 10 month old. This backpack is from Target and has one small zipper pocket inside and one outside. So let's start with the outside pocket! We keep the smaller things we don't want to search for in here: a teething ring, small CJ's BUTTer diaper cream, tissues, a pen, ziploc bags for boys to collect treasures in, bug spray, and a couple small snacks.


Inside is one large compartment. One of my favorite things about this bag is that the zippers can pull all the way down to open the front of the bag, so it's easy to find things even at the bottom.


Thursday, September 8

DIY Shorty Wrap (plus three ways I wear it)

Getting things done with a baby in the house can be hard. Which is one of the reasons babywearing can be a life-saver! This summer in an attempt to beat the heat I tried out a new lighter, cooler baby carrier - the shorty wrap!


I love my homemade ring sling and stretchy wraps for a newborn, but with a hefty 9 month old I've moved into more supportive waters. I've made a couple Mei Tai carriers that I haven't reached for lately (the ease-of-use is great, but I'm planning to make one with wider straps to see if I can get it a bit more comfy). So that has left me falling more in love with woven wraps. And it probably helps that Husband got me the wrap I've been dreaming of for my birthday last year. But both the dream wrap and my homemade wrap are pretty long (a size 5 and a size 7) and require several passes. More passes = more layers = more heat. So when I started thinking about something cooler for summer, a shorty seemed like it was worth a try!


A "shorty" is woven wrap that is... short. Ha. Size 4 or shorter. The one I made is only a size 2 (more info on wrap sizing here). I've actually made one shorty before using a $6 tablecloth (tutorial here) but I didn't really know how to use it and gave up pretty quickly. But a couple months ago I came across the shorty carry tutorials by Wrap You in Love, and the whole shorty world opened up before me.


Sunday, September 4

Simple School Bench

Our boys have always seen us building lots of different projects, but last month they hopped in with a project of their own. With some help, of course. But they are so proud of their work, and it turned out great!


We needed a place to store things like puzzles & books in our "school room" and we had a perfect spot under the chalk board to tuck in a little storage bench.


So I drew it up with the boys and took them shopping for the wood. We let them do everything they could help with - drilling, putting in the screws, sanding and staining. It was a great little first project, and just what we needed for the space!


Subscribe