Remember the $50
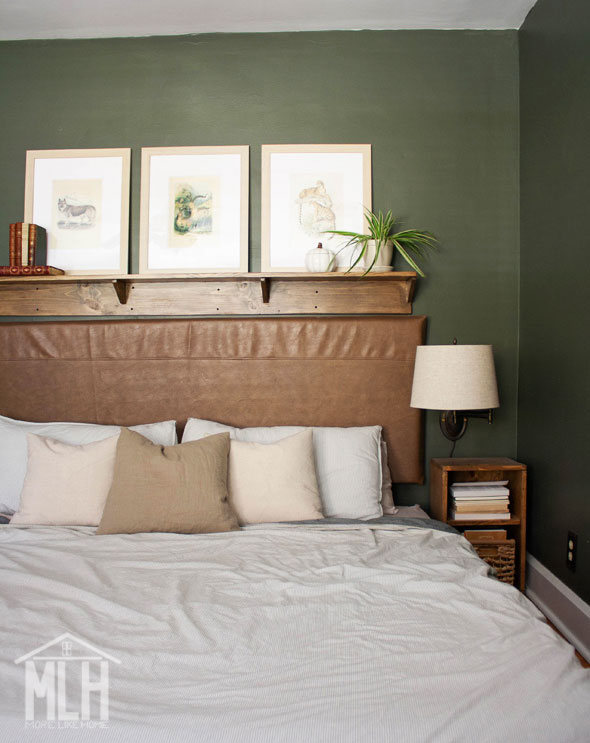
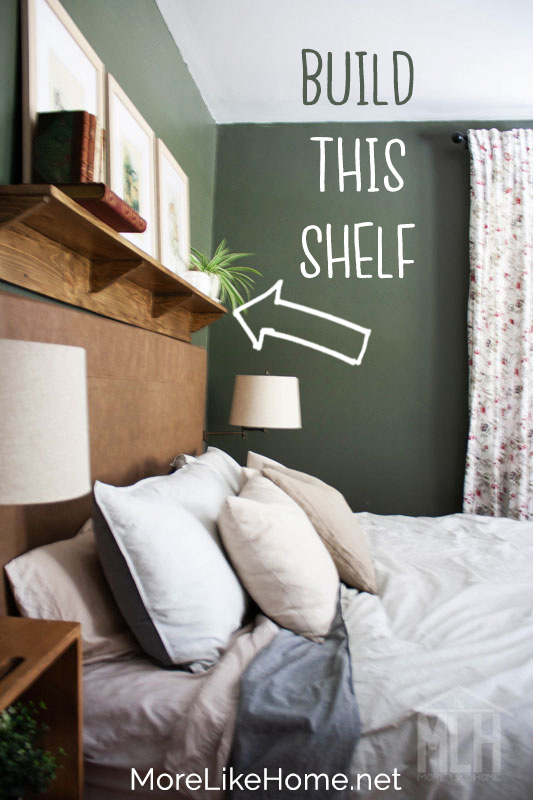
low-budget bedroom refresh we did in the fall? I know, it's been awhile. But today we're throwing back to that fun project and showing you how to build that sweet (and super affordable) shelf we installed above the headboard! It's so easy to build and totally makes the space.
Plus it's easy to customize to any length you need!
Want more refresh ideas on a super tight budget? Check out these room reveal posts:
For this refresh, we also DIY'ed the easiest upholstered headboard EVER.
You can see how we made it here. Other than that we just tweaked a few details and accessories to totally transform the space! You can check out all the details - the budget, what we bought, what we moved around, etc -
in this post.
To make your own shelf, this is all you need:
- 1x8 board for the shelf - the length you want your shelf to be
- 1x6 board for the back - the length you want your shelf to be
- 1x4 board for the brackets - scraps or a 4' board would be plenty (you need more brackets for a longer shelf, less for a shorter shelf)
- 1 1/4" wood screws
- optional: Kreg Jig + 1 1/4" pocket hole screws (definitely don't need it but I used it so I didn't have any holes to fill)
- optional: finishing nails (I just really don't like to fill holes, guys)
- wood glue
- wood filler, if needed
- sandpaper and whatever paint/stain/sealer you want
- screws for attaching the shelf to the wall (we used 3" screws and drilled directly into studs)
Start by cutting the shelf and back the length you want your shelf to be. I was planning to do my shelf the full width of our King bed (76") but my longest 1x8 board was like 72" and... the budget. I didn't want to spend the money on a new board for an extra 4" so I went with what I had. It's close enough. Just make sure your 1x8 shelf and your 1x6 back board are the same length.
Attach the back board to the shelf board - the shelf should rest
on top of the back board, not butt up against the side of the back board. Attach it with wood glue and by drilling down through the top board into the edge of the back board with 1 1/4" wood screws.
Or use pocket holes along the back of the back board to attach it - then the holes will be hidden against the wall!
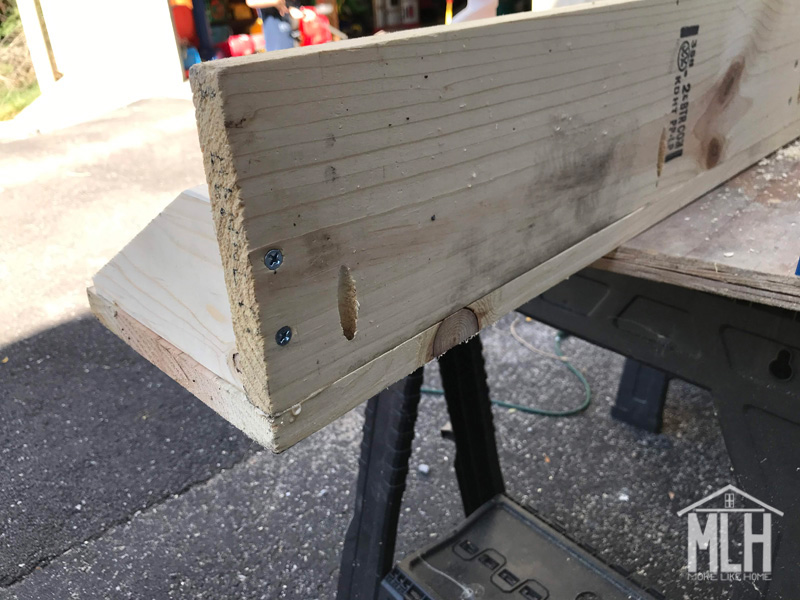
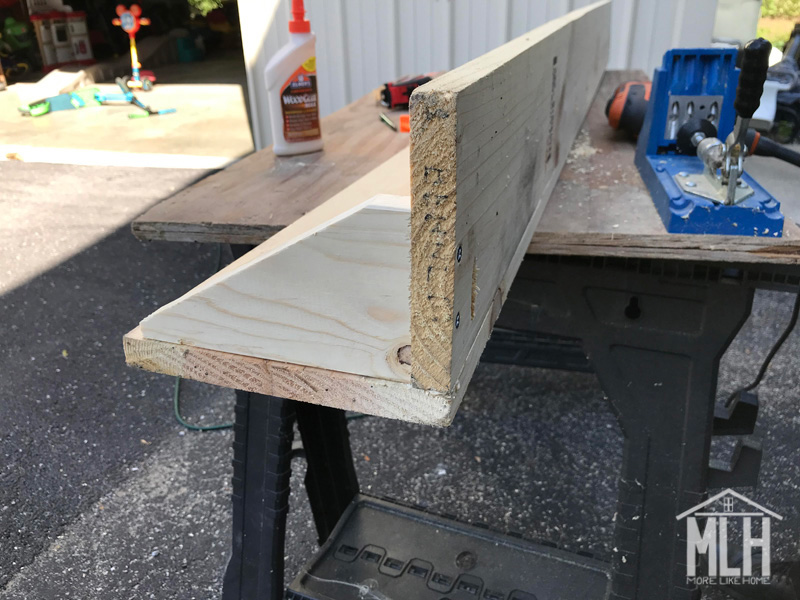
So in this pic, since the whole shelf is upside down right now, the shelf board is laying down and back board resting on top of it and attached with Kreg Jig pocket holes:
You can see the pocket hole along the bottom edge. Those two screws on the left were used to attach the bracket - we'll get to that later.
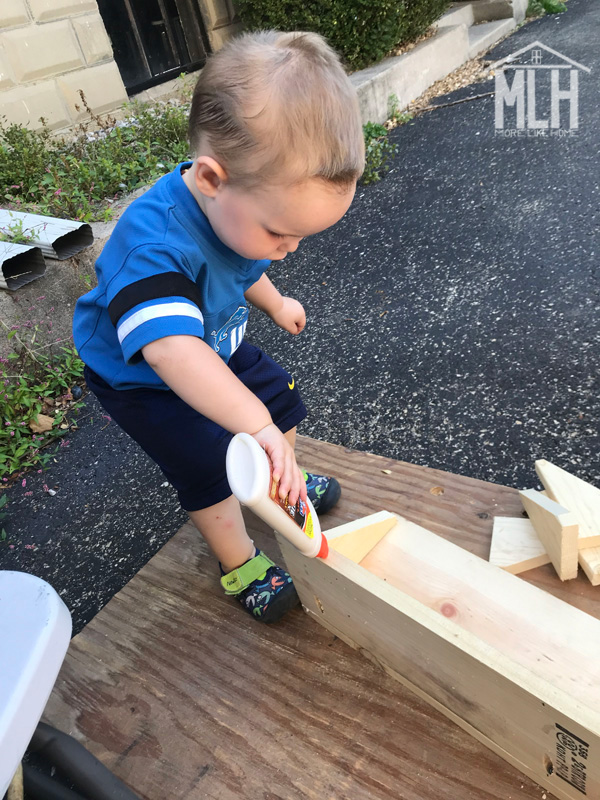
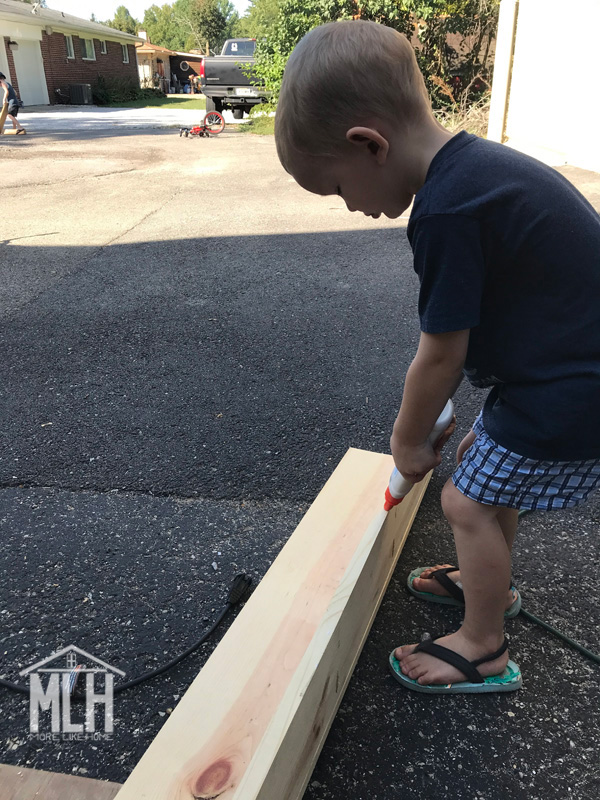
Don't forget the glue. And don't forget to put the glue up when you're done or a little helper might make himself helpful.
Look at that precision. Totally don't need any glue there, though.
Next you need to make the brackets. Start by cutting pieces of 1x4 that are 6" long. I cut four for this shelf, but you can do more or less as needed for the size of your shelf and to fit the look you want (but remember more is always better if your shelf will be carrying a load!).
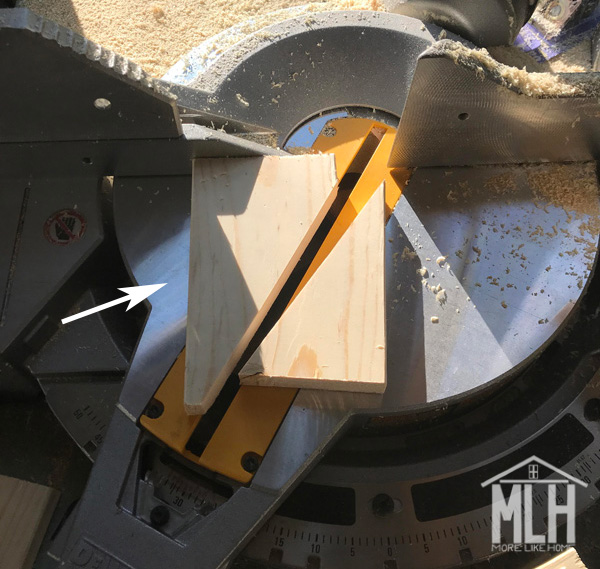
Then you need to cut each of those 6" pieces into the bracket shape. I set my miter saw to a 30 degree angle and cut a practice bracket to make sure I liked the proportions.
I'm pointing at a pencil mark. That will be important in a minute.
The piece on the left is the bracket. I cut it so that there was a straight edge left at both the front and back (it doesn't go all the way to a sharp corner like the scrap piece on the right). Once I was satisfied with the bracket shape, I lined it up against the saw blade and used a pencil to mark a line at the edge of the board
. That line I was pointing at two pictures back. Then I just had to line up each of the other 6" boards with that mark and knew I was getting perfectly matched brackets. You could also trace your cut bracket onto the top of each piece of wood instead. Whatever floats your boats, peeps.
Go ahead and cut as many brackets as you need. Actually, I think I cut five but when it came time to install them I decided I liked it better with four.
As is always the case, but especially when your miter saw is set to an angle you're not accustomed to... PLEASE DO NOT CUT YOUR FINGER OFF.
K, thanks.
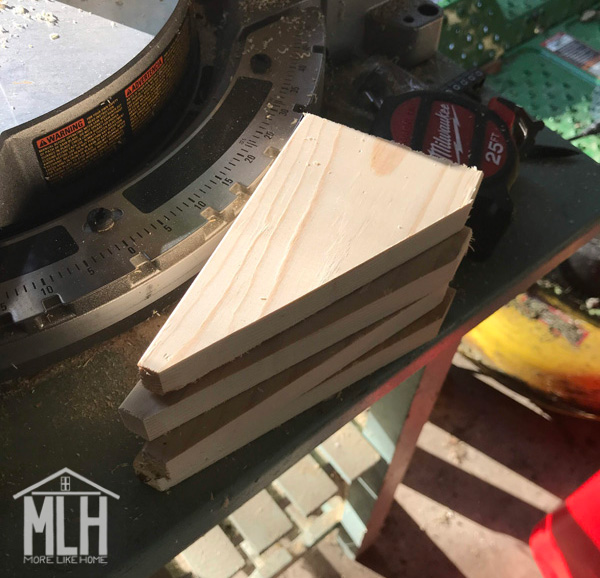
Perfectly matched brackets. Not perfectly stacked brackets.
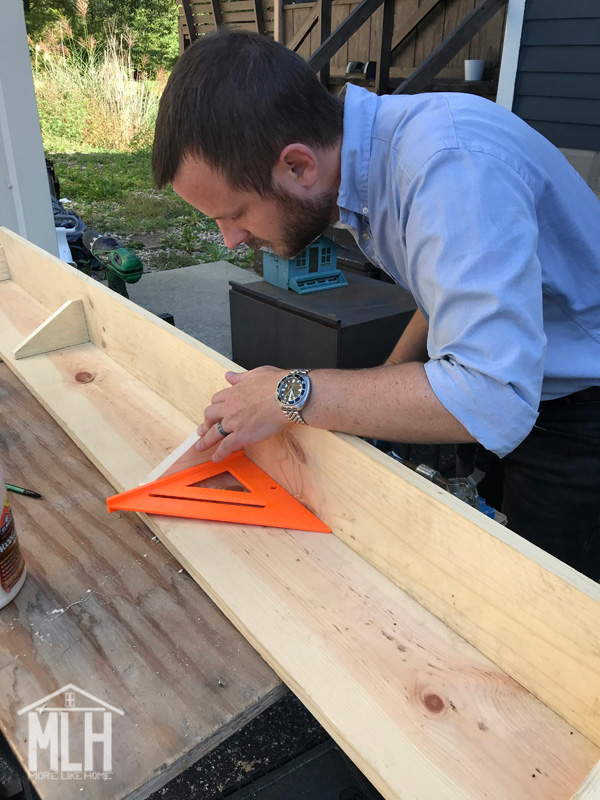
Now you can install your brackets. The long side of the bracket goes against the shelf (remember that's on the bottom in this pic) and the short end goes against the back board.
I did one bracket flush at each end, then spaced the other two evenly in between. Use a square to make sure the are straight.
To attach my brackets - since I don't like to fill holes - I used 1 1/4" wood screws to attach the back side of the bracket by drilling through the back board into the end of the bracket. I wanted to use screws for at least part of it to make sure I got a good, strong hold. Then I flipped the shelf right-side-up and nailed down through the shelf into the top of the bracket with finishing nails. You can attach the top with screws if you don't have finishing nails, or if you want to reinforce the hold a bit more.
*cough*don'tforgettheglue*cough*
Second helper helping. Still don't need glue there, folks.
You're almost done! To finish your shelf, fill any visible holes with wood filler (be sure to get a stainable type if you're using stain instead of paint) then sand everything down really well. This is the most important step for a professional finish! Start with a rough sandpaper, then go over everything with a medium paper, then again with fine paper. Once it's super smooth, finish it with whatever paint or stain and sealer you like.
I tried out a few leftover stains on a scrap board to see what would work with my walls and headboard (budget project = no $$ for new stain). I tried Early American, Weathered Oak and Coffee, and decided on a layer of Weathered Oak topped with a layer of Early American. It hit that sweet spot of not-too-gray-but-not-too-brown.
Full disclosure: I used to read about people mixing or layering stains
and think it was flat out crazy. Like who has time for that? Just pick a
stain already! But here I am. Turns out it was the best way to make the
most of what I had.
Weathered Oak going on first.
Once it dried we hung it centered above the headboard. We drilled straight through the back board into studs in the wall. Yes, the screws are visible, but we're sleeping with our heads under this thing and didn't want any chance of a shelf-falling wake-up call. We used black 3" drywall screws since we knew the heads would be show (still not super pretty, but better than shiny silver heads!).
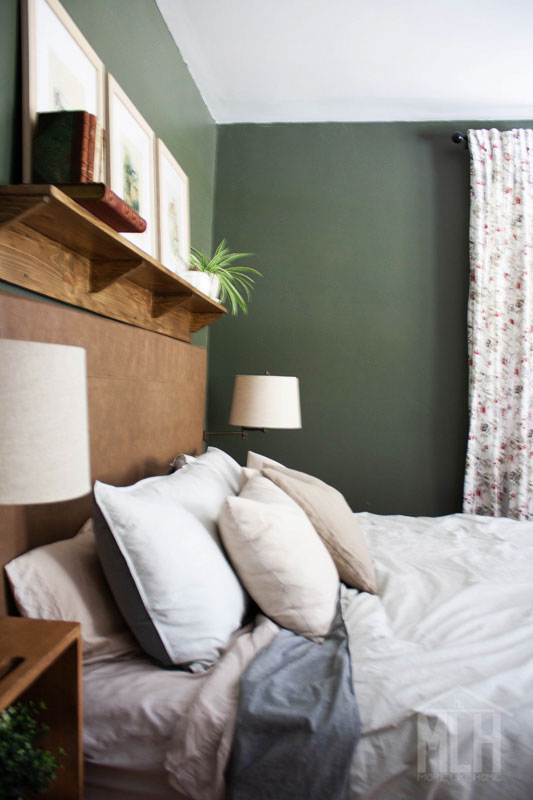
All done!
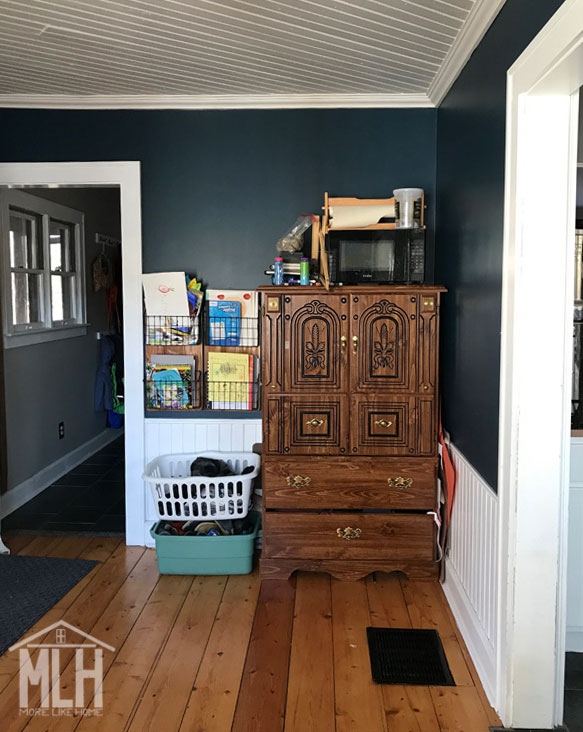
I know I've shared this before, but it's still my favorite side-by-side before + after of the space. What a difference a few simple changes can make!
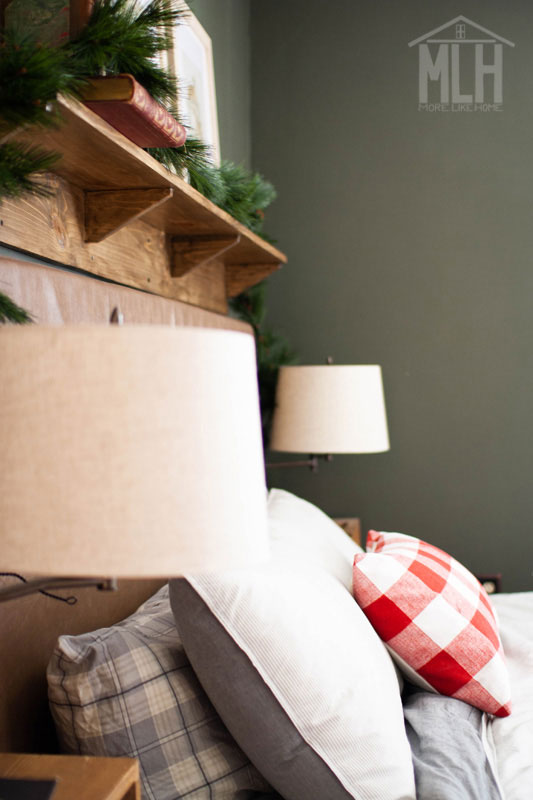
And here's an
update with it decked out for Christmas:
Now I'd love to hear - what's your favorite thing about
your bedroom? Is it a special piece of decor? The layout or flow? Something you made yourself? Let me know in the comments!

