Friday, April 26

Fast & Easy Flannel Baby Blanket Giftset (tutorial!)

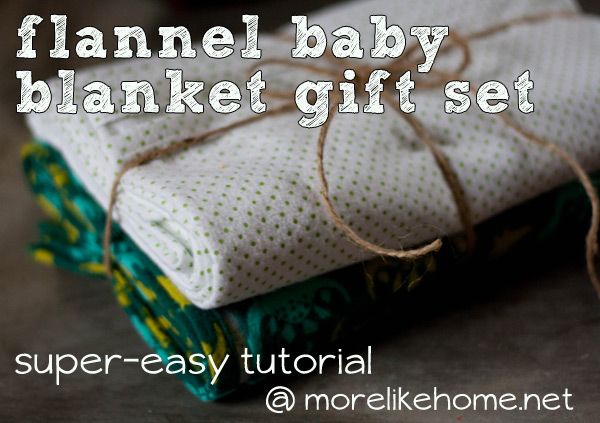
Today I have a fun project for baby. We're making a flannel blanket gift set! These blankets are great because they are made of one lightweight layer, and their big size means they can be used for a long time with a growing baby! And did I mention they're super easy to make? Even if you've never sewn before, there is nothing to be afraid of here.


I think everyone who's ever had a baby also had a big pile of receiving blankets tucked in a drawer. We definitely did. They are good for swaddling tiny babies and super handy to carry around for wiping spit up, a light weight cover for naptime, making an impromptu play space, or a quick nursing cover. We used ours quite a bit those first couple months, but I was always disappointed in the size. It only fit to swaddle him a couple weeks and he could knock it off easily while nursing. I kept using them though because they were light weight and easy to pack along in the diaper bag. Then it finally hit me - why not just make a bigger one??? Duh.


I know there are lots of super cute quilts and blankets out there, but I was really going for fast and easy with these. Turns out with the right flannel, these can be both - quick to make and stinking adorable. I don't find a lot of time to sew, and when I do there is usually a little boy on my lap! So I kept things super simple this time around. B and I tackled these in about an hour (we're planning to make a couple girly ones too, just in case).


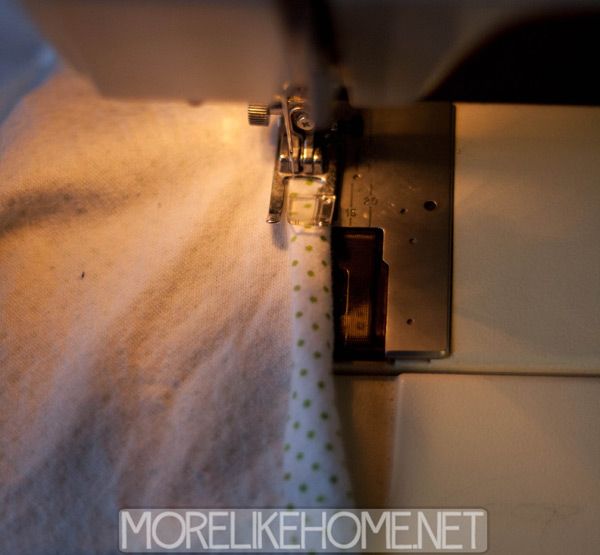
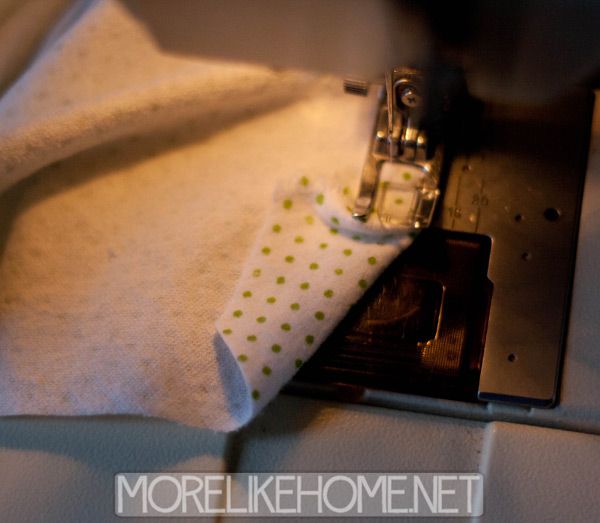
All you need is about a yard of flannel fabric (you could use a soft knit instead, but they're trickier to sew) depending on the size of blanket you want. I used the full width of the fabric and one yard was just short of making a square blanket so it's a bit rectangular, which is fine with me, just know if you want a square you'll need a bit more than a yard. :) I pre-washed everything and the cut the edges straight (I just eye-balled it. I like a little mystery.). Then I just did a simple rolled hem around the edges. If you want it exact, you can fold the edges under about 1/4", iron them in place, fold under another 1/4" or so, and iron them in place again. But if you're like me, you can just guesstimate and roll the edges under as you go. You can see in the pic below that I just tuck the raw edge under about 1/4" as I go along. I stitched right along the rolled edge.


I started hemming the edge in the middle of one side so I would have plenty of room to turn the corners. When I got to a corner, I clipped a small piece off at a 45 degree angle(ish) just so I wouldn't have such a thick stack to sew through.


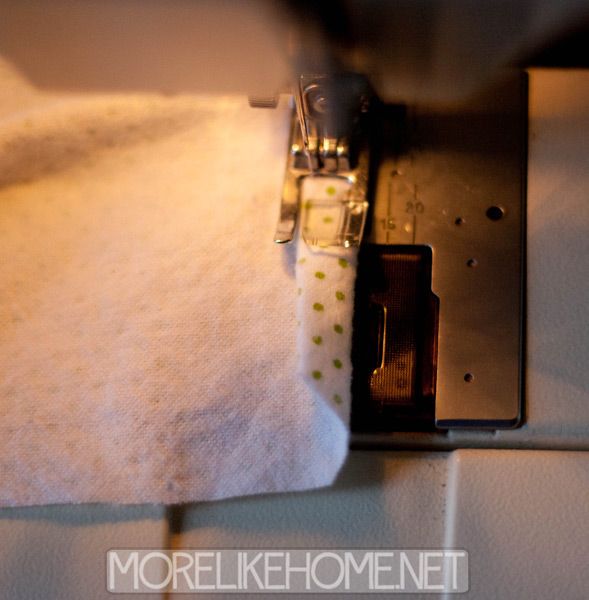
Then I tucked the raw edge under just like I'd been doing all along...


... and rolled the next edge in 1/4", then 1/4" again like in the pic below. I kept sewing along the rolled edge until I crossed onto the next folded hem and turned the corner. After I turned, I backstitched a few stitches to tack the corner in place. Then I just continued forward down that edge.


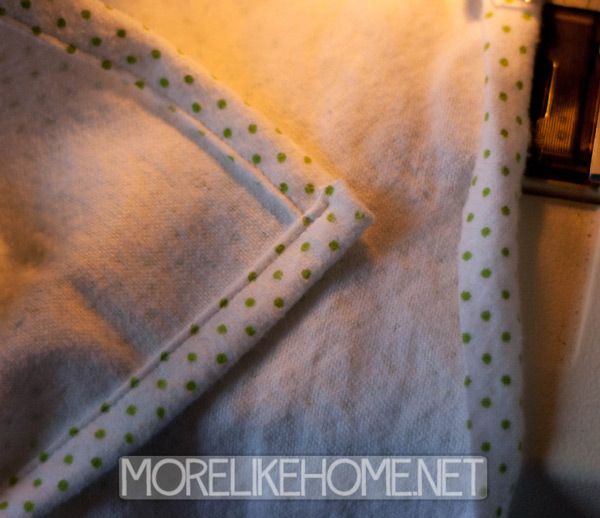
It left a nice tidy corner like this:


I just kept doing that until I made it all the way around.


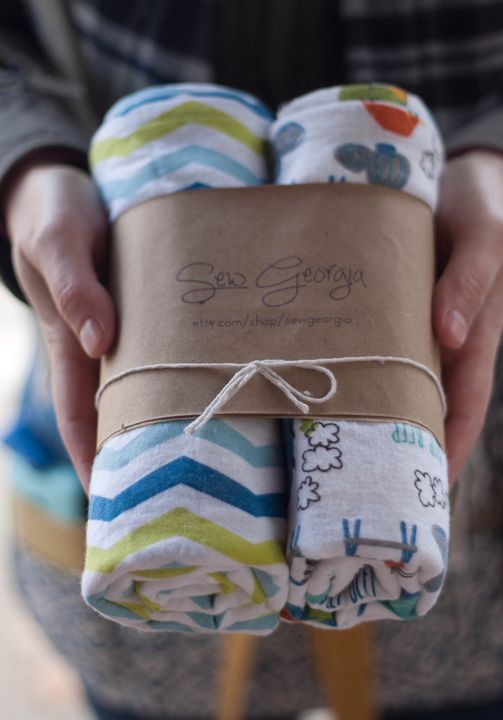
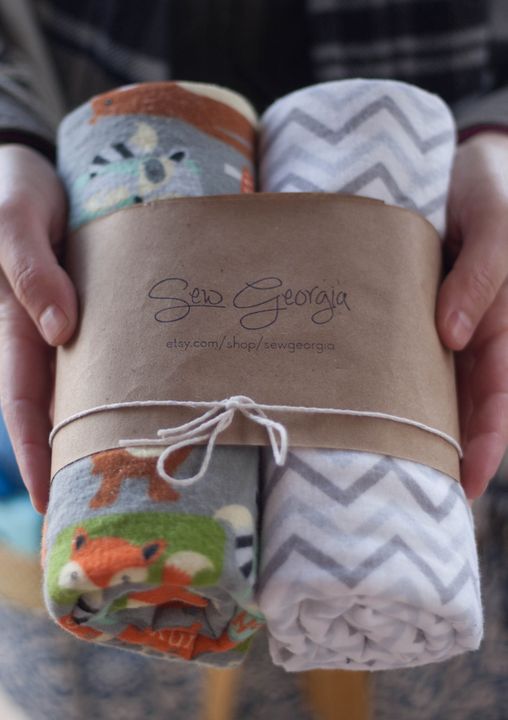
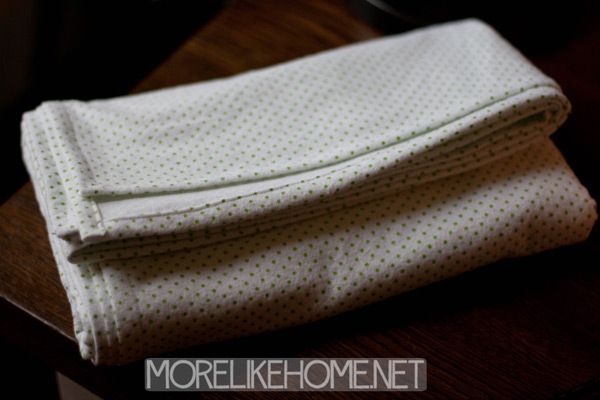
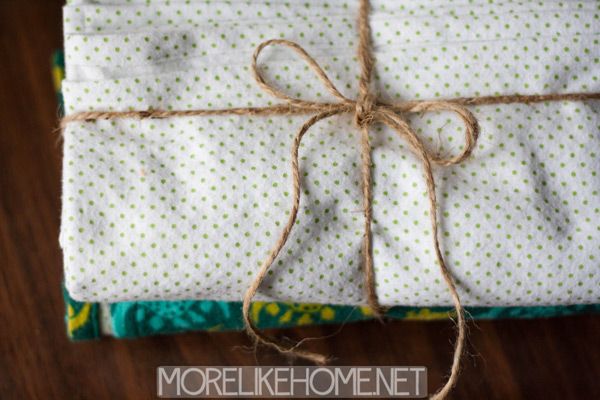
Now go ahead and make a couple and tie them up with a bow. What cute baby shower gift! Not to mention affordable. Joann Fabric always has some kind of coupon out for 40% off, and I bought my flannel back on black Friday and only paid about $1.25/yard! That's $2.50 for two nice big blankets!


I think I need to make one for B too. He's really liking these ones, but keeps telling me they are for the baby. :) He's going to be such a good brother! I'm trying to think of things for a gift bag for him when baby is born, and a blanket of his own might be a good idea to tuck in there.


Well, that's all there is to this tutorial for the easiest baby blankets ever.


What's your favorite homemade baby shower gift?

Wednesday, April 24

Yummy Baked Egg Rolls

Pregnant or not, I love Chinese food. But I know a certain husband is not so fond of it. He will take me from time to time just because he likes me. :) But in between I like to make yummy things at home to hold me over. I used a rainy day last week to make up some yummy baked egg rolls! It's easier than you think, and soooo good.


And you can fill them with just about anything you want! Here's what I used to make mine:
  • egg roll wrappers
  • 1 lb. sausage
  • 1/2 a cabbage chopped (or a bag of coleslaw mix)
  • a couple carrots, grated
  • 2 cloves garlic, minced
  • a dash of soy sauce
You could also use other veggies, bean sprouts, or seafood. Whatever tickles your fancy. Started by cooking the sausage in a large skillet until it browned. Then dump in the cabbage, carrots, garlic, and soy sauce and cook it about 8 more minutes until things start to soften up.


One at a time, put a scoop in the middle of each egg roll wrapper.


Then dip a finger in a bowl of water and run it along the sides at the top corner to get it wet. It gets sticky where the water touches so it can kind of glue itself together when we roll it.


Fold in the outside corners.


Then fold up the bottom corner and roll the whole thing toward the top corner to make a nice little bundle. The sticky corner should hold it closed.


Put the egg rolls on a greased cookie sheet and spray the tops with cooking spray (I used an olive oil mister). I baked mine at 375, I started out with 5 minutes, flipped them over, and did another 5. You want them to be lightly browned and crispy. I'll probably do a couple minutes longer next time to try getting them a little crispier. (you can fry them if you prefer, but I avoid that whenever possible because I always burn myself!)


Serve them up with some sweet & sour sauce and enjoy! If you can't eat them all, no problem. They actually freeze really well. Just pop them in back in the oven to warm them up again. I made two cookies sheets of them and I'm the only one who will eat them, so these should last a while. :) They are great because I can just pull 2 or 3 out of the freezer for lunch when N isn't home. Yum yum!


Not a bad snack for a rainy day. B was prepared for the downpour with rain boots and goggles. Although he couldn't be bothered with pants.


And the dada came home for lunch and took his pants-less boy out to play with "mmmmbellas." That's a good daddy, right there.


What do you like to make on a rainy day? Want to share a favorite chinese recipe? Pregnant lady's gotta eat. ;)

Monday, April 22

Easy Peasy Lamp Makeover

Last summer I stumbled across this desk lamp. I had been tossed in a pile on the curb with a "free!" sign after someone's yard sale. I happened to need a desk lamp so I snatched it up.


It probably won't surprise you that the white wasn't doing too much for me. So I brought out my new friend - oil rubbed bronze spray paint.


I gave the lamp a few light coats until the white didn't show through any more. I left it outside a couple more hours to dry thoroughly. I was careful not to paint inside the lamp head because I didn't know how hot it would get in there. Better safe than sorry!


Then I moved my fancy new lamp to it's home on my desk. See how rich the color turns out?


I actually don't have a bulb for it yet - ha! So it's just sitting there looking pretty. But doing an excellent job of it! (you can see my mini book buntings here, and my painted drop cloth curtains here)


Considering it took me a year to paint the thing, the light bulb prospects aren't looking too good. :) Oh well, I usually want to sit out with the hubs instead. I like him.


Anyone else tried ORB yet? Or made-over an old lamp with paint?

Saturday, April 20

Birthday

Hello friends! Just a little Saturday post to share some pics from B's birthday last week. Like I said before, it was just a simple fun day at home. With lots of streamers and a few balloons to boot. Or to "knock" as B says when he bats them around.


We didn't get him many presents, but we tried to make them count. The big one was a police balance bike (available here). Thanks to a gift card in only set us back about $20. We got the idea from a friend who has a balance bike - they're supposed to be great for little guys who can't pedal yet. Balance is the hard part and they can learn that first! His little toes just barely touch the ground (oops), but we're hoping he grows into before summer is over. :) We also got him some GT & the Halo Express CDs.


But it turns out all presents fade in light of helium balloons.


He loves muffins, so we made these apple cream cheese muffins for breakfast.


He used his special monkey cups to drink milk while he waited. I think he went through half the stack at breakfast because he kept pouring from one cup to the next!


He blew out the first candled, then seemed a little perplexed about what to do with the other ones. He gave it one more shot before declaring it "HOT!" and deciding he'd rather watch mama blow them out.


I'm pretty sure he ate three....

Friday, April 19

For the Love of Stripes

I know I've talked before about how much I love stripes. And how badly I want to get some in our house. Well, I finally found a way to bring some in without the commitment of painting the walls (for husband's sake). :)  I took the plunge and painted the curtains in the guest room! Which is a little funny, since the curtains are made of drop cloths (you can see how I made them here). I've been thinking about painting them for a while now but I kept putting it off because I was worried about how they would turn out - would it look cheap? Would it be splotchy in the light? Would it be super stiff? But desperate times call for desperate measures (husband sometimes thinks I'm a bit dramatic. I don't see it.) so I decided to go for it! And I'm happy to say I've been really pleased with the results!


I started by laying out the curtains and using a tape measure and pencil to mark every foot up both sides.


Then I took a long piece of painters tape and stretched it out between my arms across the curtain. I lined each end up with the bottom mark and pressed the ends down first. Then I pushed down the middle of the tape. That worked out best for getting a straight line between the marks. (if I had a wider curtain I would have made another set of marks down the middle of the curtain to help keep it straight, but since these are so narrow I could easily reach across and keep them straight)

B showing off his prize for being a good helper - his own piece of tape!

Wednesday, April 17

$4 = 4 Bags

Good news guys - yard sale season is creeping up on us! In fact last weekend a local mom's group had their big rummage sale! I didn't make it until later on Saturday which turned out to be perfect because they started $1/bag! Here's what I brought home for just $4:

6 summer maternity shirts and a maternity sweater. Perfect because all my maternity clothes are from winter last time! The thing I love about $1/bag is that I can just get anything that might fit and it's not a big loss if it doesn't. This is jut what I kept - there were 4 more shirts that didn't fit well, so I'll just pass them on to someone else. :)

A jacket, two sweaters, and a white tank (these are not maternity). The jacket might be my favorite find of the day!!

Subscribe