
Here's the trouble with bread (and grains in general) - the tend to have properties like phytic acid that prevent them from being digested and more importantly block your body ability to absorb nutrients from the foods you eat. Yikes. Based on what I've read I actually think grains are a big cause of cavities and other dental problems. If you haven't read this book and have any kind of problems with your teeth you need to check it out! The kindle edition is only $10 on amazon! The way around this is to do one of the three S's - soaking, sprouting, or souring. Basically you're breaking down the bad stuff before you even eat it! I tried a couple soaked bread recipes that didn't thrill me and sprouted flour is expensive! So that left souring.

I will admit, the whole process of keeping a sourdough starter sounded complicated and overwhelming. So I put it off. And then put it off some more. Until I finally realized I was just going to have to jump in or put it off forever. So I made my own sourdough starter using these directions. It took a couple weeks of feeding it twice a day to get it going, but now I can keep it in the fridge and just feed it once a week or when I plan to use it. Making my own really helped my get the hang of how it works and how to care for it, but if you prefer you can also purchase a starter here. As you're feeding it you can always use any extra starter to make sourdough pancakes or crepes (two of our favorite breakfast foods, along with french toast made from our sourdough bread!).
Once your starter is established you can use it to make all kinds of things! You can google recipes for just about anything, or do what a friend taught me and use 1 cup of starter to replace 1/2 c. liquid and 1/2 c. flour in any recipe, then let it soak overnight before baking. This is the bread recipe I learned from that same friend and it's the easiest, least hands-on way I've tried to make sourdough bread. The original recipe is for an artisan style loaf and I prepare it just a little to make the loaves we prefer for sandwiches and toast. I'll share the directions for both. :)

But first, if you're totally unfamiliar with sourdough (as I was a just a couple months ago) here's a crash course in using a starter! A starter is just a small amount of sourdough that is "fed" regularly to keep it alive and bubbly, ready to jump in to action! It gives breads rise without any additional yeast and more importantly makes it easier for your tummy to absorb nutrients! We keep ours in a mason jar in the refrigerator and feed it about once a week. We prefer "white whole wheat" flour because it has more nutrients than white flour, but has most of the bran removed (unlike whole wheat flour). We've been very happy with Great River Milling flour through Amazon's subscribe and save but I found a small Amish store that sells a flour that is non-gmo and chemical-free for a better price that I might try next time (it's this kind, but the amazon price is super expensive!).
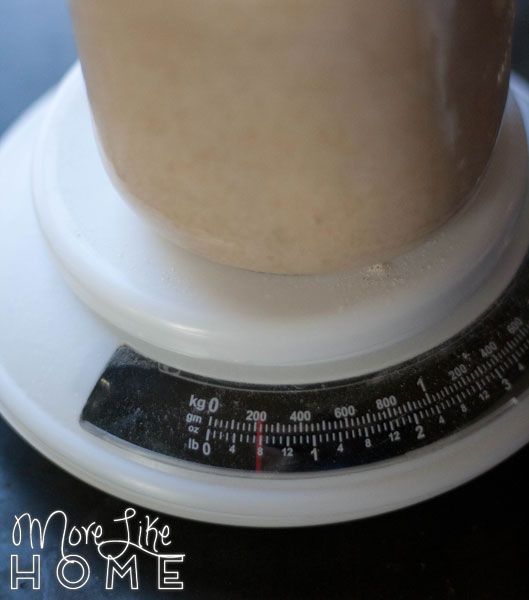
To feed it just dump out about half of the starter. This is referred to as "discarding" but you don't have to throw it away! Discarded starter is perfect for the pancakes and crepes I was talking about! Then feed your remaining starter with 4 oz. flour and 4 oz. water. You get the most consistent results by weight, but you can wing it if you don't have a scale. Or if you have a crappy scale like me. I just got the feel for what consistency works the best for me and use my scale as a starting point, then adjust until it's thick but pourable.
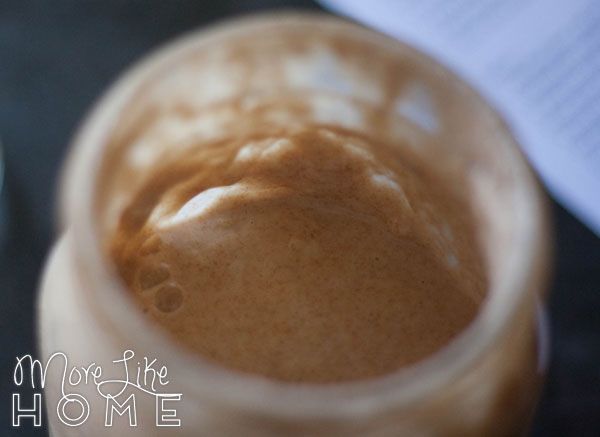
Once fed your starter will start to activate and bubble up. If you leave it on the counter this will take just a couple hours, but in the fridge could take several days. Before baking it's best to leave your starter on the counter and feed it two or three times over the course of a day or two to make sure it's good and strong... but I've used it straight from the fridge when I'm impatient and it's still worked. My bread just took longer to rise.

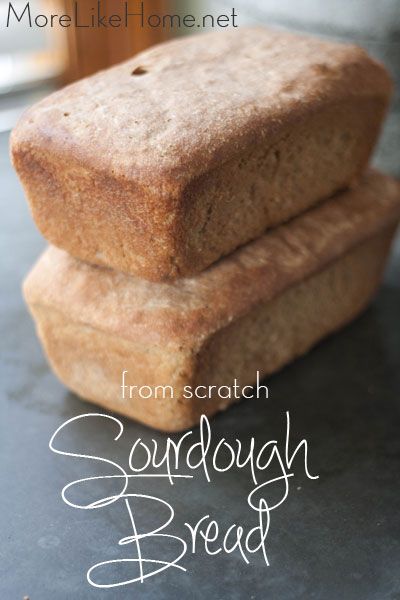
Now let's get to the bread making! This recipe will make two loaves of bread. If you prefer a printable recipe without all the pictures, just click here.
Preferment #1:
1/2 c. sourdough starter
1/4 c. water
1/4 c. flour
Preferment #2:
3/4 c. water
3/4 c. flour
Bread:
All of the preferment
4 cups well sifted white whole wheat flour like this
1.5 c warm water
4 tsp salt
olive oil
Preferment:
In a large bowl, add 1/2 c. sourdough starter, 1/4 c. flour, and 1/4 c. water. Mix well. Cover with a towel and let sit 6-12 hours. I like to start this preferment in the morning.
Add 3/4 c. flour and 3/4 c. water and mix well. Cover with a towel and let sit 6-12 hours. This preferment starts in the evening and will be ready for the bread phase the next morning.
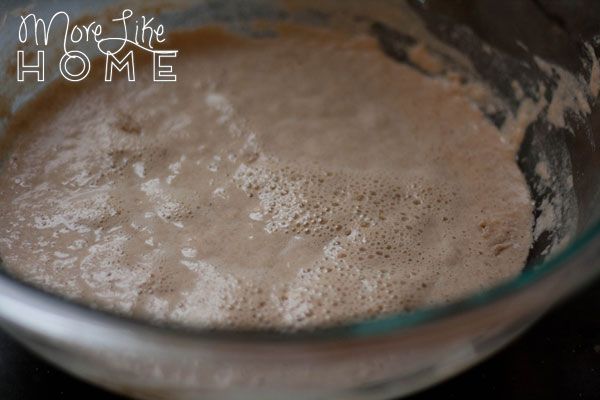
You should have some nice bubbles after the preferment stage like the pic above. I use my large pyrex bowl with a lid for the preferment stage (the bowl on top is rice soaking for dinner).

Bread:
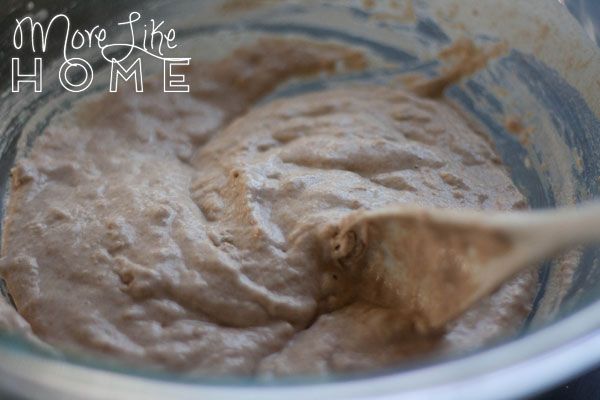
Add 4 c. flour, 1.5 c. water, and 4 tsp. salt to the bowl of preferment. I actually start with 3.5 cups of flour and slowly add up to 4 to make sure it doesn't end up dry. Mix well to form a shaggy dough. Using your hands, in the bowl, knead the dough adding a tablespoon of flour more at a time to help you continue to need. About an extra 3-4 tablespoons. Knead for 3-4 minutes. The dough should remain light and sticky because too much flour = dry dough = dense bread.
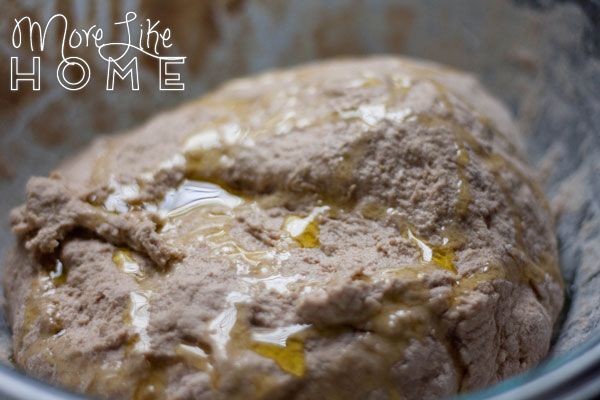
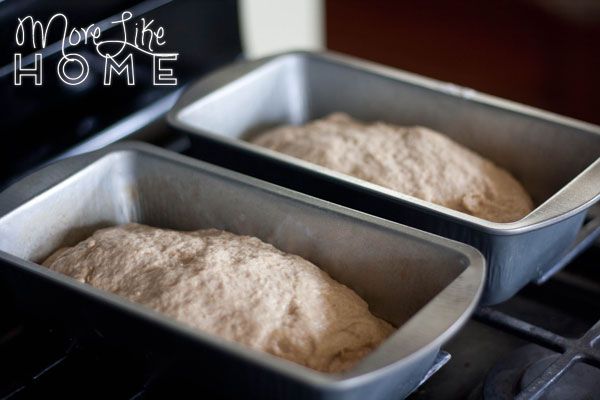
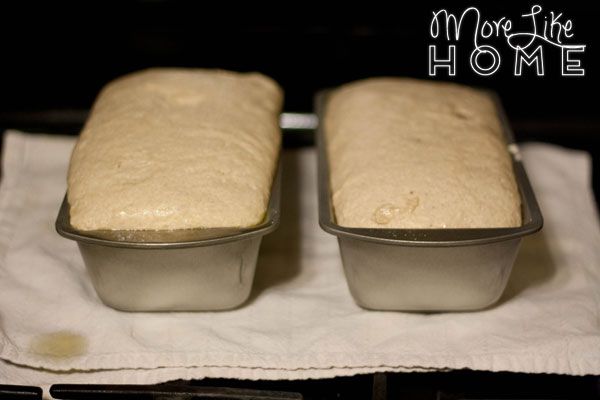
Once the dough is holding together well and still feels sticky, tacky, yet firm, divide the dough in half. Add a teaspoon of extra virgin olive oil to each half of the dough and shape each into a tight ball. (The oil will give flavor and prevent the dough sticking to your hands) Place the dough into a clean, oiled bowl. Cover with plastic wrap, then a towel, and allow to rise for about 3 hours until doubled in size. I shape my dough into two loaves and place them directly into the bread pans. Cover the pans with plastic wrap and a towel while the loaves rise.
Once the dough has doubled, carefully remove the dough from the bowl onto a floured counter making sure not to compress it. You do not want to release all of its gasses. This video has a demonstration of carefully removing and shaping the dough. If you are using loaf pans just skip this step.
With floured hands, sprinkle a bit of flour onto the dough and shape it as demonstrated in the video into a tight ball. Place it on top of parchment paper, on a cookie sheet or cutting board, and score the top with a sharp knife or razor blade. With a brush, oil the top and sprinkle additional flour on top to get that nice rustic look. I don't score or flour the dough when I use loaf pans. Cover with plastic wrap and a towel for an additional 45 minutes. When I use bread pans I skip the extra 45 minutes and pop them straight in the preheated oven.
While it's resting, preheat your oven to 500F with a pizza stone inside. After the 45 minutes transfer the boule with the parchment papter to the pizza stone in the oven. Slide from one surface to the other and bake for 10 minutes at 500F. After 10 minutes, lover the oven temperature to 350F and bake an additional 20-25 minutes. Once done, remove the bread with the parchment paper to a cooling rack. Allow the bread to cool completely before slicing. If you slice the bread before it's completely cooled, you will end up with a gummy inside texture. Just put a bread pan in the oven at 500F and follow the same baking directions. I leave my bread in the pans to cool.

Congratulations! You just made sourdough bread! And don't forget, if you want a printable recipe I have a pdf you can download here.

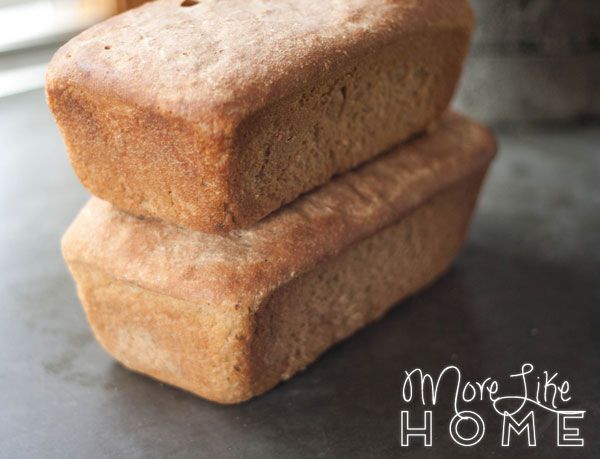
I like using loaf pans because it gives a better shape for sandwiches and toast, but following the directions gives a more artisan style loaf that is good with soups or for making garlic bread. I think the pans must also affect the crust because the crust of these loaves isn't as tough as the artisan style I've made. But I don't know if that's actually a thing or just coincidence. :) Anyone know?
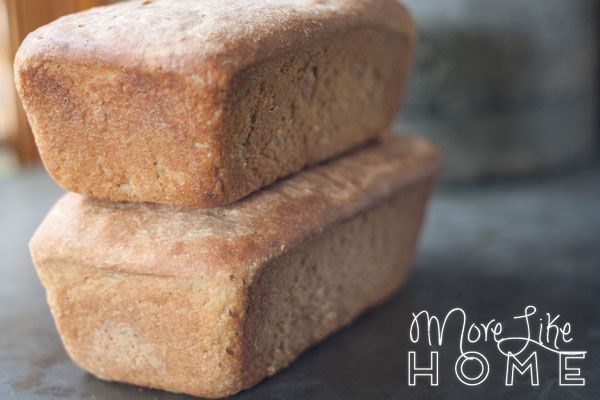
So far I've been doing two loaves at a time and make bread every 12 days or so. We don't eat a ton of bread around here... although sourdough french toast may change that. Yum yum! You could also double the recipe and make a couple loaves for the freezer if you want to bake less often. I've been doing two loaves because I only had two bread pans. From dollar tree. Of questionable quality. So my mom got me two stoneware loaf pans for my birthday! I can't wait to give them a try!

I love that this bread takes so little hands-on time. All that rising and fermenting leaves plenty of time to play in the middle. This particular day our game was baskets and reindeer-wearing.


"Mama! Can you do this scarf for a baby carrier for my reindeer"
All aboard!!!


How about you? Do you bake your own bread? Have you ever tried sourdough? What games are you playing today?

No comments:
Post a Comment