Showing posts with label be healthy. Show all posts

Monday, July 25

Kimberly's Kupboard GIVEAWAY!!!

We have a really fun giveaway for you today, courtesy of Kimberly's Kupboard! Kimberly's Kupboard offers a variety of all-natural herbal teas and salves that we love to keep on hand. The products include soaps, salves, teas, tinctures, and more! They cover everything from bumps and bruises, to pregnancy, to bug bites, to congestion and colds... there's something for everyone. Today we'll learn a bit about the company, share the products we use most, and you can enter to win on of our favorites!


We discovered Kimberly's Kupboard last summer at a local farmer's market and have been thrilled with the all-natural products she offers.  Being DIY-ers, I do sometimes make my own natural remedies (my go-to's are elderberry and echinacea syrups, and GOOT). Making a few of my own remedies has made sense, but the huge variety of ingredients I would need to make so many different remedies, plus the time it would take, definitely does not make sense for me. That's why I was so excited to find these products to fill in the gaps in our "medicine" cabinet! Thank goodness for Kimberly!
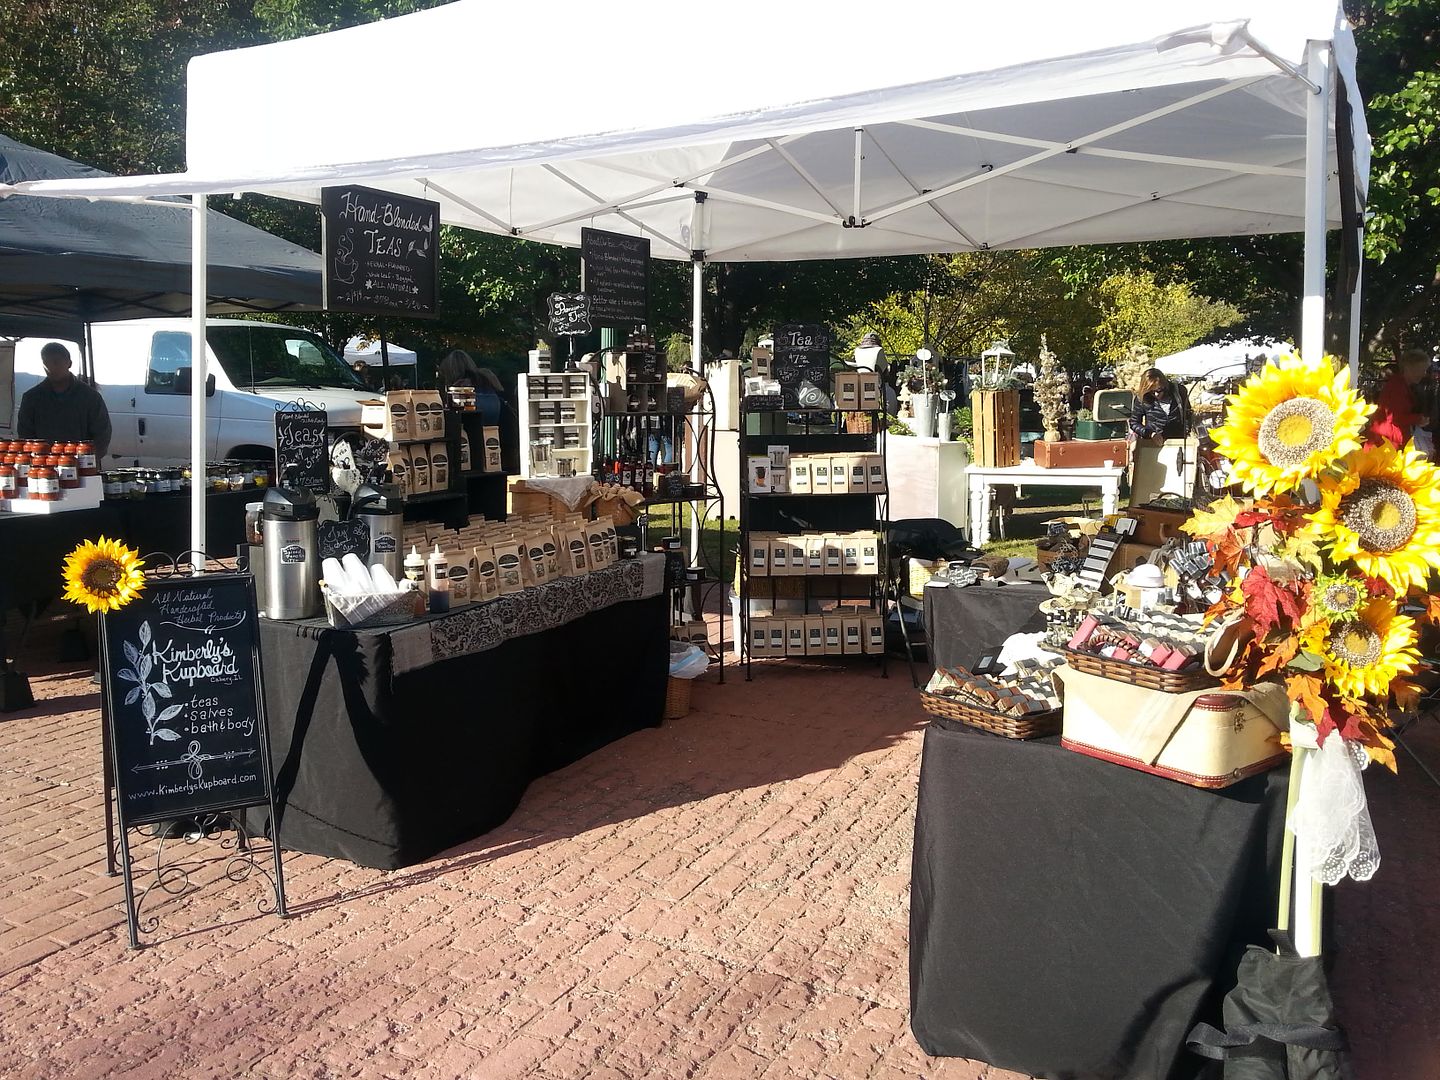

Here's a little bit about the mom behind Kimberly's Kupboard and the products she makes:
"I'm a stay-at-home mom of 3 busy, homeschooled kids. I love working with herbs and I am continually learning about new uses for them.  My driving  passion is for people to enjoy herbs and learn all about their wonderful benefits!"

"I wasn't looking to start an herb business, really. I had been making my Chickweed Salve for just our own use and had been extremely impressed with the results I was getting, so I developed more salves that had different purposes. One day, I just casually mentioned to a lady farmer who owned a little farm store that I was toying with the idea of making my herbal products to sell.  She immediately said, "Bring me some samples!". And so then it just took off from there. I designed my herbal tea line, my herbal salves,  the packaging and it just all came together. I'm finding that people are desiring to get away from conventional  medicine and back to the natural ways our predecessors used to treat their common ailments.  People are wanting a healthier, eco-friendlier and more affordable way to treat themselves.  I am so excited to be bringing the world of herbs to my customers!"
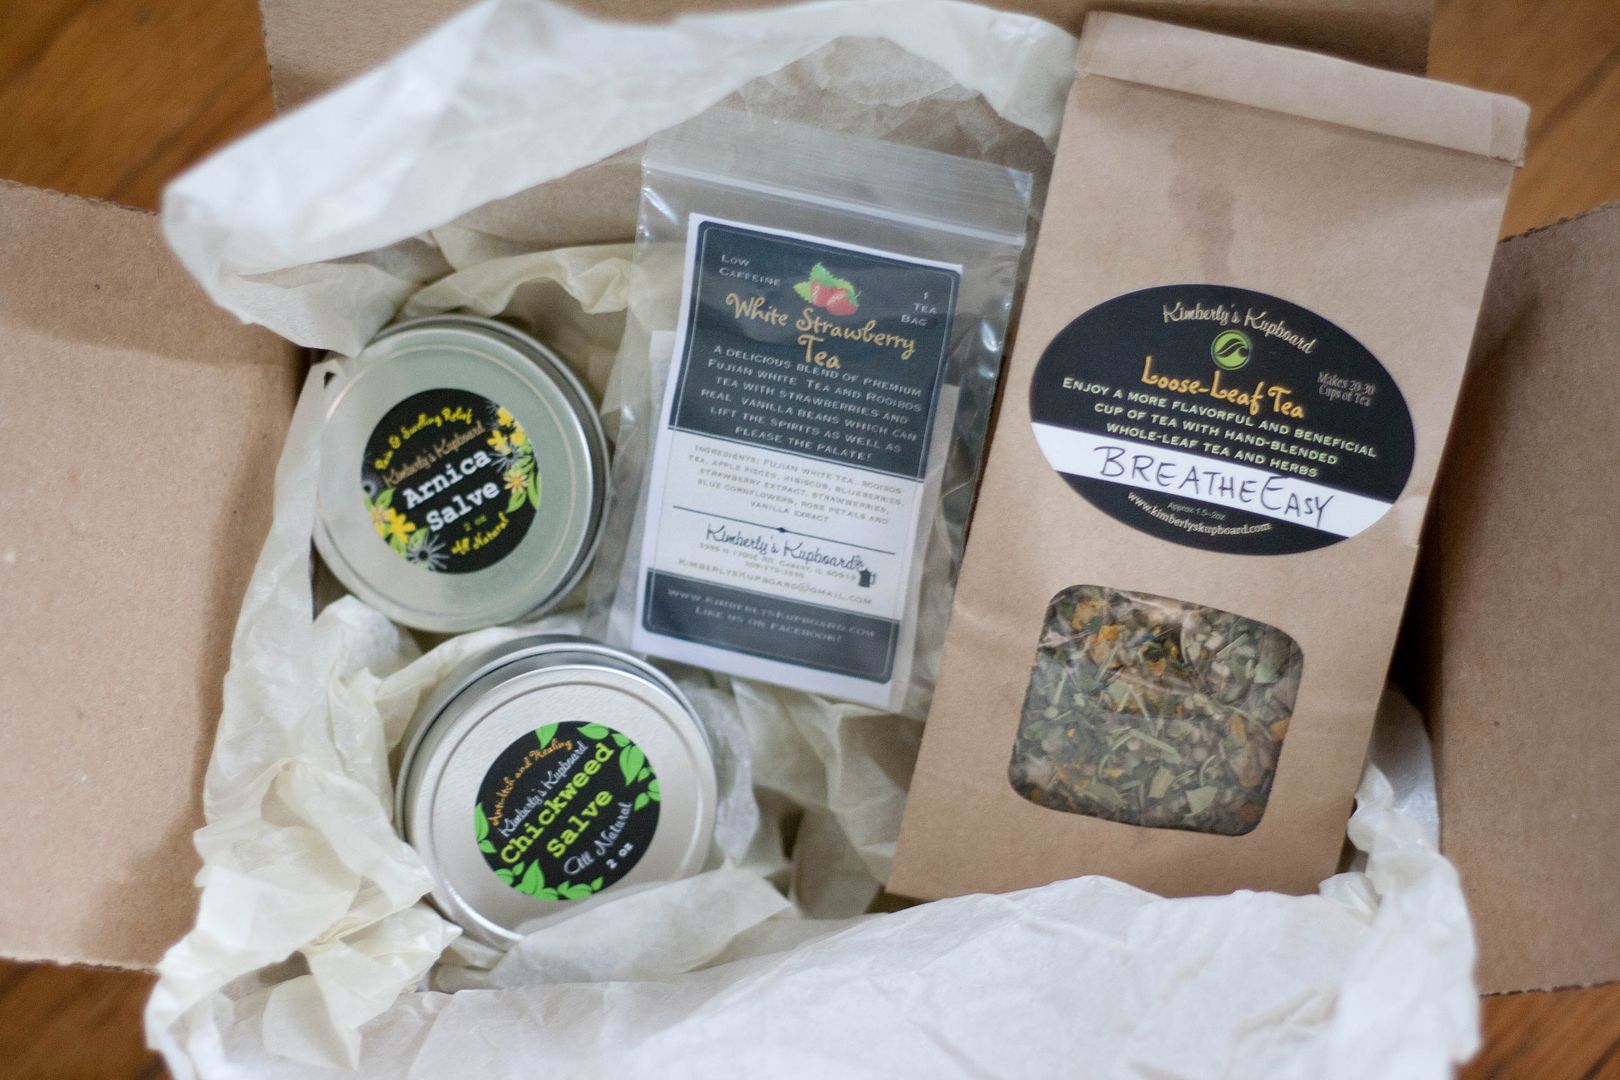
So not only will you get amazing, natural products for your home and family, you'll also be supporting a small business WHAM at the same time!

My latest box of goodies, including a free sample of her new white strawberry tea!

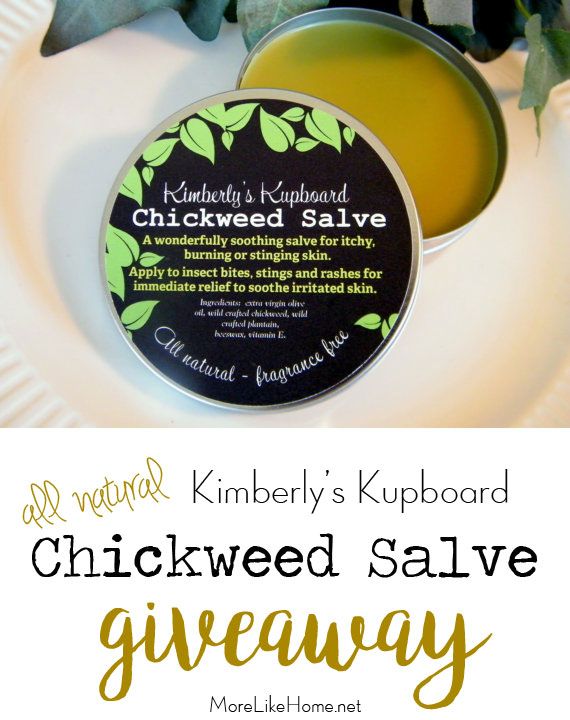
If you're looking for a good place to start with herbal products, my personal favorite is the one that started it all - the Chickweed Salve. We love having this on hand (I just had to order more because we lost ours on vacation this summer!). Our favorite use for this salve is summer time bug bites, but it's great for anything itchy like stings and rashes, too. We never leave home without our Chickweed Salve!

https://www.etsy.com/listing/167754765/chickweed-herbal-healing-salve-for?ga_search_query=chickweed&ref=shop_items_search_1

This Arnica Salve just came in our newest order. I've heard it's great for bruises, sprains, and muscle pain, so we're excited to give it a try for a certain rough-and-tumble two year old.

https://www.etsy.com/listing/190388236/arnica-salve-with-nettle-rosemary-and?ga_search_query=arnica&ref=shop_items_search_1

The elderberry infused honey is another favorite that we always have on hand, especially in winter. It's shelf-stable (unlike my elderberry syrup) which makes it great to take on our travels, plus it lasts a long time without spoiling. We'll have a spoonful when we're under the weather, and we've been loving it mixed in tea or spread on toast for an extra immune system boost. I haven't tried the lemon verbena yet, but after looking at this picture a few times I can tell you I'll be getting some with my next order. It calls to me with lemony goodness.

https://www.etsy.com/listing/287122481/herbal-infused-honey-with-elderberry-or?ga_search_query=honey&ref=shop_items_search_1

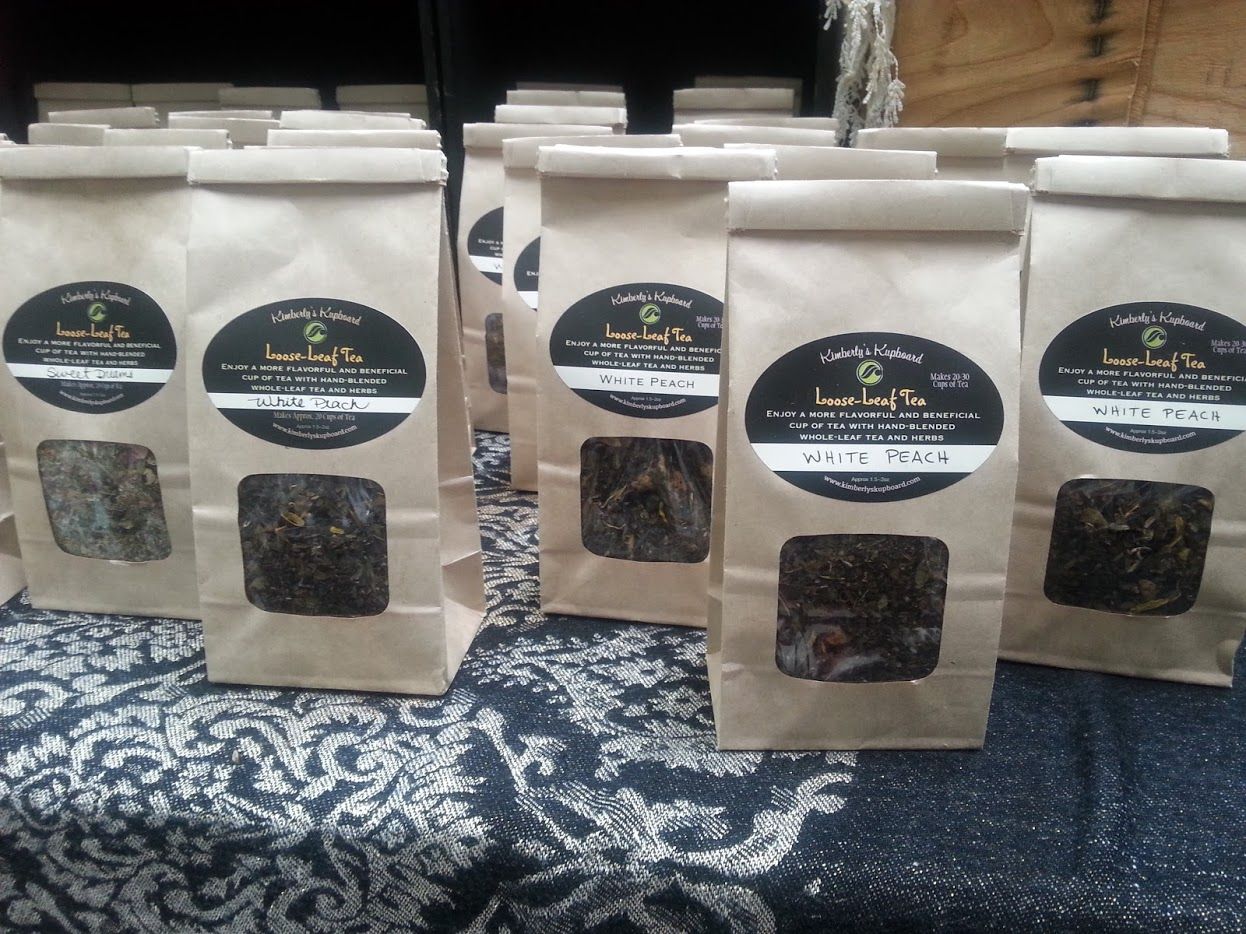
Next up is a little something I like to call "mama's tea." Because it's mama's so don't even touch it. I love peaches, and this White Peach Tea really hits the spot. It's light and peachy and wonderful. I like to add a spoonful of honey, because I'm a sweet-tea kind of girl. So yummy!

https://www.etsy.com/listing/236335722/white-peach-tea-bagged-or-loose-leaf-tea?ref=shop_home_active_6

We just ordered this Breathe Easy Tea in my latest order. One of our boys get so congested when he catches even the slightest cold, and this is made with a blend of herbs that are supposed to help with both respiratory and sinus congestion. Here's hoping it brings him a bit of relief next time he's feeling ikcy!

https://www.etsy.com/listing/244080202/breathe-easy-herbal-tea-for-respiratory?ref=shop_home_active_5

There are a few other teas I'd love to try, like the Organic Allergy Tea, Immune Booster tea, and Very Berry Tea with Hibiscus (plus she has a mommy-to-be tea that looks great for all you pregnant momma's). I prefer the loose leaf tea, but you can also select pre-bagged... if that's your cup of tea. Just working on my mom-puns.
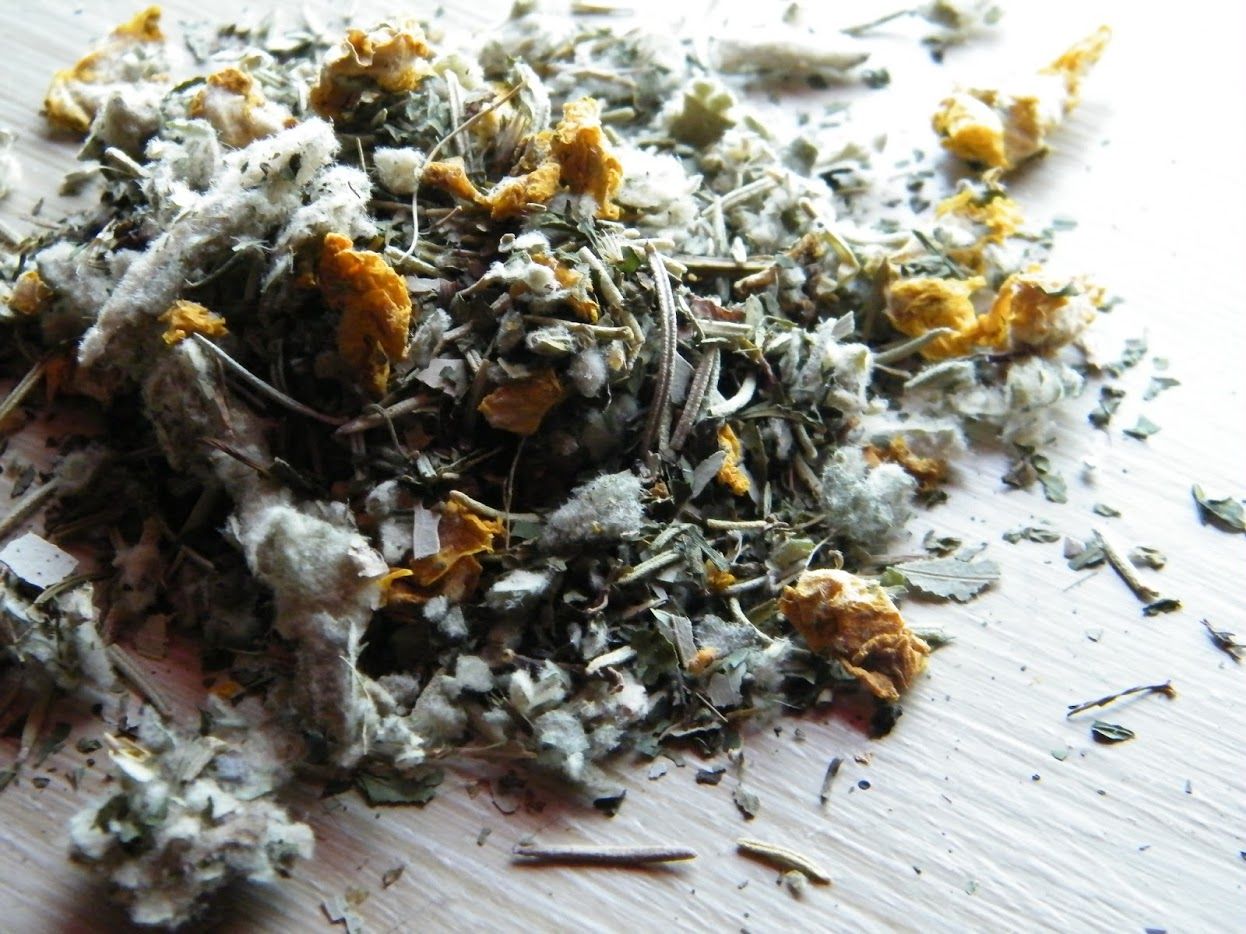
Breathe Easy loose leaf tea.
Besides these items, there are a whole range of other products I haven't tapped into but I'm planning to try. I'm super excited about the bug spray, oregano salve, handcrafted soaps, echinacea tincture, several items from the skin care section, and a sweet little herbal baby bath set (I'm thinking it would be a wonderful baby shower gift paired with a set of homemade flannel blankets!).


Now that you've seen our favorite products, it's time to win one for yourself! Use the Rafflecopter form below to enter to win a 2 oz tin of chickweed salve! And don't forget to stay up-to-date with Kimberly's Kupboard by following her on facebook, instagram, and pinterest!

a Rafflecopter giveaway


Happy Monday, friends!

Let us then approach God's throne of grace with confidence, so that we may receive mercy and find grace to help us in our time of need. Hebrews 4:16

Tuesday, May 10

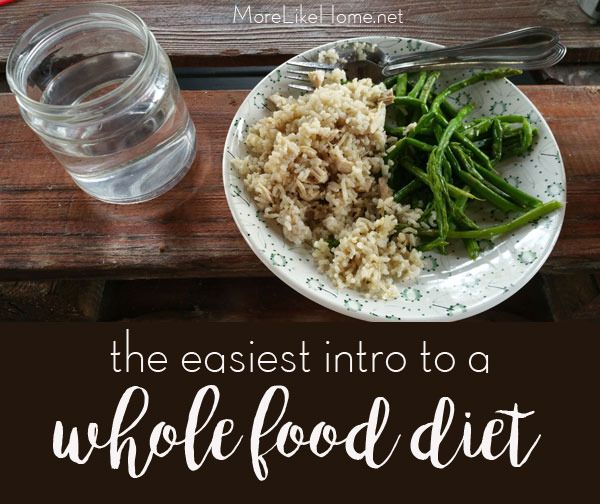
The Easiest Intro to a Whole Food Diet

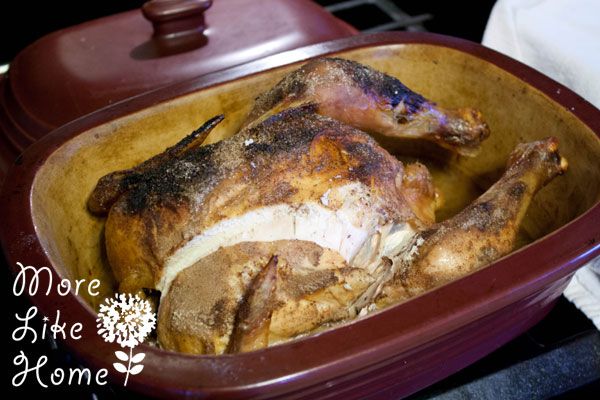
I've spent a couple years (literally. years.) slowly transitioning to a more whole food diet. Change is hard, but easing in one step at a time is so. much. easier. than going all-in right out of the gate. So today I want to share one of my very favorite whole food routines. It's a great way to get lots of nutritious, whole-food goodness going on in you kitchen without investing a lot of time or a lot of money, plus it stretches to cover several meals. And it all starts with a chicken.


I know this is way off our usual path, but let's be honest - I spend a significant amount of time feeding the little boys running all around this place, so the food they eat is something that's on my mind a lot. And I was thinking it might be on yours, too. So here's what we're going to do: cook a chicken, and make some broth. Easy, real food staples to get us going in the right direction.

So let's get started. Step 1: buy a whole chicken. We look for organic chickens and when they go on sale we buy a bunch and stash them in the deep freeze (thaw them before cooking). Open it up and check to see if there is a package of gizzards inside the chicken (you don't want to roast it with the wrapper inside). Don't panic about the gizzards. Move on to step two.

Step 2: Now rub the chicken with a mix of salt and spices (we actually like to do a little allspice, cinnamon and nutmeg inspired by this recipe - don't knock it 'til you try it). Put it in a pot (if you're really feeling brave you can open the gizzards and throw them in the bottom of the pot to roast. They're full of good-for-you nutrients that we can use later. Don't panic about the gizzards. You're a real-food chef now.) and roast it in the oven. This is my go-to method:
  • Preheat the oven to 500 degrees
  • Bake 15 minutes
  • Reduce the temp to 450 and bake 15 more minutes
  • Reduce the tempt to 425 and bake 30 minutes
  • Larger birds might take a little longer too cook, use a thermometer and keep that guy roasting until it's a balmy 180 degrees all the way through. 
Congrats! You just cooked a whole, real chicken! Add some veggies and you'll have your first whole-food meal on the table.


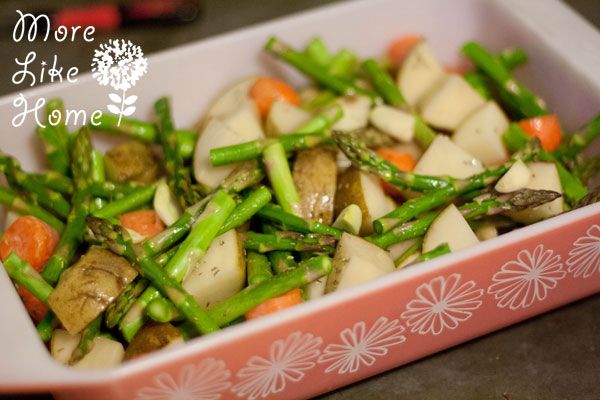
I like to throw carrots and potatoes right in with the chicky while it's roasting, or you can do any veggies you like in a separate roasting dish with some oil and seasonings (wait until the last half hour or so to put them in). And that completes your first whole-food meal. Yum yum!


But wait, We're not done with that chicken!

Friday, January 30

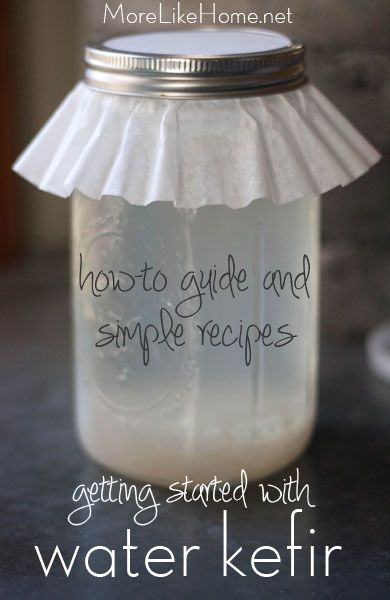
Water Kefir Tips and Our Favorite Recipes {lemonade and pomegranate soda}

Fermented foods. I remember when I first heard about them two years ago. My thoughts were something like "Oh. Fermented? That sounds super gross." But now here they are on our list of just seven healthy goals for this year. Because the more I read, the more I found that fermentation is just the growth of beneficial bacteria and probiotics that is actually really good for your gut health, and that gut health is one of the foundations of good overall health! Hmmm. So we decided a year ago to give this fermentation thing a try, starting with the easiest/least scary thing I could find. Water Kefir.


Turns out it's not hard. Or scary. And we've kept these little kefir guys (called kefir grains, technically) going for over a year now with just a little sugar and water. Water kefir grains are little whitish clear lumps that are made up largely of yeast and bacteria, and when placed in sugar water they ferment it into a probiotic beverage. Easy to use, and affordable since all you need to sustain them is water, a little sugar, and minerals. Plus the grains will grow and reproduce over time so if you can share with friends!


Here's what you need:
  • Water kefir grains (milk kefir grains are not the same). If you have a friend whose grains have grown you may be able to get some for free, or you can order them from cultures for health. If you order them they will include instructions for getting them started the first time. If they came from a friend you can hop right in!
  • sugar (we use organic)
  • mineral drops, molasses, or a clean egg shell
  • a mason jar with a lid (we use a coffee filter over the top)

Thursday, January 22

Goals for 2015

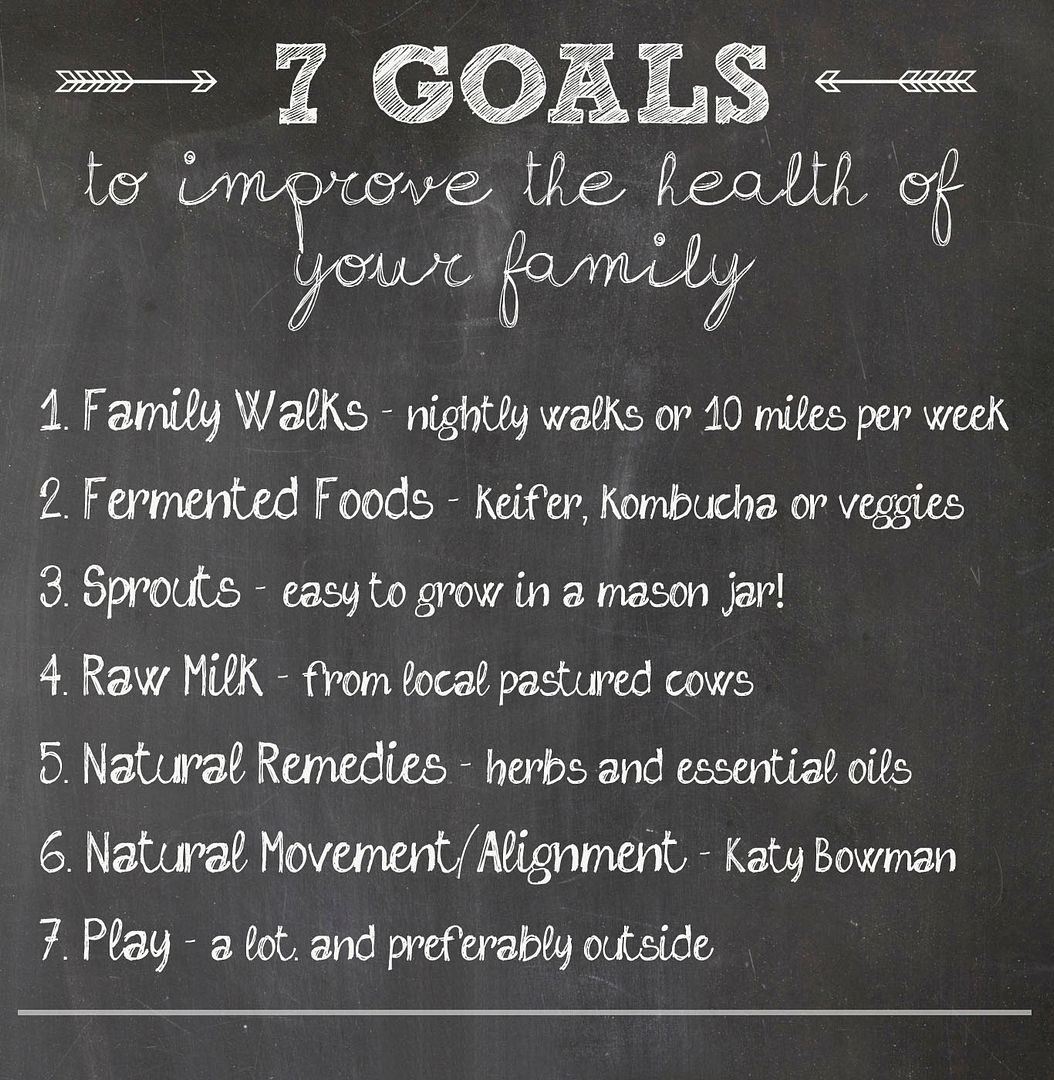
For some reason it always takes me a while to work out my goals for a new year. I think part of it is that I don't really know what kind of goals I want to set. How does a person narrow down all their hopes, dreams, and needs into a simple little "to-do list" for the next year? But I think I've finally decided what to work towards this year. I started by asking myself "what is one most important to me this year?" That answer was super easy - my family and their health & well being (physical, emotional, & spiritual). So I decided the best goals for this year would work toward improving the health of my family. And they had to be doable. So I decided to start with seven. Just seven new, healthy habits I want to start for my family. Less than one per month. Want to join me? Here is the list I came up with for 2015.


1. Family walks. Getting moving as a family will be good for all of us! This will be a much easier goal in the summer, but I'm making a point to get the boys outside to play in the snow or even ride bikes when the winter weather allows. I'm hoping when summer rolls around we'll either strive to walk 5 nights a week, or set a distance like 10 miles a week.


Wednesday, January 7

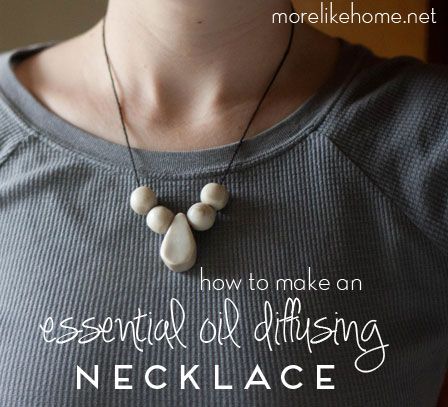
DIY Essential Oil Diffusing Necklaces

Essential Oils. I've heard a lot about them lately, and I'm guessing you have too. I can't go online without seeing a post about them somewhere. I've bought several oils myself but actually haven't used them much at this point. I'm still reading up on safety, especially when it comes to use around small children, before I dive in. But there are a few I already feel comfortable using so when a friend taught me how to make these essential oil diffusing necklaces I had to give it a try! They are easy and cheap to make, plus you can make any style you can dream up.


I love the idea of a diffusing necklace because, from what I've read, diffusing is one of the safest ways to utilize essential oils and through inhalation your body still gets most of the benefits of the oil! And since it's a small, personalized diffuser I can use a minimal amount and get the benefits without having to diffuse into the whole house. This is a great benefit as well because I don't feel good about using oils in any way around children under age two, and very minimally for a few years after that. If you're looking for more info on EO safety for children, Learning About EOs has done third-party testing (not sponsored by an oil manufacturer) and offers conservative recommendations for use around children. They also have an age-appropriate anti-germ and anti-congestion recipe for children that could be used with older children on their own diffusing necklace when they are under the weather!


Here's all you need to make your own EO diffusing necklaces:
  • polymer clay like Sculpeys (I used pearl and got two necklaces from one small block)
  • necklace cording
  • necklace clasp
  • a toothpick
  • essential oils (remember to reasearch your oils and their safety, especially when using them around children)

This is going to be easy and fun! Ready? Just shape your clay into whatever shape you like for your beads. I did simple balls, plus one teardrop bead. I tried to keep everything 1/4 - 1/2" thick. For the balls I used a paring knife to cut cubes from the block of clay then rolled them into balls. Cutting the cubes made it easy to make sure my balls ended up the same size. For the teardrop I cut a slice of clay about 3/8" thick, then used my pairing knife to cut out a teardrop freestyle. Use a toothpick to poke a hole through each bead (make sure the hole will be big enough for your cord!). Place them on a cookie sheet and bake according to your clay's directions. I had to cook mine a little longer than suggested to get them nice and hard since they were kind of thick. Just keep an eye on it so you don't burn the clay.

Big Brother used the left over clay to make a few figurines. One is three guys on a sled. For the other he was smooshing pieces together and declared it was a zerba. Then he added "a guy" and some wheels and said "Oh! It's a tractor!" He was so surprised that it turned out to be a tractor.

Once the beads have cooled you can string them onto your cord. Cut the cord to the desired length, plus a couple inches for tying off the ends. Then tie the ends onto your necklace clasp.


Now you all that's left is adding some essential oils! Add a few drops of whatever oil you choose directly onto the beads. I drop mine onto the front or sides of the beads so they don't contact my skin (I like to be cautious, okay?). Since they are so porous they will absorb the oil and diffuse it into the air. I've just been using mine a short time, but what I've been told is that the scent of the oil will linger from a few days up to a couple weeks. At that point you can reapply, or choose a new oil! Or you can make a second necklace if you want to switch oils sooner. :)


I'll say it one more time, check the safety of your oils especially around kids and decide what's best for your family. For me personally, some of the oils I feel safest using are citrus oils like lemon, orange, and bergamot (even around my kids, I put them in my cleaning solutions too). Plus citrus is supposed to be a great mood booster and who doesn't need that during a cold, cloudy winter? They are great to diffuse when you need a pick-me-up. I also plan to make this blend of sweet orange, cinnamon leaf or lavender, and fir when I get sick (a child-friendly version of Thieves or OnGuard oil).


If you're really looking to further your education about essential oils, Vintage Remedies is another third party source. They offers multiple courses and emphasize an evidence based look at potential interactions and cotnraindications. A few months ago I got free enrollment in the entry level short course (it came with an ebook bundle I purchased) that looked closely at 12 common essential oils along with practical uses and safety for home use. While I did really enjoy it and learned quite a bit, it was definitely entry level and left me wishing there had been more information about more oils. There are some intermediate and advanced courses that sound really good but all are a far cry from our budget so for now I'll make do on my own. In fact I just ordered this book that was recommended by several friends and is much more affordable.


What are your favorite essential oils and how do you use them? If you know any great books or resources for learning about EO safety and use I'd love to hear about it! And I would love to see pictures if you make your own diffusing necklace! You can post pictures to our facebook page or email them to me at  morelikehome (at) gmail (dot) com. 

Wednesday, December 31

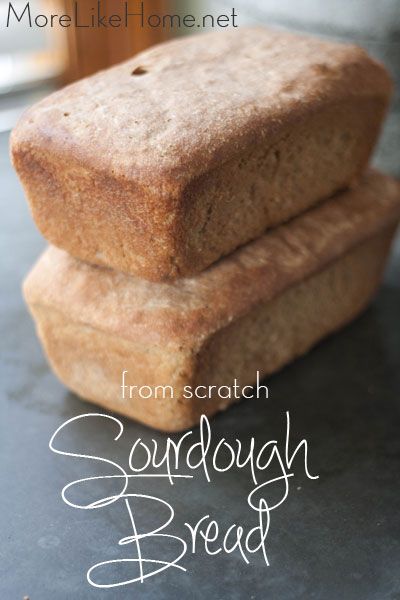
My Favorite Whole Wheat Sourdough Bread Recipe

Over the last couple months I've started making my own bread from scratch. It was one of my goals for 2014 to both save money and make healthier choices for my family. I don't like serving a lot of mystery ingredients and since homemade bread only takes four or five ingredients it seemed like an easy way to cut out a processed food. I started with whole wheat bread but after reading the book Cure Tooth Decay I decided to give real sourdough bread a try.


Here's the trouble with bread (and grains in general) - the tend to have properties like phytic acid that prevent them from being digested and more importantly block your body ability to absorb nutrients from the foods you eat. Yikes. Based on what I've read I actually think grains are a big cause of cavities and other dental problems. If you haven't read this book and have any kind of problems with your teeth you need to check it out! The kindle edition is only $10 on amazon! The way around this is to do one of the three S's - soaking, sprouting, or souring. Basically you're breaking down the bad stuff before you even eat it! I tried a couple soaked bread recipes that didn't thrill me and sprouted flour is expensive! So that left souring.


Friday, December 5

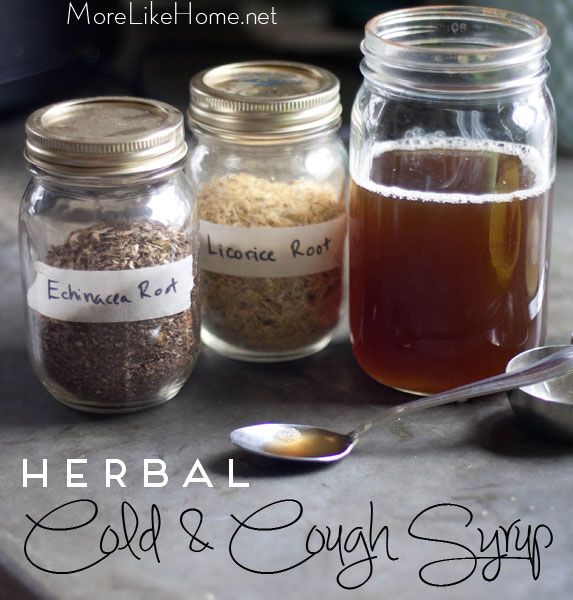
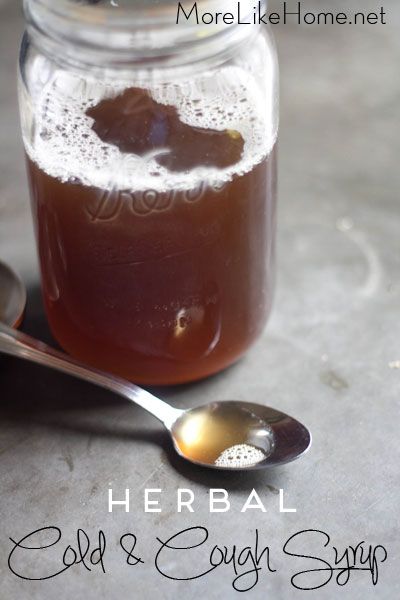
Herbal Cold & Cough Syrup Recipe

If there's one thing we know about winter it's that the weather change always brings a generous supply of runny noses, coughs, and general yuckiness. This year when our first round of sickness knocked out all the boys I gave this new herbal cough syrup recipe a try. It tasted great so the boys were always excited to take it, plus the herbs are all natural and great for fighting off cold & cough symptoms!


You need just a few simple ingredients to make your own herbal cold & cough syrup.I like to order from Bulk Herb Store or Mountain Rose Herbs. Both are very reputable so I usually choose based on who has what I need in stock! And I throw some elderberries in with my order for making immune-boosting elderberry syrup.

Echinacea Root - a natural antibiotic, anti-inflammatory, and an excellent infection fighter. It stimulates the immune system to help your body heal itself!

Licorice Root - stimulates the adrenals while adding great taste & natural sweetness. Great for cold, cough, and sore throat, and works as an expectorant.

Ginger - has a long history as remedy for cough, plus it's great for nausea and diarrhea if they join the party!

Raw Honey -antimicrobial & antibiotic properties are great for treating cold and cough. It's also anti-viral, anti-bacterial, anti-fungal, and a powerful antioxidant that strengthens your immune system. Which is why it's a staple in so many home remedies!


Once you're supplies arrive you can get started making your syrup. Here's what you need:

1/4 c. Echinacea Root
1/4 c. Licorice Root
1/8-1/4 c. Ginger Root, to taste (I didn't have any ginger on hand and made it without)
4 c. water
1/2 - 1 c. honey.

Wednesday, November 26

GOOT - natural remedy for colds and more!

We've fallen behind the last couple weeks because our fellas have been under the weather. But thankfully they are finally on the mend. It's never fun when kids are sick, and it's especially not fun trying to decide when it's time to get out the medicine or go to the doctor. Fortunately this time we were able to avoid both, and today I'm sharing one of our favorite home remedies that has helped us through many such sicknesses (you can see our list of remedies and make some immune-boosting elderberry syrup here).


GOOT is the name of the game. A simple mix of garlic, coconut oil, and olive oil, it boasts some great healing properties! Garlic is a natural antibiotic that doesn't carry the bad flora associated with conventional antibiotics and applying this salve to your skin allows the garlic to tranfer to your bloodstream. This makes it great for treating all kinds of sickness and infections! You can read more about the benefits here. But of course, always consult your doctor!


GOOT is so easy to make! In fact usually whip it up in the middle of the night when someone is suddenly sick. It takes just a few minutes in a blender. Here's what you need:
  • 1/4 c. peeled garlic
  • 1/4 c. olive oil
  • 1/4 c. coconut oil, melted
Combine the ingredients in a small blender (I use the mini blender attachment that came with my immersion blender) for a couple minutes until it's well combined. Then strain the mixture through a fine sieve or some cheesecloth to remove any chunks of garlic. Straining is important especially for kids because the chunks can burn their sensitive skin. Then just pour the mixture into an airtight container and put it in the fridge to harden into a firm salve. That's it!


We like to keep a batch of goot in the fridge anytime someone starts acting under the weather. Whenever someone is sick we apply the salve to their feet and put on warm socks. We've also put it on chests to treat congestion and croup and around ears to ward off ear infections. GOOT should be stored in the fridge and will last 2-3 weeks.


And of course be sure to get plenty of rest when you're sick! And you'll be back on your feet, wearing a cape in no time.


Why is he so much funnier with a cape on?!


To make it even better, he kept running around throwing a bouncy ball, then striking this post to see if it went under the table:


And let's not forget the Big Brother, who seems to have grown 6" and an entire vocabulary.


What are your favorite home remedies? Have you every used GOOT?

Saturday, October 11

Elderberry Syrup {and our natural medicine cabinet}

You guys know we try to stay pretty chemical-free around here, especially when it comes to our little fellas. A while ago I talked about how we ditched our conventional personal care products in favor of some safer alternatives, and then did the same with our cleaning products. But there's another big area we've also been addressing, and that's the actual medicine part of our medicine cabinet.


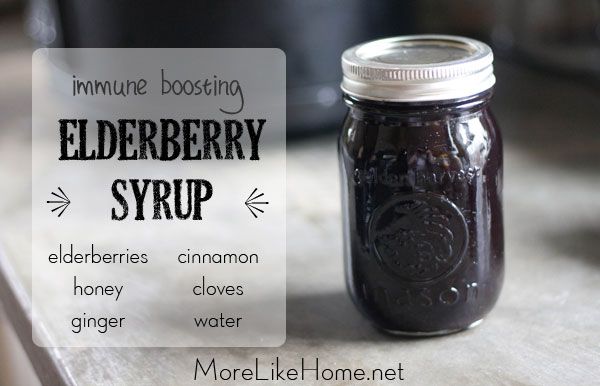
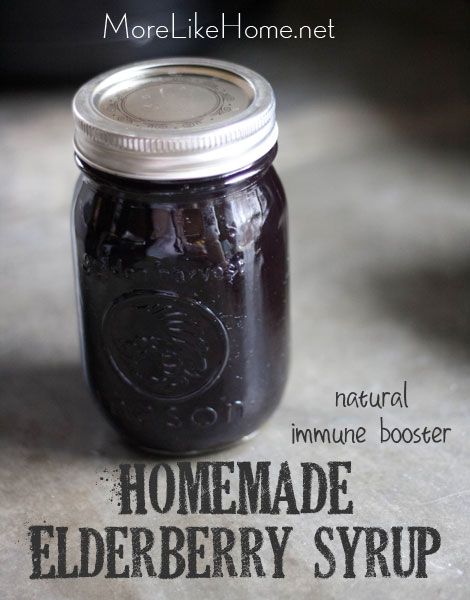
Not that we think medicine is all bad. It definitely has it's place and we use it when we have to. But before we go running to chemical products that suppress symptoms, we want to give our immune systems the best chance to fight off illness. So immune-boosting foods and supplements have been our first step. One of our very favorites is this homemade elderberry syrup. Elderberries are high in vitamins A & C, stimulate the immune system, are high in antioxidants and are anti-inflammatory and antiviral. This syrup tastes pretty good so we have no trouble convincing Big Brother to have some, it packs an immune-boosting punch, and it costs a fraction of the commercially available stuff. Plus it's super easy to make!


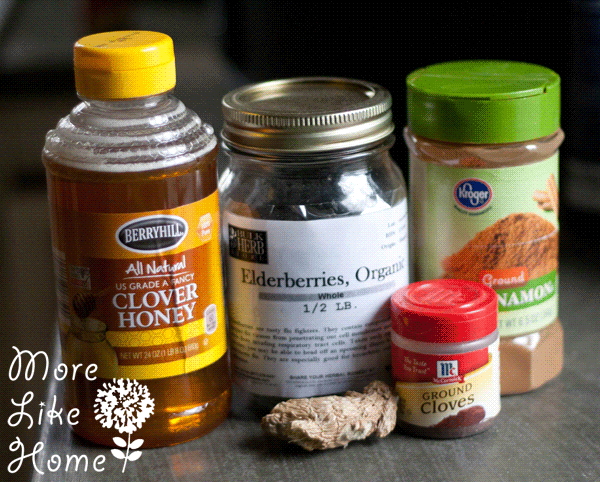
Ready to make your own? Here's all you need:

2/3 cup  elderberries (available here)
3 1/2 cups  water
2 Tbs  ginger root (grated fresh or dried)
1 tsp  cinnamon
1/2 tsp  cloves (whole or ground)
1 cup  raw honey

We bought 1/2 lb of elderberries  and I think we will get four pints of syrup from it. Extra berries can be stored in the freezer to keep them fresh.


Wednesday, April 3

Banana Juice

B has a new love. He calls it "banana juice." And he will literally beg me to make it daily. Which I feel okay about, because it's actually good for him! Yep, "banana juice" is just a green smoothie, meaning it has green leafy veggies in. The kid goes gaga for it.


And it doesn't hurt to add a bendy straw for extra fun. Do you see how full that cup is? Most days B will down the whole thing if I let him. But I usually try to get a little for myself too....


Which is no easy task when a certain little boy doesn't even come up for air.


He will come up long enough to protest if I say "Hey! Look at the camera! Look at mama!" enough times. Apparently he has no time for such nonsense. My mistake.


The basic gist of green smoothies is just a mix of fruits and veggies put through the blender. So it's a really easy and yummy way to get some veggies in your diet. I especially love sneaking in things like spinach that B would never put in his mouth. But it's not even really sneaking. He knows we put spinach in, so when we're making a smoothie he pulls it out of the fridge for me. :)


You can pretty much put whatever you want in there. We always start with a banana (sometimes frozen) and add another fruit or two like strawberries or kiwi, and a big handful of spinach. Sometimes I add other veggies like carrots too. For liquid I'll usually add a splash of water or sometimes milk, and sometimes a little yogurt too. It's pretty flexible. Then I just blend away until it's nice and drinkable. If you like to have more specific recipe ideas, I just found this site with lots of yummy sounding green smoothie ideas. I can't wait to try a few!


Subscribe