

I made these using the same inspiration as my Christmas wrapping this year, using book pages to back the labels. I have a little tutorial if you are interested in making your own. They would also make great place setting cards for a formal dinner. So here are the details on how to put them together....

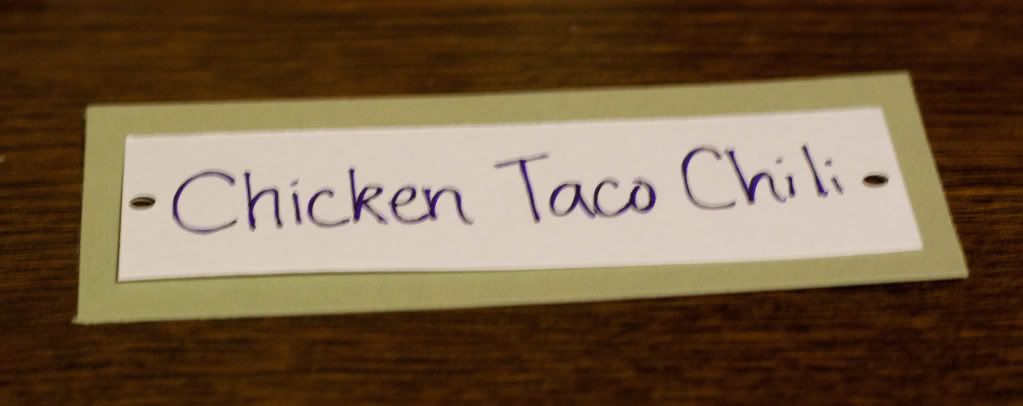
These are so simple that they probably don't really need explaining, but I'm going to do it anyway. With lots of pictures. So hold on tight. Here we go. Start by writing the name of the food on a piece of white card stock and back it with slightly larger piece of green card stock. Then use a small hole punch to put a hole in each side of the label (through both layers).
Fold another piece of card stock in half to use as the base for your label. The book pages would be too flimsy on their own, so the card stock is used to support it.

Then grab a craft-book. Which is an old book you can tear pages out of to use for crafting. This one is a readers digest - I see these at almost every yard sale, and I think this one was $0.25.

The pages were a nice yellowy-brown which is just what I wanted for this project.

Fold folded a page in half...

....fit the card stock base inside...

...fold the extra on one end over the card stock and tape it down...

...then flipp it over and do the same with the other side. You can also trim off the extra book page sticking past the edges now for a cleaner look.

Ta-da! The base is ready. Now to put on the label.

Run a piece of rough twine through the holes in each end.

Then use tape on the back of the label to attach it to the base.

And wrap the twine around to the back and tape it in place.

Then stand it up to admire your work.

Now repeat until you have labels for all your foods! If you want to mix things up a little, try using a fun fabric or scrapbook paper for the base. Or maybe stamps or a fancy font for the labels? Get creative, it's half the fun.
I even made a modified version to attach to a jar for salad dressing.

And a matching tag for a pitcher of lemonade.

And that's all I actually have for the tutorial, but before we go here is a picture of Baby B being cute, as always. This is him sitting between the new cabinet and new sink (waiting to be installed) and playing with a paint roller extender. Yep, he's his momma's boy. :)

Love the labels! Great for a buffet; I think they could also be used to dress up pantry items stored in jars and other containers. Pages from an old cookbook might be a nice backing.
ReplyDeleteThat said, as usual Baby B stole the show. :)
Rhetta, I LOVE this idea! I actually have pantry canisters on my Christmas list, and that would be perfect for them. And the recipe pages are a great idea, I'll have to look for one at the thrift store.
ReplyDeleteHe always does. I just can't compete with that cuteness. ;)