Thursday, July 12

What I've Been Sewing - Giant Beach Bag


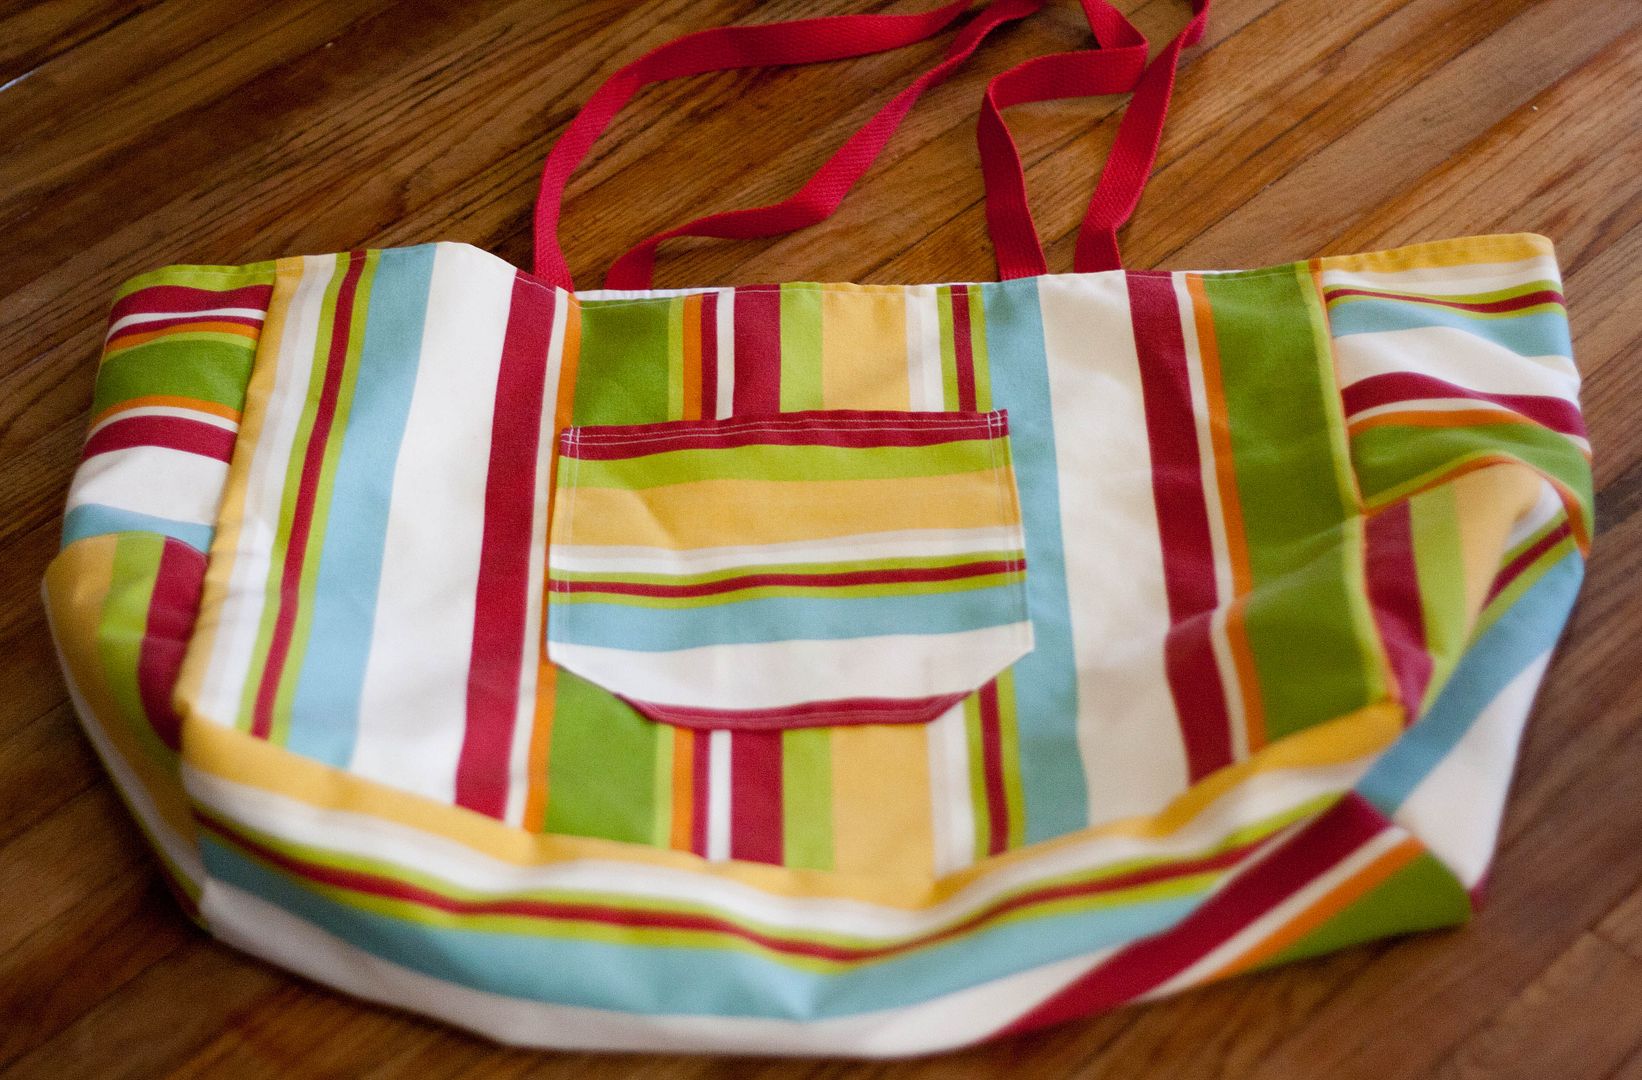
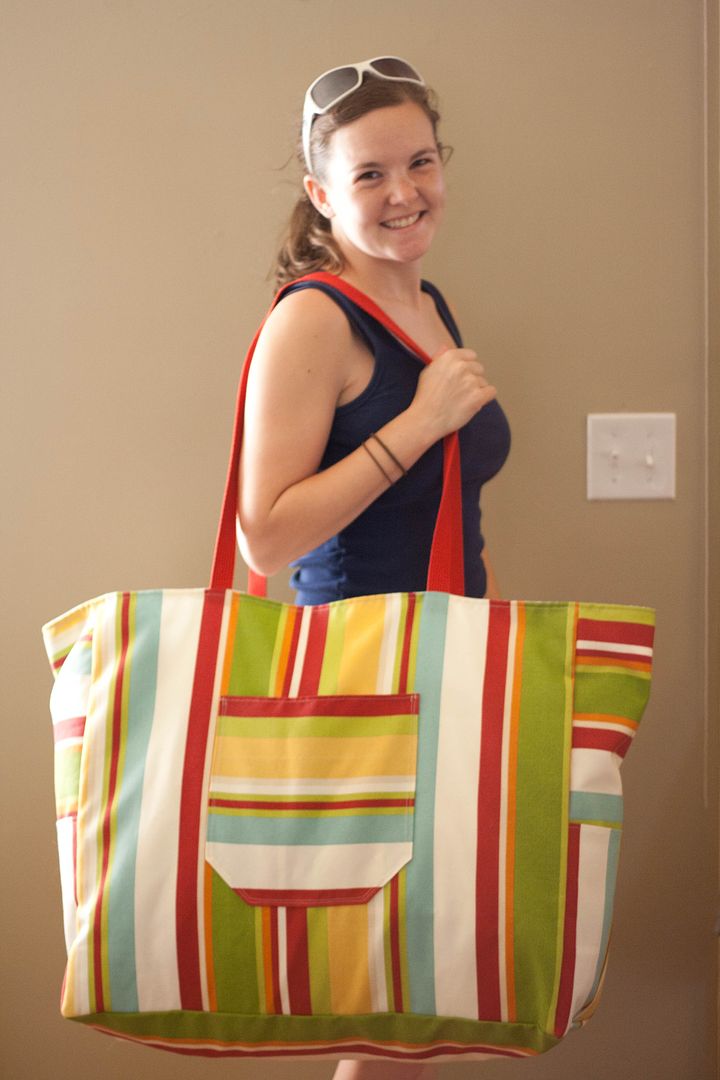
When I saw this tutorial by Put Up Your Dukes I knew I needed this bag! The biggest, bestest beach bag ever! We're hoping to get some camping time on lake Michigan this summer and this will be perfect if we do. Not to mention it's awesome for hauling all of our random stuff for weekend's away to visit the grandparents.


I do have to say, in spite of seeing the pictures, reading the measurements, and even cutting out the pieces, I had NO IDEA how huge this bag was going to be until it started coming together. Wowza. It's big. We're talking pants-optional if you stand behind it big.


I think it doubles as a sleeping bag. Baby B doesn't agree.


I did tweak a few things when I made mine. I don't like unfinished edges hanging out so I double folded the top of all my pockets to keep things tidy.


 To solve the unfinished edge problem along the sides of my pockets I added an extra line of stitching to lock everything in. I followed the tutorial to attach the pockets, then peeked inside to see how far the unfinished edges stuck out. I added my second line of stitching in just far enough to cover the unfinished edges. Besides that, I just added a few extra pockets inside and reinforced the straps with a little extra stitching.


 And that's how I made the best beach bag ever. :) And don't worry, tomorrow is that last day of what I've been sewing. At least the last planned day. But I have been doing more sewing. Which kind of figures that I wait until my good machine is in the shop to become a sewing machine. Ha. That was pun. You're welcome. Happy Thursday!

Wednesday, July 11

What I've Been Sewing - Clutches

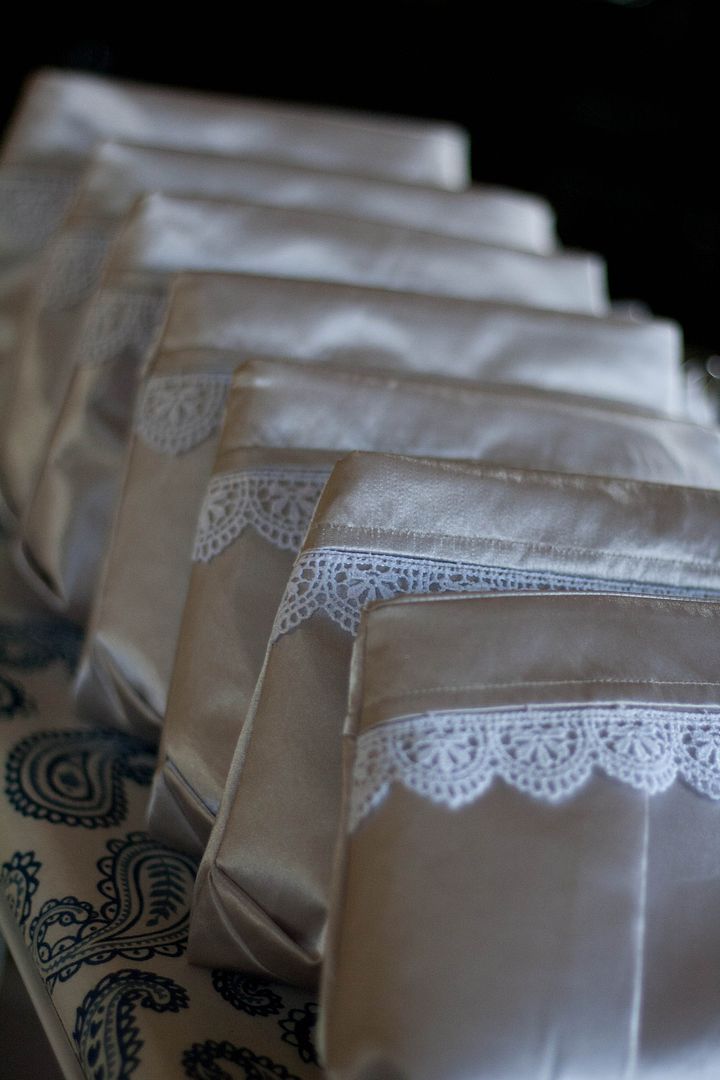
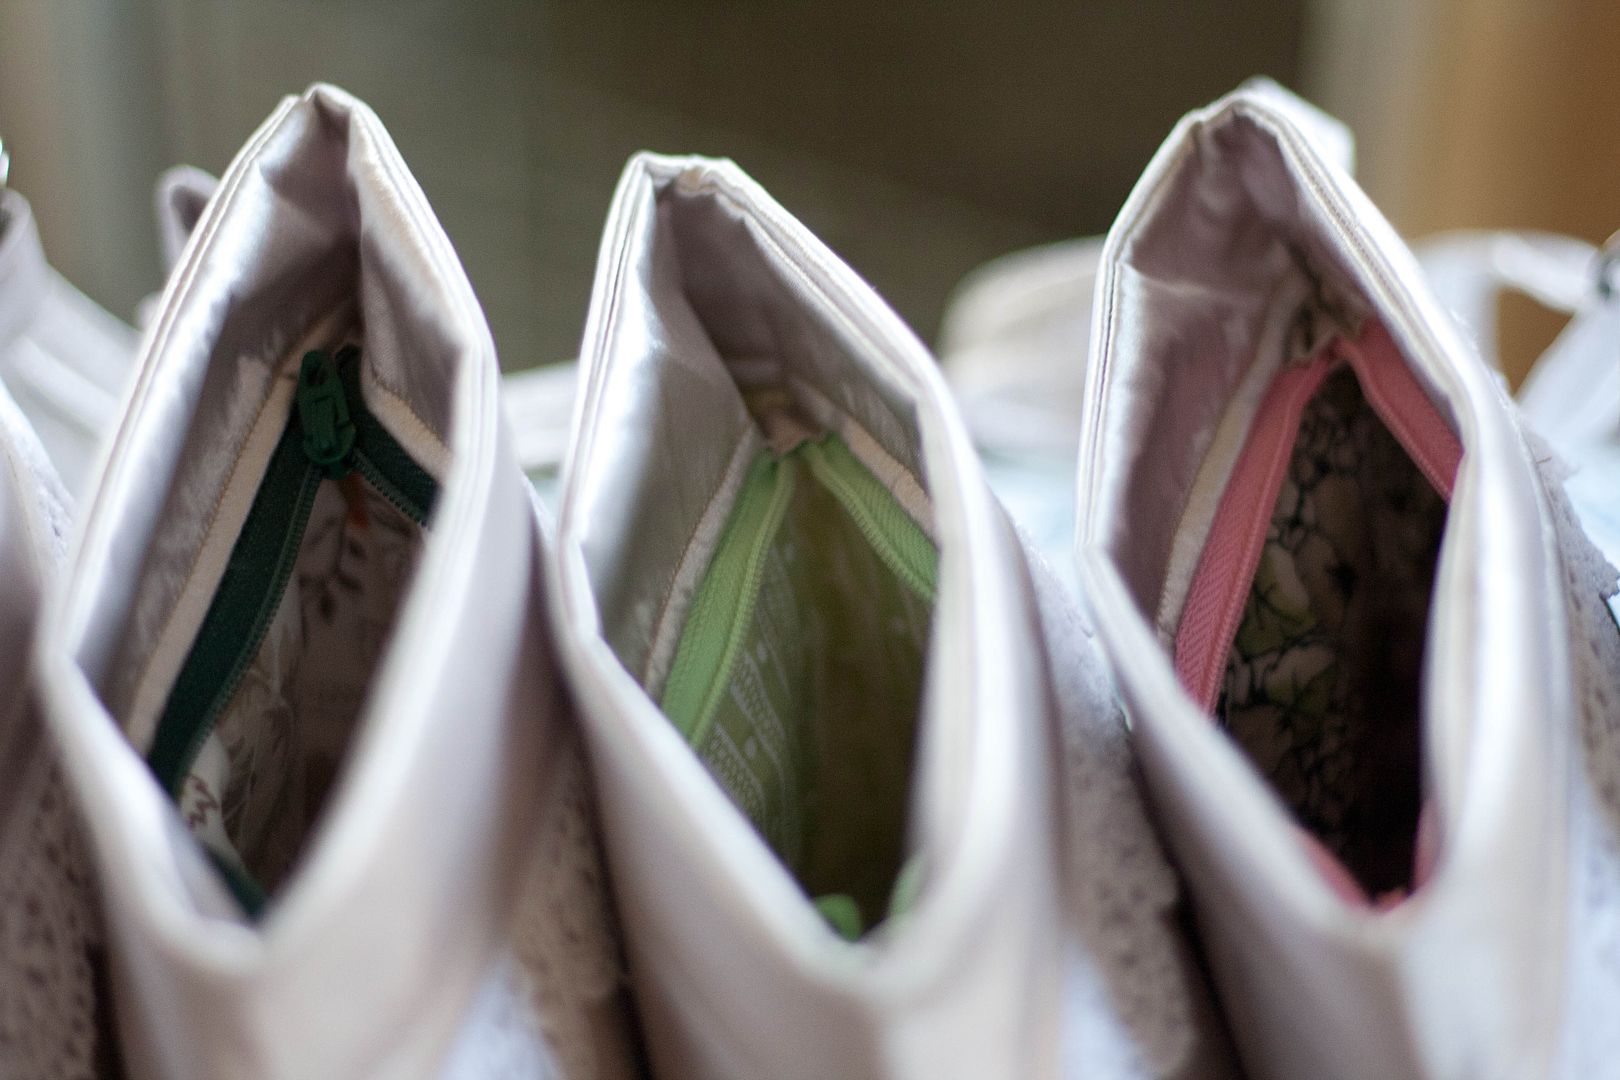
My brother-in-law is getting married this summer and his fiance ordered a set of custom clutches for her bridal party! We both loved this Pleated Wristlet Pattern by Michelle Patterns so I picked up some silver satin and lace and got busy.


These were pretty straightforward to make and I made pretty good time by doing them assembly-line style. The shape is a little different than I expected based on the pattern pictures, but I'm still super happy with how they turned out. And I found a wonderful trick. It's called a "walking foot." So, yeah, not really a trick, you can buy one pretty much anywhere. :) But if you are sewing anything slippery (or stretchy) it seriously makes a world of difference in how straight & even things turn out. I may never take it off my machine.


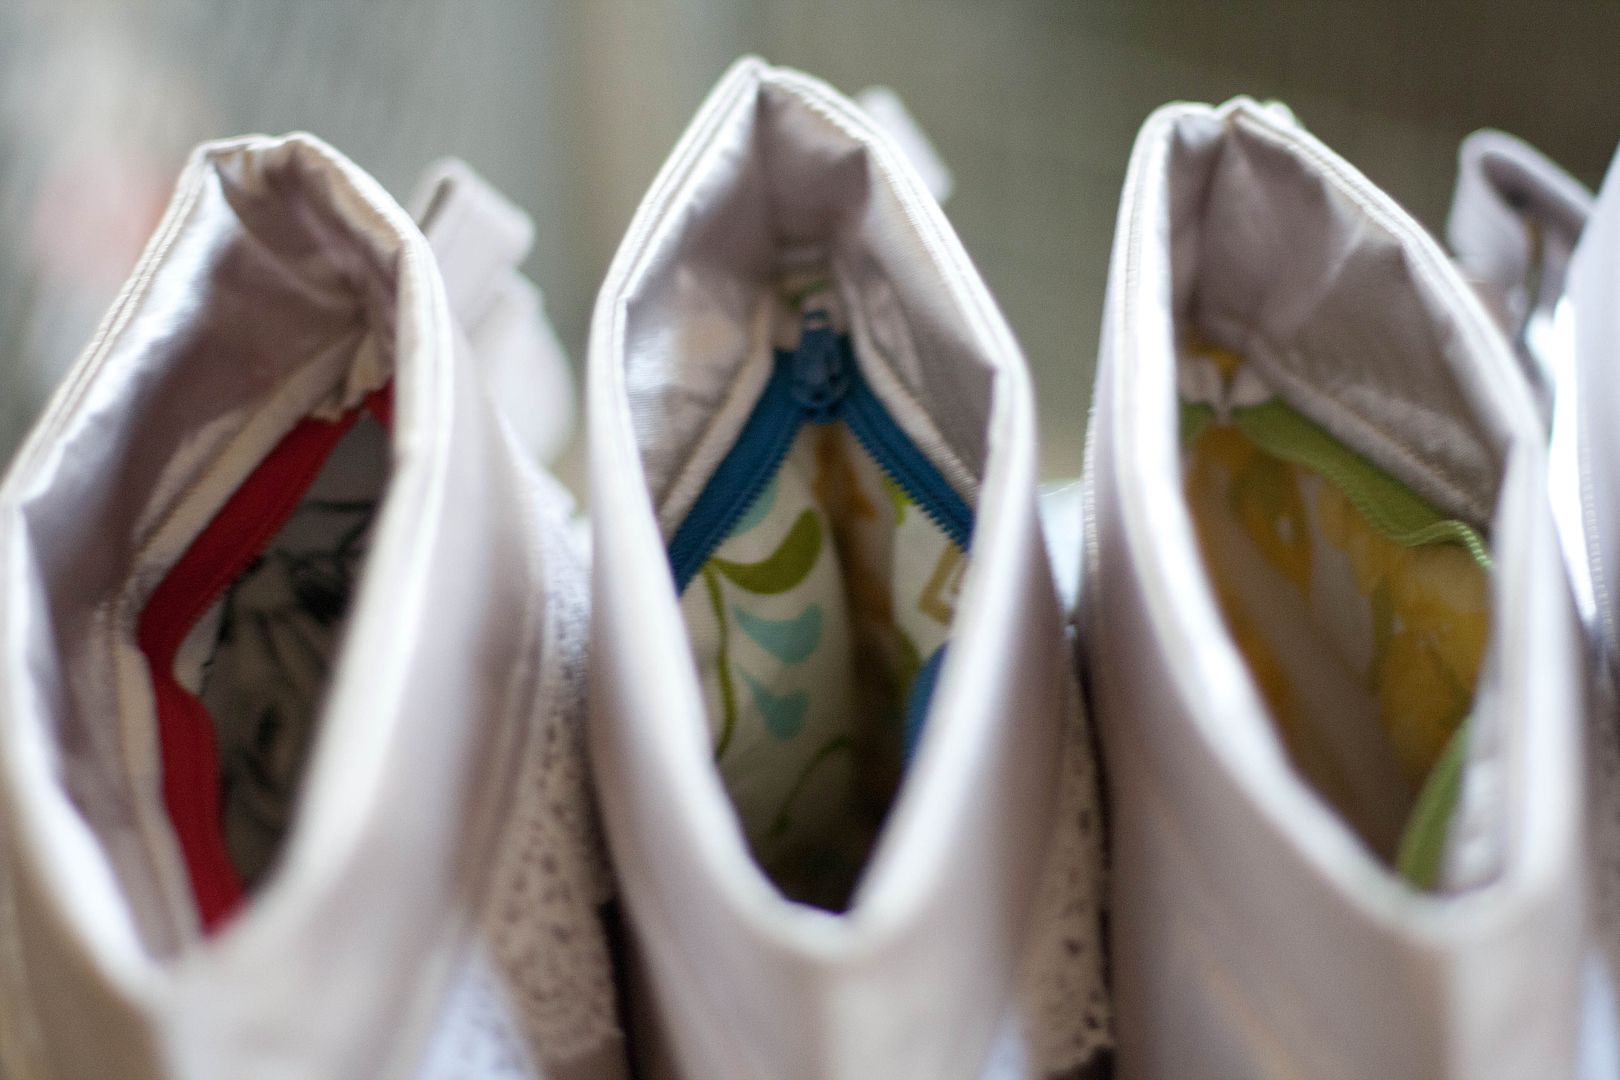
But back to the clutches. They all had to match from the outside, but I wanted to make each one unique and make sure the girls could tell them apart. So I used a different fabric from my scrap pile for each lining to add a little fun! I also used a different color zipper for each one. They are hidden by fabric flaps so they won't show during the wedding, but the girls will be able to tell them apart without unzipping them. The top middle one is my favorite!


I'm going to try one of the bigger sizes of the pattern to make one for myself (I think it will be really handy when I'm wrangling Baby B), hopefully using the rest of my favorite fabric ever that I've been hoarding for years. It's time. (it's the fabric I used for the pillows in the first picture here) Hey, I actually kept it pretty short and sweet today! ;) Come back tomorrow to see the awesome new beach bag I made! Seriously. It's awesome. What have you been sewing lately? Or if sewing isn't your forte, what have you been crafting?

Tuesday, July 10

What I've Been Sewing - One-Size Diaper

Like I mentioned yesterday, I made a few little newborn fitted diapers to practice my diaper-sewing techniques. But after I got a few newborn diapers under my belt (even though none of them turned out perfect) I decided to dive right into into my real goal - a one-size waterproof diaper for Baby B!

One-Size Diaper
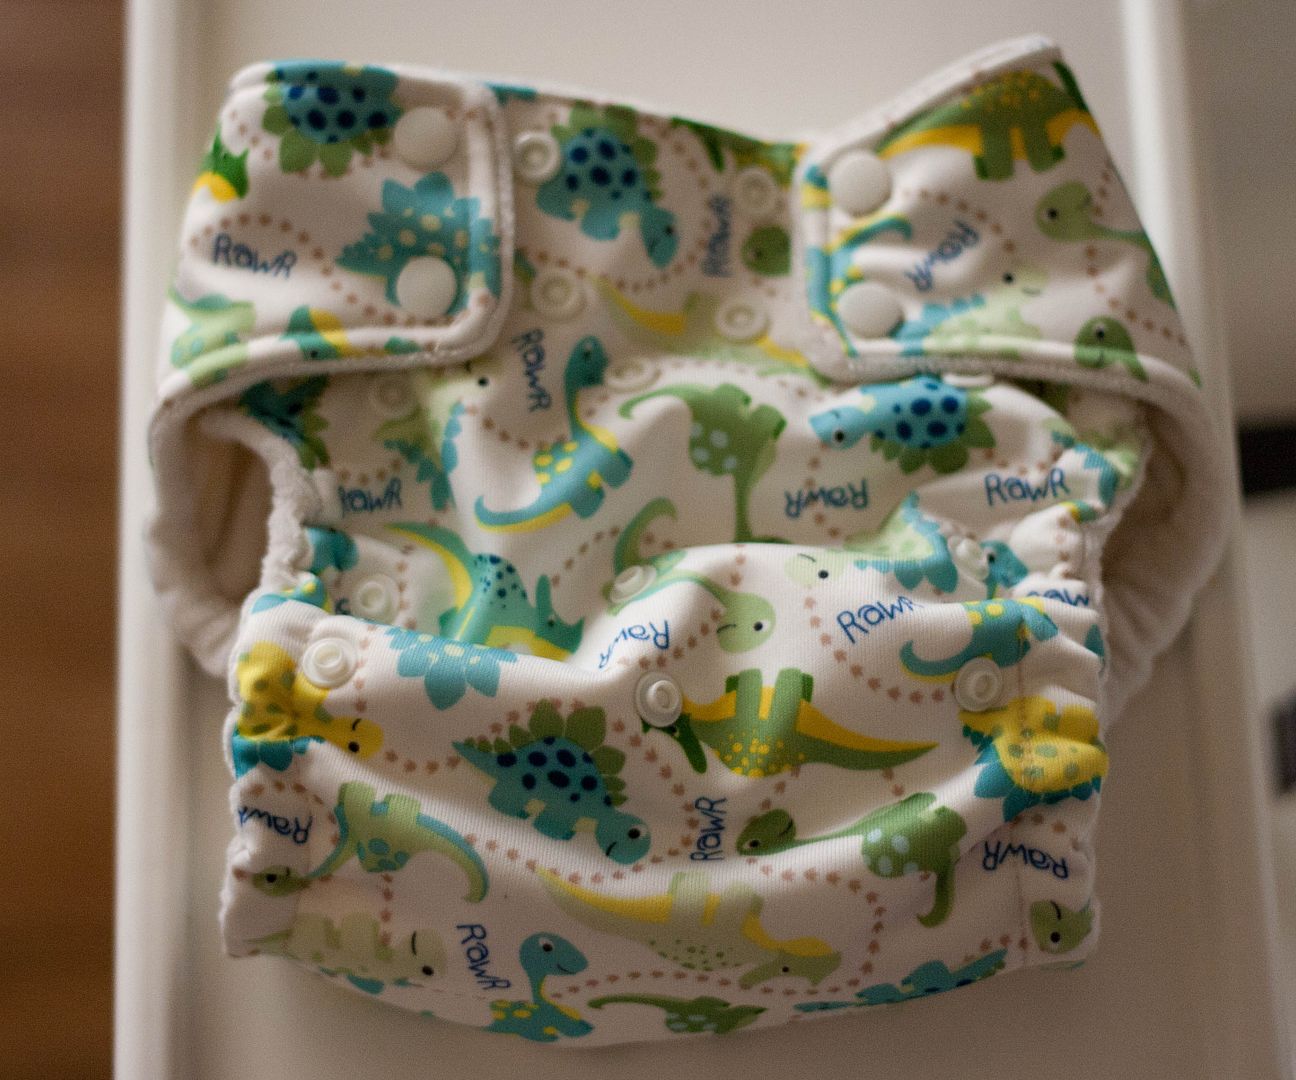
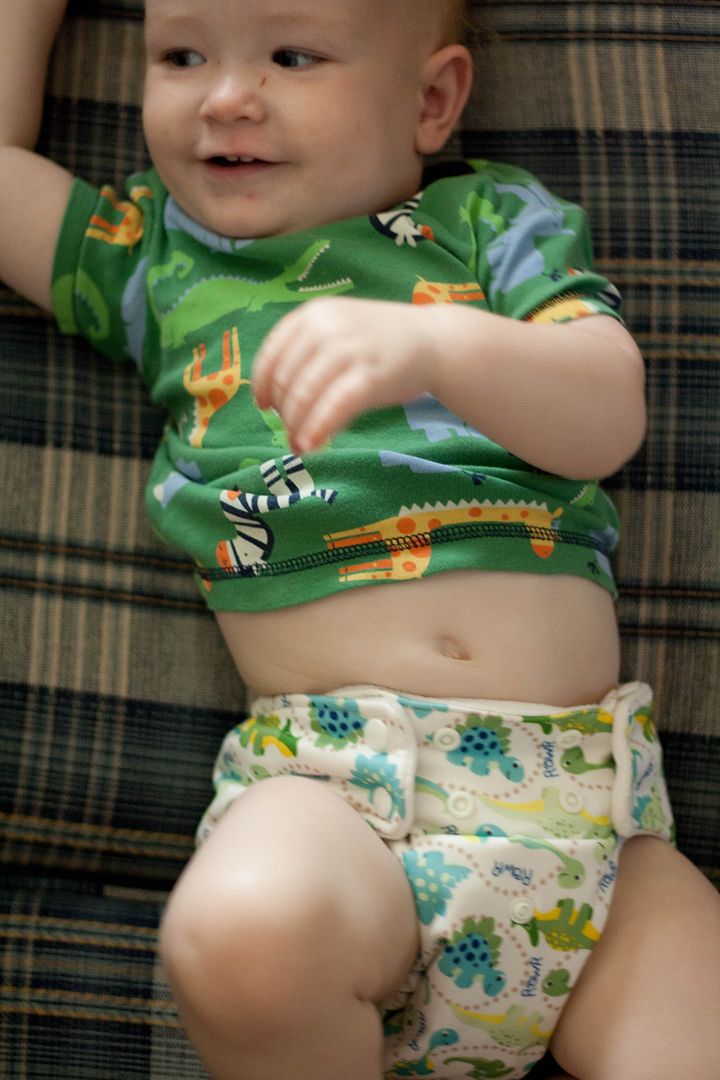
So I grabbed all my fancy supplies like PUL (the waterproof fabric) and snaps, and hoped for the best! The good news is by trying everything new at once I was able to find all my problems and mistakes in one fell swoop. Ha ha.  :) This was my first attempt. I based it on the Cloth Revolution size large pattern, but I modified the design to be front-snapping instead of side-snapping (just my personal preference) and added rise snaps to make it an adjustable one-size diaper (also my preference).

The dinosaur PUL if from Hobby Lobby (with a 40% off coupon!) and the snaps are from kamsnaps.com.

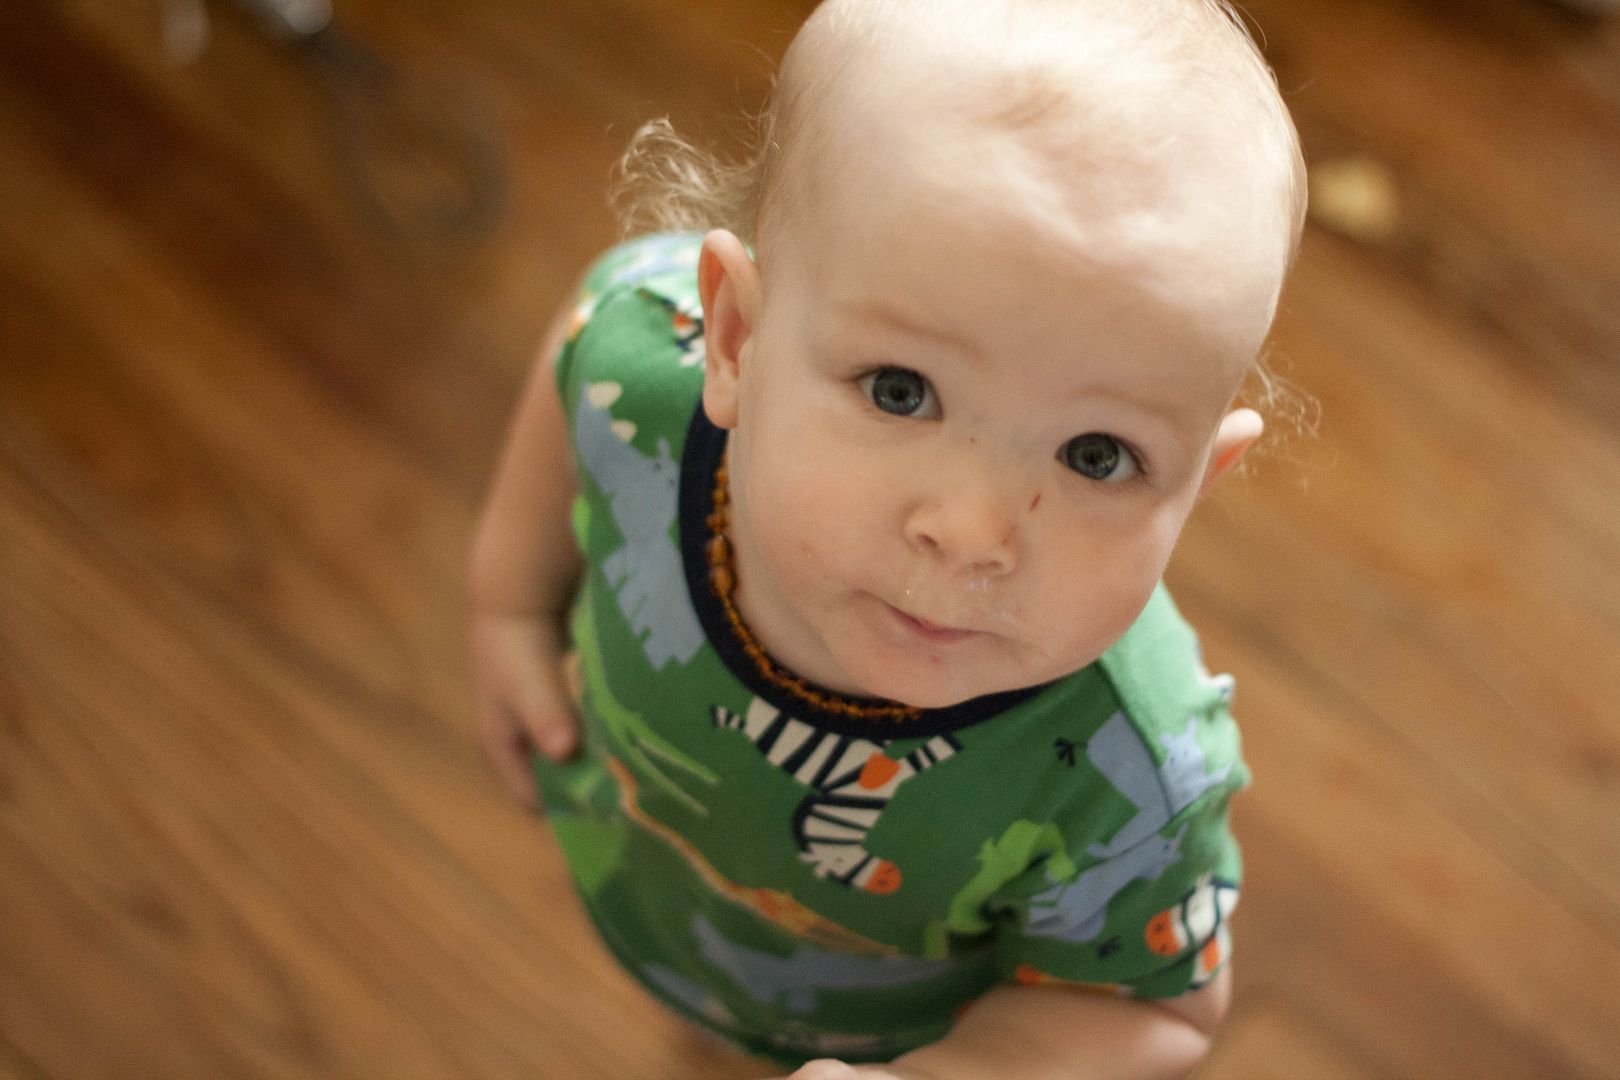
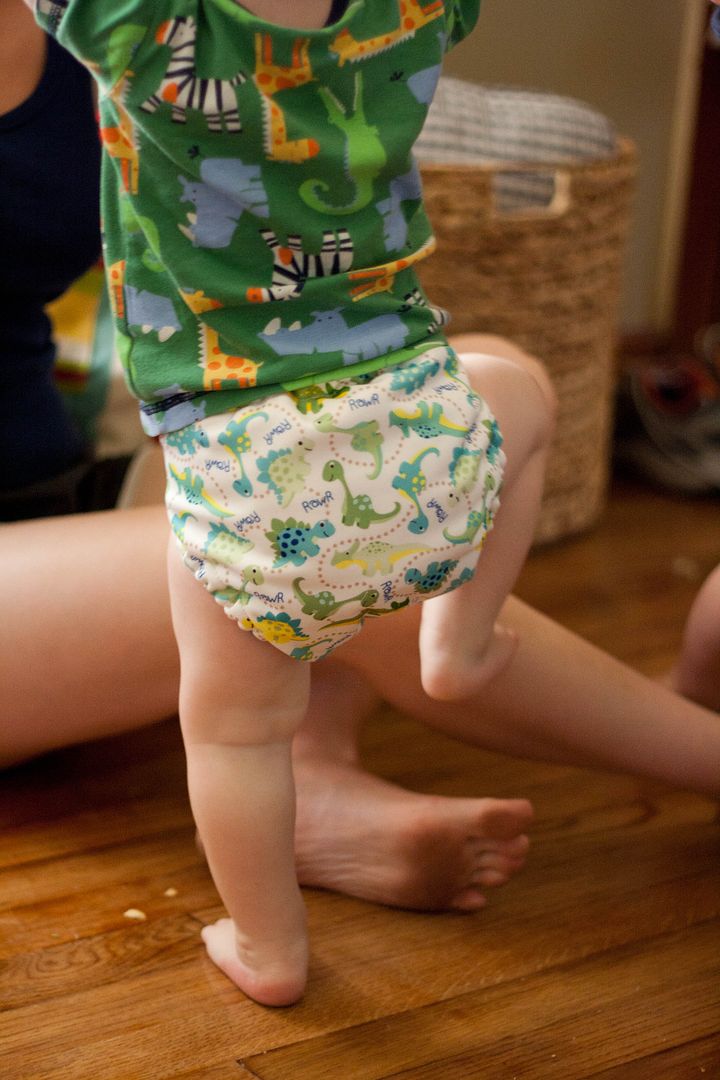
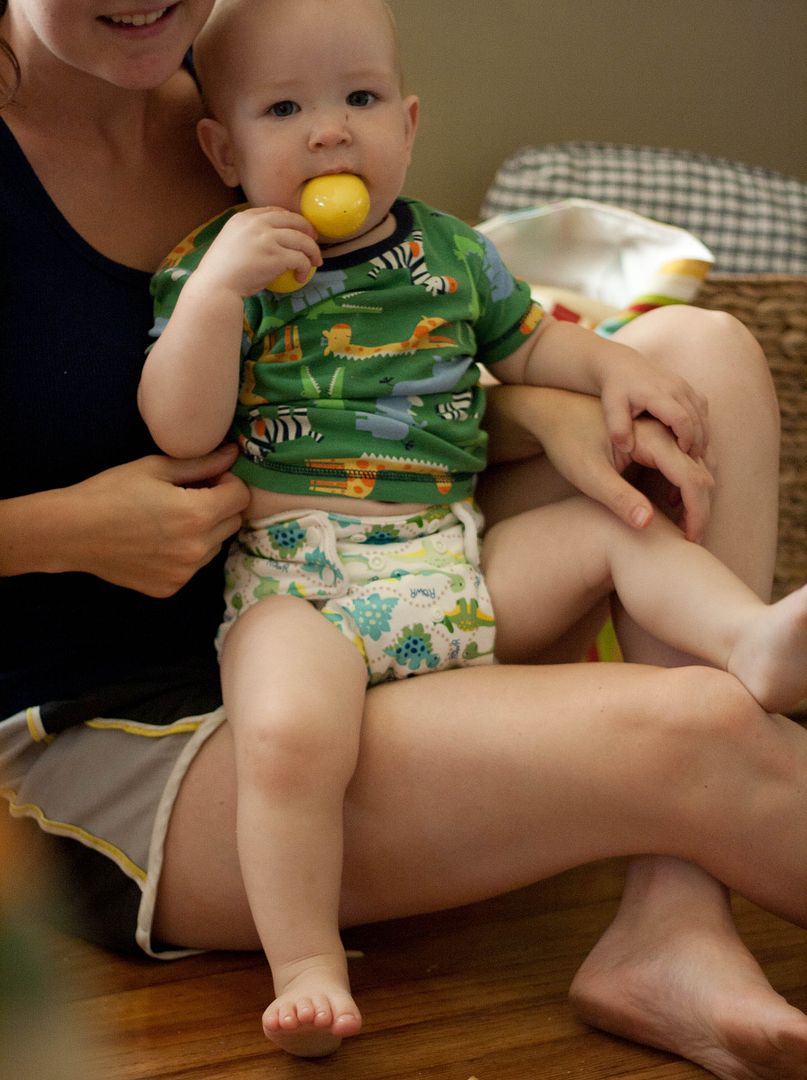
Now I just need someone to test it out....Oooh, a perfect candidate!


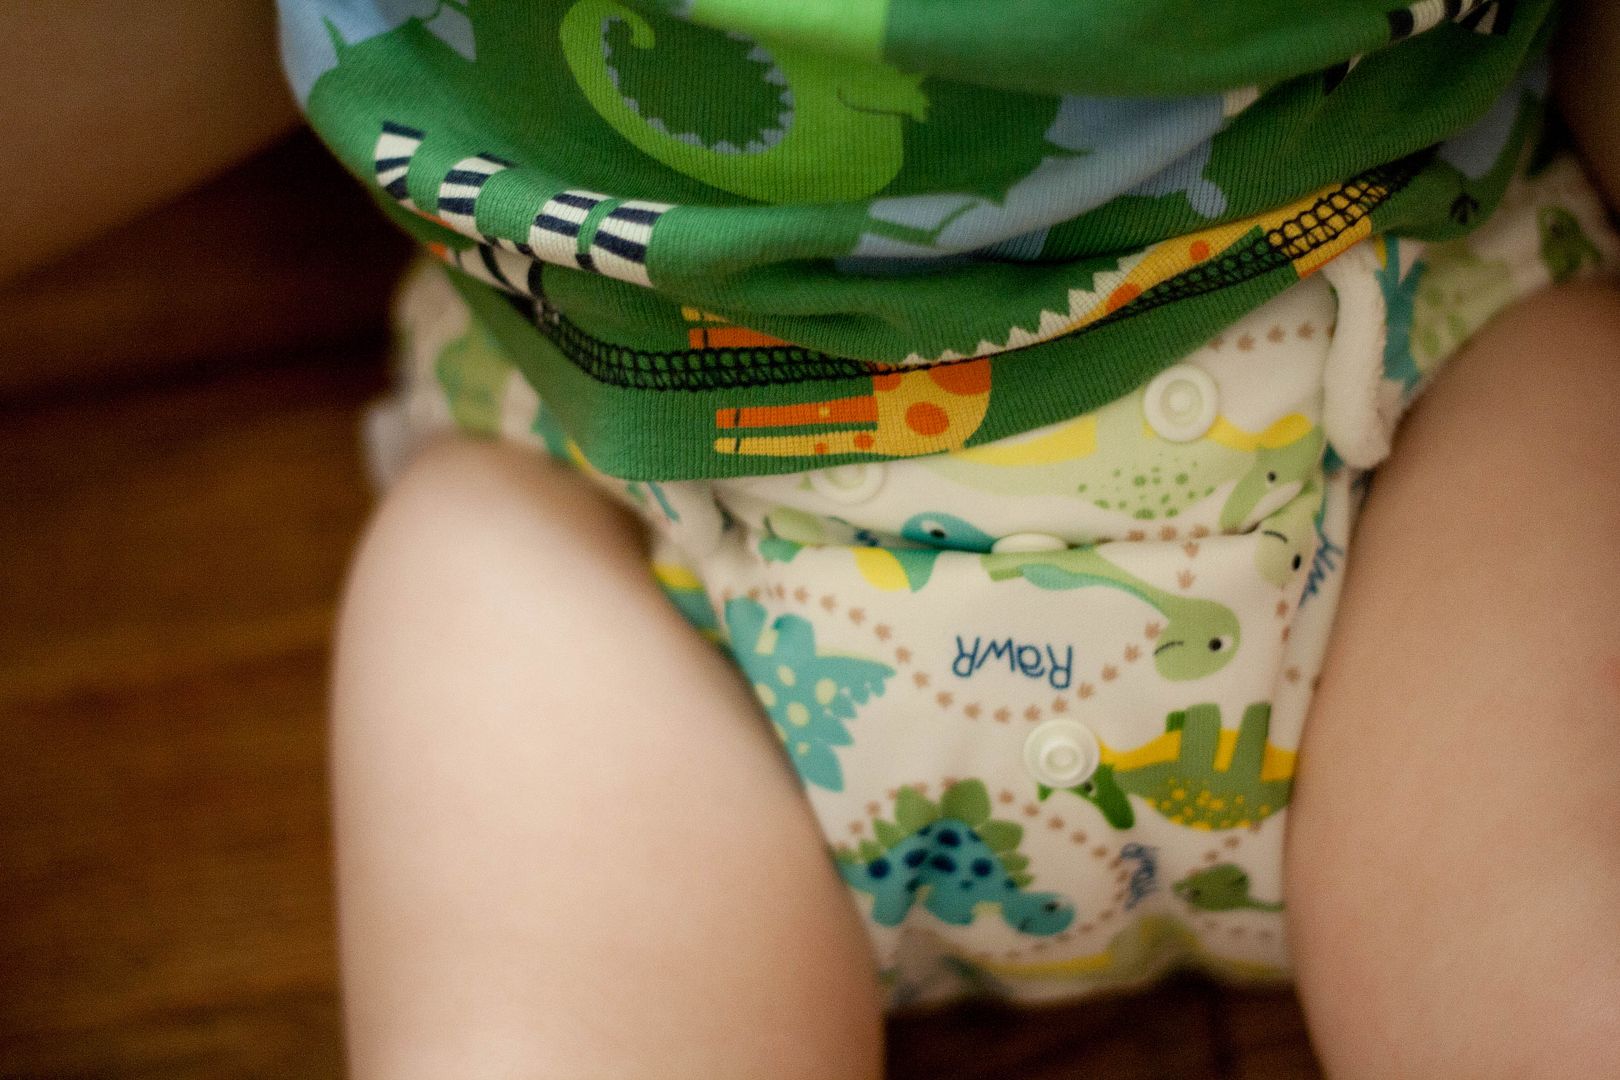
As I finished sewing it, I thought it looked it wouldn't fit at all just because it was kind of different than my other diapers. But it actually fit surprisingly well! He's on the second rise setting, which is the same setting he uses on out other diapers so I think I got that sizing right on. He is only up one step on the waist, though, so I need to find a way to make that more adjustable for smaller sizes. But he has plenty of room to grow!


I also may try making the whole thing a little narrower through the seat next time. It just seems a little wider than what we normally use. I found a few other things to try to improve on next time as well. For one thing, I think I'll have a better idea of how to keep my lines straight and neat with all these different fabrics, but I also plan to improve my elastic technique, add more snapping size options, and adjust the snap placement (they were WAY to close to the edge of the diaper in some places so I could hardly sew around them!).


I used the PUL outer layer, a layer of hemp french terry, and a layer of organic bamboo velour to make the body of the diaper. So it has a fair amount of absorbency, but I think it needs a little more. So far I've mostly used pocket diapers and I've liked them, but I recently won a Grovia diaper and my eyes were opened. The Grovia system has a sewn-in soaker (and an extra snap-in soaker if you need more absorbancy) so all the pieces stay attached in the washer. No more pocket-stuffing. It is SO nice to pull that diaper out of the dryer and put it straight on! For now I'm just laying-in a bamboo insert from my pocket diapers, but I'm definitely planning to try the whole sewn-in-soaker thing!


 Baby B doesn't have huge legs (anymore. ha!) and he still got a great fit around the legs. I was afraid he was going to be swimming in it. :)


 So far we are both really happy with how this one turned out, and with the cutesy dino print! And I'm excited to give it another try and work on perfecting my updates to the original pattern. Hopefully I'll have a stock of homemade dipes for Benji soon, and maybe even some up for sale in our new HyenaCart Shop (more details on that soon)! :)


This is my last diaper-sewing post... for now. ;) But tomorrow I'll have a set of pretty clutch purses I made for my brother-in-laws up-coming wedding, so stay tuned! :)

Monday, July 9

What I've Been Sewing - Fitted Diapers

There was a tragedy with my sewing machine. I'm not sure what I did exactly, but I broke a needle and now it makes a horrible thumping sound. I'm hoping it can be fixed, you know, because I love it, but in the mean time I'm breaking in the back-up sewing machine I bought at a yard sale for $10. It's an older machine and it doesn't have the nice features my regular machine has, and it has some quirks I'm still figuring out, but for $10 it's doing the job pretty darn well.

And if it fails, I'll break out the even older back-up to my back-up sewing machine. It's in the old sewing table I use as a nightstand in our guest room, but the lady who gave it to me said it worked the last time she used it. :)

But anyway, over the next couple days I'll be posting everything I've been sewing the last few weeks with my new/old machine...

Newborn Fitted Cloth Diapers
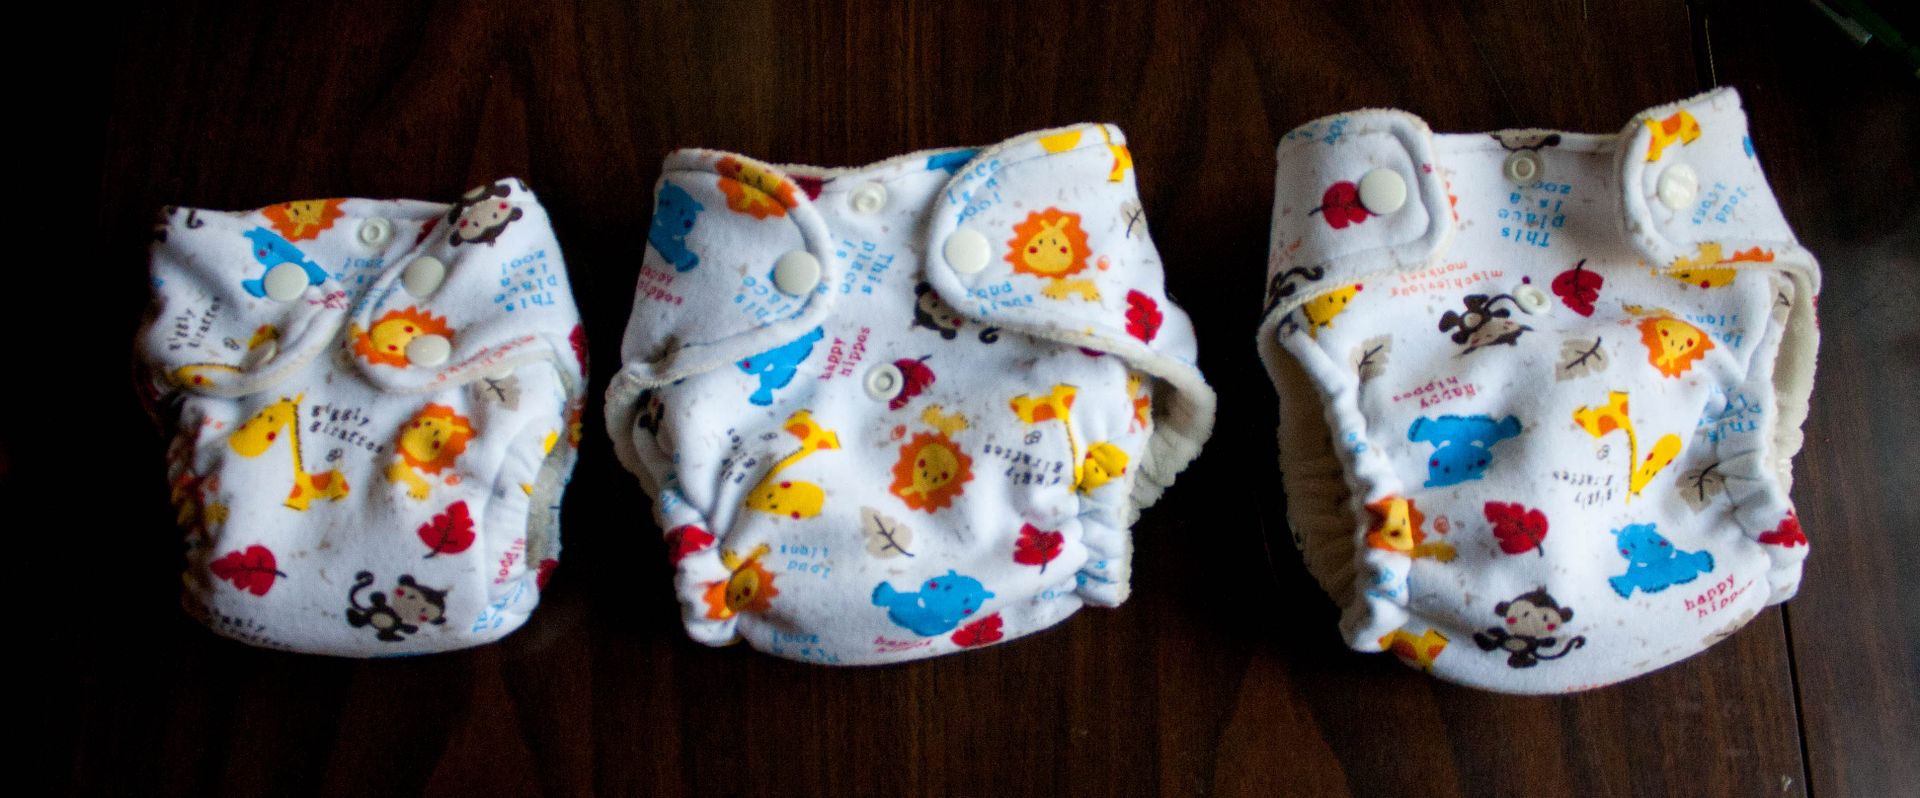
I've been giving cloth diapers another go. It's not going as well as I hoped. Ha ha. My hopes do tend to be a little high. Anyway, I decided to start practicing with newborn diapers. Not because I need them yet, mom. ;) But because they use less fabric (so I'm not out as much if I mess up) and because I'll want newborn fitteds with covers anyway so I can make these without using the more expensive waterproof fabric until I know what I'm doing. This is the outside of my first attempt:


The outside is just a cute cotton knit from Joanne Fabric. For a tiny newborn the front snaps down below the belly button . Nifty.


 The inside is organic bamboo velour, and there is an extra soaker layer made of hemp french terry sewn in the middle. I may need to make a lay-in soaker to add more absorbancy because now I'm doubting my little layer-and-a-half will be enough!


I actually tried a couple different patterns out to see which I like best. Unfortunately none of them turned out awesome, but part of that was my sewing machine & sewing skills failing me. Ha. The two on the left are two different sizes of the free Newborn Darling Diaper pattern. While it's free, it's a pattern only with no instructions. They want you to pay for those. Um.... no thanks, I think I'll fly by the seat of my pants instead! For the one on the left I used the double row of snaps and the middle one uses just a single row (which seems like plenty for such a small diaper). I did the elastic on the left one wrong and it turned out stiff and weird, but the one in the middle turned out nice and fluffy (if a little uneven)!

The diaper on the right is from the free Cloth Revolution pattern. This one is definitely my least favorite so far, but it may not all be the diaper's fault. The biggest problem is that the leg holes are HUGE! And I think the tabs look goofy, but to be fair it was supposed to be a side-snapping diaper and I switched it to the regular snap layout. This pattern did include directions, but they were not well organized so I just winged it again. :) Overall, though I wasn't as happy with this pattern. I probably won't give it another try. But I might give this free pattern from the Nappy Network a try, you know, just to see ALL my options. :)


That's enough practice, don't you think? Tomorrow I'll recap how I dove in head-first to make a one-size, water-proof diaper!
Subscribe