
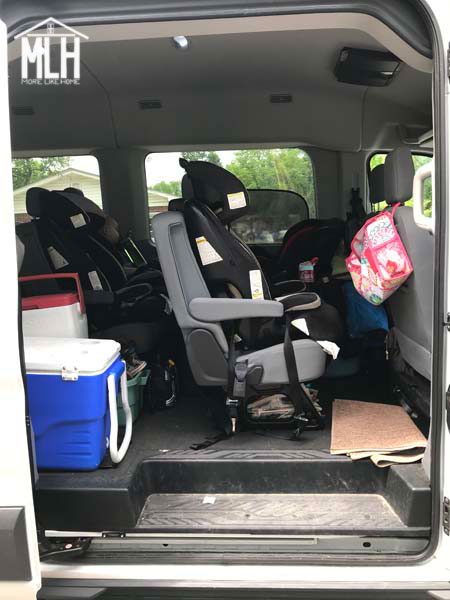
The first step in packing our camper van is to remove the back two rows of seats and the jump seat right by the door. This leaves room for Nathan and I in the front, followed by a three-seat row with two carseats (I left a seat between them open so I could sit by the baby sometimes), followed by a two-seat row with two more carseats. We've found removing the jump seat makes a world of difference when we're getting in and out of the beds! It's a little extra work to get it out, but totally worth it!

Not to scale. That leg room is false.
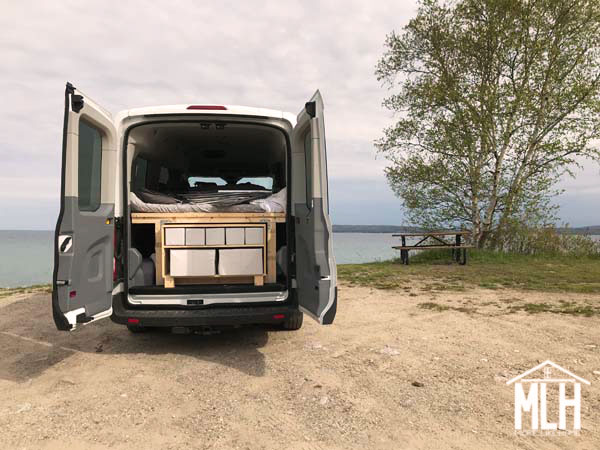
With the seats out, we can install the bunk system (it's removable when we're not camping and the foundation of making this van work for our family of six!). Once the bunk is installed, I put in both mattresses in place and go ahead and make them up with sheets, blankets, and pillows. Then I roll up the bottom bed toward the left side of the van like this:
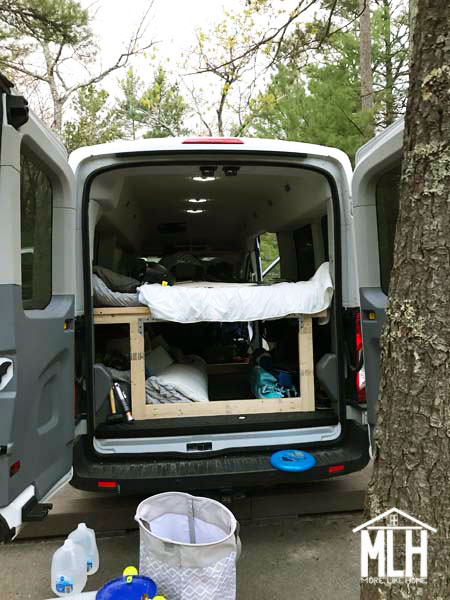
This makes a big storage area in the right half of the space that is perfect for camping chairs and a tote with other camping supplies that just need somewhere to fit while we drive. When we get to the campground, I pull that stuff out and just unroll the bed and it's ready to go - which is especially handy if we don't arrive at the campground until bedtime because we can be bed-ready in just a few minutes.
With the jump seat by the side door removed, we can slide all this gear in and out through the side door without needing to remove the shelving unit by the back door (more on that in a minute).
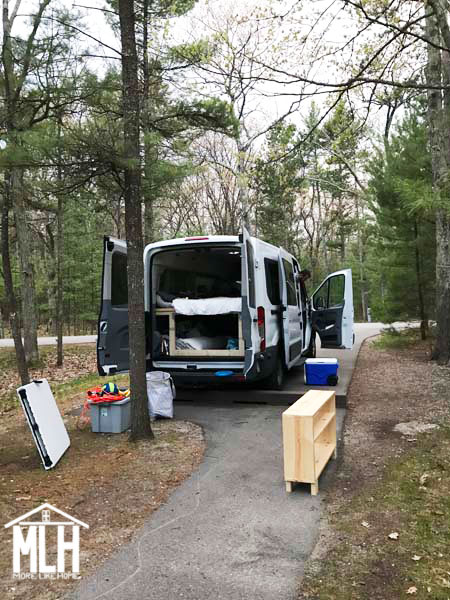
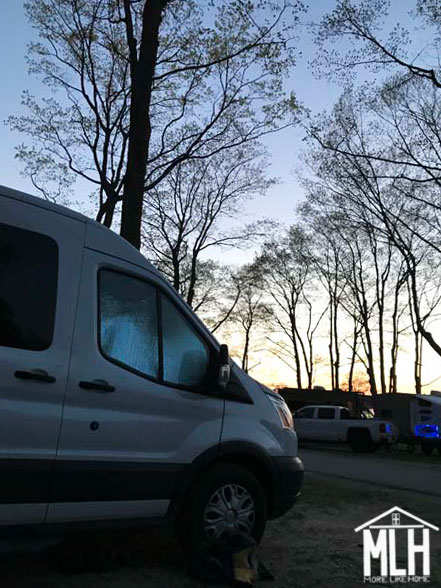
Our first stop with the shelf pulled out - before we realized we could just use the side door.
- tote of non-perishable food
- tote of kitchen utensils, dishes, dish towels, etc.
- hot dog sticks
- chairs
- folding table
- jugs of drinking water
- hamper
- diapers, etc.
- clip-on highchair
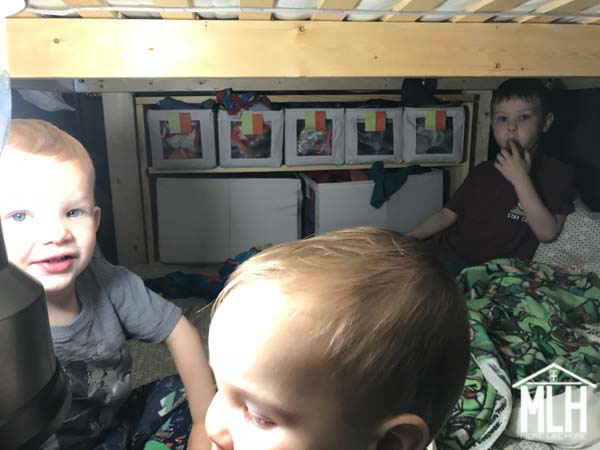
The shelf perfectly fits these bins from the Ikea children's section:
- five small ANGELAGAN bins from Ikea (7" x 10 3/4" x 6 3/4") $10/set of 3
- two large ANGELEGAN bins from Ikea (9 3/4" x 17" x 9 3/4") $8/each
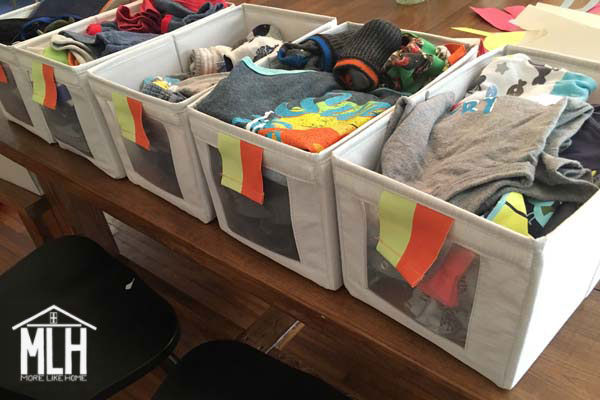
Each of the boys gets one small bin that holds all their clothes for the weekend:
- 2 long pants (1 jeans + 1 sweats)
- 3 shorts
- 4-5 shirts
- socks
- underwear
We hung an LED lantern under the bunk, but we also pack like four of these flashlight lanterns. We love them and they are so handy!
But wait, there's more. :)
I lay out all the insulated window shades and the screens for the doors and windows on top of the top bunk. That way they don't get squished and they are easy to grab and pop in place when we park.
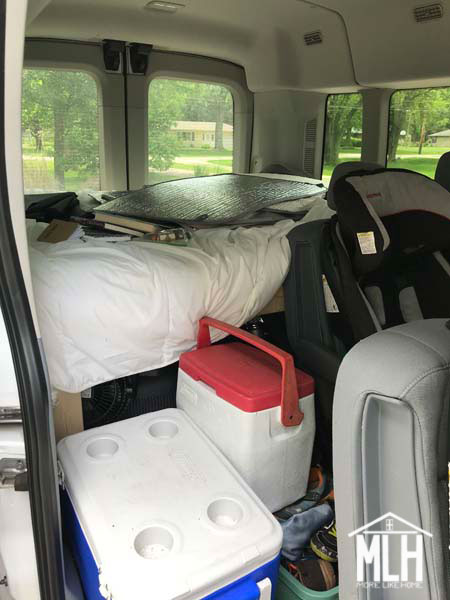
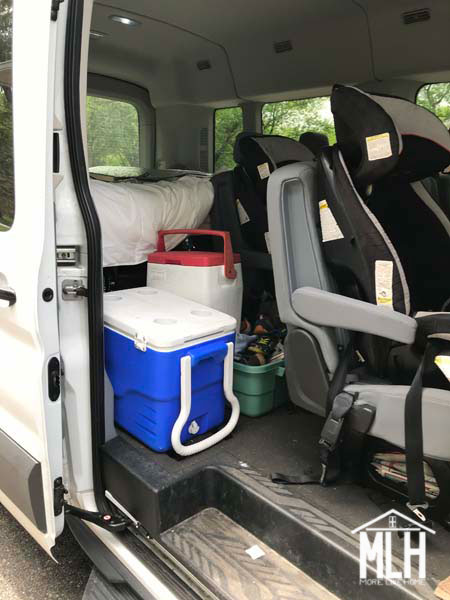
The jump seat spot is perfect for things we might need to access easily while we drive. We kept the coolers here so we could make picnic lunches - the smaller cooler is all the raw meat, eggs, etc. that we really only use at the campground, the larger cooler has all the ready-to-eat food like fruits and sandwich stuff.
There is also a green rubbermaid tote under the smaller cooler that is full of extra shoes - for this trip everyone took sandals, water shoes, tennis shoes, and rainboots. I realize that was a lot, but I knew we would have a lot of wet and sandy stops with chilly weather and I didn't want anyone caught with soggy shoes! I didn't bother with a lid since we get into it so much, but it worked perfectly for keeping all the shoes corralled near the door.
We have a large doormat folded up
under by the door that we put outside when we are parked at a
campground for shoes and wiping feet. Behind the driver seat there is a large tub from Ikea that is perfect for stashing towels, jackets and all the weather-specific gear - we filled it with winter coats on our last trip, but it usually holds beach gear in the summer. I also shoved a baby carrier in there. It's basically a mountain of fabric stuff, but it's easy to get to and worked well for us. Bonus = you can use the Ikea tub as a child-size bathtub! We also take a screen house tent that we stash behind the second row, under the kids feet. It's handy for keeping things dry during a longer stay and keeping bugs away while we eat (we didn't use it at all for our last trip, but I always pack it just in case).
Last but not least = the space under the seats. Yep, we use every inch of this van. We slip anything small under the seats like cast iron pans, a small fan, and small bins that hold things like extension cords, clothesline, Christmas lights, trash bags, and the collapsible hamper that we use as a trash can.
That's where everything goes while we drive! Once we park it's a pretty simple process:
- Put up the window shades and screens.
- Set up the screen house (if we'll use it, depending on weather and how long we'll stay)
- Move coolers and food to the front seats.
- Move the chairs and other gear outside.
- Unroll the bottom bed.
- Go to sleep.
Now here's the crazy part: If we know it's going to rain, we can actually fit everything (even the stuff that was stashed under the bunk bed) piled up in the seats. So when we got to Platte River Campground on a rainy evening and knew we were moving on first thing in the morning, we did this for the night:

And in the morning we didn't have to pack up a single wet thing. We just rolled up the bed and slid everything back under the bunk. Was it crowded and a little annoying for the night? Yes. Was it more annoying than packing wet camping gear? NO.

Pathway to the cave.
I think that's pretty much it! I made a printable packing list that I use for every trip to make sure I don't forget anything. You can download it here and print your own!

Rain boots drying out by the tire.
I'd love to hear your best camping or packing tips! Or where we should go next!
Awesome convertible build! I have a Transit 150 Passenger low roof regular body that I'm making, similarly, into a convertible camper/daily driver. What do you do for ventilation/air flow? I've looked at adding a fan, pop-top, new windows with a slider since there aren't any (and I can't seem to find any), etc.
ReplyDeleteHi! I made removable screens for the doors and the front windows (I'll work on a tutorial for those) that help a ton with airflow because we can leave them all open without bugs getting in. We also have two small portable fans - one for the top bunk and one for the bottom - and that has worked fine so far. Although we haven't gone camping during super hot weather, so I can't vouch for that. There is a bit of a hiccup when it rains because we do have to close the windows and doors then, but for the most part it's been perfect. My husband would love to add a fan or AC in the roof, but that would make the van too tall for our garage. So we'll probably just stick with the fans. :) I'd love to hear if you come up with something different!
DeleteI just came across your site and am so happy!! I have 4 kids also and was having the hardest time finding custom builds for transit vans that would sleep 6. This makes me so happy I can’t even tell you. I am super interested in hearing about your screens you made for the doors and how it works at night if you are concerned about animals? We are currently planning a national
ReplyDeletePark long road trip since I have a 4th grader this year and I’m beginning to build out our van and plan how we can all sleep in it for an extended period of time. Thanks for all the info!!
ahh i love this thank you! the printable checklist is great too! thanks
ReplyDelete