Showing posts with label furniture. Show all posts

Saturday, October 2

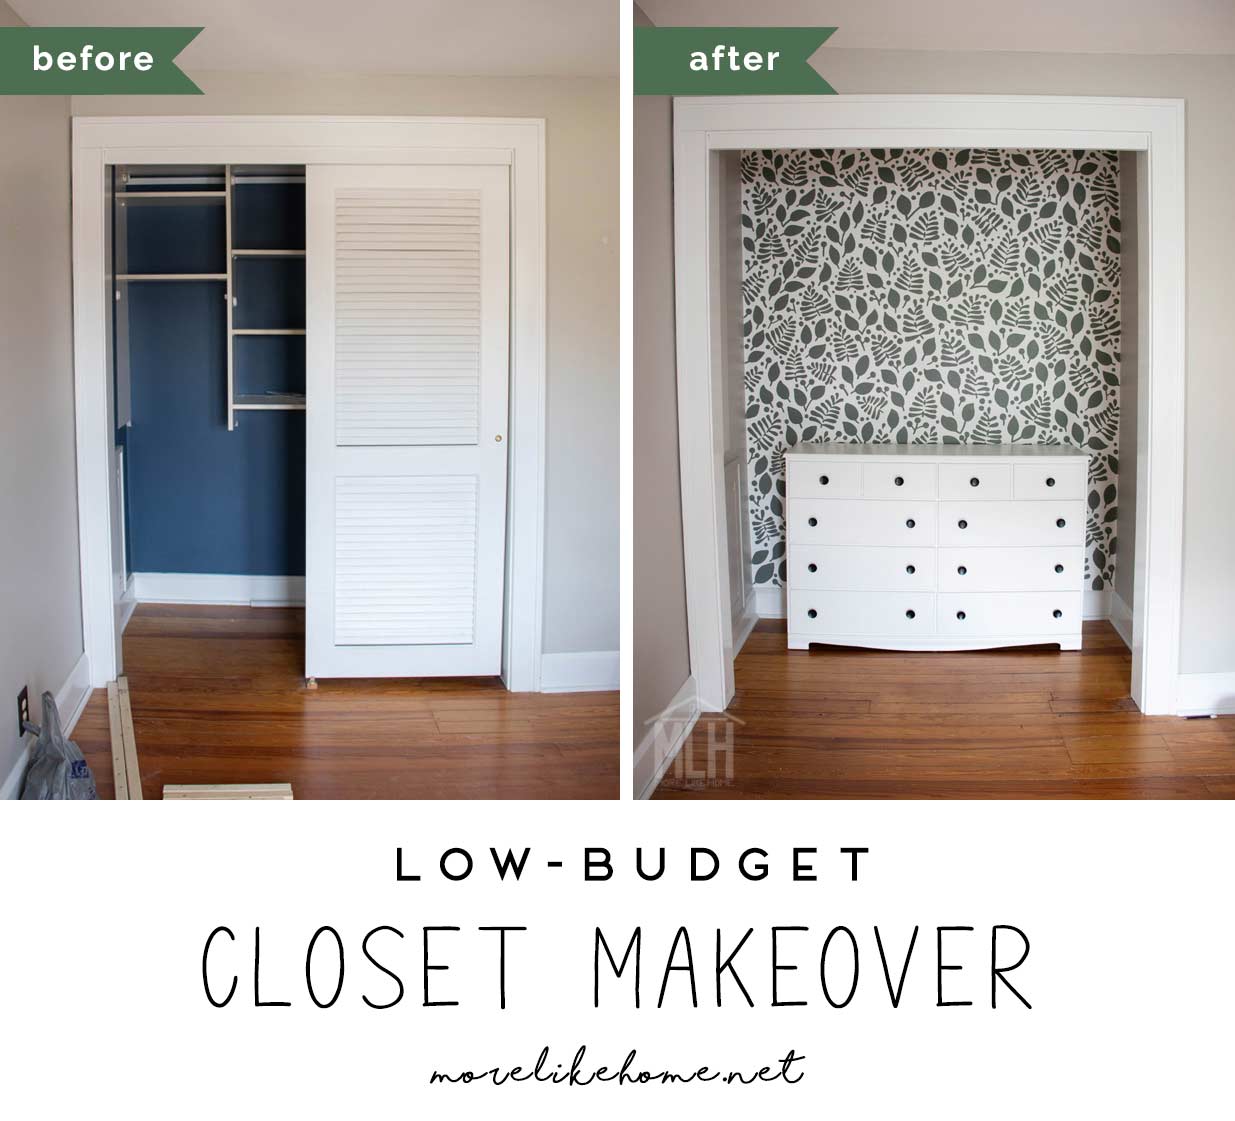
Boys' Closet Reveal (Low-Budget Makeover!)

Hey guys! It's time for the closet reveal! You saw a peek of it in the bunk room reveal (check that out here if you missed it), but the final details are done and this closet is already working hard for our boys. This was a 100% low-budget use-what-we-have project because seriously, guys, you don't have to spend a fortune to create a beautiful home for your family! Here's a reminder of where we started and where we left off during the bunk room reveal:


And here's their closet today: 


Thursday, July 22

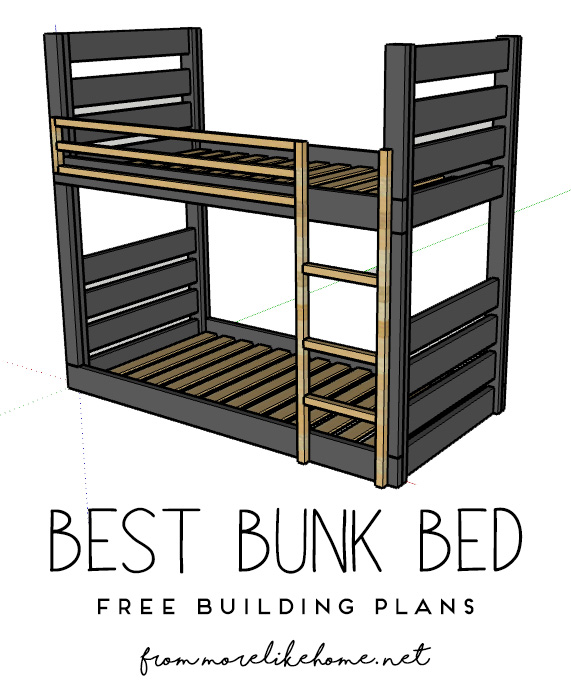
Bunk Bed Plans

Today I'm sharing plans for the regular double bunk bed we used in our boys' new bunk room

**Returning to this post more than 3 years later...we still use these bunk beds every day. They've held up great and love them as much as ever!**

We built the bunks as two separate units (a freestanding triple set and double set) so if we ever change course later and decided to split them up, we can! They also disassemble into a few large pieces for easy moving. We painted them all a muted green ("Retreat" from Lowe's) which feels perfect for a boys room without being over-powering. And I love the contrast that came with leaving the ladders and railings natural wood.

You can find the triple bunk plans here.

Monday, July 19

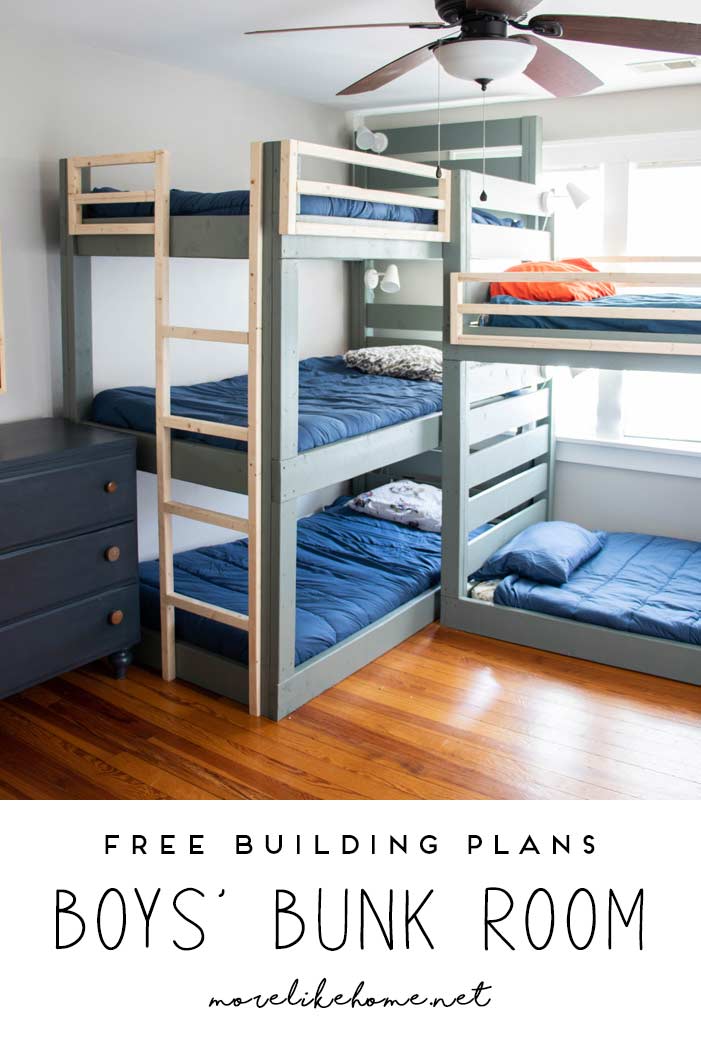
Triple Bunk Bed Plans

Guys, it's time for bunk bed plans!

You probably already got a look at the bunks during the room tour (if not, you can check out the full tour here) and today I've got plans ready for your to build your own. We'll start with the triple bunk today, and you can find the double bunk plans here

**Returning to this post more than 3 years later...we still use these bunk beds every day. They've held up great and love them as much as ever!**

We built the bunks as two separate units so if we ever change course later and decided to split them up, we can! They also disassemble into a few large pieces for easy moving. We painted them all a muted green ("Retreat" from Lowe's) which feels perfect for a boys room without being over-powering. And I love the contrast that came with leaving the ladders and railings natural wood.


These plans are based on Ana White's modern bunk beds, but I modified them to fit our needs and space a little better. Besides creating a triple bunk version, I also changed the overall height of the bed and moved the bottom bunk all the way to the floor (with slats underneath for air flow) to create as much head room as possible. I put a lot of thought into the bunk layout and decided to set the double bed at different heights than the triple to give as much headroom as possible to those bunks (especially so I can sit up on the bottom bunk for bedtime reading). 

Thursday, July 1

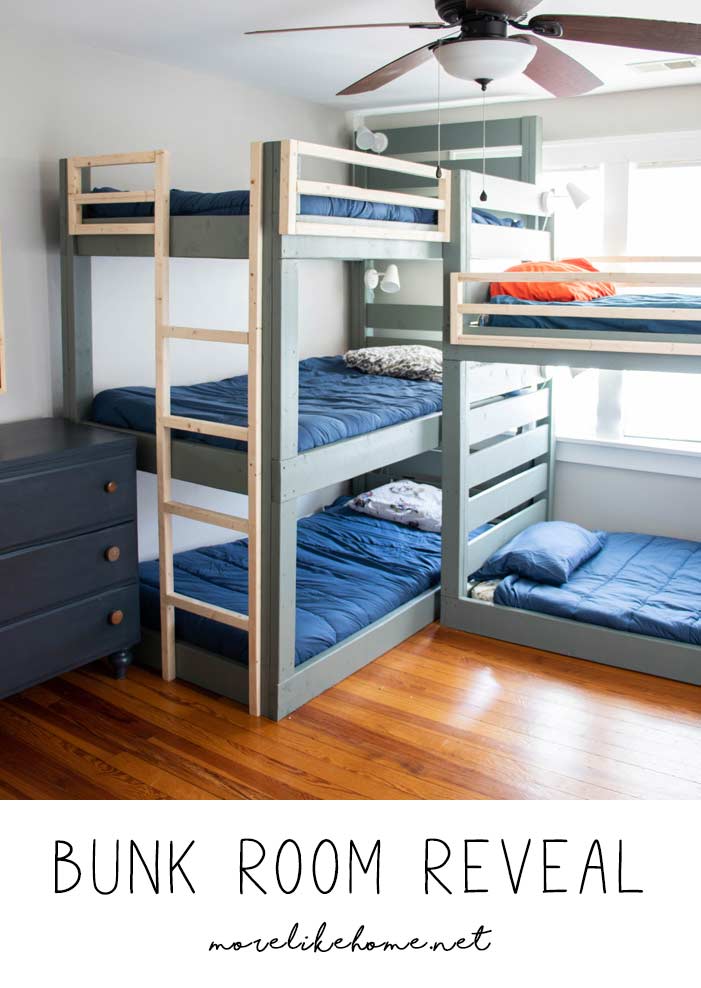
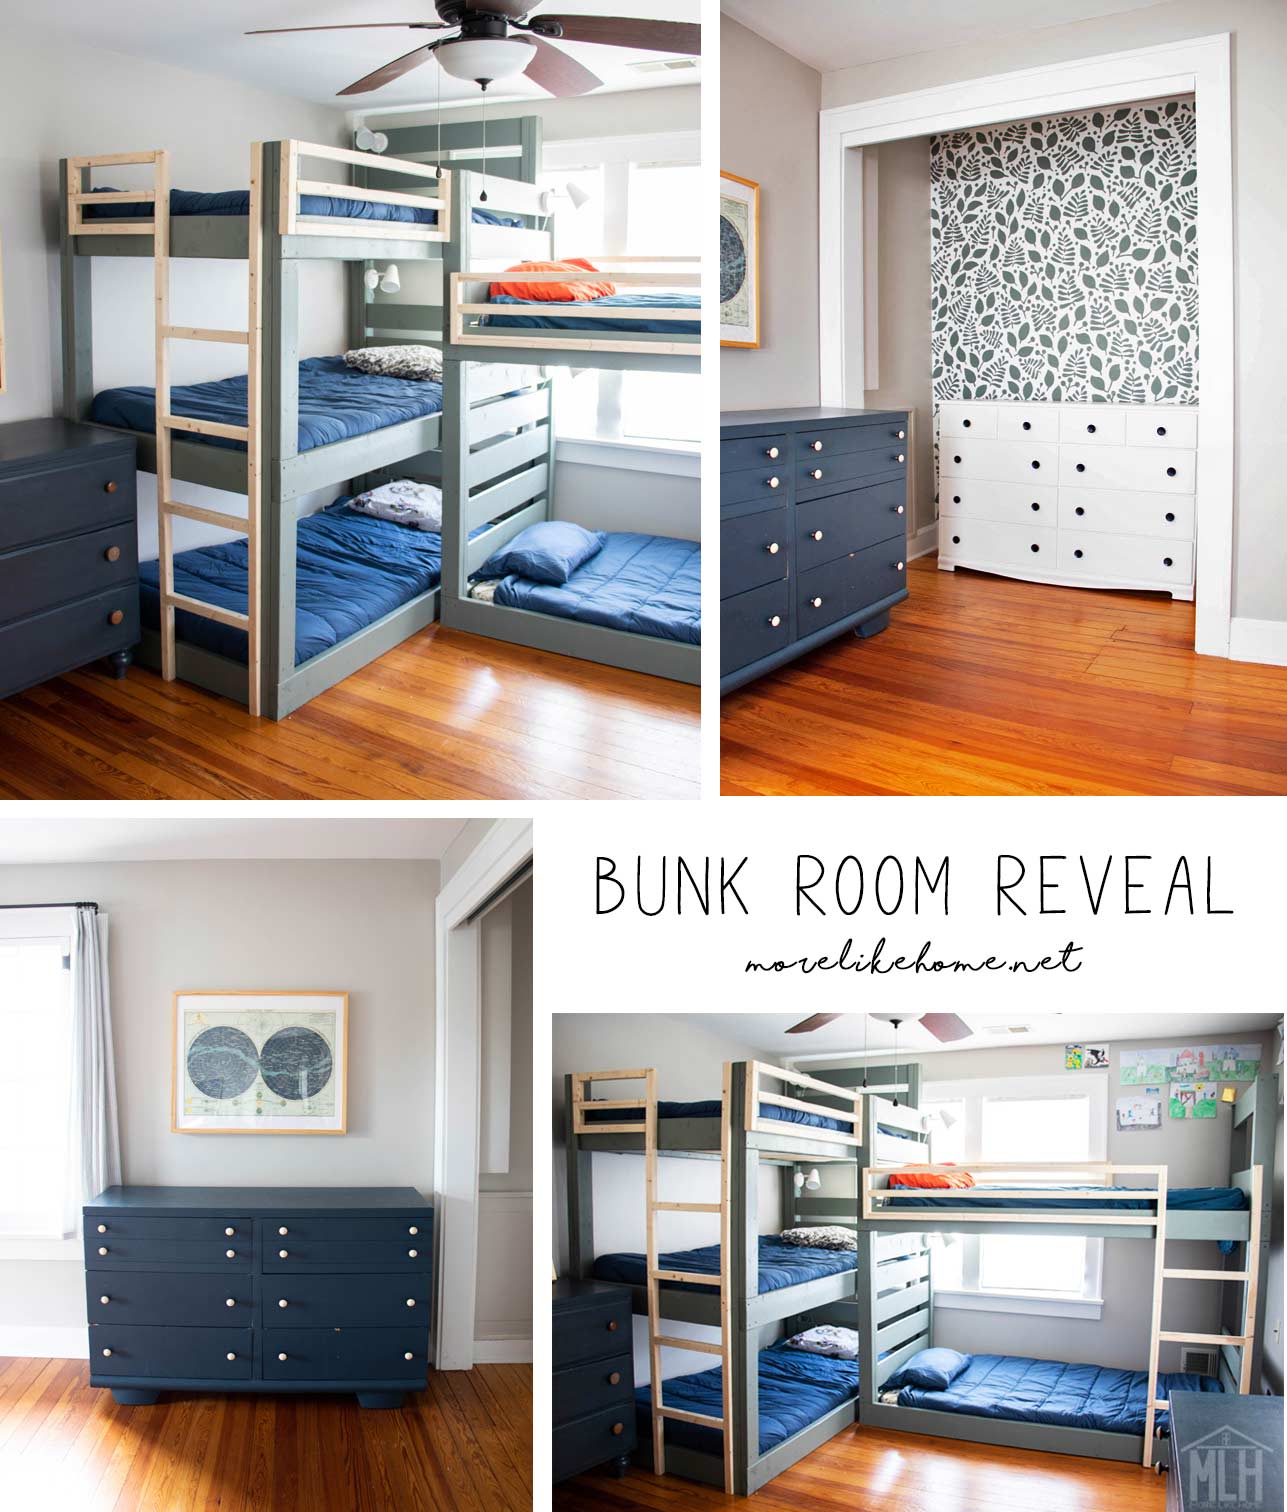
Boys' Bunk Room Reveal

Ladies and Gents, this is the moment you've waited for....

The boys bunk room is DONE and I am so excited to share it with you! This room used to be our guest room, but we realized that we could make the space work for our family so much better if we turned this into a bunk room for all five boys and turned their old (bigger) room into a dedicated play room. I don't know about you, but there are a couple things I was tired of:

  1. Boys playing with toys when they should be going to sleep.
  2. Stepping on those toys when I go in to check on them at night. 
  3. Boys who couldn't nap while their brothers played. Or play while their brother napped.

So we decided to ditch the guest room and create a dedicated sleeping space that is only for their beds, their clothes, and a their favorite books. This allows their bigger room to house the toys along with plenty of open floor space to play and, of course, the monkey bars + rockwall play area we built for them a couple Christmases ago. 

Ready to see how we fit FIVE BOYS (and all their clothes) into one room? Let's check it out!

**Returning to this post more than 3 years later...we still use these bunk beds every day. They've held up great and love them as much as ever!**


Thursday, April 2

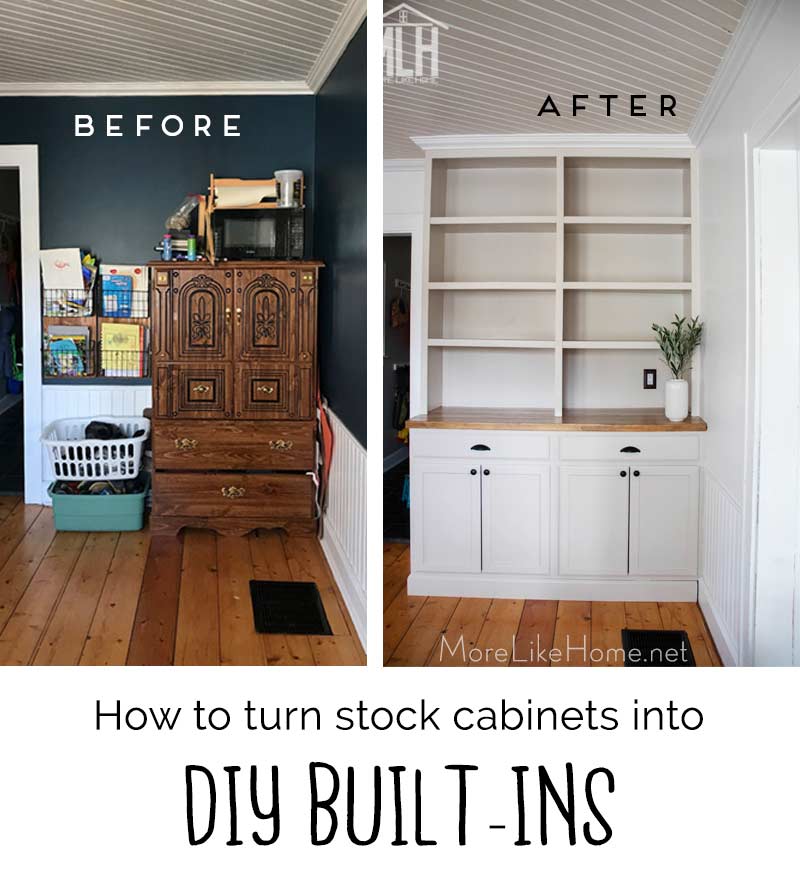
How to Turn Stock Cabinets into DIY Built-In's

Our first project of 2020 is (finally) finished! We tackled a totally neglected corner of our home (a little nook off our kitchen) and added a ton of functional storage with DIY built-ins. It's a pretty simple DIY that started with a couple stock cabinets from Lowe's, so today I want to share the process we followed so you can recreate it in any space and in any size!


This project started much like every other project we've ever done: with me saying "It will be easy! We'll be done in like two weeks!" And just like every other project... I underestimated. Like, a lot. It took us nearly two to complete these built-ins. Not because this process is difficult - it's actually pretty simple - but because we were exceptionally slow at setting aside time to work on it, and because the walls in this old farmhouse are crazy crooked. I mean, DIY always takes longer than I hope (you'd think I would learn - but no) but this project was even worse because we spent so much extra time cutting and recutting each board to fit tightly against walls that just aren't straight. But as usual, that slow and steady work has finally paid off in a big way.

It's hard to believe this is the same corner:

Sunday, January 26

Planning DIY Built-Ins

Our first project of 2020 is all about bringing more storage and better organization to one of the most under-used spaces in our home. Because the best way to turn your house into your home is to make it work for your family - and this room definitely isn't doing that. Yet.

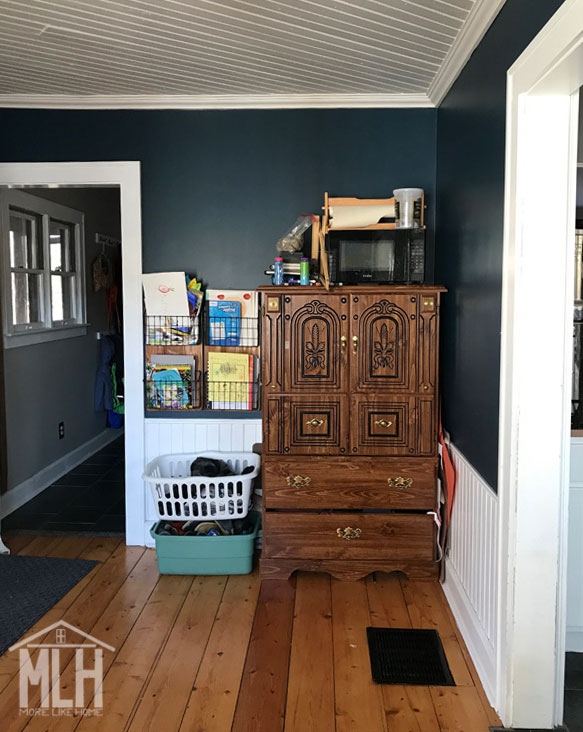
We have this little nook of our kitchen - it's probably supposed to be a breakfast room or something fancy like that. But, alas, we are not fancy folks. And I have no interest in a breakfast nook, because we eat breakfast at our big farmhouse table. So I toyed with a few other ideas for the space: a playroom (but we don't have that many toys and don't need another room for them), a homeschool room (I actually set it up for this for awhile, but we always end up in our cozy library/office for homework), and a craft room for the kids. So far, the craft room is the thing that seemed to stick. I'm a crafty mom and I have so far produced three crafty kids (and I expect the fourth will follow his brothers), so we have no shortage of art supplies and half-completed projects. But we do have a shortage of storage space and organizational genius to corral those things. Hence our first project of the year:

We're building DIY built-ins!

Storage that's not working for us.

Thursday, January 9

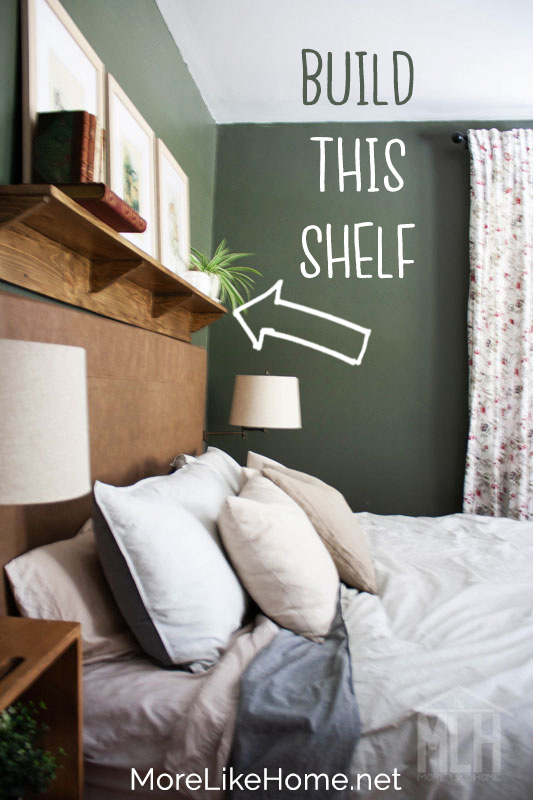
DIY Easy Headboard Shelf

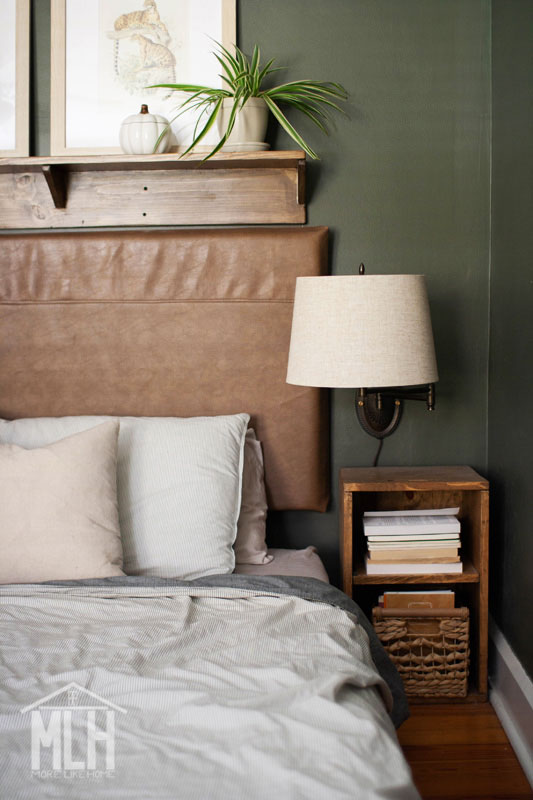
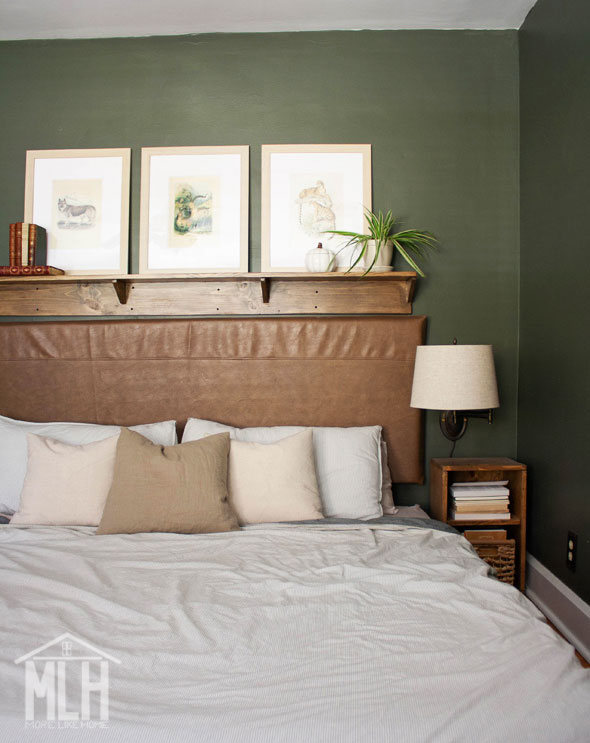
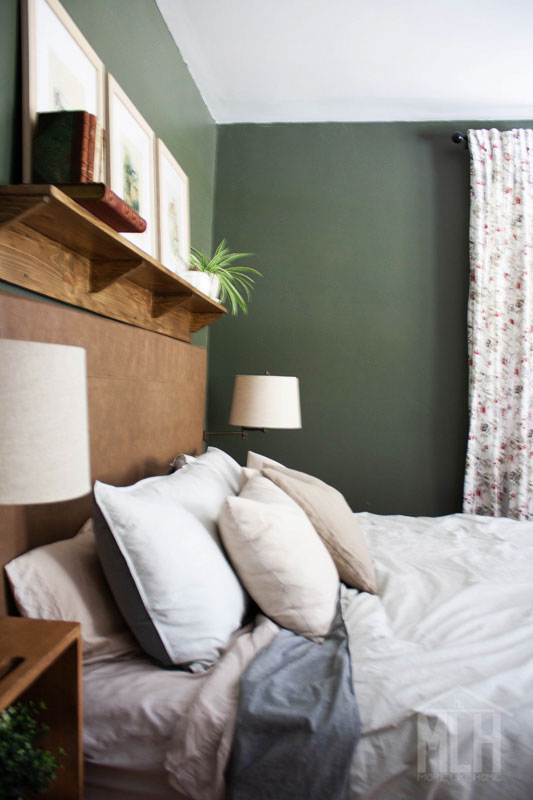
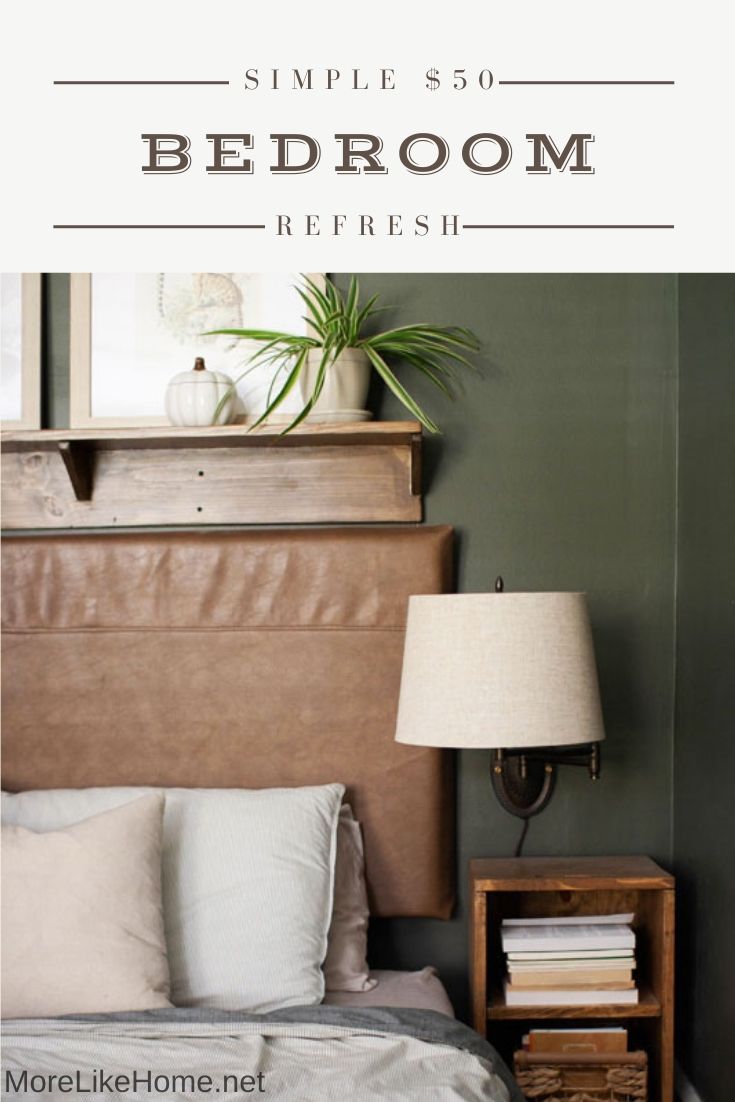
Remember the $50 low-budget bedroom refresh we did in the fall? I know, it's been awhile. But today we're throwing back to that fun project and showing you how to build that sweet (and super affordable) shelf we installed above the headboard! It's so easy to build and totally makes the space. Plus it's easy to customize to any length you need!


Want more refresh ideas on a super tight budget? Check out these room reveal posts:

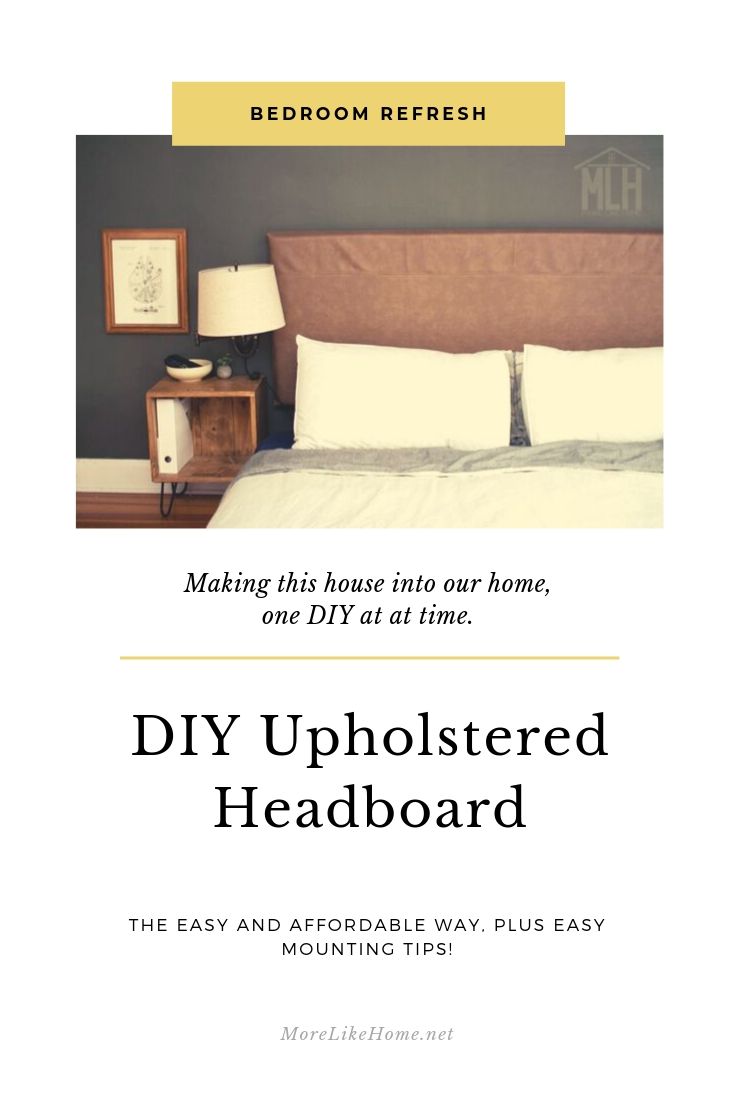
For this refresh, we also DIY'ed the easiest upholstered headboard EVER. You can see how we made it here. Other than that we just tweaked a few details and accessories to totally transform the space! You can check out all the details - the budget, what we bought, what we moved around, etc - in this post.


To make your own shelf, this is all you need:
  • 1x8 board for the shelf - the length you want your shelf to be
  • 1x6 board for the back - the length you want your shelf to be
  • 1x4 board for the brackets - scraps or a 4' board would be plenty (you need more brackets for a longer shelf, less for a shorter shelf)
  • 1 1/4" wood screws
  • optional: Kreg Jig + 1 1/4" pocket hole screws (definitely don't need it but I used it so I didn't have any holes to fill) 
  • optional: finishing nails (I just really don't like to fill holes, guys)
  • wood glue
  • wood filler, if needed
  • sandpaper and whatever paint/stain/sealer you want
  • screws for attaching the shelf to the wall (we used 3" screws and drilled directly into studs)
Start by cutting the shelf and back the length you want your shelf to be. I was planning to do my shelf the full width of our King bed (76") but my longest 1x8 board was like 72" and... the budget. I didn't want to spend the money on a new board for an extra 4" so I went with what I had. It's close enough. Just make sure your 1x8 shelf and your 1x6 back board are the same length.

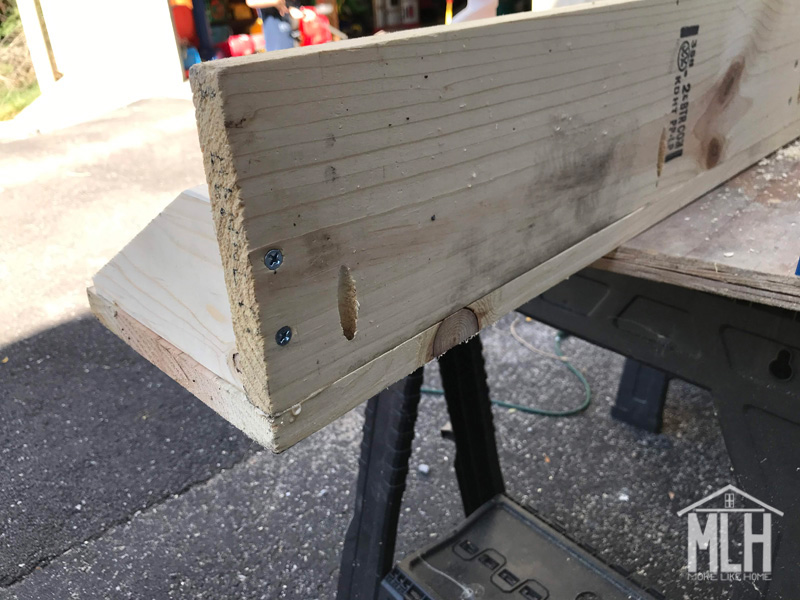
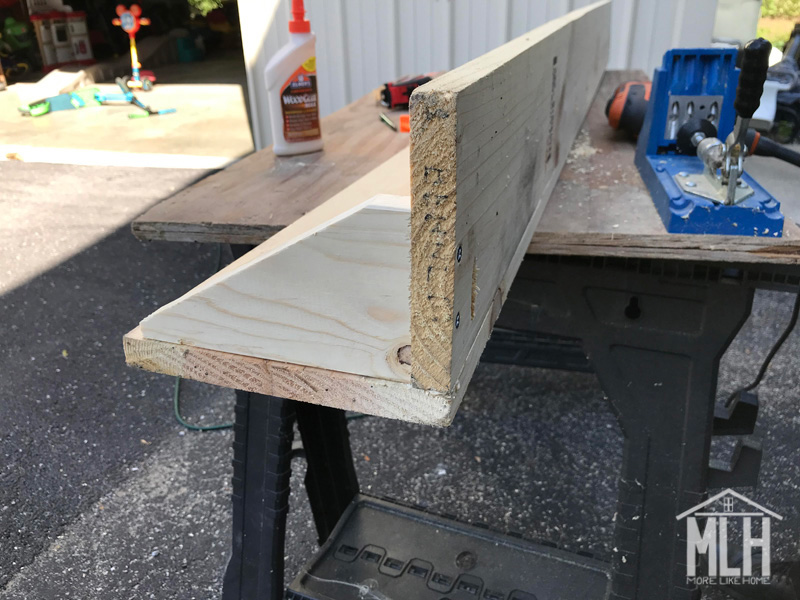
Attach the back board to the shelf board - the shelf should rest on top of the back board, not butt up against the side of the back board. Attach it with wood glue and by drilling down through the top board into the edge of the back board with 1 1/4" wood screws. Or use pocket holes along the back of the back board to attach it - then the holes will be hidden against the wall!

So in this pic, since the whole shelf is upside down right now, the shelf board is laying down and back board resting on top of it and attached with Kreg Jig pocket holes:

You can see the pocket hole along the bottom edge. Those two screws on the left were used to attach the bracket - we'll get to that later.

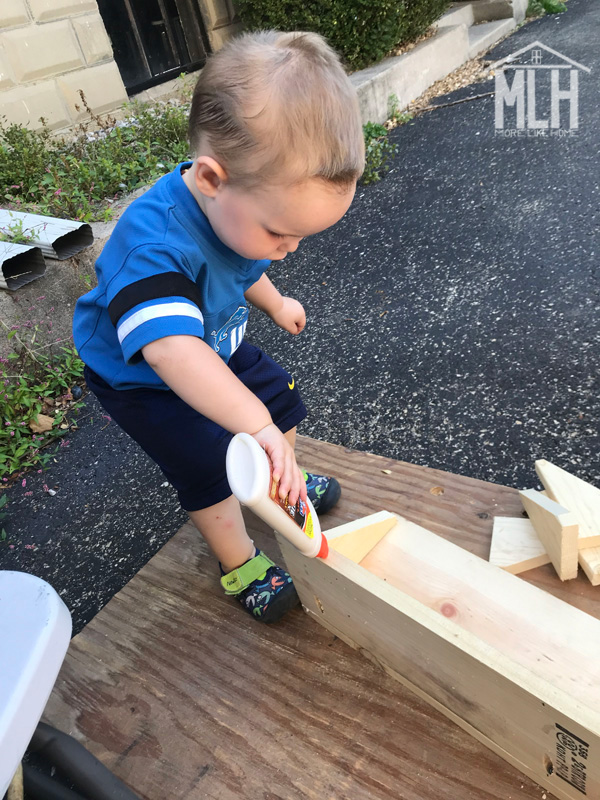
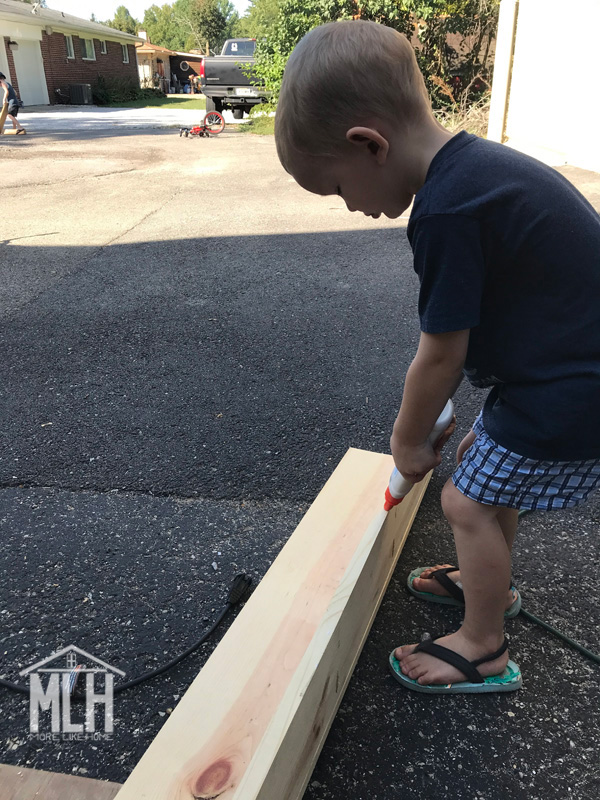
Don't forget the glue.  And don't forget to put the glue up when you're done or a little helper might make himself helpful.

 
 Look at that precision. Totally don't need any glue there, though.

Next you need to make the brackets. Start by cutting pieces of 1x4 that are 6" long. I cut four for this shelf, but you can do more or less as needed for the size of your shelf and to fit the look you want (but remember more is always better if your shelf will be carrying a load!).

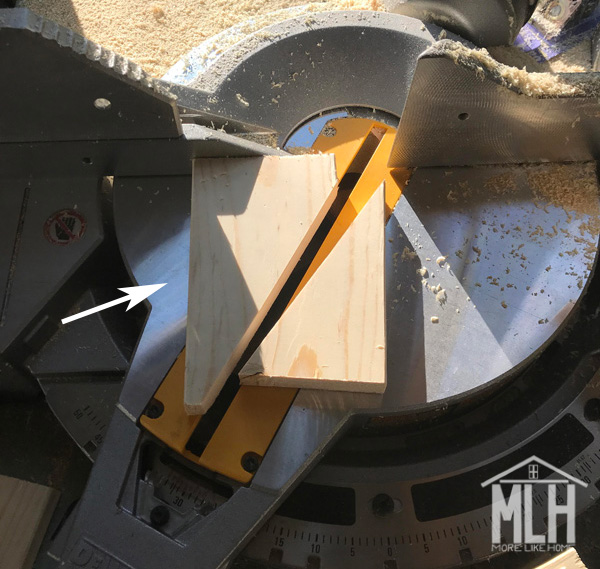
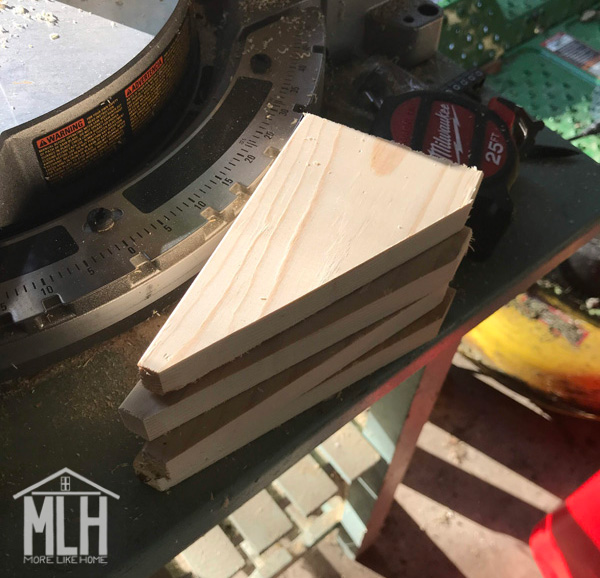
Then you need to cut each of those 6" pieces into the bracket shape. I set my miter saw to a 30 degree angle and cut a practice bracket to make sure I liked the proportions. I'm pointing at a pencil mark. That will be important in a minute.


The piece on the left is the bracket. I cut it so that there was a straight edge left at both the front and back (it doesn't go all the way to a sharp corner like the scrap piece on the right). Once I was satisfied with the bracket shape, I lined it up against the saw blade and used a pencil to mark a line at the edge of the board. That line I was pointing at two pictures back. Then I just had to line up each of the other 6" boards with that mark and knew I was getting perfectly matched brackets. You could also trace your cut bracket onto the top of each piece of wood instead. Whatever floats your boats, peeps.


Go ahead and cut as many brackets as you need. Actually, I think I cut five but when it came time to install them I decided I liked it better with four.

As is always the case, but especially when your miter saw is set to an angle you're not accustomed to... PLEASE DO NOT CUT YOUR FINGER OFF.

K, thanks.

Perfectly matched brackets. Not perfectly stacked brackets.

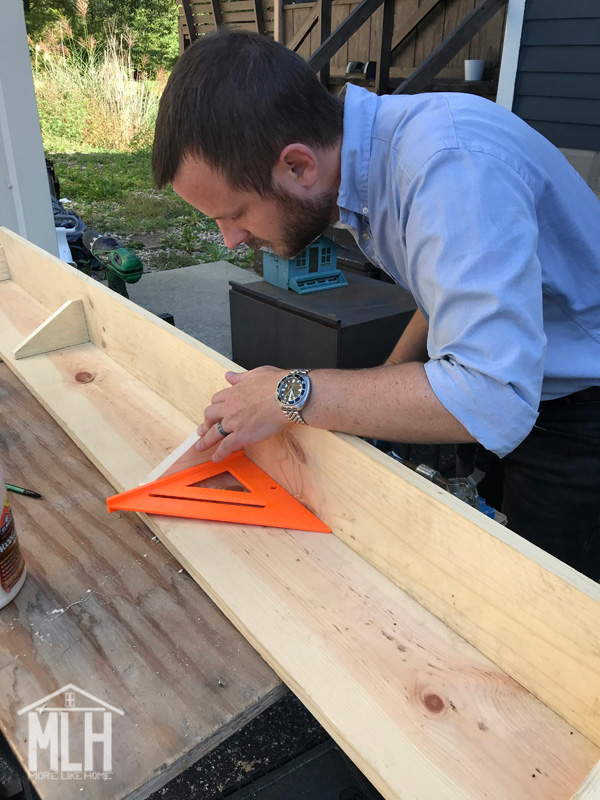
Now you can install your brackets. The long side of the bracket goes against the shelf (remember that's on the bottom in this pic) and the short end goes against the back board.


I did one bracket flush at each end, then spaced the other two evenly in between. Use a square to make sure the are straight. 

To attach my brackets - since I don't like to fill holes - I used 1 1/4" wood screws to attach the back side of the bracket by drilling through the back board into the end of the bracket. I wanted to use screws for at least part of it to make sure I got a good, strong hold. Then I flipped the shelf right-side-up and nailed down through the shelf into the top of the bracket with finishing nails. You can attach the top with screws if you don't have finishing nails, or if you want to reinforce the hold a bit more.


*cough*don'tforgettheglue*cough*

Second helper helping. Still don't need glue there, folks.

You're almost done! To finish your shelf, fill any visible holes with wood filler (be sure to get a stainable type if you're using stain instead of paint) then sand everything down really well. This is the most important step for a professional finish! Start with a rough sandpaper, then go over everything with a medium paper, then again with fine paper. Once it's super smooth, finish it with whatever paint or stain and sealer you like.

I tried out a few leftover stains on a scrap board to see what would work with my walls and headboard (budget project = no $$ for new stain). I tried Early American, Weathered Oak and Coffee, and decided on a layer of Weathered Oak topped with a layer of Early American. It hit that sweet spot of not-too-gray-but-not-too-brown.


Full disclosure: I used to read about people mixing or layering stains and think it was flat out crazy. Like who has time for that? Just pick a stain already! But here I am. Turns out it was the best way to make the most of what I had.

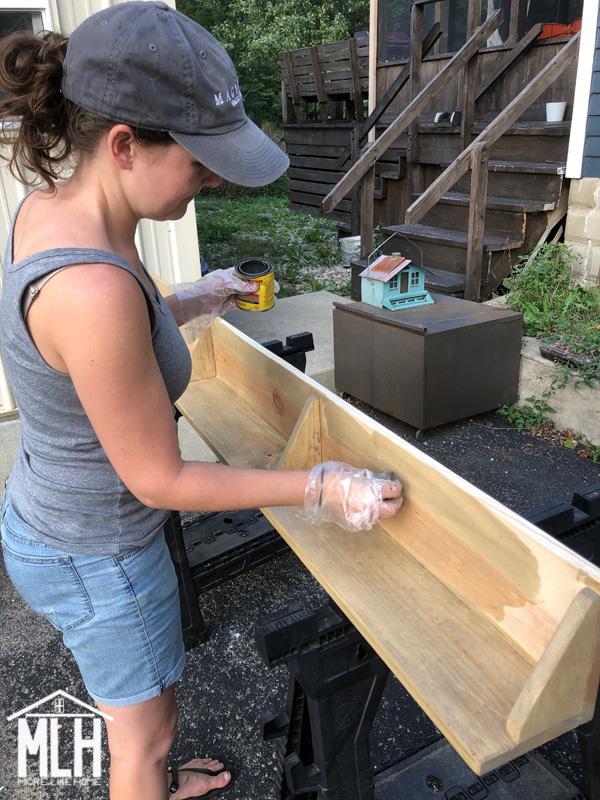
Weathered Oak going on first.

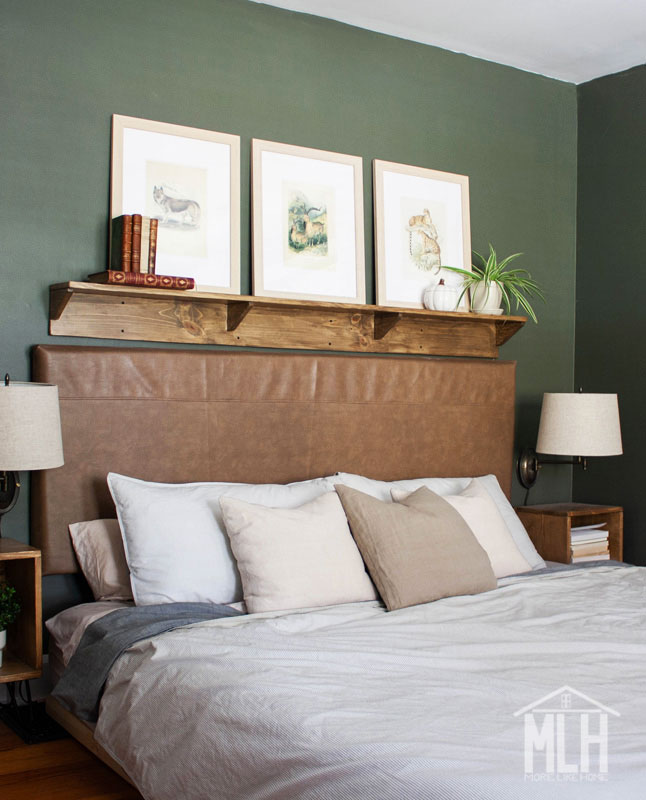
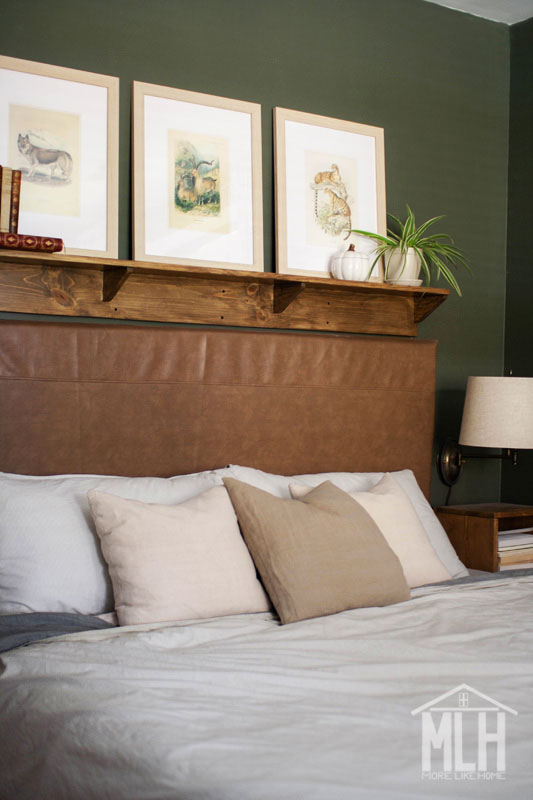
Once it dried we hung it centered above the headboard. We drilled straight through the back board into studs in the wall. Yes, the screws are visible, but we're sleeping with our heads under this thing and didn't want any chance of a shelf-falling wake-up call. We used black 3" drywall screws since we knew the heads would be show (still not super pretty, but better than shiny silver heads!). 


All done!


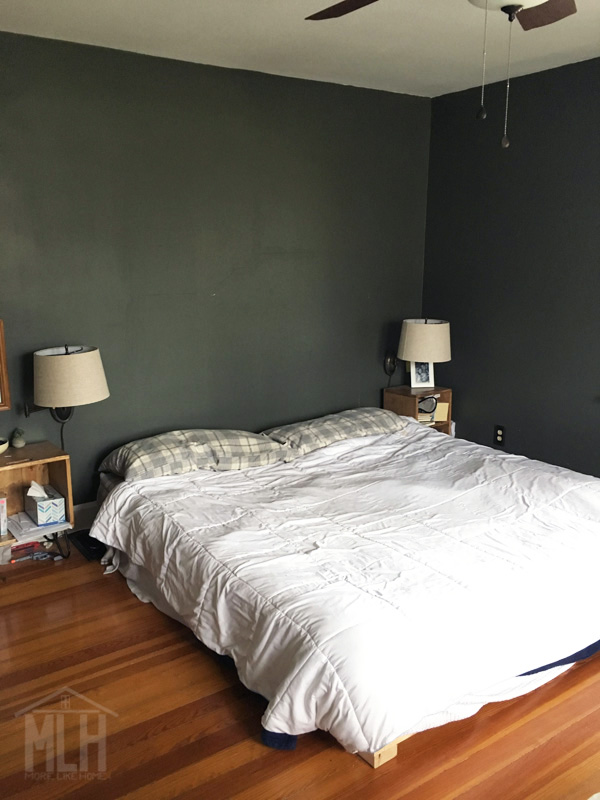
I know I've shared this before, but it's still my favorite side-by-side before + after of the space. What a difference a few simple changes can make!


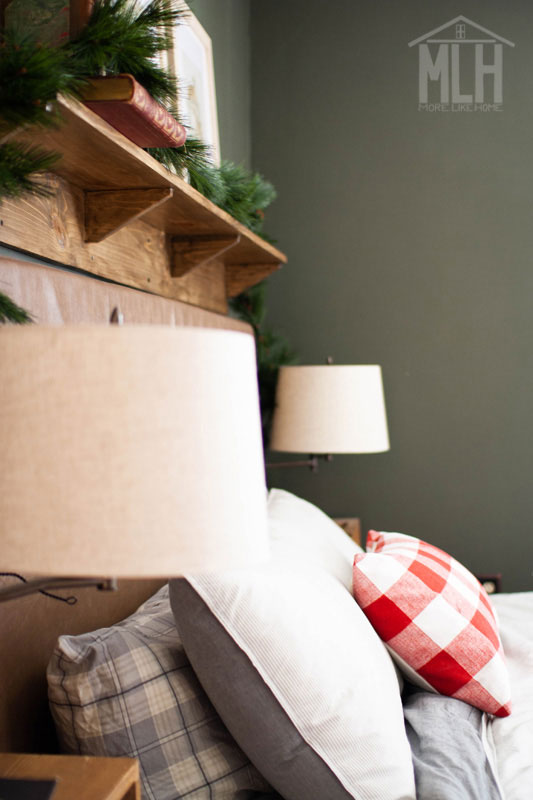
And here's an update with it decked out for Christmas:


Now I'd love to hear - what's your favorite thing about your bedroom? Is it a special piece of decor? The layout or flow? Something you made yourself? Let me know in the comments!

Thursday, October 24

$50 Master Bedroom Refresh (Our Fall Challenge Reveal!)

It's reveal day! Did you join the Budget Refresh Challenge?

Today I'm sharing how we totally refreshed our master bedroom and made it so much cozier for under $50! If you love a good before + after, hold on to your hats. This is your time.


Let's start with the before (you can read more about it here). This picture was take almost two years ago:


Thursday, October 17

Easiest Upholstered Headboard (and the easy way to mount headboard on the wall!)

We're finally giving our master bedroom a little during our Budget Refresh Challenge! (Get all the details here - there's still time to tackle your own space!) 

So today I'm going to show you how we made the easiest upholstered headboard ever!


We have barely touched this space since we moved in. I mean, we've addressed a few functional issues over the years. Two years ago when we upgraded to a king size mattress I had to build a frame for it (check out my posts on why we chose a floor bed and how we built it). Then I built a pair of crate night stands to match our new bed height and added a pair of thrifted sconces so we weren't living in darkness. But after all that it still felt like a bare-bones room!


Thursday, September 12

Simple Mini Bookcase

"The best building plans in life are simple. Like, super simple."

Okay, that may not be a famous quote (yet), but I do think there's something extra sweet about plans that are quick and easy to build with basic tools. But did you know...

Simple doesn't have to be boring.

So today I'm sharing plans to build mini bookcase that's super simple to build and totally cute!
Check out our complete list of free plans here.


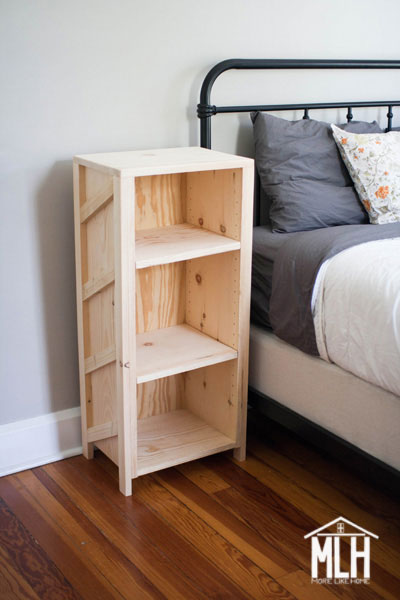
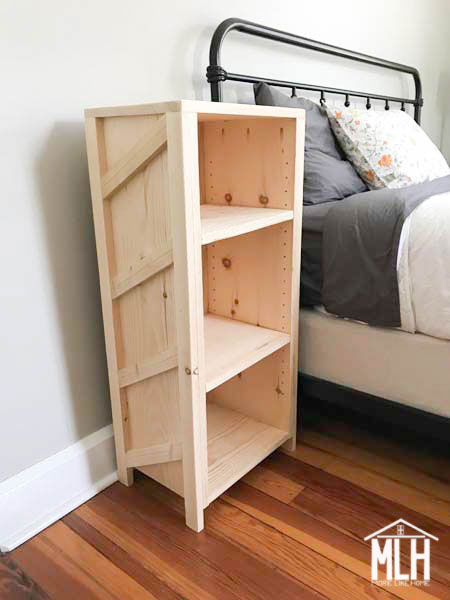
This bookcase is the perfect little size to squeeze in just about anywhere! Try it by your favorite reading chair, try it in a kids room, tuck it into a corner or hallway, even use it as a nightstand (perfect for all you bedtime readers!). But what really makes this guy special is the sweet trim detail on the sides. That trim really makes the whole thing look so high-end, and you won't believe how easy it is!


Thursday, May 23

Clean-Lined Cubby Coffee Table (Day 18)

Well, friends, you've made it to the end of the DIY Coffee Table Series. If you've hung with me this far, you pretty much rock. Thank you for being my people!

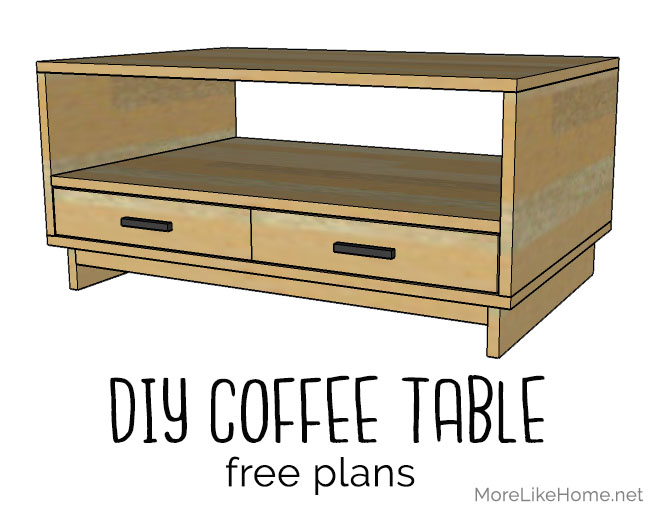
I want to end the series with a unique coffee table that's based on one of the posts in our DIY Nightstand Series. It has shallow drawers at the bottom for stashing remotes, cards, or even a small laptop (and you can choose if you want four smaller drawer or two larger drawers!). The shelf is perfect for books, baskets, or a blanket. It's a pretty simple build and we're even taking an easier approach to drawers!

You can build matching end tables here.
Check out the rest of the DIY Coffee Table Series here.


Wednesday, May 22

DIY Rolling Cart Coffee Table (Day 17)

This coffee table is a great way to  bring an industrial vibe to your living room. It's reminiscent of an industrial rolling cart and looks great painted glossy white, matte black, or with a rustic stain finish! The casters add to the character, but they also make it super easy to move for vacuuming, or pulling it closer to put your feet up. It's an easy build that doesn't require any specialty tools.

Build matching end tables here.
Check out the rest of our DIY Coffee Table Series here.


Tuesday, May 21

2x4 Farmhouse Coffee Table (Day 16)

My hands-down favorite thing we've built for our house is our DIY farmhouse dining table. I love the style, I love that it holds up to life with a house full of boys, I love that it's where we all gather daily. So I couldn't round out our DIY Coffee Table Series without paying homage to our favorite! It's a smaller scale opportunity for your family to gather around for games, movies, or pizza night. It's a simple build and it can be made entirely of budget-friendly 2x4s!


Monday, May 20

Modern Plywood Coffee Table (Day 15)

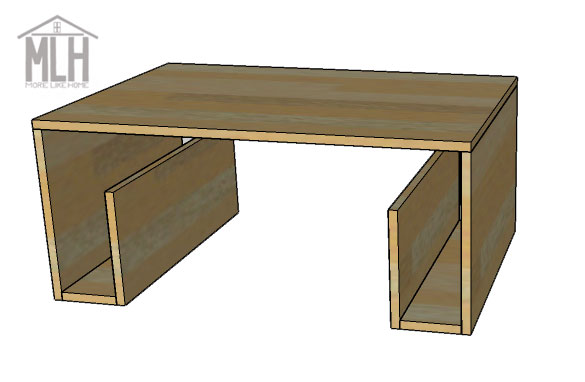
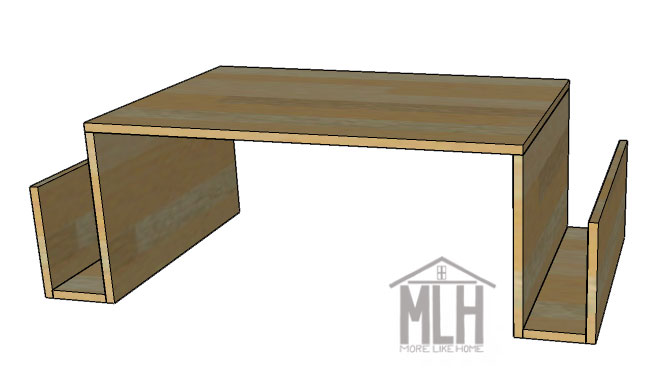
This coffee table has a modern style that almost looks like a sculptural piece of art right in your living room! But it's not all about the looks - it's actually functional as well. Each leg forms a U-shape that is designed to hold books or magazines right where you need them! Plus it's another easy build that's great for beginners!

Check out the rest of our DIY Coffee Table Series here!


Once you build the two leg sections, you can position them any way you like to change the look of the coffee table. I've drawn the plans with one leg facing in and one facing out, but you can also face both legs in under the table:


Or face them both out:


You can even go with a U-shape leg on just one side and a plain, straight leg on the other! Ready to give it a try?

Saturday, May 18

DIY Simple Minimalist Coffee Table (Day 14)

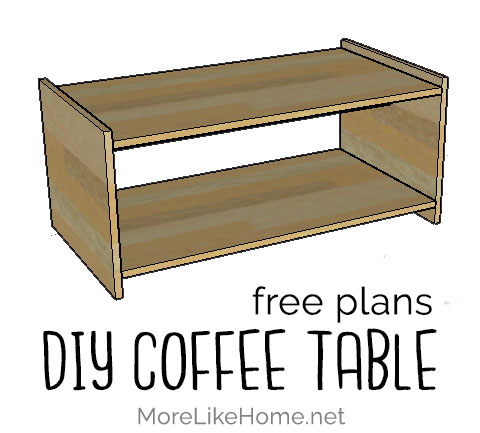
We've had several easy builds in the DIY Coffee Table series, but this one just might take the cake! It's a super simple project that even the beginning-est beginner can take on. It has a modern/minimalist vibe, but you can warm it up with a couple large baskets on the shelf (that would also add a ton of storage for toys or games!).

You can build matching end tables here!


Friday, May 17

Easy Minimalist DIY Coffee Table (Day 13)

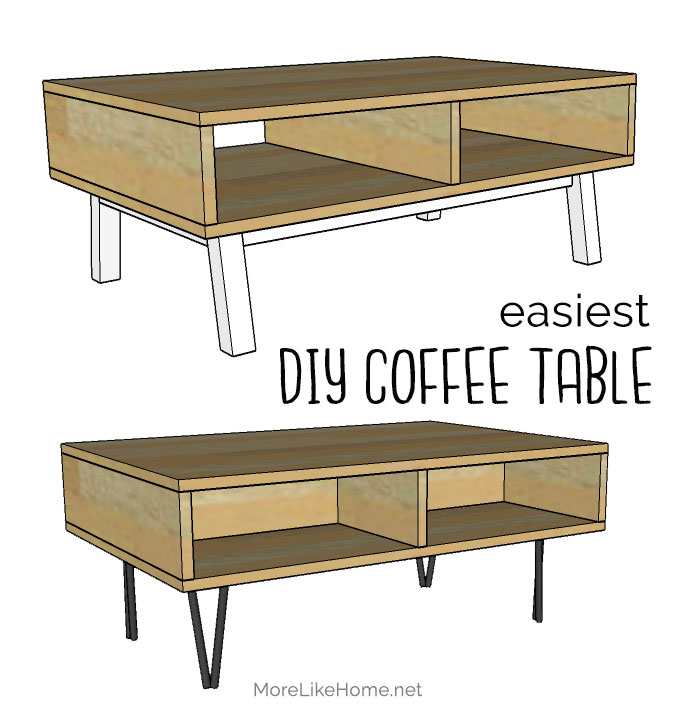
This coffee table is another super-simple build. It's great for beginners but stylish enough to look great in just about any living room! It's got a clean, minimalist vibe and it's super easy to customize. You can adjust the size to fit your needs and you can totally change the look by changing the legs. I'll include one DIY option for 2x2 legs that are easy to make and super affordable, but it would also look amazing with hairpin legs!

Build matching end tables here!
Check out the rest of our DIY Coffee Table Series for more free plans!


Thursday, May 16

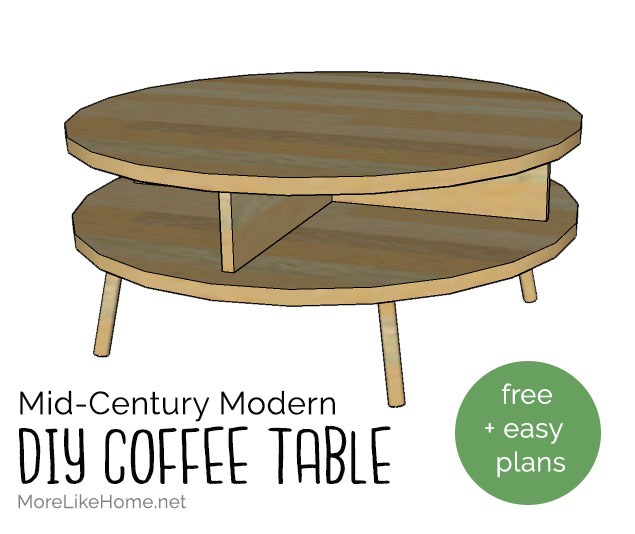
DIY Mid-Century Modern Round Coffee Table (Day 12)

You guys know I love a mid-century modern vibe, so this coffee table makes my heart pitter-patter! Besides looking great, round coffee tables like this one are a great way to add surface area without interrupting the flow of the room. They work well in any layout, but are especially well-suited with a sectional sofa or any other setup that will involve shimmy-ing around the table to reach your seat. The rounded top means more wiggle room where you need it most, fewer bumped shins, and no sharp corners for a toddling baby! Check out our DIY Coffee Table series for more round table options!


Note: This table standard 36" round table top because you can buy one pre-made at many home-improvement stores. Want a different size table? You can buy any size top and adjust the length of the divider boards to fit! You also have the option to cut your own top from plywood.

Wednesday, May 15

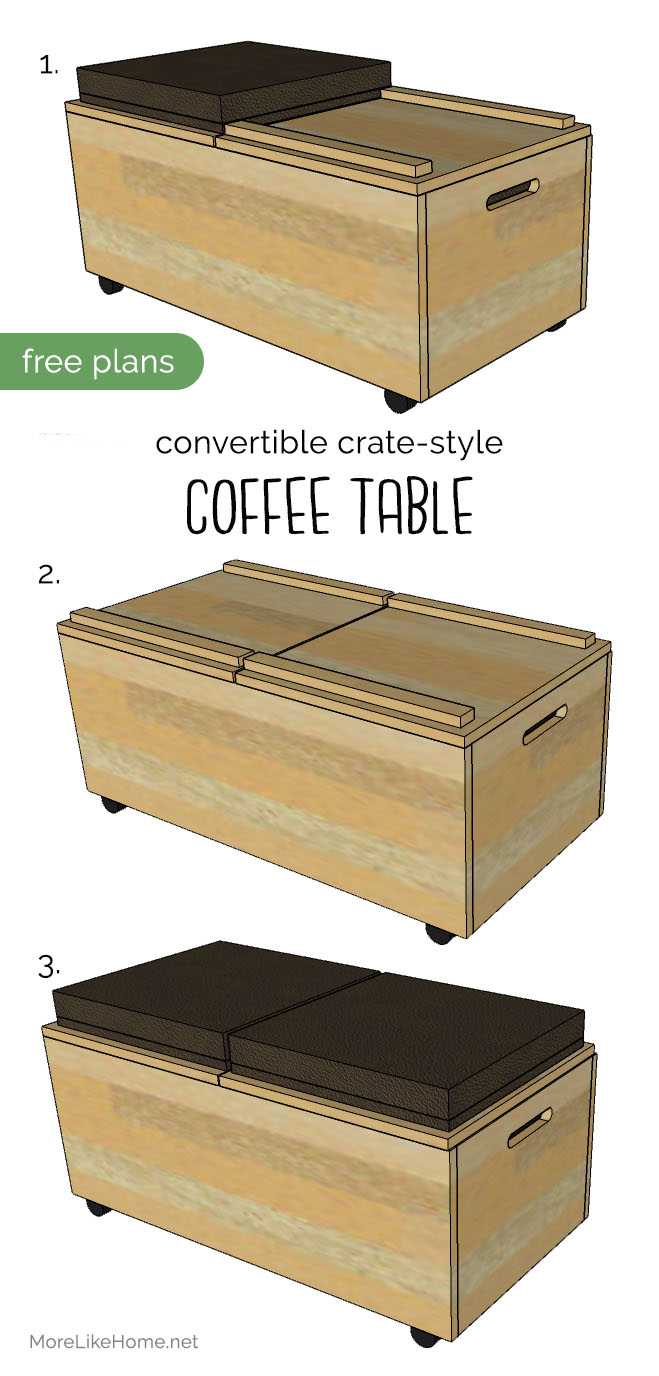
DIY Crate-Style Coffee Table (Day 11)

Is it a coffee table? Is it a crate? Is it extra seating? Why, yes. Yes it is. I based the design of this coffee table on an old crate and I just loooove the vintage vibe. But besides just looking good, it brings a ton of function to the (coffee) table. It offers a plenty of storage for games, blankets, or toys, and the top also doubles as extra seating! The casters make it easy to roll wherever you need it most. Check out the rest of our DIY Coffee Table series here!


This is a simple build that doesn't require any specialty tools (I'll include instructions for a Kreg Jig, but you can build it entirely without one). Want to give it a try?

Tuesday, May 14

Round Coffee Tables: 4 Easy-to-Build Styles! (Day 10)

I love the functionality of a round coffee tables. They are a great way to add surface area without interrupting the flow of the room. They work well in any layout, but are especially well-suited with a sectional sofa or any other setup that will involve shimmy-ing around the table to reach your seat. The rounded top means more wiggle room where you need it most, fewer bumped shins, and no sharp corners for a toddling baby! Plus, from a design standpoint, the rest of your living room furniture is probably pretty square and a round table is a great way to break up that boxiness and add a little interest. But there's one more perk - see all four of these round coffee tables? They are insanely easy to build. Probably four of the easiest plans in the whole DIY Coffee Table series.


Want to give one a try? I'm putting these all in one post because, seriously, they are so easy they don't need their own space. So just scroll through to the one that catches your eye to get it's individual plans and shopping list. Finishing tips are all the way at the end. Happy building, peeps!

Note: all four tables use a standard 36" round table top because you can buy one pre-made at many home-improvement stores. Want a different size table? You can buy any size top and adjust the size of the table bases by changing the length of the stretchers. You also have the option to cut your own top from plywood.

Monday, May 13

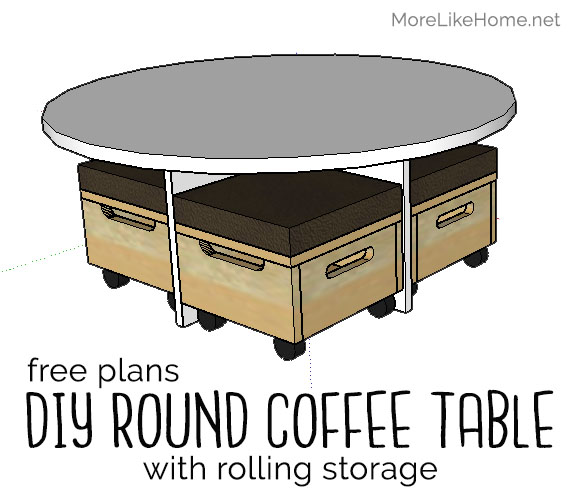
Round Coffee Table with Nesting Ottomans (Day 9)

This is the second coffee table in the DIY Coffee Table series that's designed with parents in mind. Some of you mentioned that your kids eat around the coffee table or that you need storage for toys (or games, or art supplies), and this coffee table is for all of you!

Don't have kids? Don't leave just yet. This table still has a beautiful minimalist vibe that works with just about any decor. You can use it with the ottomans for more storage, or without ottomans for a cleaner, lighter style. Round coffee tables are a great way to add surface area without interrupting the flow of the room. They work well in any layout, but are especially well-suited with a sectional sofa or any other setup that will involve shimmying around the table to reach your seat. The rounded top means more wiggle room where you need it most, fewer bumped shins, and no sharp corners for a toddling baby!

(If you love this concept, you'll also enjoy the rectangular version with even more storage from this series!) 


Each of the four small ottomans rolls out on casters and has its own hidden storage under a hinged lid. And the upholstered tops make them perfect little seats for the kids! If you have multiple kids, you could give them each their own ottoman to keep their own things in when it's time to clean up! Ready to get started?

Subscribe