Showing posts with label office/guest room. Show all posts

Monday, October 29

$35 Home Office Refresh {Fall Budget-Reno Challenge}

Guys, this was fun.

I mean, I always like DIY and design projects, but there's a whole different kind of thrill when you pull off a big-impact change with a small-budget price tag. Lately I've been struck with the realization that as much as I love HGTV, I can't help but feel that they've taken a far step from attainable DIY into a new realm of "low budget" that's... way outside my budget. What's the point of looking at these beautiful spaces if they make us want what we can't have and buy what we can't afford? I so badly want to bring us back to a place where we look into our own homes and our own resources and carefully create homes that our just what we need them to be in every way. But that's a rant for another day. It's also the main reason I was so excited for this budget challenge!


If you joined us in the challenge we'd love to see (or at least hear about) what you did! You can leave links in the comments, tag us on instagram (@more.like.home) or facebook (@morelikehome), or tag your posts #morelikehomeblog and we'll check out your work! 

The rules were super simple (full details are in this post):
- refresh or reno a space in your home before you're cooped up looking at it all winter
- set a budget (whatever works for you!) and stick to it
- make thrifty magic happen (we'd love to see some $0 spaces!)
- share it with the group! If you want to. No pressure, guys. 


Ready to see what we did with our $50 budget? Brace yourselves - here's a quick flashback to the sad place we started:

Tuesday, January 17

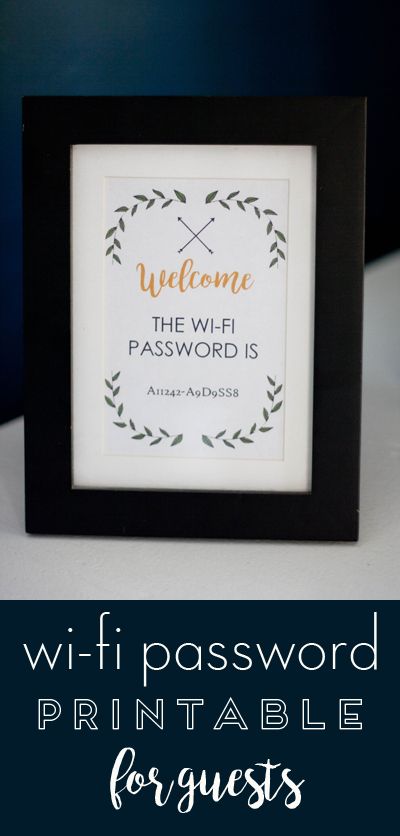
Wifi Password Printable for Guests

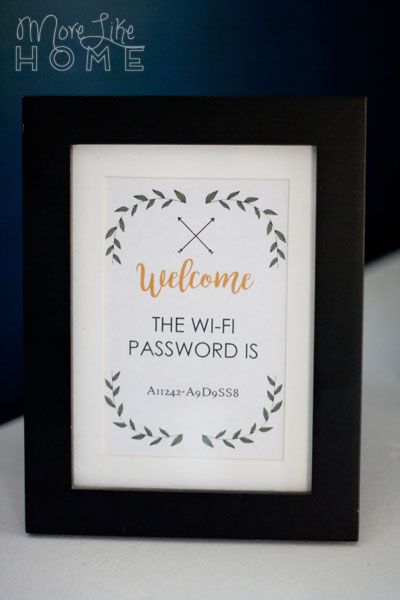
We like our spare room best when it's full. Spare rooms. We have two. Because we love having visitors. And with large families out of state, we're trying to make our house as appealing as possible. Hint hint, family. We haven't done much in the guest rooms yet, but I'm hoping to make them as inviting and guest-friendly as possible. So when I saw this idea on pinterest, I jumped on it! It's a super simple idea that can be really helpful to guests as they settle in.


It's just a little frame to display the wi-fi password. So simple, but so helpful! And I made a printable version so you can print your own. You can download the pdf here in both 4x6 and 5x7 sizes. 

https://projects.morelikehome.net/extras/wi_fi_password.pdf

We went with the 4x6 (we already had an empty frame that size) and put it on the little dresser we use as a nightstand by the guest bed. It's easier for them to have it handy, and easier for us to not scramble to find it when someone asks.

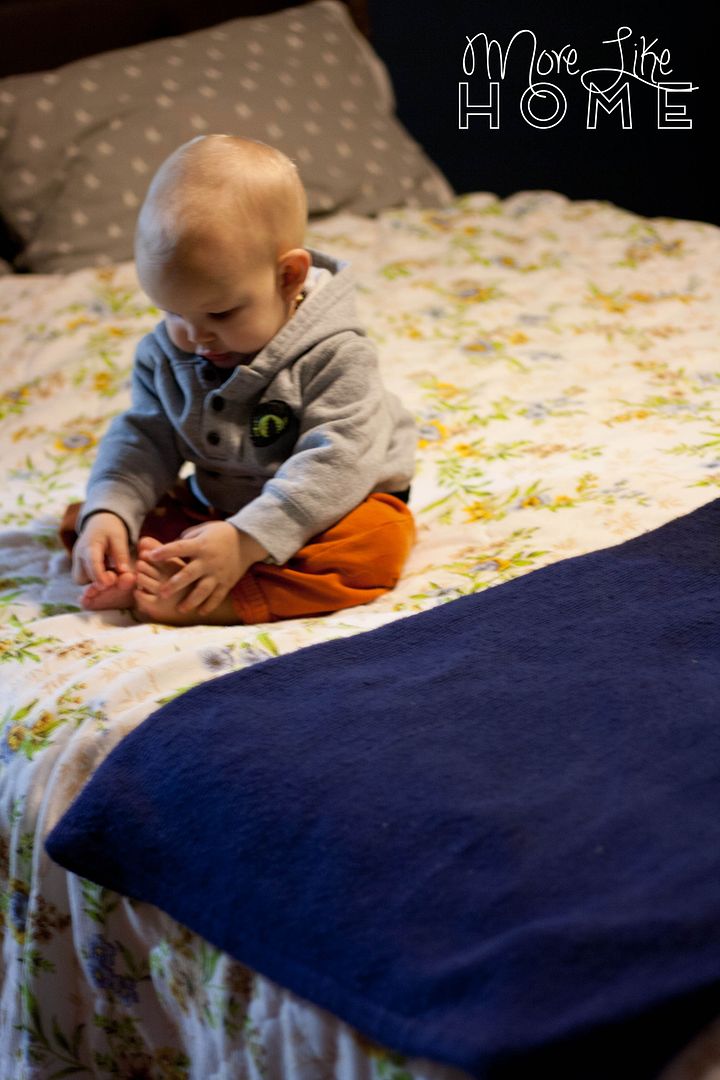
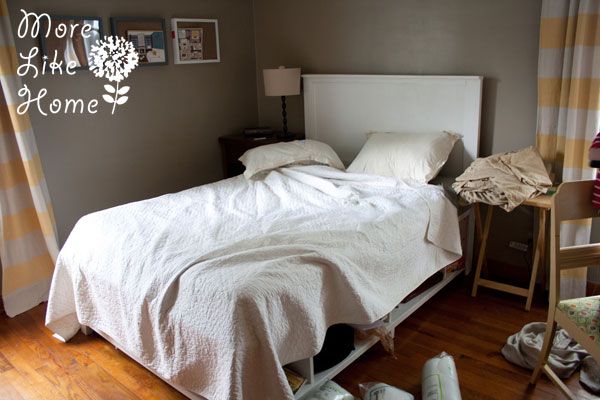
So... at least we have that. Did I mention I don't know what I'm doing in here? I'm doing a trial run with some thrift store bedding. And I might paint the walls. Or maybe get a new headboard. And shiplap.


So let's hear it: tell us your best tips for a guest room! Favorite colors, design elements, helpful amenities, anything. What makes your stay at someone's house enjoyable?

Wednesday, January 22

Those Frames in the Office {and a real-life timeline}

I like to keep things realistic around here as much as possible. I get so frustrated when I see things on pinterest that are supposed to be so fast and easy and I can't even get halfway through it because my baby is feeling crabby. So from time to time I like to show what my real-life time scale looks like. Like in my kitchen that still isn't done... and we started in 2010. Half the cabinets have had knobs for months and, although we have all the knobs, the other half still don't. Yup.

So today we're going to flash back to 2012 When I found these cheap frames and hung them in the office. This is where I left you:


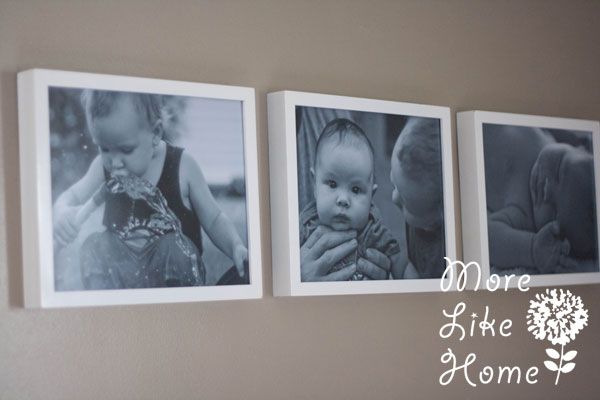
Well last summer I finally got around to painting all the frames white. And didn't even take pictures. Then in a pre-Christmas sale at snapfish.com I finally ordered some pictures!


A big part of the reason we waited so long was that I wanted to do something more artsy in the frames. But I realized that something in them was better than nothing. And, hey, my kids are adorbs so why not?!

Monday, August 5

Butterflies in the Guest Room

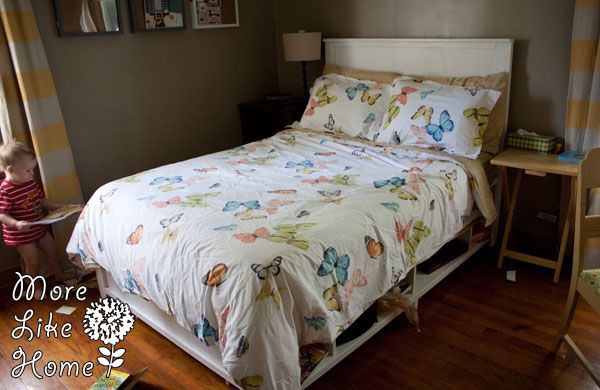
We made a quick little update in the guest room. You've probably noticed my constant struggle to find some collection of pillows and blankets that would work in our guest room. Well, I finally accepted that nothing I already own seems to be fitting the bill. So when I found a new duvet set at a yard sale for $10 a couple weeks ago, I was all "hey, why not? It's can't get worse!" No, really. It can't.


It's at least an improvement, right?


I'm still a little on the fence about it, but I think I like it. It seems to play well with the striped curtains and the butterflies are kind of fun and different than what I usually go for.

Friday, May 17

Easy Breezy... ish

I don't know about you guys, but we're getting some beautiful spring weather around here. And after a winter of hunkering down indoors, it feels SO good to finally get out and tackle some things around the house! This past week we've been fortunate to have lots of family visiting - which means lots of help and free babysitting! We've been checking several things off our to-do list while we have the chance, including switching out a couple ceiling fans before the summer heat hits.

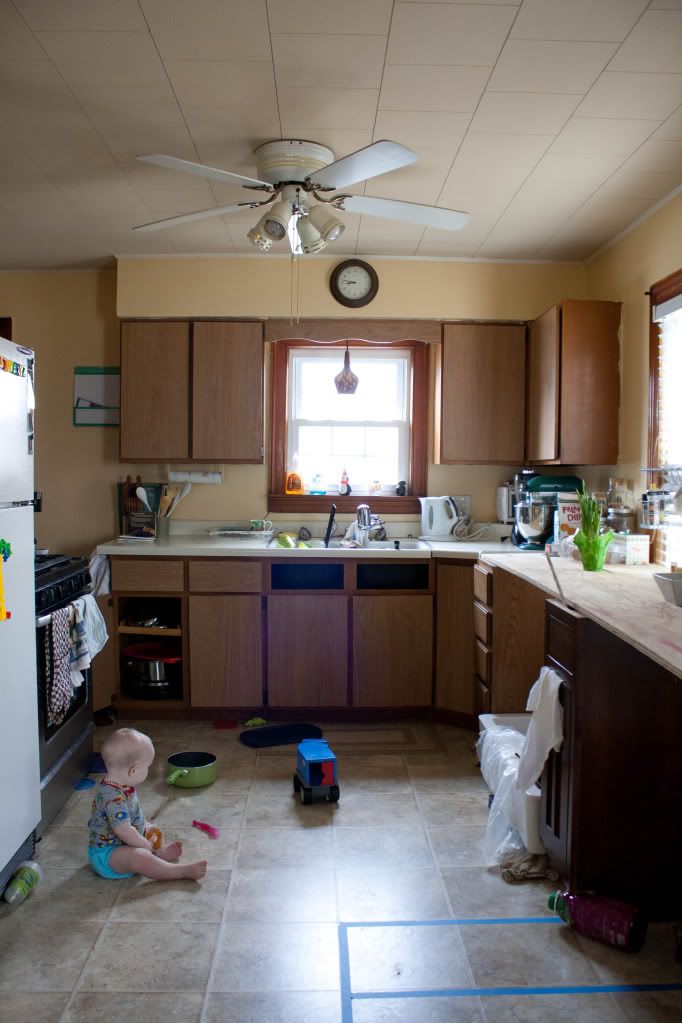
One we replaced was in the kitchen. This may be the only picture I have of the old one. I generally tried to crop it out. :) It had a 60's vibe and wasn't very functional for the kitchen. Two of the four lights didn't work so only half our kitchen was lit up at night!


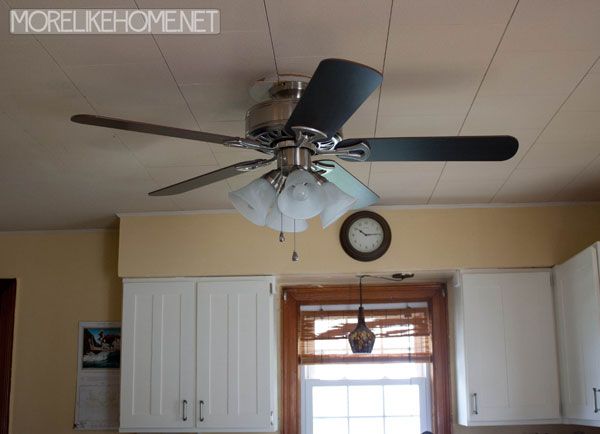
Thanks to some help from my momma and my mister, things are looking much brighter now. And prettier to boot.


Monday, April 22

Easy Peasy Lamp Makeover

Last summer I stumbled across this desk lamp. I had been tossed in a pile on the curb with a "free!" sign after someone's yard sale. I happened to need a desk lamp so I snatched it up.


It probably won't surprise you that the white wasn't doing too much for me. So I brought out my new friend - oil rubbed bronze spray paint.


I gave the lamp a few light coats until the white didn't show through any more. I left it outside a couple more hours to dry thoroughly. I was careful not to paint inside the lamp head because I didn't know how hot it would get in there. Better safe than sorry!


Then I moved my fancy new lamp to it's home on my desk. See how rich the color turns out?


I actually don't have a bulb for it yet - ha! So it's just sitting there looking pretty. But doing an excellent job of it! (you can see my mini book buntings here, and my painted drop cloth curtains here)


Considering it took me a year to paint the thing, the light bulb prospects aren't looking too good. :) Oh well, I usually want to sit out with the hubs instead. I like him.


Anyone else tried ORB yet? Or made-over an old lamp with paint?

Friday, April 19

For the Love of Stripes

I know I've talked before about how much I love stripes. And how badly I want to get some in our house. Well, I finally found a way to bring some in without the commitment of painting the walls (for husband's sake). :)  I took the plunge and painted the curtains in the guest room! Which is a little funny, since the curtains are made of drop cloths (you can see how I made them here). I've been thinking about painting them for a while now but I kept putting it off because I was worried about how they would turn out - would it look cheap? Would it be splotchy in the light? Would it be super stiff? But desperate times call for desperate measures (husband sometimes thinks I'm a bit dramatic. I don't see it.) so I decided to go for it! And I'm happy to say I've been really pleased with the results!


I started by laying out the curtains and using a tape measure and pencil to mark every foot up both sides.


Then I took a long piece of painters tape and stretched it out between my arms across the curtain. I lined each end up with the bottom mark and pressed the ends down first. Then I pushed down the middle of the tape. That worked out best for getting a straight line between the marks. (if I had a wider curtain I would have made another set of marks down the middle of the curtain to help keep it straight, but since these are so narrow I could easily reach across and keep them straight)

B showing off his prize for being a good helper - his own piece of tape!

Wednesday, March 21

Picture Trick

I learned a new picture hanging trick the other day and decided to give it a try in our office/guest room. I started with these 3 picture frames from a Dick Blick outlet. It turns out there is a Dick Blick outlet near my parents' house and I was introduced to it for the first time recently. And I'm hooked. There is a whole back room of as-is merchandise and I found a bunch of goodies! Including these bad boys for only $5 each. With their deep, clean lines they are just what I was looking for to fill an empty wall in this room. If you look closely you can see on the bottom frame why they were marked down. They are a kind of banged up, but the serious damage is all hidden on the back. There are a few scratches on the front, but I'm planning to give them all a matching coat of paint that should hide any flaws.


These frames didn't have any mounting hardware so I used a picture hanging kit (from Dollar Tree) to attach some eye hooks and wire to the back. That's why these frames are perfect for my new trick. The wire on each one ended up at a different height because I didn't do any kind of measuring. But don't worry, it will all work out!


Down to picture-hanging-business: I started by driving a nail halfway through a scrap piece of plywood (but I'm sure you could use scrap anything).


Then I hooked the wire of the first frame over the head of the nail.


Then I hoisted it up into position, letting the frame hang on the nail. This is great if you don't know exactly where you want your picture to hang because you can move it around without commitment.


 Keeping the nail firmly in place, I took down the picture and grabbed my hammer (with a great display of agility. not really, my husband handed it to me.). I gave the nail a quick tap on the head just enough to leave a mark on the wall.


 That's the start of my little hole. It marks exactly where my nail needs to go for this frame.


 So in goes the nail. I like to angle them down toward the wall (so the head is sticking up) just a little to make sure my frames don't slip off the end of the nail. If I was hanging something heavy I would use a screw & anchor instead, but these guys are super lightweight.


 After the first frame, I repeated this process for the second. I used a level to line up the tops of my two frames before marking my hole. I did measure the space between the two so I could equally space my third frame.


Of course, no project is complete without a little help from Baby B....

He likes to hold things up to his ear like a phone. Any things. And if he doesn't have something in his hand, he'll just put his hand up...

...and say "ehh-o!" It means "hello. :)

I repeated the process again to hang my third frame. After they were hung I marked the "left" "middle" and "right" so I can be sure to hang them in the right spots (so they will be level) after I paint them. I'm really happy with how this trick worked for this kind of project. I feel like it was the easiest way to get these level!


Now I just need to paint them and add some art. Baby steps.


Have you learned any new tricks lately?

Wednesday, March 7

Drop Cloth Curtains

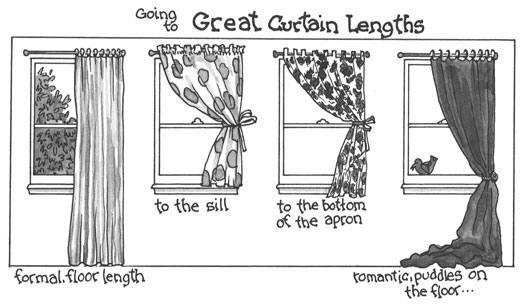
Time for more curtain fun! Today we'll be looking at some easy ways to make your own curtains, and be sure to check out my post about how to hang curtain rods as well. Let's start with a look at curtain lengths. I usually prefer floor length curtains, but if you want something shorter your curtains should end either at the sill or apron of the window, as shown in this illustration. Try to avoid stopping in the space between the wall and the floor. It will give you a cleaner, more professional look when you stop at a clean visual line.


Once you decide what length you want your curtains to be, you can go ahead and hem them if they are pre-made or make some curtains of your own. That's what I did in the office recently. I actually bought some drop cloths at Lowe's as a cheap alternative to traditional curtains, but you can use these instructions to make curtains out of just about anything. I bought two 6x9' cloths (one for each window) for about $15 apiece. I plan to cut each cloth in half in order to have two panels for each window, but you could put it up as one panel to cut out some steps if you want.


I started by washing my drop cloths to preshrink them and get rid of the funky Lowe's smell. Depending on the size of your drop cloths, they could be ready to to put straight up with ring clips. However, mine need to be cut up and hemmed so I had some work to do. I started by cutting along the seam that ran down the middle of my drop cloths to split it into two even panels.


Then I cut the middle seam off the the other panel too because it was just too bulky.


I folded the unfinished long sides in about 1/4", then 1/2" and sewed close to the fold to finish them. I also did this on the on the other long sides to make them match.


Then I was ready to hem them. I started by cutting off the thick seam at the bottom of the curtain. you don't have to do this but it was too bulky for me. You can leave the top seam if you are putting your curtain up with ring clips.


Then I hung the panel backwards so I could hem the length. You can see how much slack is at the bottom to be hemmed. Since I hung it backwards I could fold them bottom up towards me and pin it in place to mark the length. I folded it up to just above the floor, about 1/2 - 1", because I find that curtains will stretch over time and if you make them all the way to the floor they will start to drag. I find it's easiest to start by pinning the hem on each side and then work on the middle. It also helps to put your pins at the top of the folded fabric instead of near the bottom.


I didn't get a picture of this while they were hanging, but here you can see the hem folded up.


Next I folded the raw edge under to create the hem. I like to leave a tall hem at the bottom because I think it looks really spiffy, and also because I'm cheap and if I ever want to use it again somewhere else I will have plenty of room to let out the length instead of having to buy new curtains and start over. I also like it to match on all my curtains, so I measure up 6 inches from the bottom and fold the raw edge under that far.


Then I sew close to the folded edge.


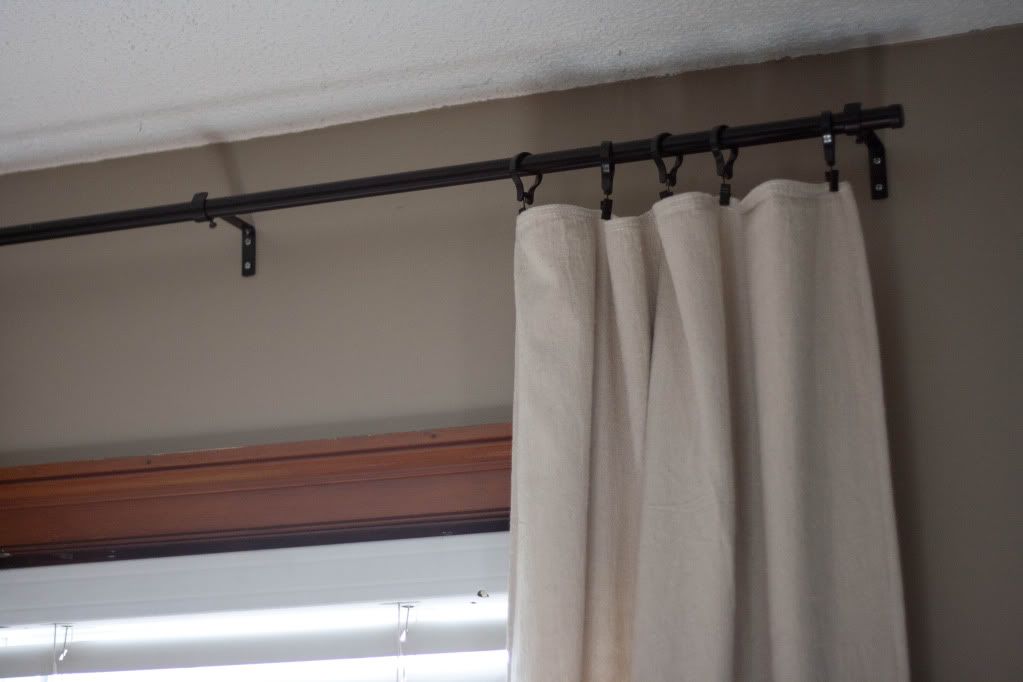
That's it for the sewing. Before you hang them iron your curtains, at least along the bottom to get a nice crisp edge. This will help your curtain hang better. Then you can clip them up with ring clips (you can get them anywhere, mine are from Ikea and my rods are too). I like the ring clips because they are easy, they are safe for Baby B (if he pulls on them they should unclip instead of pulling down the rod), and because I think the dark rings and rod look really sharp against the wall. I'm actually thinking about converting all of my curtains to ring clips!


Now stand back and admire your work! Drop cloths were a great, affordable way for me to get the simple, off-white curtains I wanted in here. And it's a bonus that they are made of a heavy canvas with lots of texture. I have a plan to dress them up a little that will hopefully happen soon!


I did the same thing for the other window, too. I find it's easiest to do it assembly line style when I have several panels to make. First do all the cutting, then finish all the edges, then do all the hemming.


If you don't like to sew, you could complete this whole project using iron-on hem tape instead. Baby B "organized" my while I worked on these. So helpful. ;)


Do you ever make your own curtains?
Subscribe