
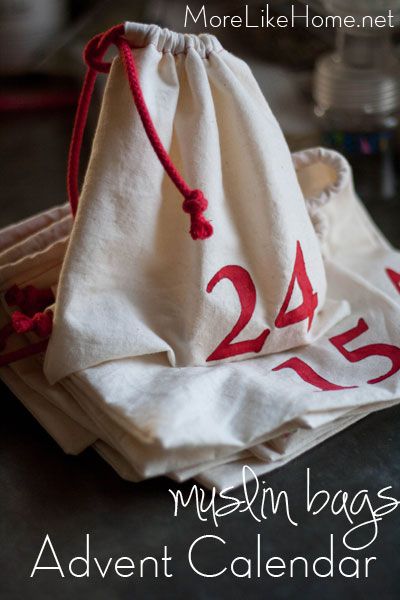
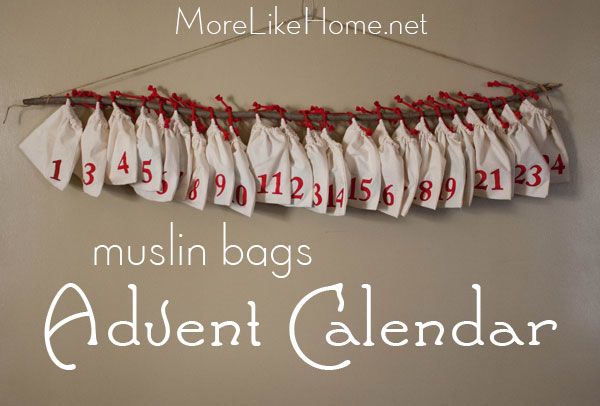
And even found a cute way to display them!
Each bag hold an ornament that goes along with a scripture reading for that day. And when we pack up the Christmas stuff this year I'll bag them all back up so next year we just have to pull it out and go!
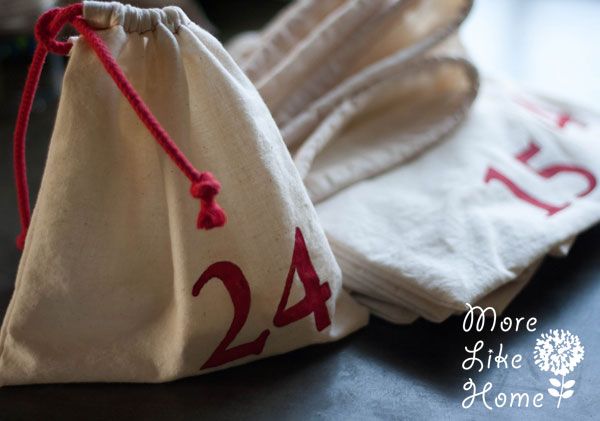
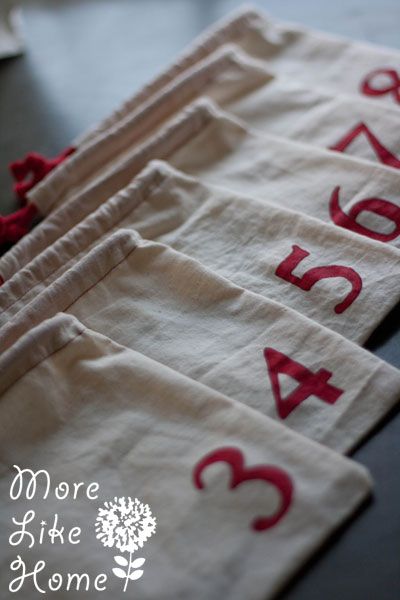
Here's all you need to make your own advent bags (I made 24 bags):
- 6 yards muslin
- 14 yards red cotton cording (use a coupon! this was the most expensive part!)
- red thread
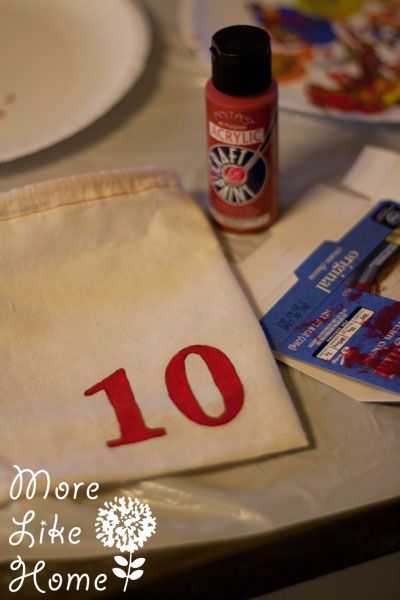
- red paint (I used cheap acrylic)
Start by washing and drying the muslin to preshrink it before you start sewing (mine shrunk quite a bit). Next cut the whole thing in half down the length of the fabric and stack the two pieces. Watch out for tiny feet.
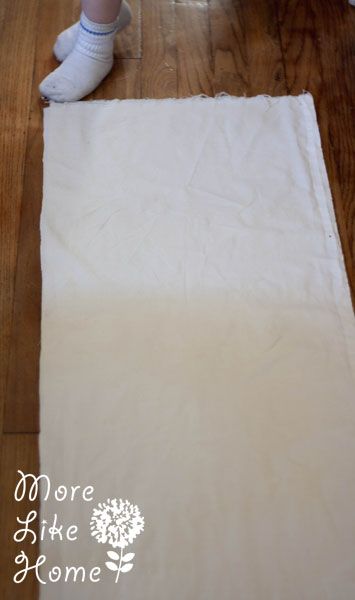
Then with the pieces stacked I went ahead and folded them in half (so I would be cutting four layers at a time to make it go faster, and it took up half the floor space). Then I started at one end and marked a line every 8" down the length of the fabric like the pic below.
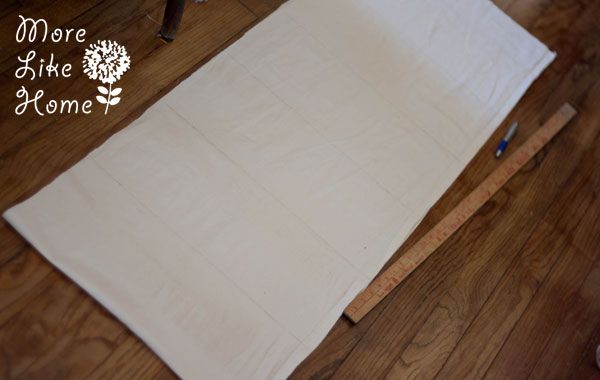
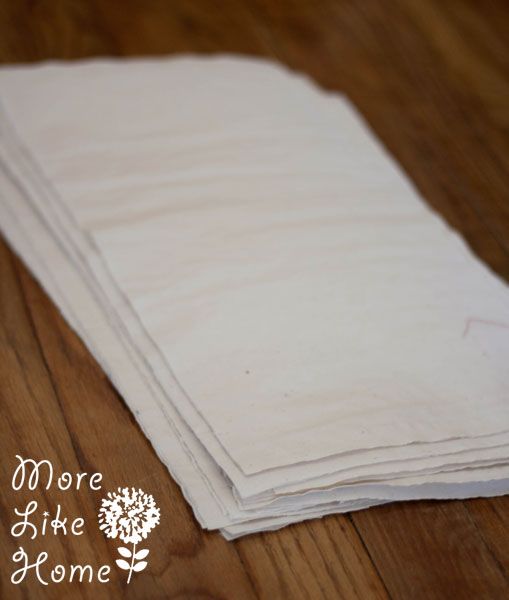
And then cut along all the lines. This gave me 24 rectangles that were about 8 x 16".
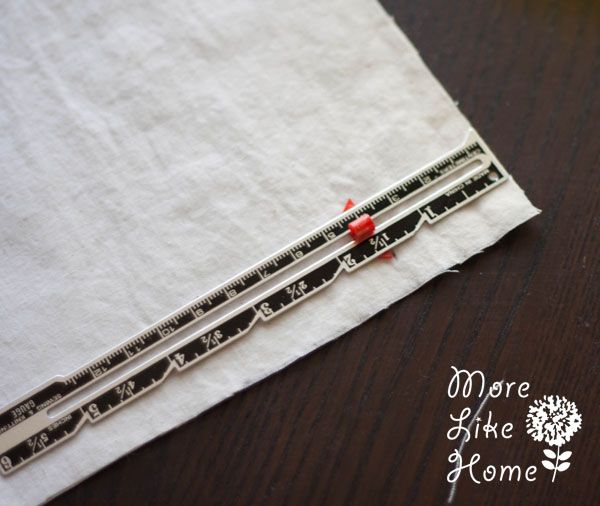
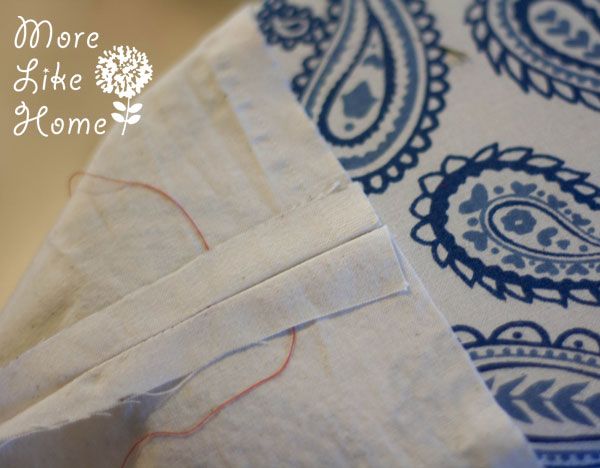
Now we can start assembling the bags. Take one bag piece and fold it in half (with right sides together if you use a printed fabric). The folded edge will be the bottom of the bag. At one top corner measure down 1.5" from the top edge and make a mark.
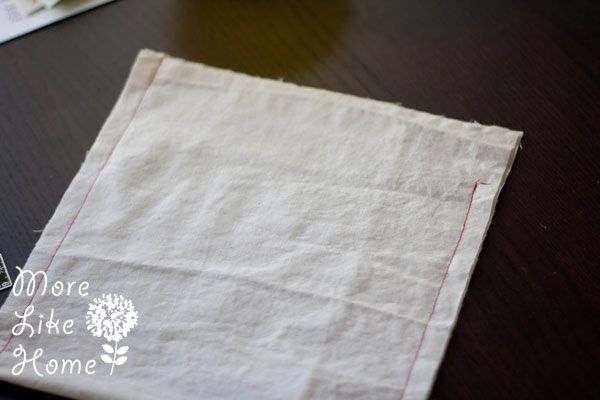
Stitch along both sides of the bag from bottom to top with a 1/2" seam allowance. On the marked side stop at the line instead of going all the way to the top. It should look like this:
Open up the bag and press the seams flat (on the unstitched side too).
Fold the top edge down about 1/4" and press all the way around.
Then fold it down another 3/4" and press.

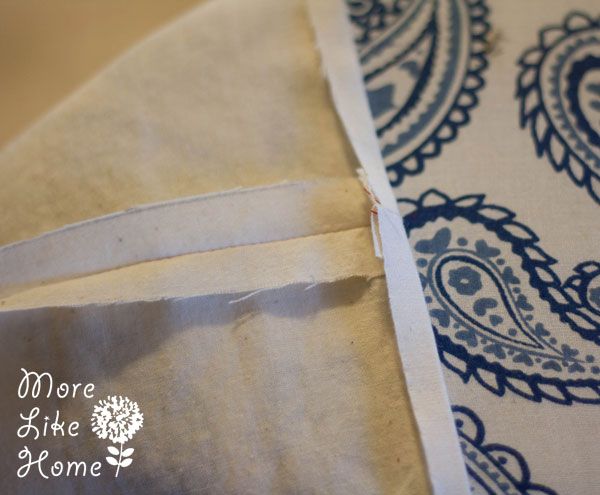
The marked side will be open like this:
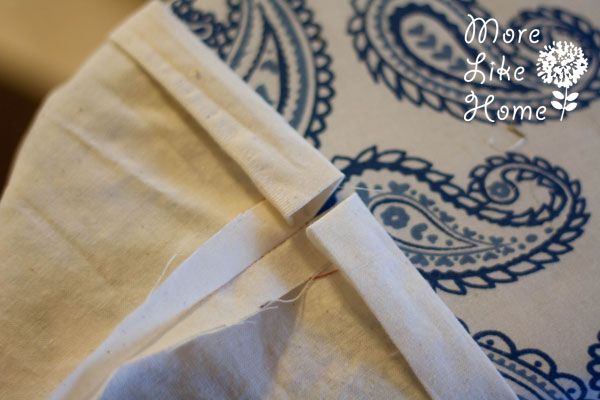
Stitch right along the bottom folded edge all the way around, back stitching when you start and end. This will make a casing for the cord.

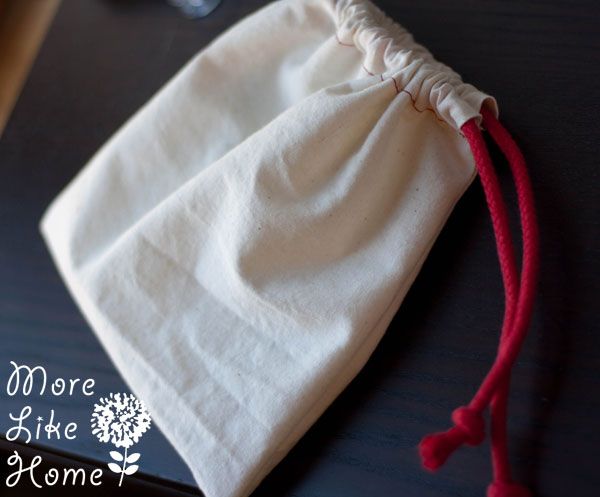
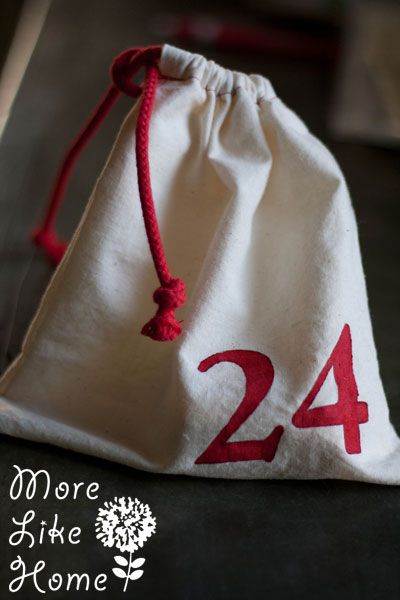
Flip the bag right side out.
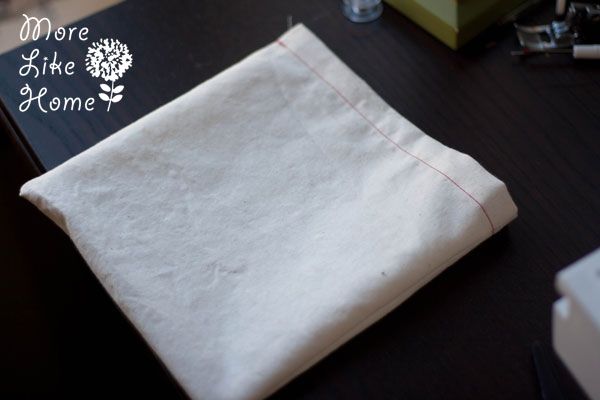
Cut a piece of cotton cording 20" long. Wrap tape around one end to keep it from fraying.
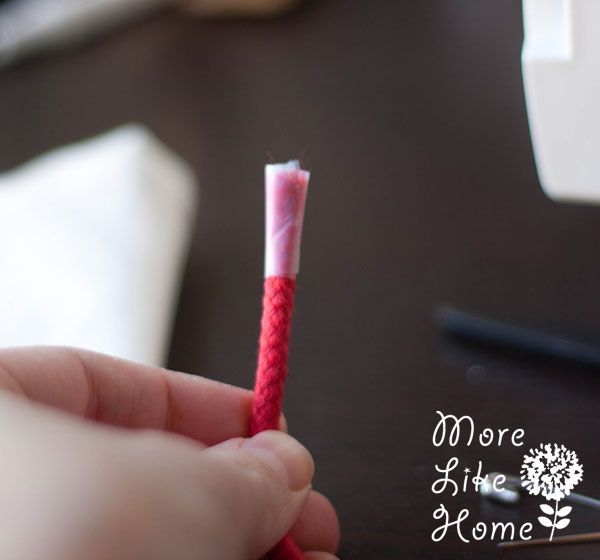
Feed it through the casing. This is painfully slow and frustrating. I hope to never do it again. :)

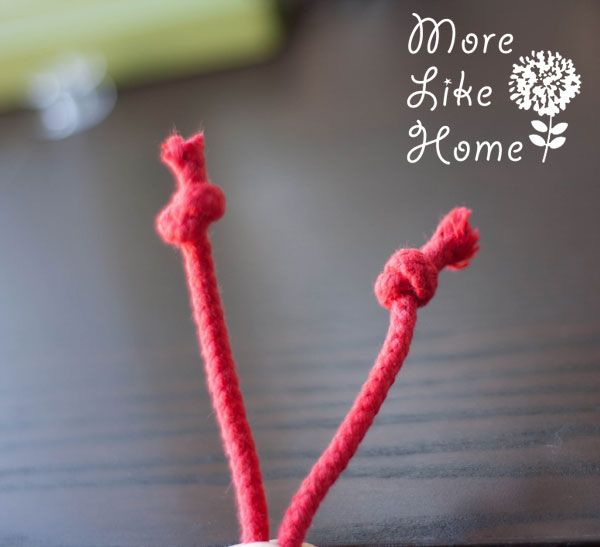
Knot the ends so it can never slip out of the dang casing.
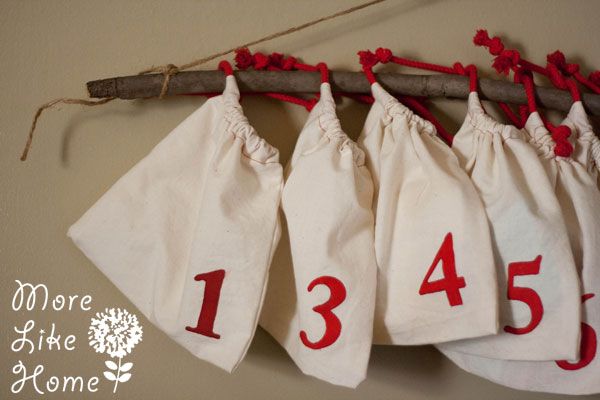
You can leave your bags blank and be done, or you can keep going to add some numbers....
Start by printing out my number template (or print your own in any size and font you like).
Cut the numbers apart. Slide a number into each bag and line it up where you like. Muslin is thin enough that you will be able to see the numbers through it like this:
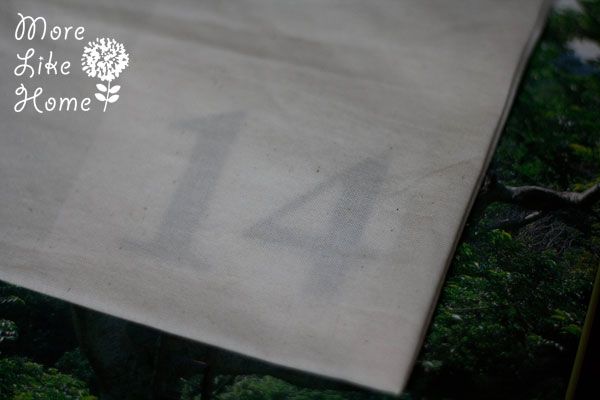
Trace the numbers (I used a pen. It showed a little when I was done. Meh.).

Slip a piece of cardboard into the bag to keep the paint from bleeding through (I used a cream cheese box). Use a small paint brush to paint in the numbers.
Let them dry and you're done!
They are pretty easy to make, it just takes a while to do it 24 times. I found it went best to do it assembly line style - cut them all out, stitch all the edges, iron all the casings, stitch all the casings, etc.
You can just stash all the bags in a basket under the tree, or....

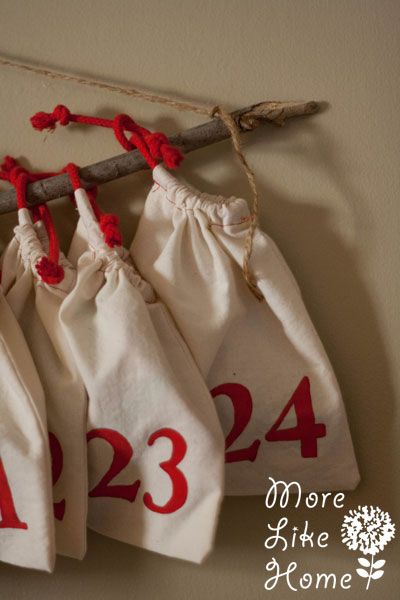
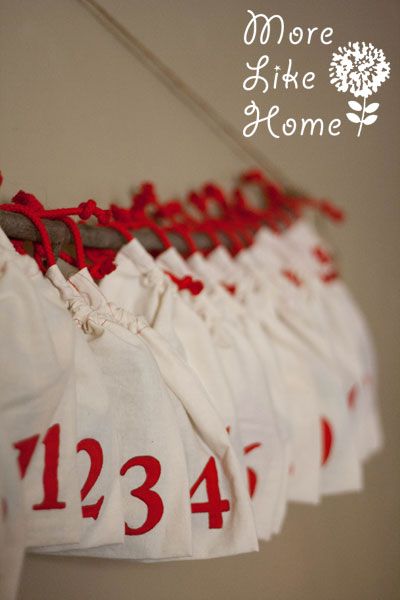
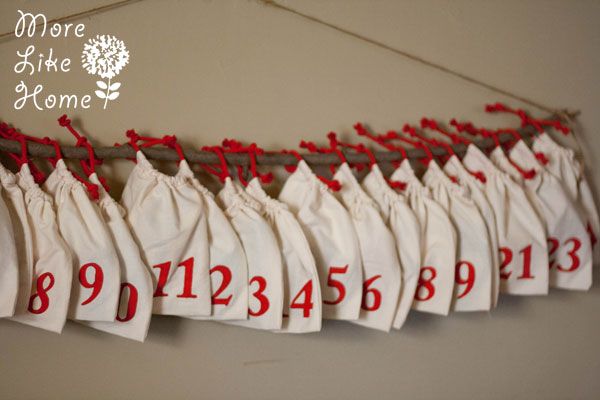
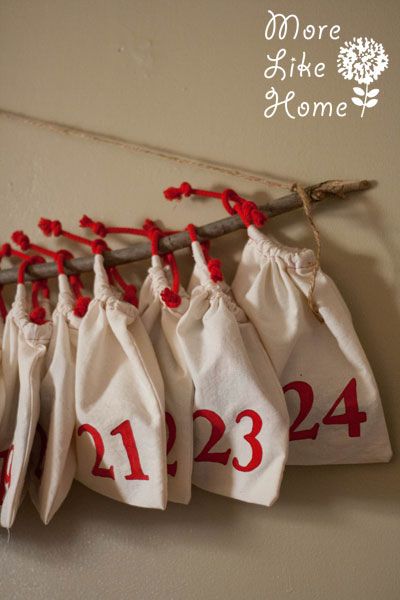
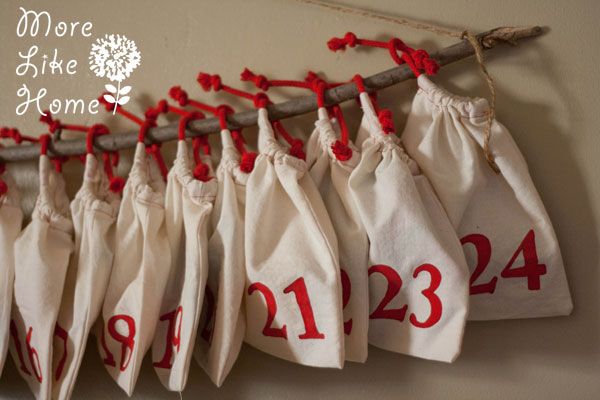
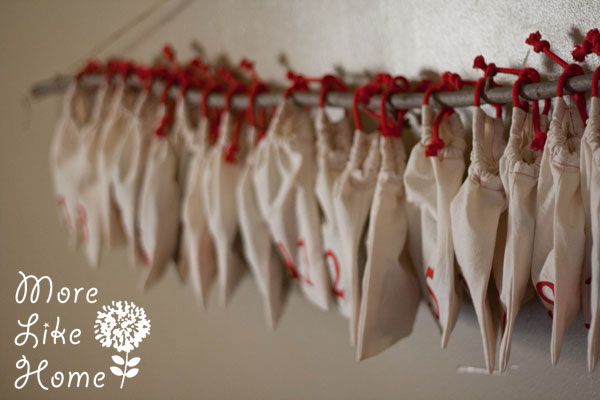
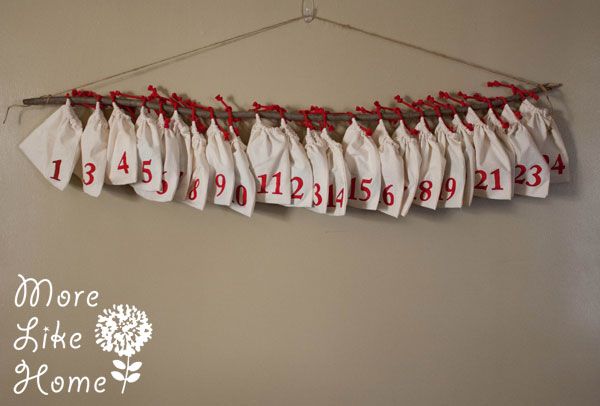
I found a long stick in the backyard and tied a piece of twine to the ends for hanging.
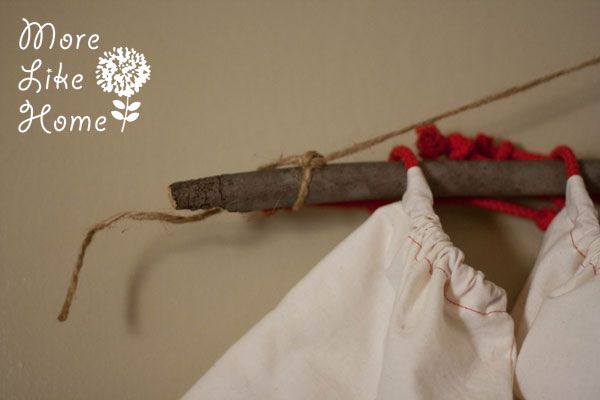
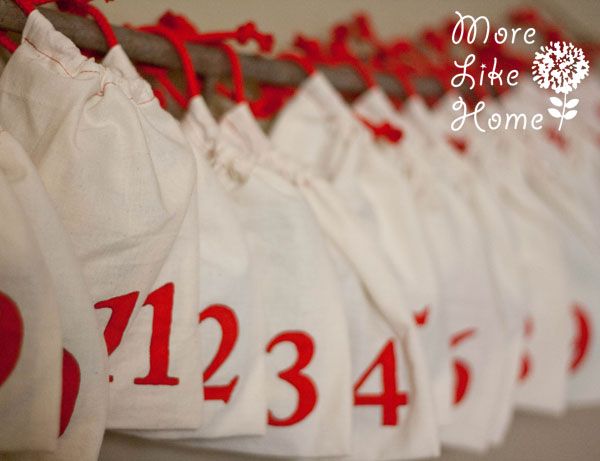
Then I tied all the bags on. And look! We already lost number 2! But don't worry, I found it later.
I hung it on one of those command sticky hooks so we can easily take it down after Christmas.
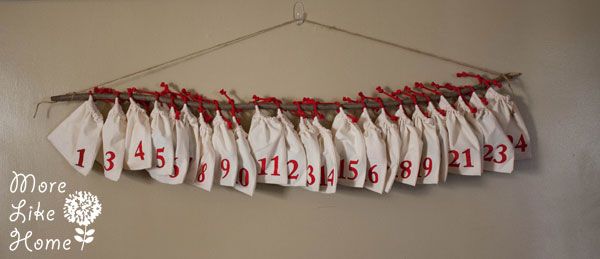
To keep from losing any more bags we just hung them back on the stick each day, but we faced them backwards to keep track of where we were.
I'm SO happy with how this turned out. As you can probably tell... because I have so many pictures!
So far we just have an ornament in each bag that go along with readings from our book each day. Next year I might add some other fun little things in each bag, too.
So now the big question... how much did it cost? Like I said the cording was the expensive part so you could sub in some other kind of string to cut the cost down significantly. Here's the breakdown of prices when I made this:
- $7.50 - muslin with a 40% off coupon
- $25.00ish? - cotton cording with a 50% off coupon (I didn't save the receipt so I'm just trying to go by memory, but I know I used a coupon! Like I said... pricey.)
- $0.75 - acrylic paint
- $0.00 - thread I already owned
- $0.00 - twine from my basement
- $0.00 - stick from my backyard
But really if you used a skein of yarn instead it would be like $15.
And I don't really have anything else to say about this but I have a few pictures left so I'll just smoosh them all together for you. :)
Anyone else use an Advent Calendar of some kind?
What's that? This post isn't long enough? Well, it's your lucky day.

Happy boy boucing.
"I be a space ship!"

I have a bunch of pictures like this. Big Brother loves to use the camera and wants pictures of mama, so I try to jump in front of where he points it. Fun times.
Also, Big Brother has started calling me "mom-mIA" and he thinks he's SO funny. To be fair, he is so funny.

No comments:
Post a Comment