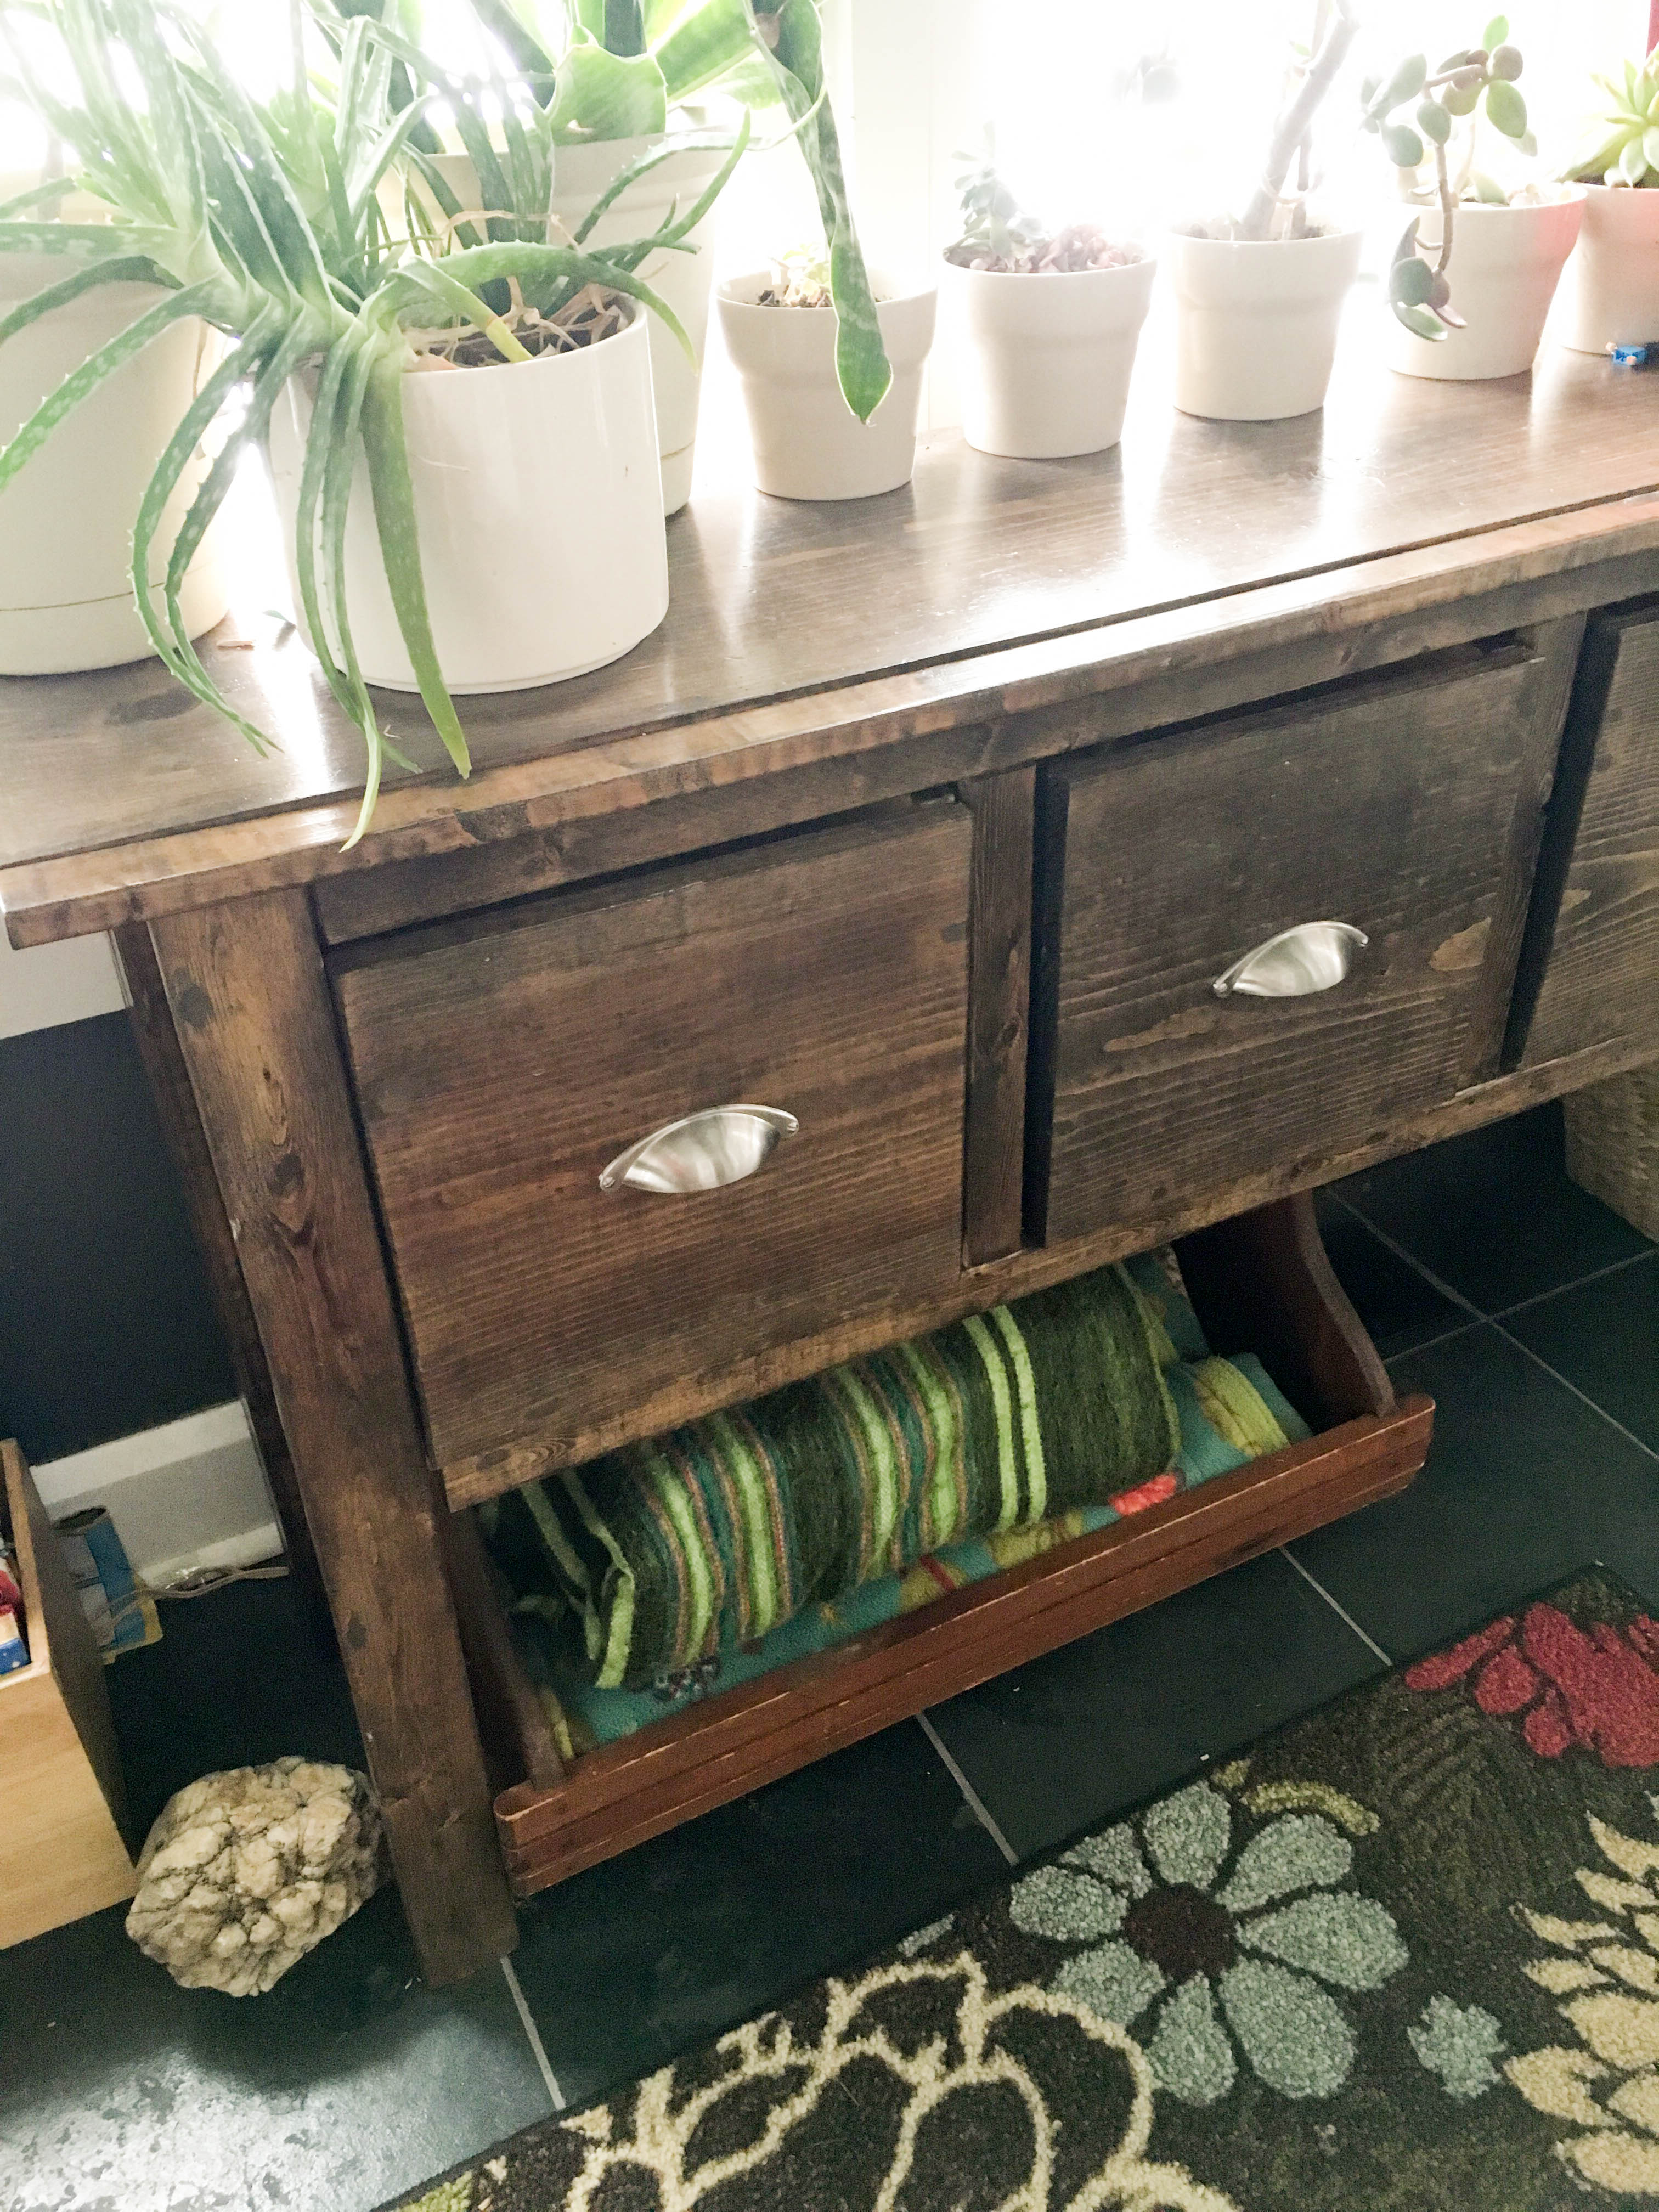
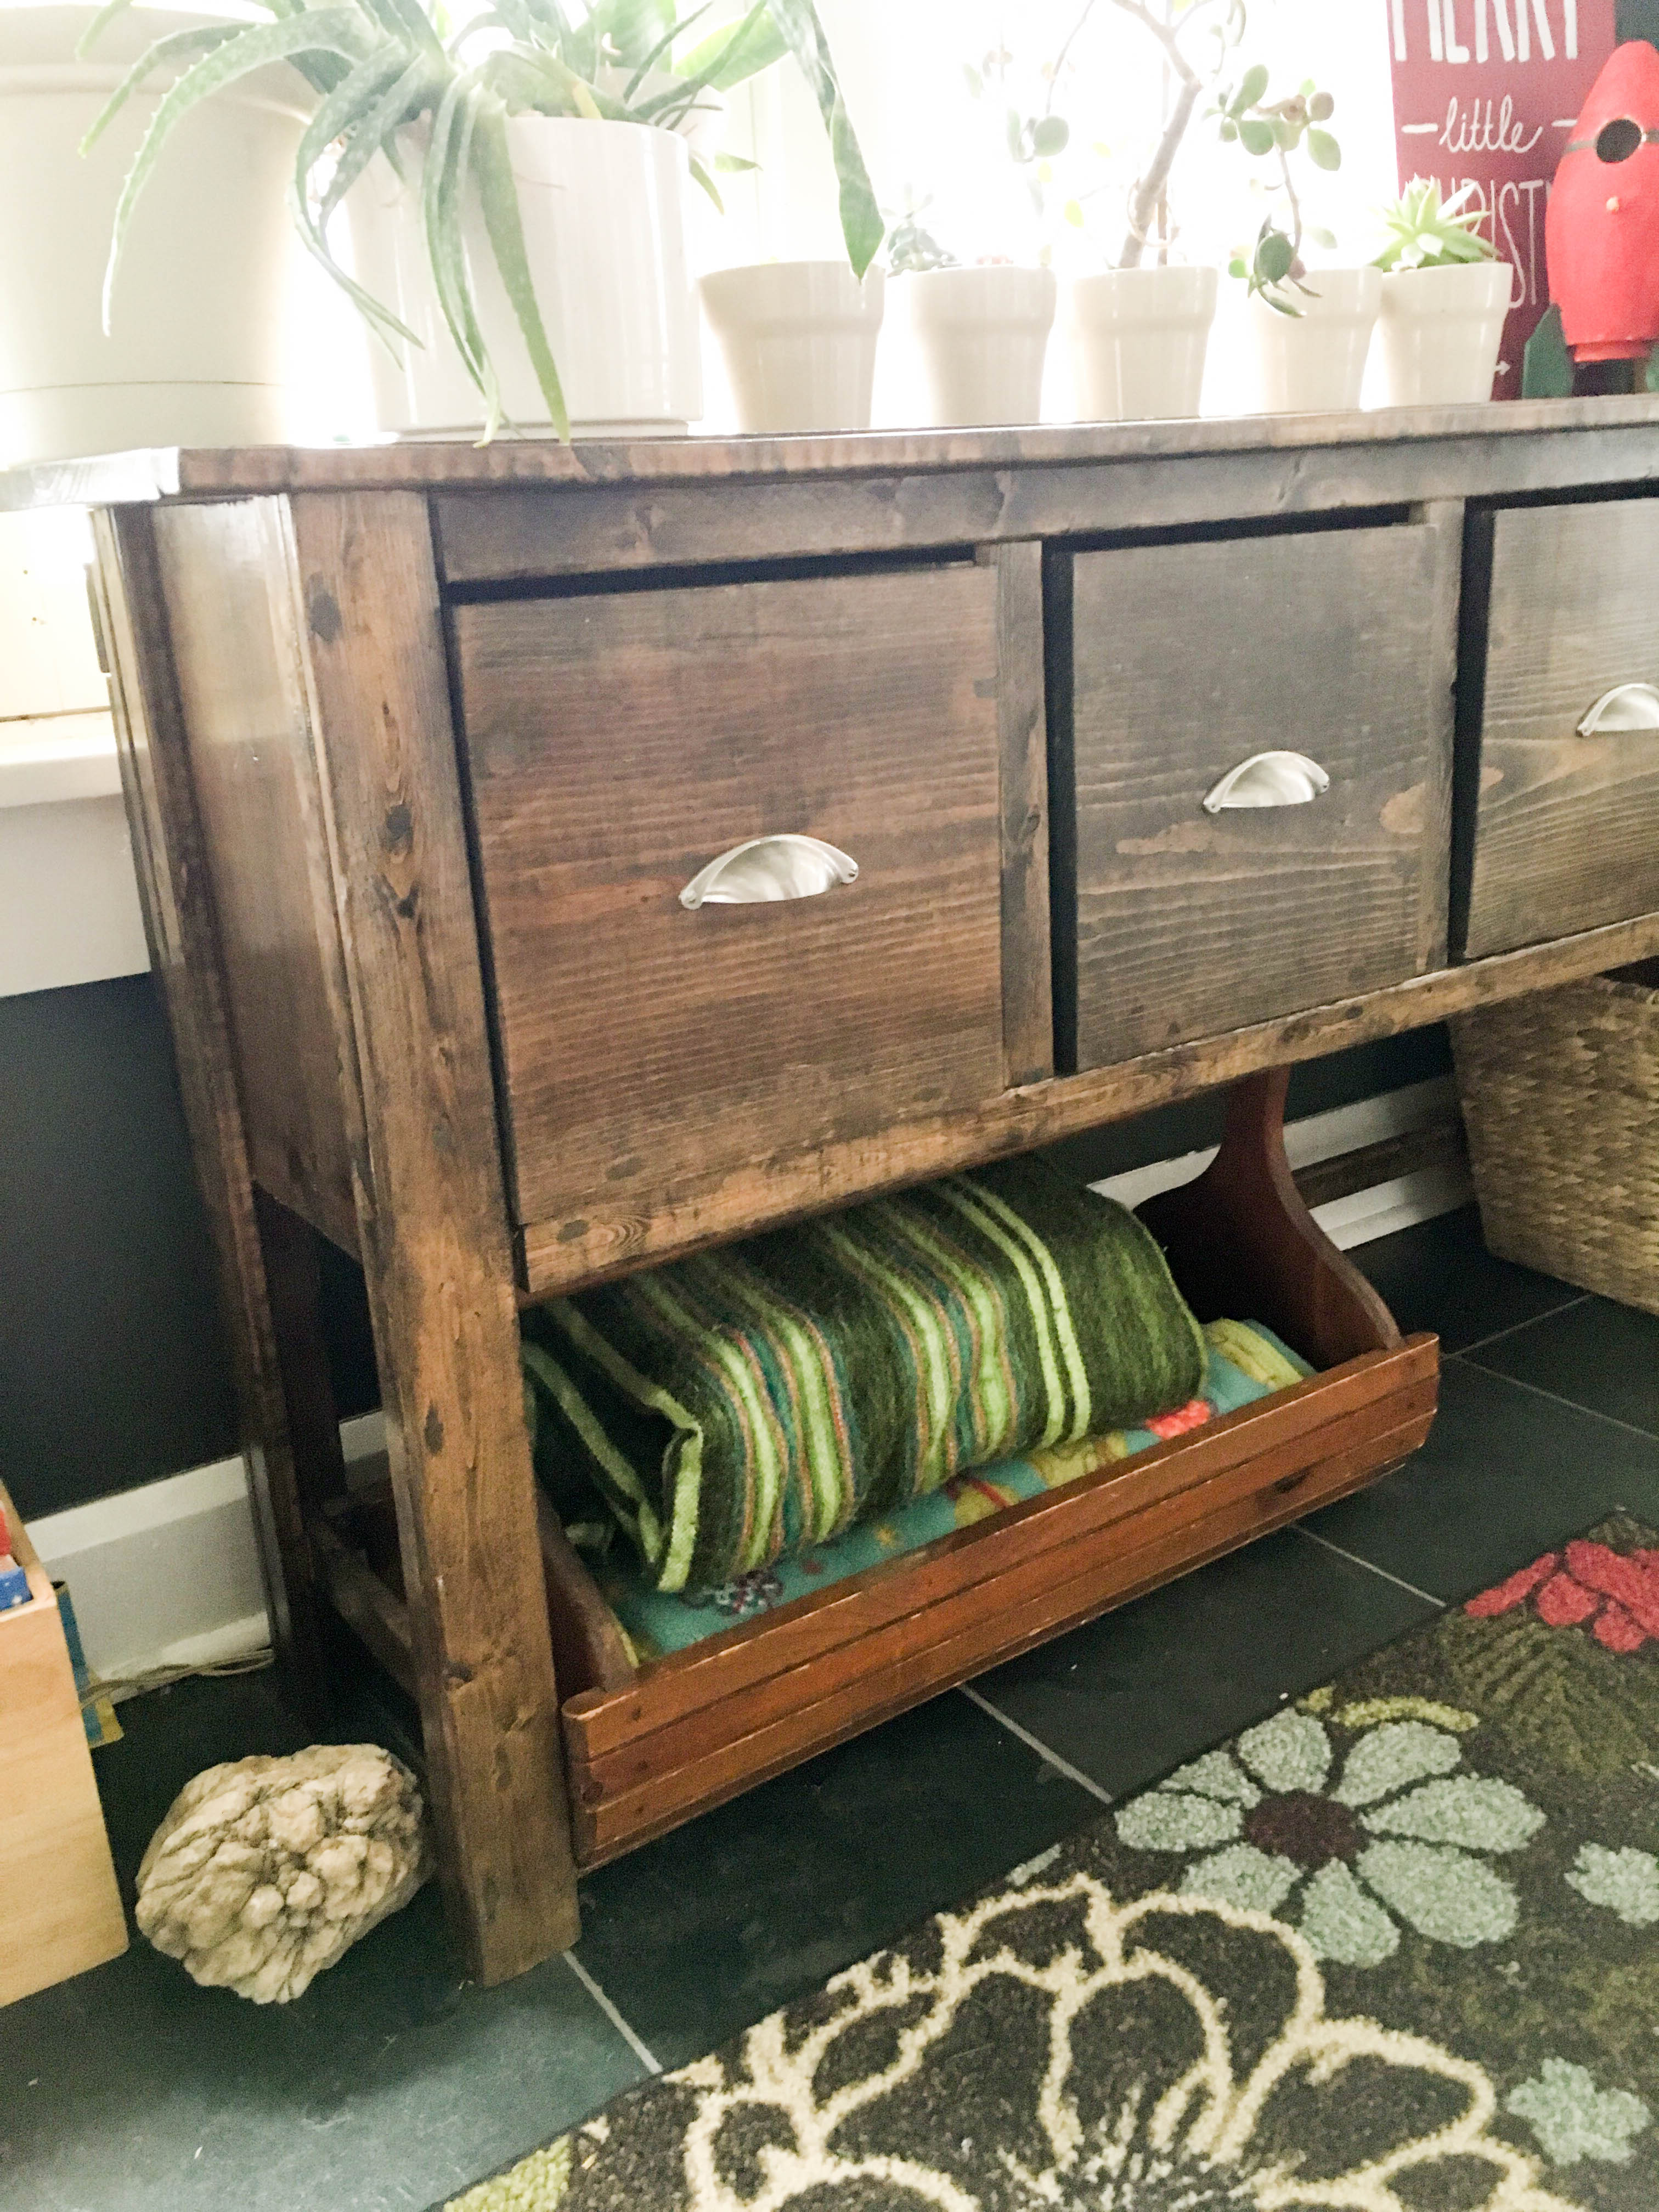
A word of warning though, I haven't actually built this yet and I don't make any guarantees. I'm just getting my in order before I get started. And I think my sketch up skills are improving. :) Now, down to business! These plans are actually slightly different from the dimensions of the inspiration table, but they use standard lumber sizes. This is built in essentially the same manner as the coffee table with a few changes, so I will refer you to those plans for some of the details. Once I build it myself I'll let you know if it all works out. Or if you build it first, please let me know! :)
Please read all the directions before beginning, and cut your pieces as you go, measuring before each cut. Use 2” screws unless otherwise indicated. Always use glue. Pre-drill and countersink your screws. And don’t forget to check out Knock-Off Wood for more tips!
 Overall Dimensions are 47" wide, 14 1/4" deep, and 32" tall.
Shopping List:
4 2x2 @ 10’
2 1x12 @ 10’
1 1x6 @ 8'
1 1x4 @ 6’ OR a few scrap pieces
2 1x2 @ 8'
Plywood Cut 12 1/4 x 44" (I used ½” thick)
Several small L-Brackets OR Scrap wood
2 Sets of Drawer Glides
2 Sets of Hinges
Glass or Plexi Glass
Silicone glue
Tools:
Saw
Drill
2” screws
1 ¼” screws
Wood glue
Wood filler
Finishing Supplies
Kreg Jig would be handy-dandy, I'm hoping to get one before I start this project!
Cut List:
A) 4 2x2 @ 32” (legs)
B) 6 2x2 @ 11 1/4” (side rails)
C) 2 1x12 @ 12 1/4” (side panels)
D) 6 2x2 @ 44” (front & back rails)
E) 4 1x2 @ 12 1/4” (vertical stiles)
F) 1 1x2 @ 16" (horizontal stile)
G) ½” strips of scrap wood OR several small metal L-Brackets (shelf supports)
H) 3 1X12 @ 44” (shelves)
I) 2 1x12 @ 13 1/4” (dividers)
J) 1 12 1/4" x 44" plywood (back panel)
Drawer & Door Cut List:
K) 2 1x12 @ 13 3/4” (drawer bottoms)
2 1x2 @ 13 2/4" (drawer bottoms)
L) 4 1x6 @ 12 3/4” (drawer sides)
M) 2 1x4 @ 13 3/4” (drawer backs)
N) 2 1x6 @ 15 3/4” (drawer fronts)
O) 4 1x2 @ 12" (door frame vertical)
P) 4 1x2 @ 10" (door frame horizontal)
 Step 1:
Start by attaching the side rails (B) to the legs (A) as shown above. The top rail should be flush with the top of the legs, then leave 12 1/4" before the next rail, then 11 1/4" before the bottom rail. This should leave 4" at the base of the legs, as shown above. This would be a good time to use a Kreg Jig if you have one. If not, just be super careful when you drill through the legs into the rails. There is a possibility of splitting the wood when you drill in like that way. Do this to make both ends of the table.
 Step 2:
Next attach the the front and back rails (D) to the end pieces you just built. Just line up each rail with the ones on the sides, as shown above.
 Step 3:
This is where I will send you to the coffee table plans. You need to use narrow stips of wood or small L-brackets (G) to create a ledge for your shelves. Take a look back there (step 5) to get the details on it. Once you have those in place, you can go ahead and put the bottom 2 shelves (H) in place as shown above.
 Step 4:
Now attach the side panels (C) as shown above. They sit inside the side opening and should be flush with the outside edges of the legs and rails. This is similar to the side rails of the coffee table.
 Step 5:
Now attach the front stiles. Start with the 2 vertical stiles (E) and attach one in 13 1/4" from each side. Make sure you measure this distance on both the top and bottom rail to make sure your stiles are straight. This should leave a 16" gap between the two stiles. Next attach the horizontal stile between the two vertical stile. It should be centered vertically, with 5 3/4" above and below. Measure the distance on both vertical stiles to make sure your horizontal one is straight.
 Step 6:
Now put in the compartment dividers. Start by attaching the other 2 vertical stiles (E) in the back. These stiles will be placed the other direction. The front ones have the thin side facing forward, these back ones have the wider side facing forward. Install these so they line up with the front stiles - there should be a full 16" in between the stiles, and 12 1/2" between the stiles and legs. They should be flush with the inside edges of the rails, so there will be room to fit a plywood back behind them. I hope this makes sense. Next install the dividers (I) between the front and back stiles. Measure in 13 1/4" along both the front and back rails to make sure your dividers are straight. screw through the front and back stiles into the dividers.
 Step 7:
Now install the back panel (L) as shown above. You can screw through the panel into the dividers, and through the rails and legs into the panel.
 Step 8:
Install the top shelf piece (H) the same way you installed the previous shelves. Now your basic unit is finished. You just need doors & drawers.
 Step 9:
Build your door frame (O & P) as shown above. This would be easier with a kreg jig as well, but you could carefully screw through the vertical frames into the horizontal pieces. Make sure you pre-drill. To attach your plexiglass (or glass) I would use pieces slightly larger that the opening and use a silicone glue to attach them to the back of the door. it won't look pretty from the backside, but the front will look fine. Us your hinges to attach the doors to the unit frame.
 Step 10:
Now we'll start the drawers. There are two options for creating the bottom of the drawer (K). One would be to cut a piece of plywood to 13 3/4" x 12 3/4" because dimensional lumber doesn't come that size. The other option would be (this is good if you have a Kreg Jig) to cut a 1x12 and a 1x2 to 13 3/4" and attach them side to side like this:
 The two boards together will give you the overall width of 12 3/4" that you need. Once you have your drawer bottom, go ahead an attach the sides (L) as shown above, keeping edges flush.
 Step 11:
Attach the drawer back (M) as show above. It will sit inside the box you've started, on top of the drawer bottom. I used a 1x4 for the back so the top edge sits lower than the sides, but this way you don't have to cut a custom piece. If you want the edges to be even, you can measure the opening and cut a custom piece.
 Step 12:
Attach the drawer front (N) as shown above. It overhangs the drawer box by 1/2" on each side to accommodate drawer glides. Once your box is done you can install the glides and put the drawers in.
Step 13:
Fill your holes, sand, and finish your piece as desired.
That's it! If you have any tips or know a better way to do anything, let me know. And as always, check out Ana's site Knock-Off Wood for more tips and plans. Enjoy your new console table!