
Saturday, June 29
Friday, June 28
5 Crockpot Freezer Meals
One of the best things our friends did for us after B was born was bringing us yummy homemade dinners. It was SO wonderful not to have to worry about cooking while we were getting used to this tiny new part of our family. So we like to pass that blessing on when we get the chance. And it turns out we have just that chance right now! One of our good friends unexpectedly had an early delivery so we've been putting our heads together with a few other friends to get their place ready for the return home, including stocking their deep freeze with lots of yummy, ready-to-go meals.

I wanted to do crockpot meals because of the easy prep and easy cooking later, but I don't know much about freezer meals or crockpot meals. So it was pinterest to the rescue! I pulled recipes from a few sites I had pinned and wound up with a list of 5 dinners (the recipes come from here, here, and here). And while I was at it, I made a second batch for our freezer for after baby #2 makes an appearance. So I made a total of 10 freezer meals, and spent just over an hour on all of them! All the recipes are below, and I even made a printable shopping list with everything you need to make all 5 dinners (just double it if you want a set for yourself).
I started by labeling all the bags with the name and cooking directions for each meal. I cut all the meat first and put it into the bags, and then added all the veggies and other ingredients (I was careful to choose recipes that didn't require any cooking ahead of time, it was all just chopping and tossing it in a bag). Then into the freezer they went!
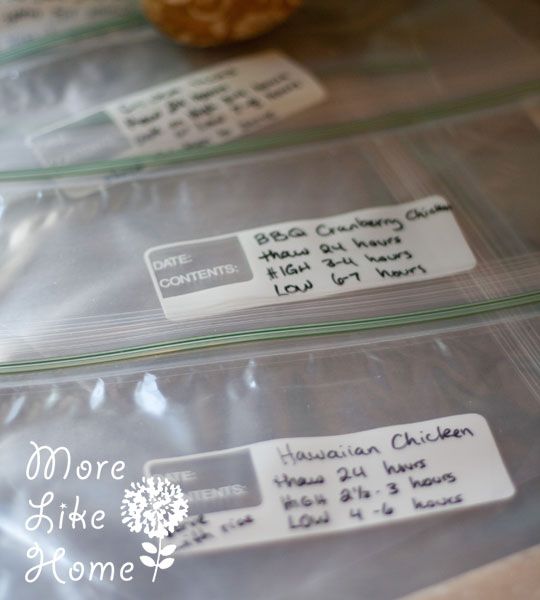
It was actually really easy, and I made great time since I waited until B was asleep for all the cutting & bagging. Want to make a set of freezer dinners for yourself or a friend? Here are the recipes for the 5 meals I made:
I wanted to do crockpot meals because of the easy prep and easy cooking later, but I don't know much about freezer meals or crockpot meals. So it was pinterest to the rescue! I pulled recipes from a few sites I had pinned and wound up with a list of 5 dinners (the recipes come from here, here, and here). And while I was at it, I made a second batch for our freezer for after baby #2 makes an appearance. So I made a total of 10 freezer meals, and spent just over an hour on all of them! All the recipes are below, and I even made a printable shopping list with everything you need to make all 5 dinners (just double it if you want a set for yourself).
I started by labeling all the bags with the name and cooking directions for each meal. I cut all the meat first and put it into the bags, and then added all the veggies and other ingredients (I was careful to choose recipes that didn't require any cooking ahead of time, it was all just chopping and tossing it in a bag). Then into the freezer they went!
It was actually really easy, and I made great time since I waited until B was asleep for all the cutting & bagging. Want to make a set of freezer dinners for yourself or a friend? Here are the recipes for the 5 meals I made:
Wednesday, June 26
All the Stuffs - Getting Ready for Baby
Before B was born, I read lists online and in magazines of all the things you "need" for a new baby. Huge long lists of things. But it turns out you actually don't need that much for a new baby! So I just wanted to share some things I've learned, a few things I would truly recommend having, and a couple things I'm hoping to pick up for #2. And I really don't mean for this to sound like a commercial, it's not a sponsored post or anything. Just trying to be helpful with things that have & haven't worked for us!


not so much
gotta have it
- A sleepy wrap. Or some kind of baby carrier. But stretchy wraps like this are especially good for squishy little babies. It lets you keep you hands free while keeping baby close and comforted. That's win win. I'm especially planning to use it this time around so I can have my hands free for B! But just FYI, stretchy wraps are really only good until baby is about 15-18lbs, so you'll need to plan on moving up to something more structured after that.
pic via amazon
- Cloth diapers. Any kind you like (you can see exactly what we've used and how they work here, here, here, and here). I've also picked up some used newborn diapers as I've come across them for #2. Hopefully those will hold him/her over until B's old one-size diapers fit. And seriously, I feel like this is one of the best investments we've made in parenting. We spent under $300 to diaper B from 2 months through potty training, and now we can use those same diapers again this time around. I can't even imagine how much money this has saved us over buying disposables.

- Nose Frida. This is the snot sucker to beat all snot suckers. When you have a little squish with a stuffy nose, that's a pretty big deal. So throw away all the little bulb syringe things you've tried before and just get this bad boy. Snot = history.
pic via amazon
- A nice camera. We've never taken so many pictures! And we love being able to take great quality pics that we can cherish forever. There are lots of options out there, but we've been loving our Canon Rebel. And if you want to step up the look of your photos, we especially love this lens.
- A white noise machine. We didn't get one until B moved to his own room, but it would have been helpful even before then. We all know a sudden noise can wake a baby right up, but having a constant, soft background noise can help ease them through sudden noises and make them less likely to wake up. We bought this one and have been happy with it so far. The rain sound is our favorite.
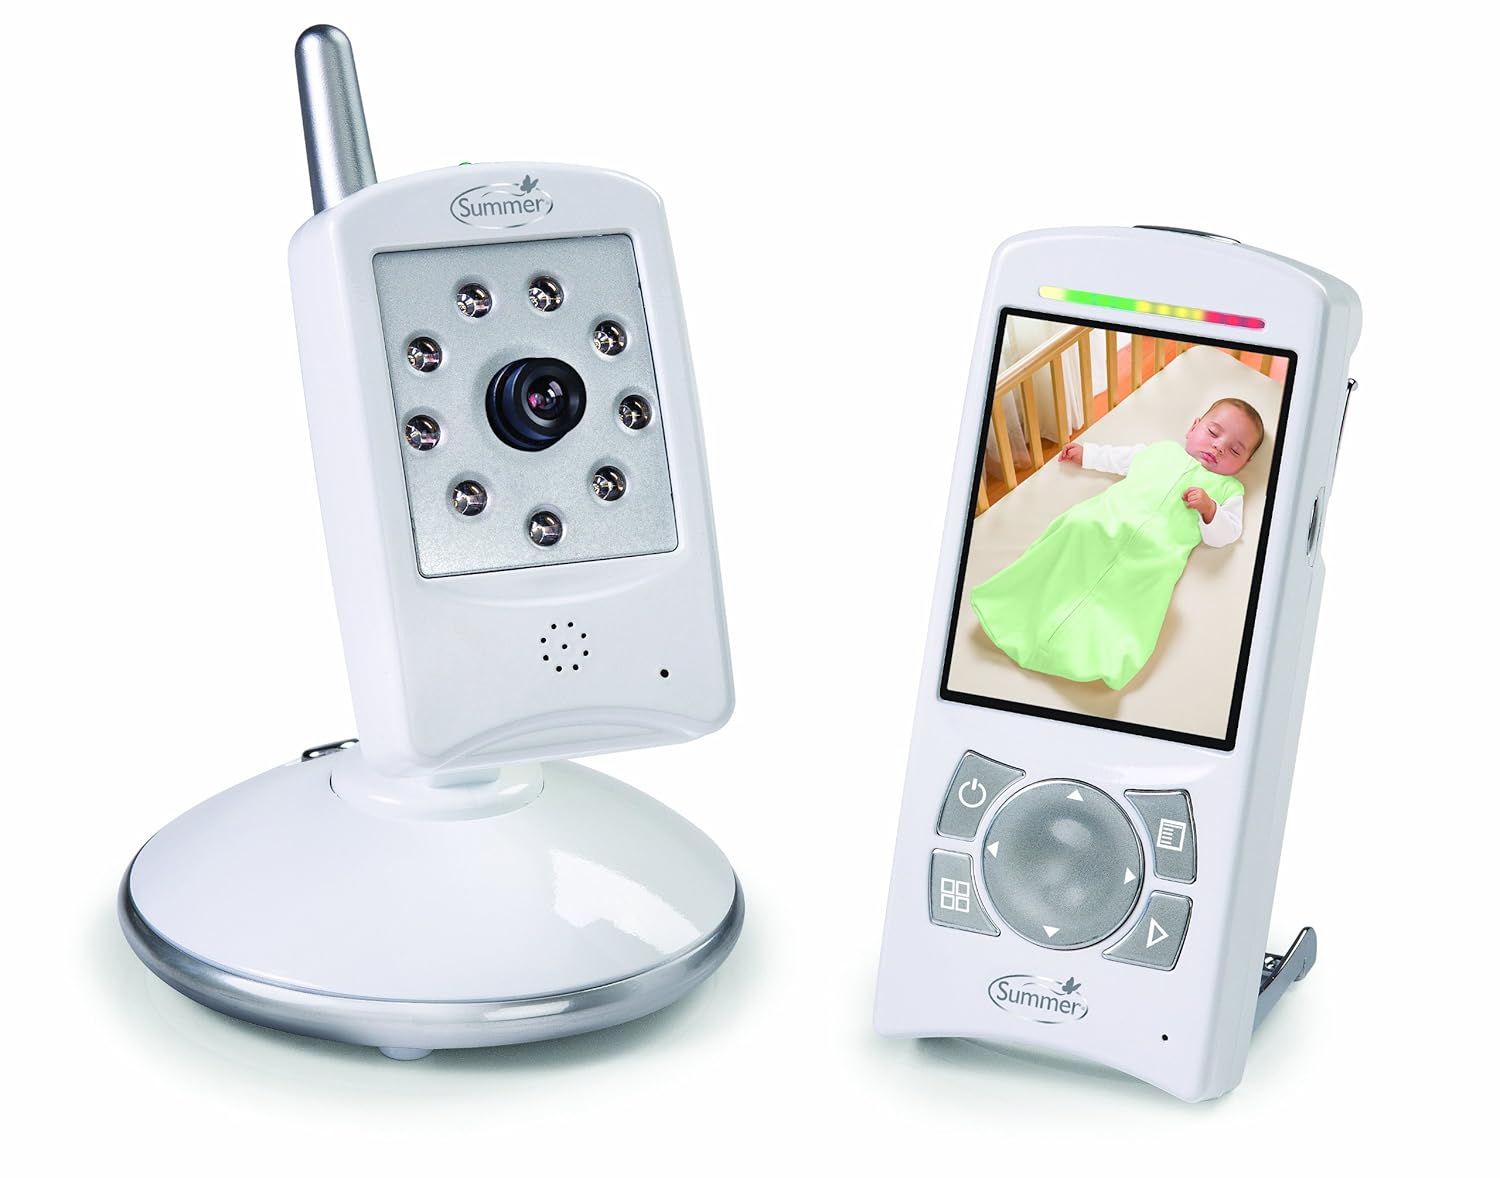
- A video monitor. For reals. We didn't even register for one (just went with the sound kind) but once B was here we took that thing straight back to the store and upgraded to video. It gives so much more peace of mind to be able to see the baby. Not that it stopped me from going in to check, too. :) And to be fair we barely used it before he was over a year old because he slept up in our room, but it's even better now that he's bigger! We can see if gets out of bed, or if he's laying there awake. Totally worth it. The one we have even has the option to add more cameras (like if you have kids in two rooms) and view them all on the same handset!
- Nursing stuffs. Bras, a pump, soothies, lanolin, a good pillow, and a big cup to keep nearby. Snacks don't hurt either. You'll probably be sitting for a while. It's also great to have a good, reliable book like this one by La Leche League. And if you have a La Leche League nearby, you should totally check it out. Great mother-to-mother support is priceless!
- A good app. When you have a new baby, you're tired. And it's hard to keep track of all the important things like how many wet diapers baby has or which side they nursed on last. It's also helpful for spotting patterns in your baby's habits like if they tend to nap at a certain time. We used this one but there are lots out there so find one you like! ***I am 100% supportive of nursing on demand and DO NOT recommend using an app to schedule feedings. Baby knows when he's hungry and the healthiest, safest way for him to grow is for you to follow his cues about when it's time to eat. La Leche League has tons of great info on this!***

not so much
Monday, June 24
Restoring Old Wood... or Maybe Not?
**UPDATE - So... it turns out there's a good reason to not do this. Definitely check out the first comment before you try this on your own furniture!**
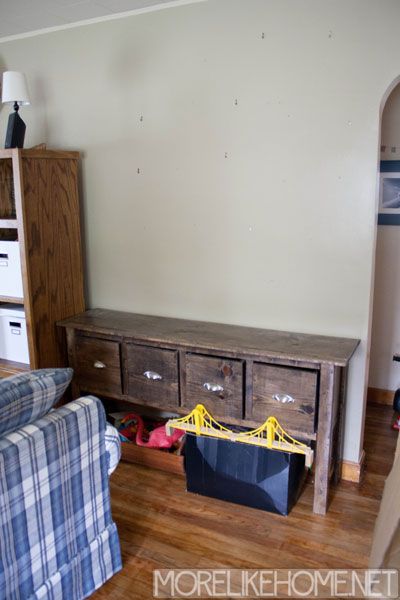
My new end table is finally all settled in. Which basically means I moved it to another part of the house and I like it. :) But before I moved it I was still trying to decide if I liked the old finish or not (thanks for the great advice you guys!). So I decided to try restoring just the back side. That way I could see if I liked it better, but could hide it if I didn't.

I tested a trick I found on Facebook and combined 3 parts vegetable oil with 1 part vinegar and rubbed it into the wood with a paper towel. I was definitely skeptical... but it actually worked! See the difference?

Friday, June 21

Wednesday, June 19
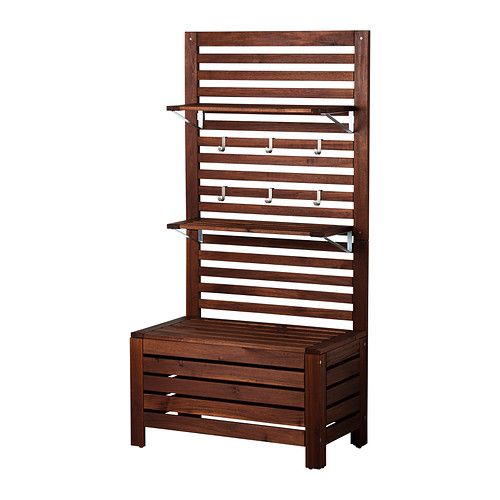
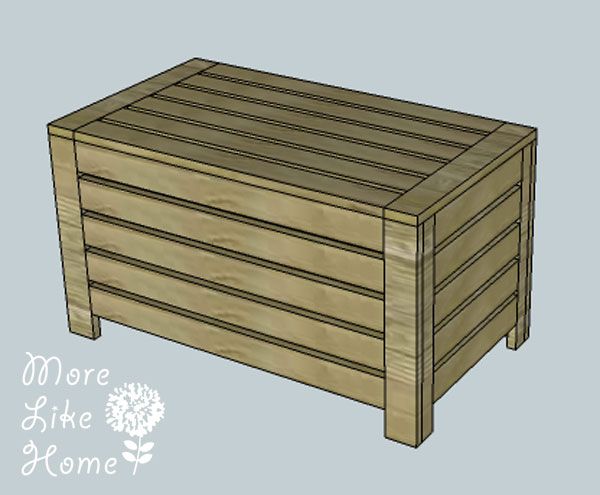
DIY Outdoor Bench Plans (for Wall Panel System)
Earlier this week I posted plans for an outdoor wall panel and shelf similar to Ikea's new outdoor
collection. Today we're moving on to the optional outdoor bench that works with the wall panel system.

It's a great way to add seating and storage to your patio! You can use the bench on it's own or with any combination of panels and shelves from the wall panel system.

There are a few notes on this project before we get started:

If you're ready to get started, this is what you'll need:
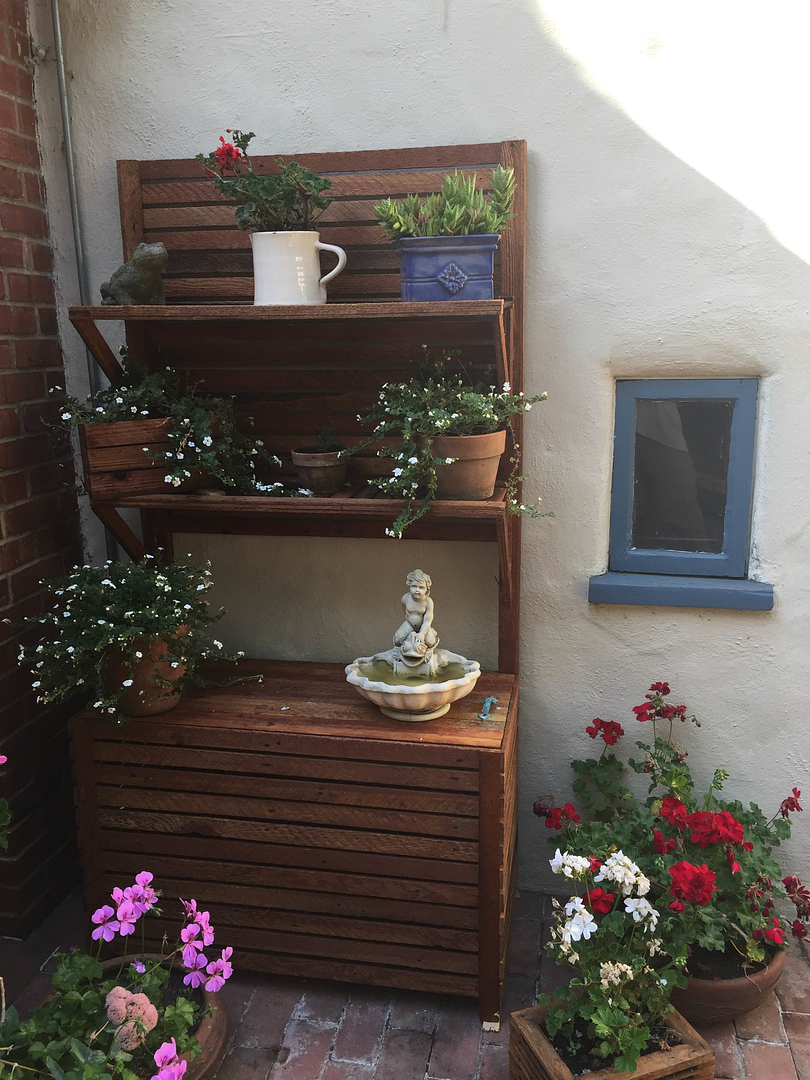
Built by an anonymous reader - thank you so much for the beautiful photo!
It's a great way to add seating and storage to your patio! You can use the bench on it's own or with any combination of panels and shelves from the wall panel system.
Source: Ikea
There are a few notes on this project before we get started:
- The only difference with my plans is that the shelves and hooks won't be adjustable like the original (but if you know where to get that kind of hardware I'd love to hear about it!!). Our shelves and hooks will be screwed in place instead.
- Be sure to install your panels carefully so they don't tip over! They should either be attached to a wall, or you could put posts into the ground to attach them to.
- For outdoor pieces it's a good idea to finish each piece with an outdoor paint or poly before you assemble it. That way all the edges are sealed from water. If you finish it when you're done, just be careful to get into the cracks really well.
- I like to do projects that can be done with a few simple tools, but for this one you'll really need a Kreg Jig to assemble it. Sorry!
If you're ready to get started, this is what you'll need:
Monday, June 17
DIY Outdoor Wall Panel System Plans
Have you guys seen Ikea's new outdoor collection? It's all pretty sweet, but the part that has me itching to break out the power tools is the modular wall panel system. It's perfect for making an outdoor space feel cozy and inviting, and it's totally customizable!
But of course I don't want to pay $40 for a single panel, so today we're to DIY our own! We'll start with plans for a basic panel & shelf today (and of course you can use the panels without shelves!).

And later this week I'll add plans for the optional outdoor bench that works with the system. So start planning that patio makeover! You can use any mix of panels, shelves, benches, and hooks to make an outdoor space perfect for entertaining or just relaxing with a good book.

There are a few notes on this project before we get started:

So, ready to get started? Here's what you'll need:
Built by an anonymous reader... we are in love with this patio!
But of course I don't want to pay $40 for a single panel, so today we're to DIY our own! We'll start with plans for a basic panel & shelf today (and of course you can use the panels without shelves!).

Source: Ikea
And later this week I'll add plans for the optional outdoor bench that works with the system. So start planning that patio makeover! You can use any mix of panels, shelves, benches, and hooks to make an outdoor space perfect for entertaining or just relaxing with a good book.

Source: Ikea
There are a few notes on this project before we get started:
- The only difference with my plans is that the shelves and hooks won't be adjustable like the original (but if you know where to get that kind of hardware I'd love to hear about it!!). Our shelves and hooks will be screwed in place instead.
- Be sure to install your panels carefully so they don't tip over! They should either be attached to a wall, or you could put posts into the ground to attach them to.
- For outdoor pieces it's a good idea to finish each piece with an outdoor paint or poly before you assemble it. That way all the edges are sealed from water. If you finish it when you're done, just be careful to get into the cracks really well.
- I like to do projects that can be done with a few simple tools, but for this one you'll really need a Kreg Jig to assemble it. Sorry!

So, ready to get started? Here's what you'll need:
Friday, June 14
Spicing Up a Bookshelf
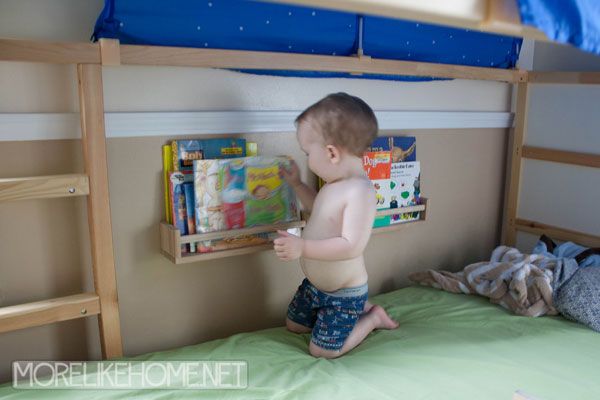
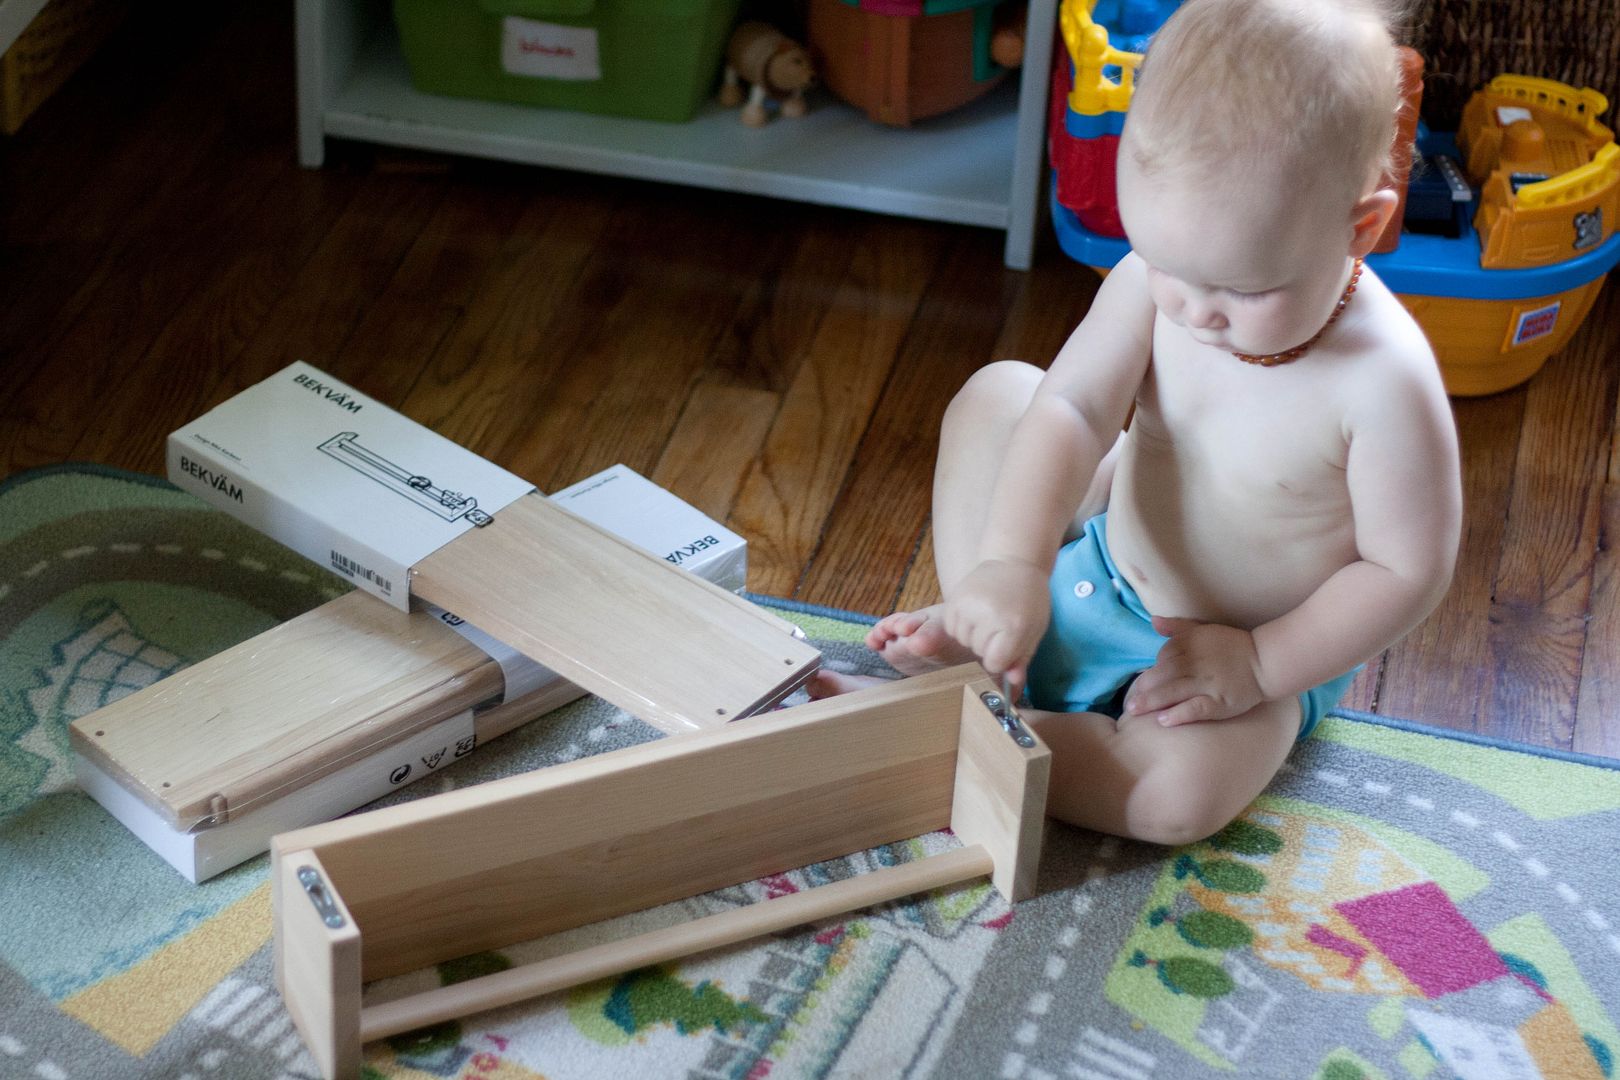
This is another one of those projects that's been a long time coming. I found the idea on pinterest about a year ago and finally tackled it this morning. You're probably seen this idea floating around too - turning Ikea spice racks into perfect little bookshelves!

And I have no excuse for why it took so long. Want proof? This picture is from when we bought the shelves, and I even put them together. You can use the much smaller, balder baby for reference.

Then they sat in the basement, abandoned and forgotten, until now. Here's another reference point:

But now that we're tackling the big boy room, I realized they would be perfect around his new bed!
And I have no excuse for why it took so long. Want proof? This picture is from when we bought the shelves, and I even put them together. You can use the much smaller, balder baby for reference.
Then they sat in the basement, abandoned and forgotten, until now. Here's another reference point:
But now that we're tackling the big boy room, I realized they would be perfect around his new bed!
Wednesday, June 12
Cloth Diapers - Newborn Style
You guys probably missed me talking about cloth diapers, huh? ;) Well today I'm tackling what I think goes into cloth diapering a newborn!

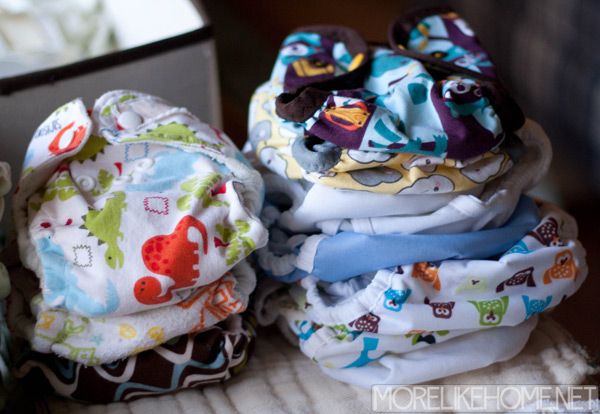
You may remember that for B we used disposable for the first couple months until he finally fit into his one-size diapers (you can read all about our cloth diapering adventures here, here, here, and here). This time I'm trying to build up a stash of newborn & small sized diapers to get us through until baby #2 can fit into B's old diapers. I'm doing it as cheaply as I know how, buying mostly second hand diapers, and I think we'll still come out ahead of disposables because diapers have a pretty good resale value so I should be able to make back most of what I've paid when we're done.

Now, let the record show that I've never done this before so I don't really know what we'll like or how many we'll need, so I'm just trying to prepare with a mix of things. At least we'll have a better idea if we need to do something different next time! So let's take a look at all the tiny baby cuteness....
Monday, June 10
The Circus is Coming to Town!
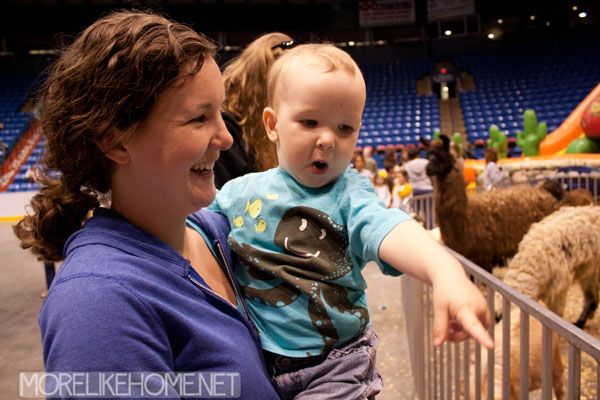
We kept B out past his bedtime... to go to the circus! It was a small, indoor circus, but still. It was a circus, guys! We weren't allowed to take pictures during the show, so all our pics are from the petting zoo. But there are some real gems in there! So yes, this is entirely pics of B.


"Excuse me, Beffy, but this sheep is looking at my foot. Make it stop."
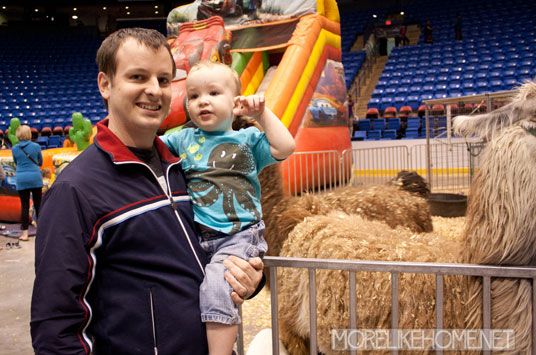
B is either talking or looking away in ALL the pictures. He was too stinkin' excited.

"Hello llama! I like your nose!"
"Oooooohhhhh." (in a deep baby voice)
Saturday, June 8
Thursday, June 6
Big Boy Bed!
It's time for another chapter in the big boy room diaries. Big boy room journal? Notebook? Anyway, B has officially graduated to a big boy bed! Papa & Grandma brought it during a weekend visit last week and even helped set it up before they left. B's verdict? He loves it. He calls it "nuuu bed" and tells me all about Papa and dada putting it up. And he made the transition like a champ, didn't even bat an eye. The funny part is that, just like with his toddler bed, he still sleeps sideways on top of his pillow, right along the top of the bed. All this extra room to spread out and he still sleeps in his little cozy spot.

We left the floor cushions out in case he falls out while he's getting used to things. They're also a great place for reading books. It's still looking a little plain over here, but I'm hoping some bedding and artwork will spiff things up. And I'm happy with the amount of space left between the bed & the dresser, I was afraid it would be too tight but there's a good amount of play space.

And over on the other wall is the newly painted bookcase and his workbench. And still more room to play. :) And yes, I need to find a new spot for his little red mirror.

Here's the full corner over there. Please note the string of Christmas lights and the gold star ornament I missed when I packed up the decorations back in January. I haven't gotten the boxes back out to put them away yet. Go me.

So we're making progress, and so far B is 100% on board. He even thinks the floor cushions are a great place to park his bike!

Cheeseball, in the house! He's wearing swim trunks. We got the wading pool out last week and he's been wearing trunks almost 24/7 ever since.

Aaaand he's off. Boy's got places to go.

Anyone else upgrading a nursery this spring?
Tuesday, June 4
30 Day Challenge & Tour de Living Room
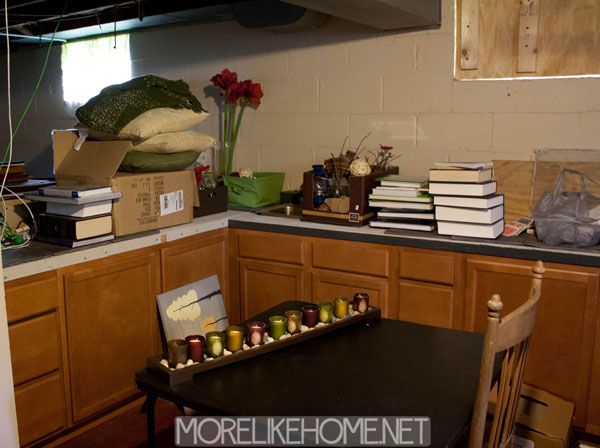
I'm taking on a fun (and easy - yay!) little challenge this month with The Nester (you can read all about it here and link up here). It's 30 days without accessories. That's it. I just went through the house and boxed up everything sitting on my surfaces - little knick knacky things, books, vases, it all got packed away.

For the month of June, it's all stashed in a corner of the basement.

The goal is to let the house breathe for a while. I've been feeling lately like my house is too... full. Or maybe just to busy. I don't know. So when I found this challenge I thought it would be a perfect excuse to simplify everything. With all the little stuff gone I'll be able to kind of start over at the end of the month and be more selective putting things back... or maybe I'll find that the accessories aren't the problem at all and I'll be able to pinpoint what exactly it is that I'm not liking. And based on my pile of accessories - which is actually quite a bit smaller than I expected it to be - I'm thinking they're only a small part of the problem.

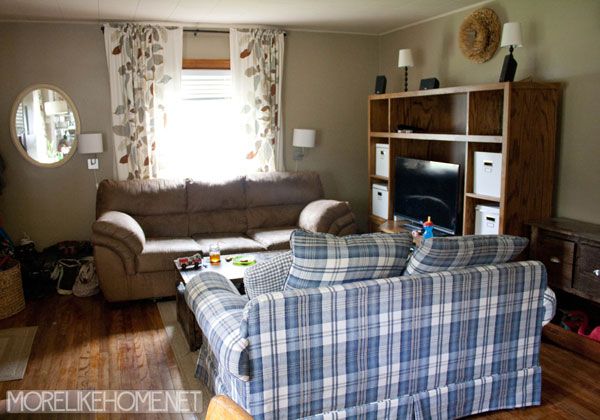
I even took down the gallery wall. Just to see. Maybe all those little frames were making it look so busy? I'm even thinking about moving that table to the basement for a while to see if we miss it (read about how we built it here).

Most of my accessories were in my living room, I had just a handful between the bedroom, bathrooms, and guest room. I'm took after pics of everything packed away, and realized I still don't have any real before pics of the living room! It's a room I actually try to avoid photographing most of the time. Partly because it's where we live 80% of the time so it is always messy. Toys all over the floor, food on the coffee table, blankets and pillows piled on the couches. But even more than that, this maybe be my least favorite room in the house. I'm not totally sure why. Anywho, this is probably the cleanest it will ever be, so this is your chance for a tour!


For the month of June, it's all stashed in a corner of the basement.
The goal is to let the house breathe for a while. I've been feeling lately like my house is too... full. Or maybe just to busy. I don't know. So when I found this challenge I thought it would be a perfect excuse to simplify everything. With all the little stuff gone I'll be able to kind of start over at the end of the month and be more selective putting things back... or maybe I'll find that the accessories aren't the problem at all and I'll be able to pinpoint what exactly it is that I'm not liking. And based on my pile of accessories - which is actually quite a bit smaller than I expected it to be - I'm thinking they're only a small part of the problem.
I even took down the gallery wall. Just to see. Maybe all those little frames were making it look so busy? I'm even thinking about moving that table to the basement for a while to see if we miss it (read about how we built it here).
Most of my accessories were in my living room, I had just a handful between the bedroom, bathrooms, and guest room. I'm took after pics of everything packed away, and realized I still don't have any real before pics of the living room! It's a room I actually try to avoid photographing most of the time. Partly because it's where we live 80% of the time so it is always messy. Toys all over the floor, food on the coffee table, blankets and pillows piled on the couches. But even more than that, this maybe be my least favorite room in the house. I'm not totally sure why. Anywho, this is probably the cleanest it will ever be, so this is your chance for a tour!
Monday, June 3
B's Bookcase Makeover
It's June, guys, and ohmygoodness we have a baby due at the end of July. That's next month!!! So we're chipping away at B's new big boy room, hoping to knock it out before then. With the help of a few babysitters/furniture movers a couple weekends ago, I managed to get his book case repainted! If you remember, it used to be this less-than-spectacular black & blue.

I wanted to make sure I got good coverage over the black (especially since it's semi gloss) so I started with a primer. I went with a spray primer because it would be fast, easy, and cheap. I think it was around $6. I recruited a very helpful sister to do the spraying for me so my pregnant self wouldn't have to do it. Thanks sister!

Once that dried, I used a small foam roller to paint the the bookcase and shelves (and an angle brush to get the cracks & corners). I used Olympic's Parakeet Pete from my inspiration pallet. I tried the Olympic ONE paint this time with the built-in primer (even though I already primed it. I wanted to be sure!) and I was really happy with it! It had great coverage and a smooth finish. I just had to touch up a few places after the first coat. I bought a quart for about $12 and have about half left over.

I left it in the garage for a few days to cure to make sure it wouldn't get scratched up too fast by a certain little boy. Aaaaaand... I forgot to take a picture before we loaded it back up with toys. So here it is back to work. Looking fun and cheery and ready for play.

It's a great new look for our free-hand-me-down bookcase. And it didn't break the bank at a total of $18 for paint and primer. I love the kind of smokey bluish green and I can't wait for the rest of the room to catch up!
Subscribe to:
Posts (Atom)