
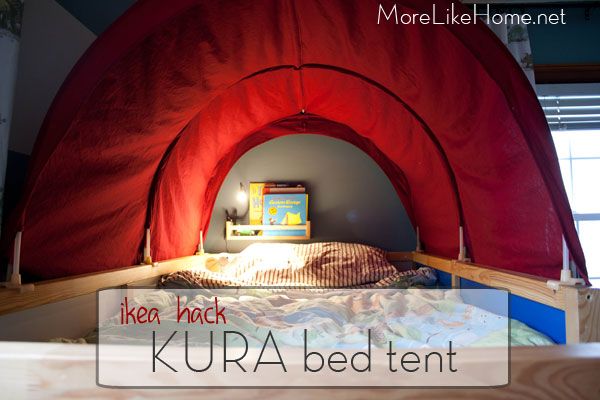
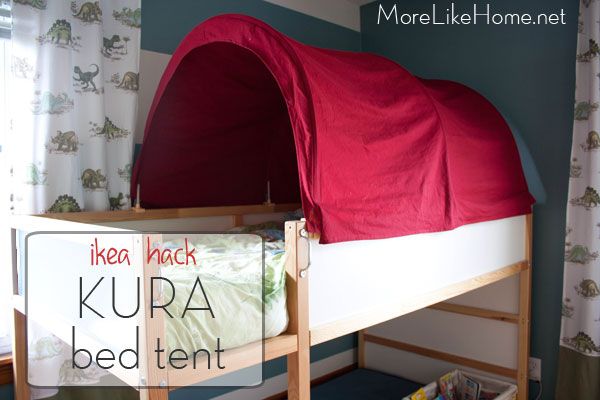
Big Brother loved having a tent, but the one from Ikea was made with a crazy blue fabric that just didn't match anything. So I grabbed some new fabric and a tape measure and got to work.
I took apart our original bed tent and copied the pieces to make our new-and-improved version. And yes, you do need to have the Ikea bed tent because we'll be using the poles and hardware from the tent and just switching out the fabric. Kind of a bummer if you don't have one already (sorry!) but if you do you're well on your way to a totally sweet and one-of-a-kind upgrade!
Here's what you need to make your new tent:
- 5 yards quilting cotton fabric (we used red for a nice pop in the room, but a patterned fabric would be really fun too!)
- thread
- 1 yard 1" elastic
- Kura bed tent poles & hardware
- 2 body pieces @ 81 x 31"
- 3 pole sleeves @ 67 x 2"
- 6 elastic reinforcing tabs @ 8 x 1.75"
- 1 top sleeve @ 53 x 2"
- 2 pole pockets @ 5 x 3.5"
- 6 pole pocket reinforcement @ 4 x 2.5"
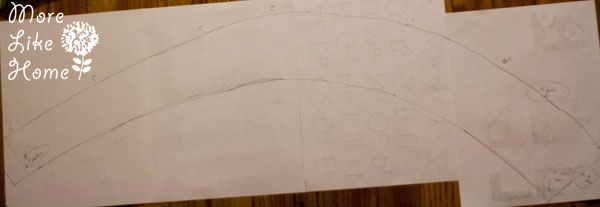
- 4 curved ends
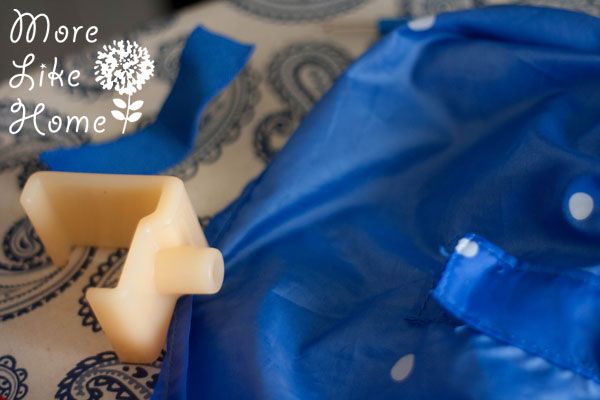
You need to trace the curved ends of your tent and use the tracing as a pattern. Each end is made of two halves, so just trace one half and cut out four identical pieces. Make sure you add seam allowances where needed - I added 1/2" to the top curved edge, 1/2" to what will be the center seam (right side in the pic below) and 1" to the bottom curved edge and the smaller end (left in the pic below).
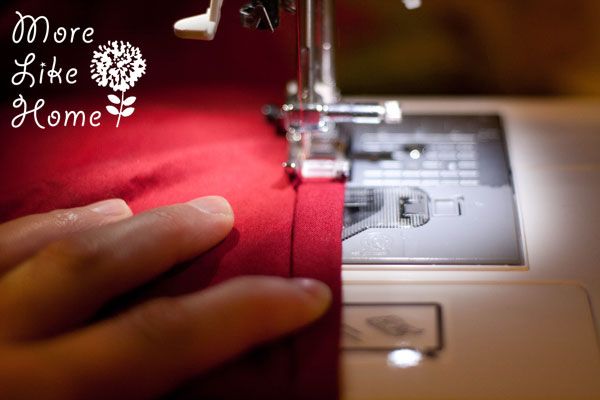
Now we can put it together. Start by sewing the two body pieces together - stack them right-sides together and sew along one of the 81" sides with a 1/2" seam allowance - then open it up and press the seam open. Sorry, no pics of the ironing. :)

Next do a 1/2" rolled hem all around the tent body. Fold the raw edges under 1/2" and press, then 1/2" again and press, then sew right along the folded edges.
Now get out the three pole sleeves and lay them right-side down. First (this isn't in the picture) you need to do a rolled hem on each end - fold the end in 1/2" and press, then 1/2" again and press. I forgot and had to go back and do it later. Oops! Then fold each long edge in 1/4" and press. Now set these aside, we'll need them in a few minutes.
Now get out all your elastic reinforcing tabs and lay them face down. Fold each long edge in 1/4" and press. Then fold one short end in 1/4" and press, and fold the other short end in 1" and press.

Fold each tab in half-ish with the end folded in 1/4" on top and the 1" edge on bottom. You want the top edge to stop 1/2" short of the bottom edge like this:

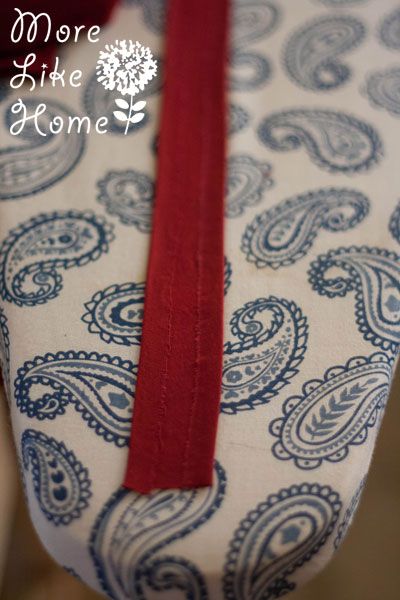
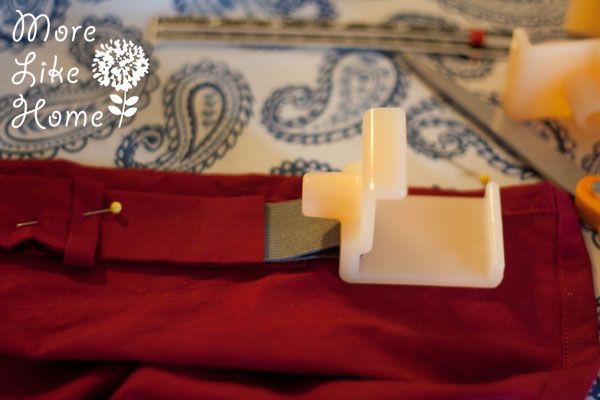
Now you can pin the tabs in place on the wrong-side of the tent body. One tab goes in each corner (like the pic below). The tab should be set right against the side seam of the tent body (top edge in the pic) and the bottom edge of the tab (right side in the pic) should be 4" from the bottom edge of the body (also right side in the pic, the bottom edge is perpendicular to the center seam of the body). So you'll have one like that in each corner. The remaining two tabs will be centered right over the seam connecting the two body panels. One tab should be set up 4" from the bottom edge of the tent body on each side.
Once the tabs are in place, before you pin them down, cut a piece of elastic 4.5" long and fold it in half. Slip it between the layers of the tab so the ends of the elastic are about 1/2" past the edge of top layer (or about 1" past the bottom edge). Now pin it all in place.
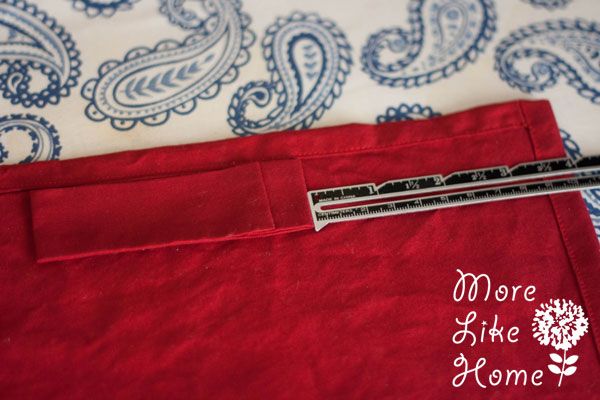
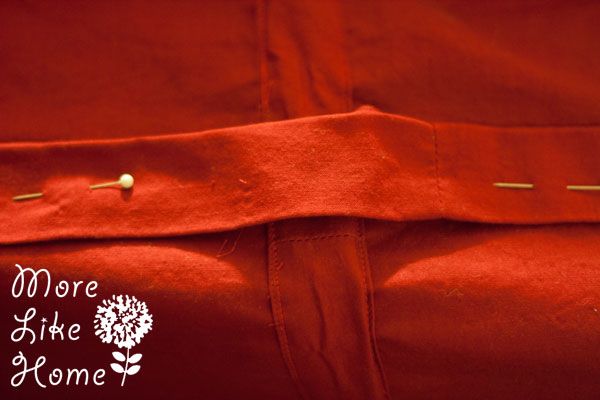
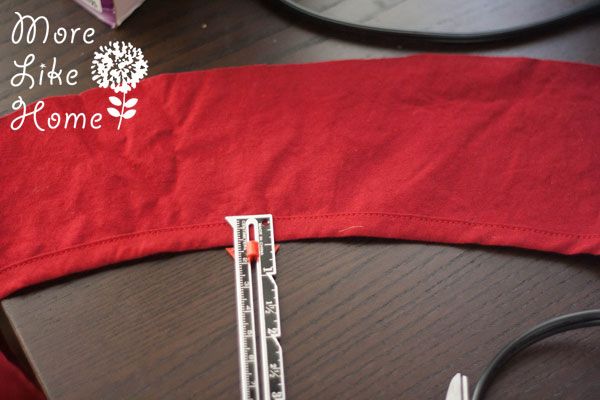
Now you can lay out the pole sleeves. Fold the sleeves in half to find the center, then fold the tent body in half to find the center (what will be the top of the tent). For each sleeve start by lining up the center point with the center of the tent body so the ends overlap the elastic tabs evenly. One sleeve goes along each side seam (like the pic below) and one goes centered right on top of the seam between the two body panels.

You should have 7" from each end of the sleeve to the edge of the body.
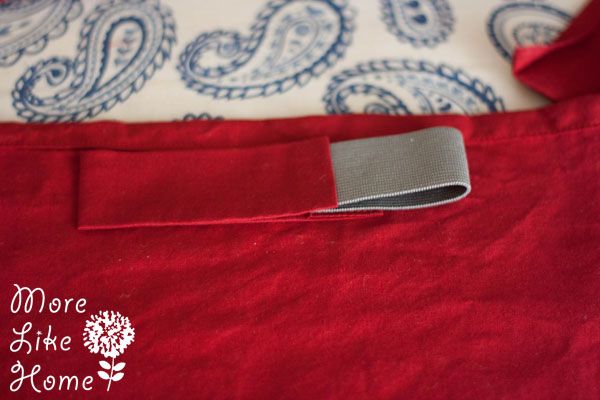
Now that we know everything is lining up nicely, we can start sewing things in place... which means taking things apart a little bit. Don't panic. Start by unpinning the elastic loop so you can get to the bottom layer of the tab. Sew along the three outside edges of the 1" folded section like this:
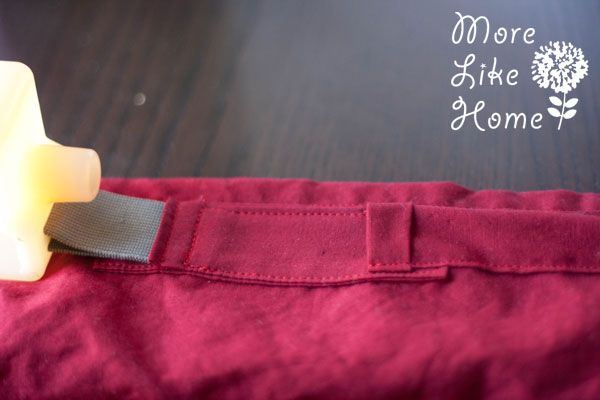
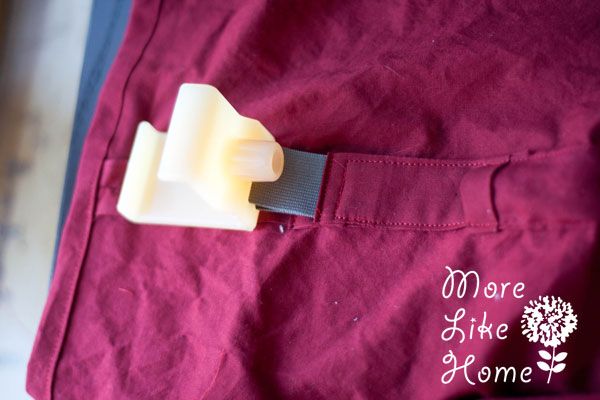
Before you put the elastic back in place, don't forget to add the bed clips! You need a seam ripper to remove the clips from the Ikea tent.
Slip you elastic through the holes in the clip.

Now put the elastic back in place (tucked 1/2" under the top layer of the tab).
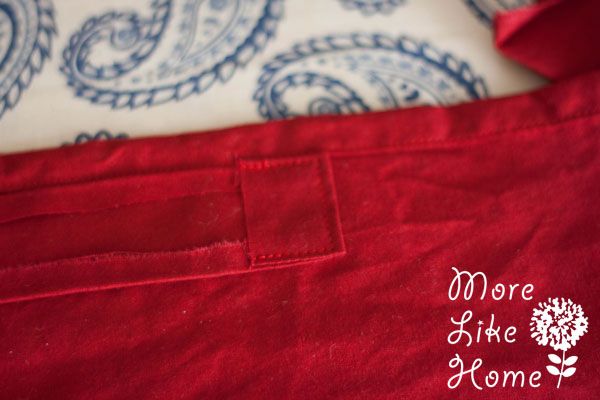
Sew the reinforcing tab and elastic in place by sewing around the edges of the top layer of the tab. Stay close to the edge with a 1/8" or less seam allowance.
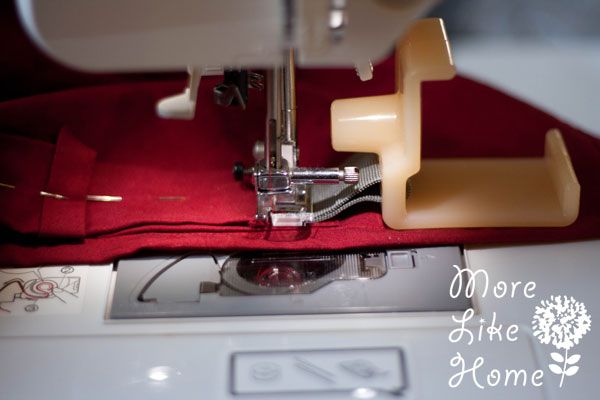
You'll need to fold the pole sleeve back out of the way so you can get around the bottom edge of the reinforcing tab.

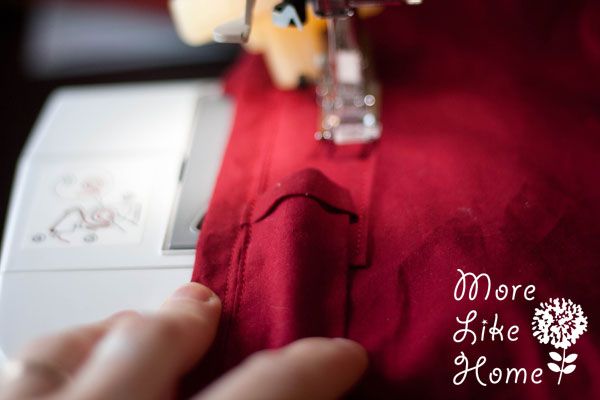
Add a second line of stitching 1/4" from the end of the tab to reinforce the elastic like this:

Repeat to attach all the reinforcing tabs, and don't forget to add the bed clips! Then you can sew down the pole sleeves. Start by sewing right along one long edge. Then push the second edge in a little to create more of a "pocket" like the picture below, then sew right along the other long edge.
Here's an edge section all done:
And here's the middle section all done:
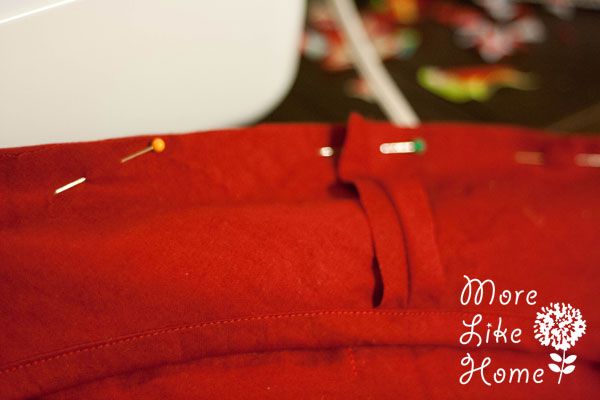
Now you can do the top sleeve. Start by laying it face up and folding each long edge in 1/4" and pressing. Then fold one short end under 1/2" and press, then 1/2" again and press. You can leave the other end raw. Fold the tent body in half to find the top center of the tent (perpendicular to all the the sleeves you just made) and press a crease to mark the center line. Open the tent back up with the wrong-side up. Center the top sleeve over the crease and set the raw end right against one of the side sleeves like this:

Work your way down the sleeve pinning it in place, keeping it centered over the crease. When you cross over the middle pole sleeve, you need to leave just a bit of slack to make sure there is room for your poles to cross:
Sew the top sleeve in place. Start by sewing down one side but stop about 1/2" short of the middle sleeve (don't forget to backstitch!) then move your foot about1/2" past the middle sleeve and continue sewing to the end. Do the same for the other side of the sleeve, and don't forget to push the edge in to make more of a pocket just like you did for the other sleeves.
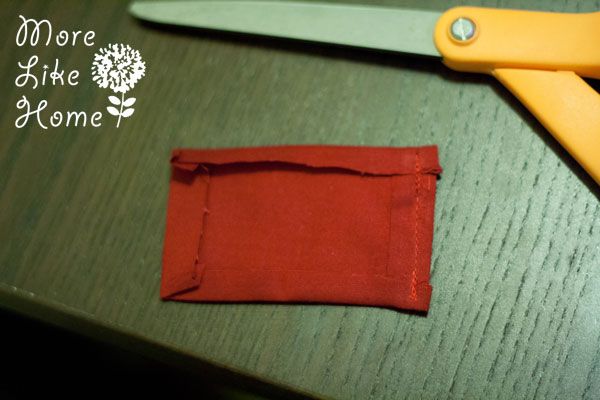
Now you need to make some reinforced pockets to help hold that top pole in place. Start by laying three of the reinforcing pieces centered on top of one pole pocket. This leaves 1/2" allowance on each side. Fold the allowances over the edges of the reinforcements and press.

Stitch along one short end with a 1/8" seam allowance. Although you actually could stitch around all the edges... that might help keep it together while you work. Repeat to make the other pocket.
Start with the raw end of the top sleeve. Lay the pole pocket so the topstitched edge (one of the short ends) is over the top sleeve and line up the other short end with the inside edge of the tent body's folded hem. Hopefully the next picture helps. Sew right along that edge to attach it. The stitching should go right along the same line as your stitching for pole sleeve. Now push the pocket over to make a little tunnel over the sleeve so there is room for the pole to go through and pin it in place. Starting at the topstitched end, sew down one side of the pocket until you reach the sleeve, turn the corner and sew right along the edge of the sleeve, then turn the corner again to go back up the other side of the sleeve. You'll end up with a little pocket that the end of the center pole will rest in, and the reinforced layers will help keep it from sagging. It should look something like this:
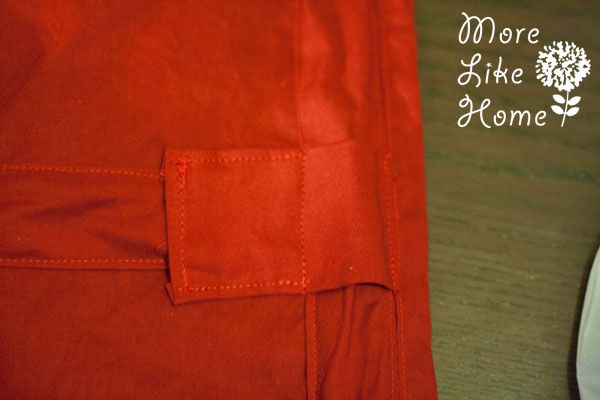
Remember the left side is just top stitched. DO NOT sew that edge down or your pole won't be able to slide in!
In hindsight I'm thinking more pictures would have been helpful. Sorry guys! Use the same steps to attach the other pocket at the other end. The only different is that the top sleeve doesn't reach all the way to this pocket, but just keep it centered over the center crease.

Almost done. Now we just have to make the curved end pieces. Start by laying two curved pieces with right-sides together and sew them together at what will be the center (the wider edge). Open it up and press the seam flat.
Then on the inside edge of the curve, fold the edge under 1/2" and press, then 1/2" again and press. Sew right along the folded edge to end up with a nice finish like this:
Do the same thing to finish off the short ends.

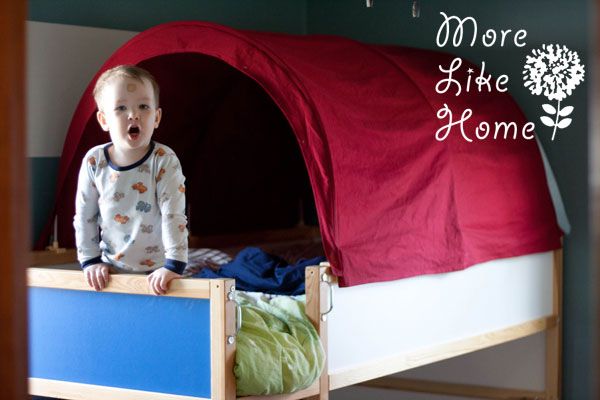
Now, with right sides together, line up the raw edge of the curved piece with one end of the tent body. Curve the body around to match up with the curved piece and pin them together. Make sure the center seam of the curved piece lines up with the center crease of the tent body. Sew along the curved edge with a 1/2" seam allowance. Repeat to attach the other curved section to the other end. Flip it right side out and you're done!
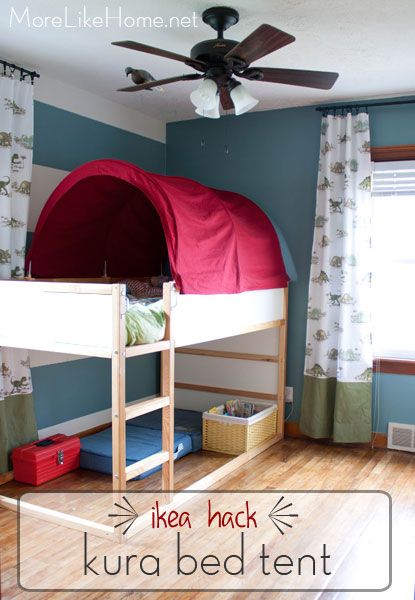
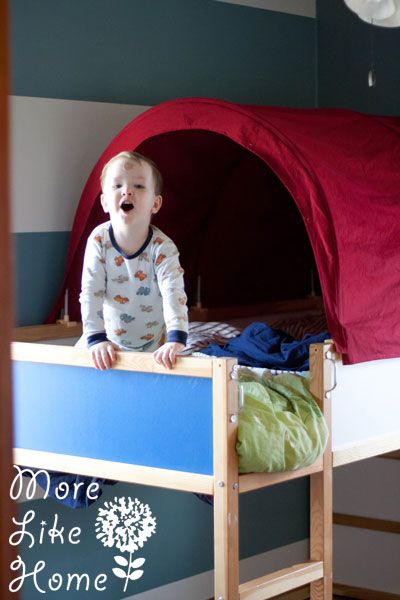
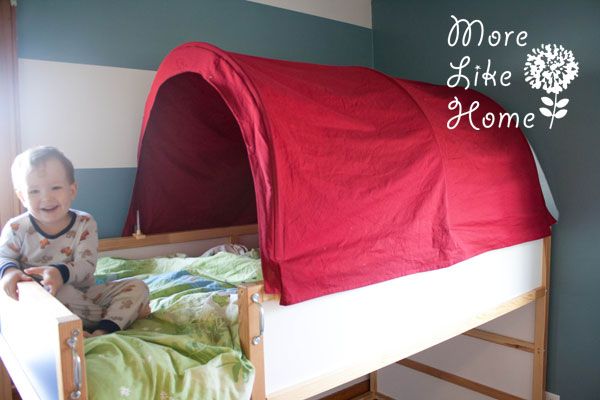
Slide in the poles and use the clips to attach it to the bed. Send the kids up to try it out. Don't be surprised if they feel the need to roar like a lion.
And roar some more.

And just keep roaring.
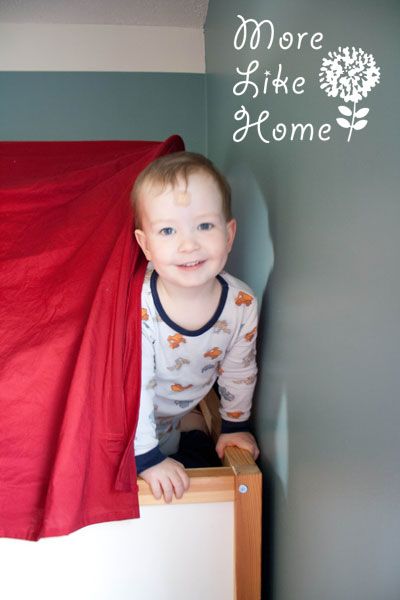
They also need to test all the nooks and crannies.
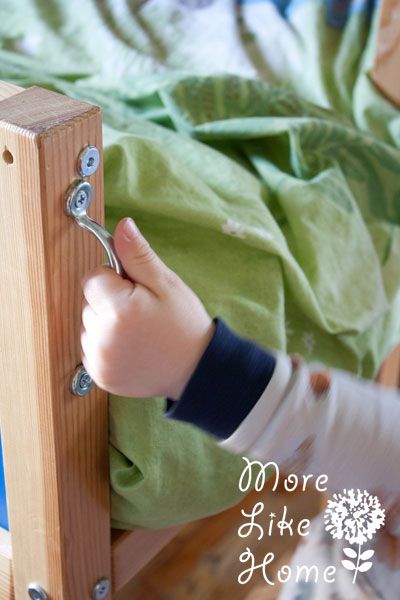
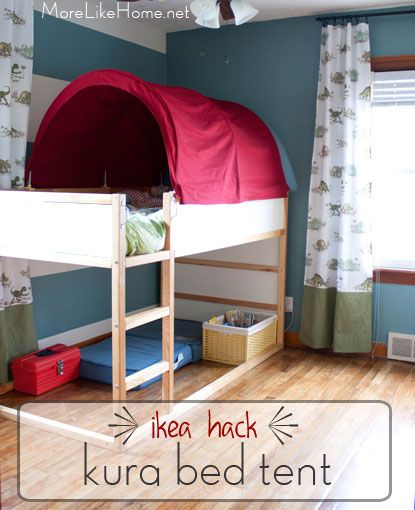
While we were in bed-makeover mode, we also added handles to make climbing the ladder a little easier.
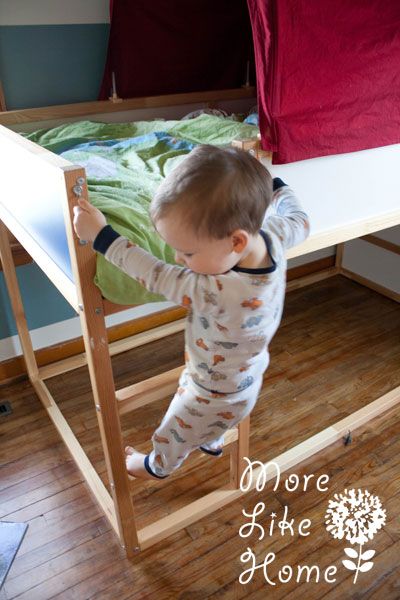

We bought the handles at Lowe's and just screwed them on either side of the ladder.
And that's it! Stand back and admire your handy work!
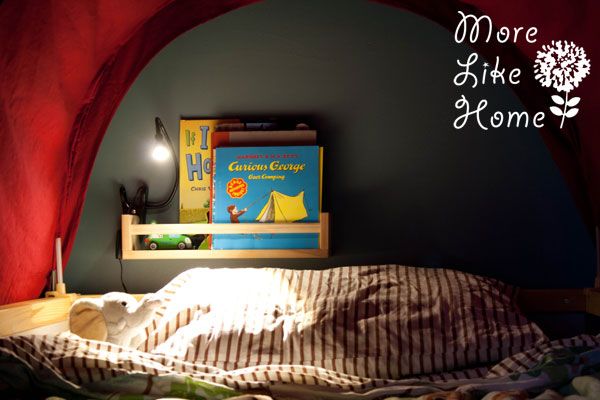
Or better yet, crawl on up to read a few cozy books before bed. An ikea LED lamp and spice-rack-turned-bookshelf turn it into a perfect little reading nook.
But getting the kids to sleep in their fun new tent? You're on your own with that one. And may the force be with you. You're gonna need it.
Now we just need to find a way to spice up the bottom bunk when Baby Brother moves in.
He thinks that's a funny joke because, you know, he's going to be sleeping on his mommy's head for all of forever. Obviously.
Anyone else personalized an Ikea bed? Or any bed, for that matter! I'd love to see your favorite bed makeovers and hear any ideas for the bottom bunk!

Awesome! I want to make a new tent to replace the hideous blue with yellow stars one we have b I cannot sew for the life of me. Would you be interested in selling the old fabric
ReplyDeleteHi there! Just came across your post about the Kura canopy tent and have the same problem: love the canopy but hate the obnoxious blue color. Do you take orders? I'd love to discuss it if you do!
ReplyDeleteNikki
Hi! Unfortunately I am not taking orders for these. My other patterns & tutorials are for personal use only (because I do offer those items for sale), but you're welcome to share this one with crafters on etsy or elsewhere to see if someone else could make it for you! Hope that helps. :)
DeleteCould I ask how old your son is? I have a 3 year old and was wondering what is the right age to switch from the low to loft bed.
ReplyDeletemine is 2.5 but you got to know your kid if they can handle top
Delete