Saturday, March 12

Moving On

We moved. I spent the few weeks leading it up to it in denial, and refusing to think about it. But now it's done. And here we are. And it's going to be great.

Husband got a new job that moved us from Illinois to Indiana. Which so far as I can tell is exactly the same place. Within a few weeks of the job offer we put most of our earthly possessions in storage, put our house on the market, said goodbye to the home we loved the last five years, and moved a few boxes of necessities into a little duplex we're renting while we look for a permanent place. But I've found, as these days have turned into weeks, that we didn't really say goodbye to our home. We said goodbye to our house. That old, cliche saying is true. Home is where your heart is. And mine is with these boys. So we remember that little house with fondness, but we go on to better things together. And we can't wait to see what comes next!

 
Matchers.

Here's one last look at the place, all empty and weird.

Thursday, March 10

Long Sleeve Rag Doll Dress

So far this week we've made an adorable rag doll and my favorite doll dress for her. Today we're making another dress that is super simple and super versatile!


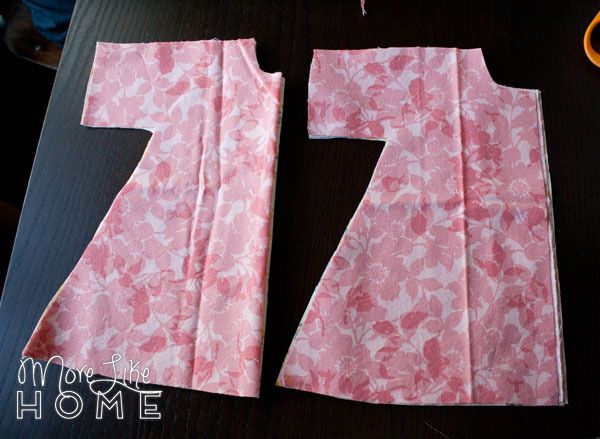
This dress (the pink one) is reversible so it's like two dresses in one! It's made from a full length pattern piece so you can save lots of time over adding a separate skirt. It has long long sleeves, but you can shorten them for a different look. You can also cut the skirt shorter and use it backwards like a jacket! So many possibilities in this little guy! Here's what you need:
  • 1/2 yard fabric (get two colors for a reversible dress)
  • thread
  • velcro, snaps, or ribbons
  • the pattern

Start by printing the pattern and cutting out the pieces:
  • 2 dress fronts (one from each fabric)
  • 4 dress backs (two from each fabric)

Monday, March 7

Rag Doll Dress Tutorial

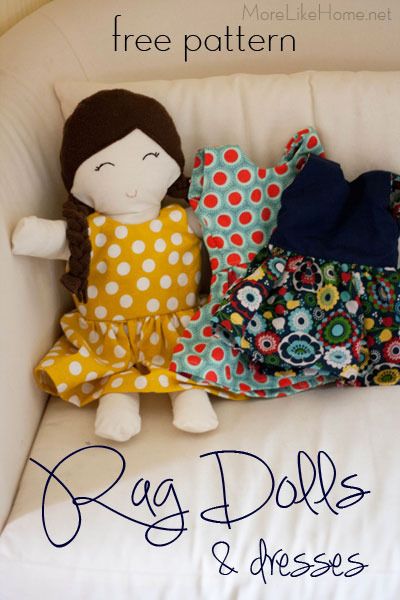
Every good rag doll needs at least a few outfits. So today we're making my favorite rag doll dress! This dress has a tank-style top with a separate skirt piece so you can make it two-toned like the dress on the right. It's easy for little hands to put on, and cute as can be. If you don't have a doll yet, check out my Rag Doll Pattern, plus my long sleeve doll dress pattern.


Here's what you need to get started on your rag doll wardrobe:
  • 1/2 yard fabric
  • thread
  • velcro (or snaps or ribbons or buttons, but velcro will be easiest for the kids to use on their own)
  • the pattern
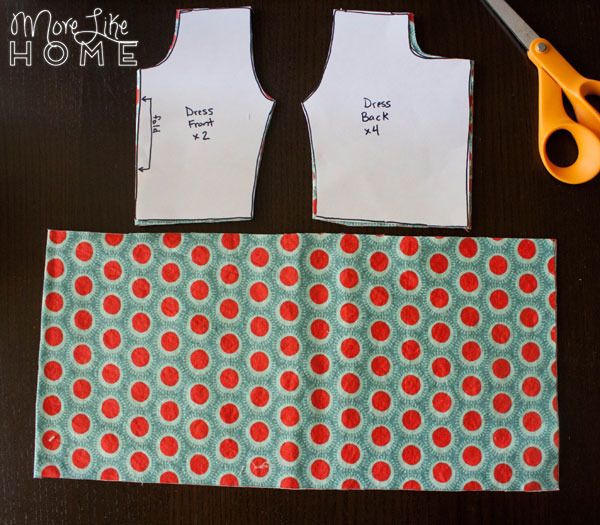
Start by printing the pattern and cutting out the following pieces:
  • 2 dress fronts
  • 4 dress backs
  • 1 skirt 7 x 30"

Sunday, March 6

Rag Doll Tutorial

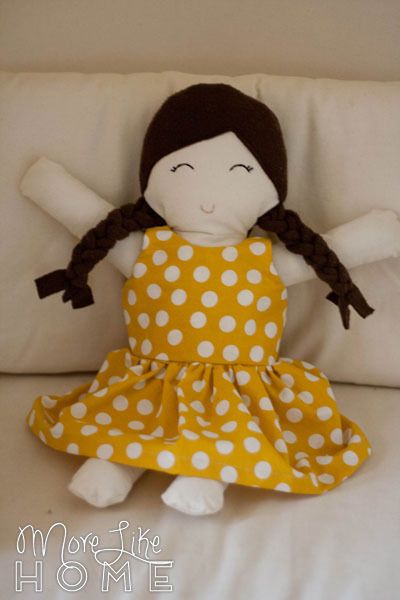
Last year was the boys' first Christmas with a little girl cousin. And when the big brother spotted a stuffed doll at the mall, he thought she just had to have it. But ohmygoodness, that was an expensive little stuffed toy. So we decided to make her one instead. He went shopping with me to find all the fabrics, I made a couple practice dolls to figure out the pattern, then he got to work making the perfect doll for his cousin. He had fun and was so proud when it was finished!


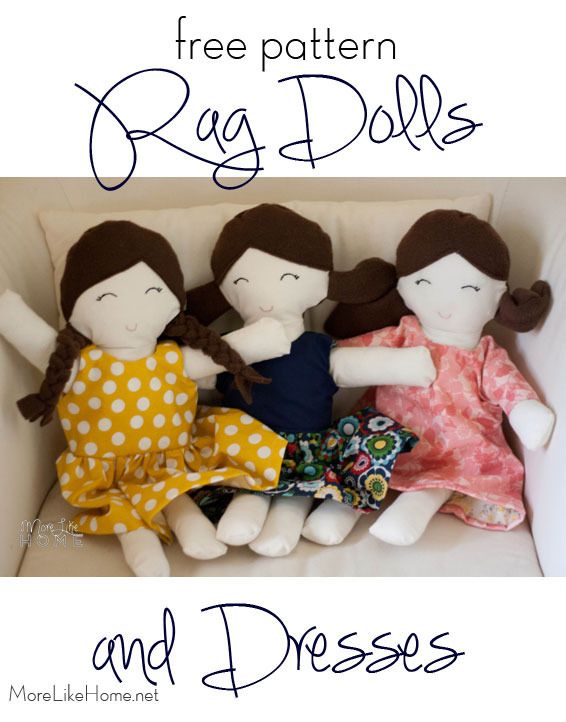
I've made another version of a little rag doll before (you can see the tutorial here) but this time I wanted something a little bigger with a more classic rag-doll look. Something perfect for a little girl to drag around and snuggle. I started by searching pinterest for the perfect pattern, but as usual there isn't anything exactly like I was picturing it in my head (I miiiiight be too picky). I found one doll by Miss Gioia that was the closest to what I was looking for and started from there. This is where we ended up:

If this doesn't make you want to play with dolls, I don't know what will.

The finished doll is about 18" tall and super snuggly! In addition to the doll, I have patterns for two different dress styles - My Favorite Doll Dress & The Long Sleeve Doll Dress. Make them in a few fabrics and you'll have a full wardrobe!


But for today, let's get started on the doll. Here's what you need:
  • 1/2 yard fabric for the body (muslin is a great cheap option, but a quilting cotton would work if you need a different color. 1/2 yard was almost enough for all three dolls.) 
  • 1/4 yard fleece for the hair (felt would work too, but it gets pills easier than fleece)
  • matching thread
  • embroidery floss (I used black for the eyes and pink for the mouth)
  • stuffing
  • the doll pattern

Wednesday, March 2

Camping Playset with Felt and Peg People {pattern & tutorial}

At Christmas I made a cute little camping set for one of our stockings, but I was just thinking it would also be a great little homemade goodie for an Easter basket! So let's make one! All you need are some peg figures, felt, and a little paint. (I also made a raccoon peg doll playset and a peg nativity!)


We'll be making a cute little peg family. We made a set to match our family with parents and three little boys, but you can do any family combo you like! We found all the pieces we needed at Hobby Lobby, but Etsy has tons more options in a variety of sizes if you're looking for something really specific. 


We'll also be making a complete camping scenery with a grassy mat, peg & felt trees, plus a big family-size tent. 


The top of the tent opens for easy playing!


Ready to get started? Here's what you need:

Felt (here's what I used but you can use whatever you like!)
     medium green for the grass (I bought 1/2 yard from the roll so I could make a nice big mat)
     light green for bushes
     dark green for trees
     two shades of blue for the river
     teal, orange, and yellow for sleeping bags
     deep red for the tent (1/4 yard)

Matching Thread
Peg People
     whatever you need for your camping family (more details on ours below)
     a few regular, straight peg people to use for trees
Acrylic Paints
The Pattern (download it here)

At Hobby Lobby we found these two sets that were perfect for us with parents in one, and three little boys in the other (any left over pegs can be used for trees, too. It was about $6 total for both sets without a coupon.


Subscribe