Saturday, November 28

DIY Wood Transfer Chrismtas Photos

We spent last weekend putting up our Christmas decorations (I know... it was before Thanksgiving) and added a couple new decorations that proved to be instant favorites! These wood transfer Christmas photos will be so fun to pull out year after to year to see how much our boys have grown, and to remember how tiny they used to be.


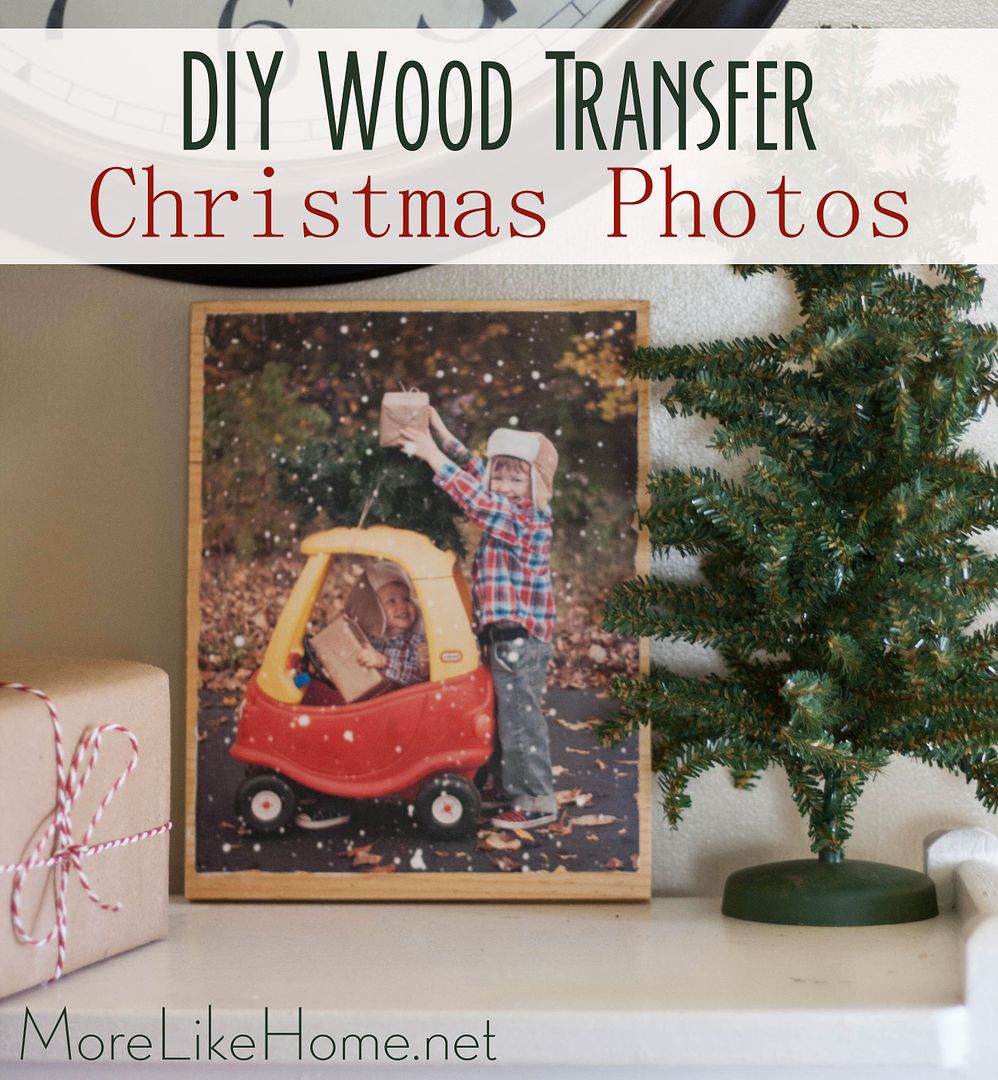
For this project we merged a couple ideas that we've spotted in the past. It all started with an idea I saw a few years ago. A family printed a beautiful family Christmas photo on a large canvas and kept it with their decorations to hang up every Christmas. It was outside in the snow with a Christmas tree so it really felt like it fit at Christmas time. Now that we've got a little family of our own I've thought about doing this for a while... but always got hung up at the price of a canvas print. Yikes.


Enter the hero of the story... pinterest! You've probably seen by now that wood transfer photos are very popular. I've had them showing up in my feed for months. But it wasn't until a couple weeks ago that I finally put two and two together and realized I could do wood transfer Christmas photos for a fraction of the cost!


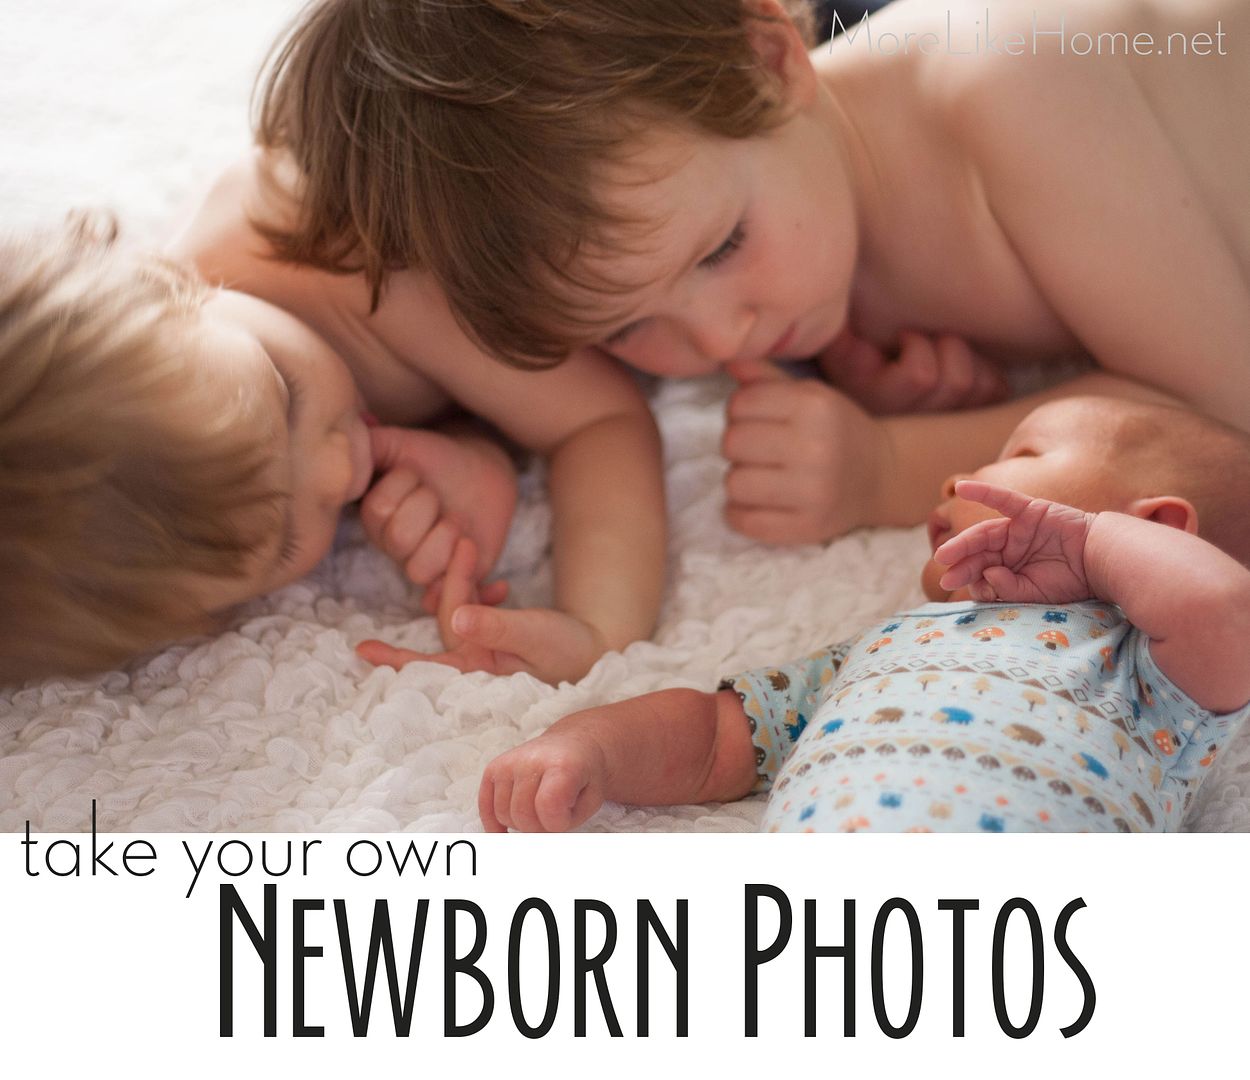
We're so happy with how they turned out! And I'm so excited to be able to look back at their sweet tiny faces year after year. Although... we do have three boys now so we'll probably make another set again next year! Want to make your own? It's easy!


What you need:
  • photo printed with a laser jet printer
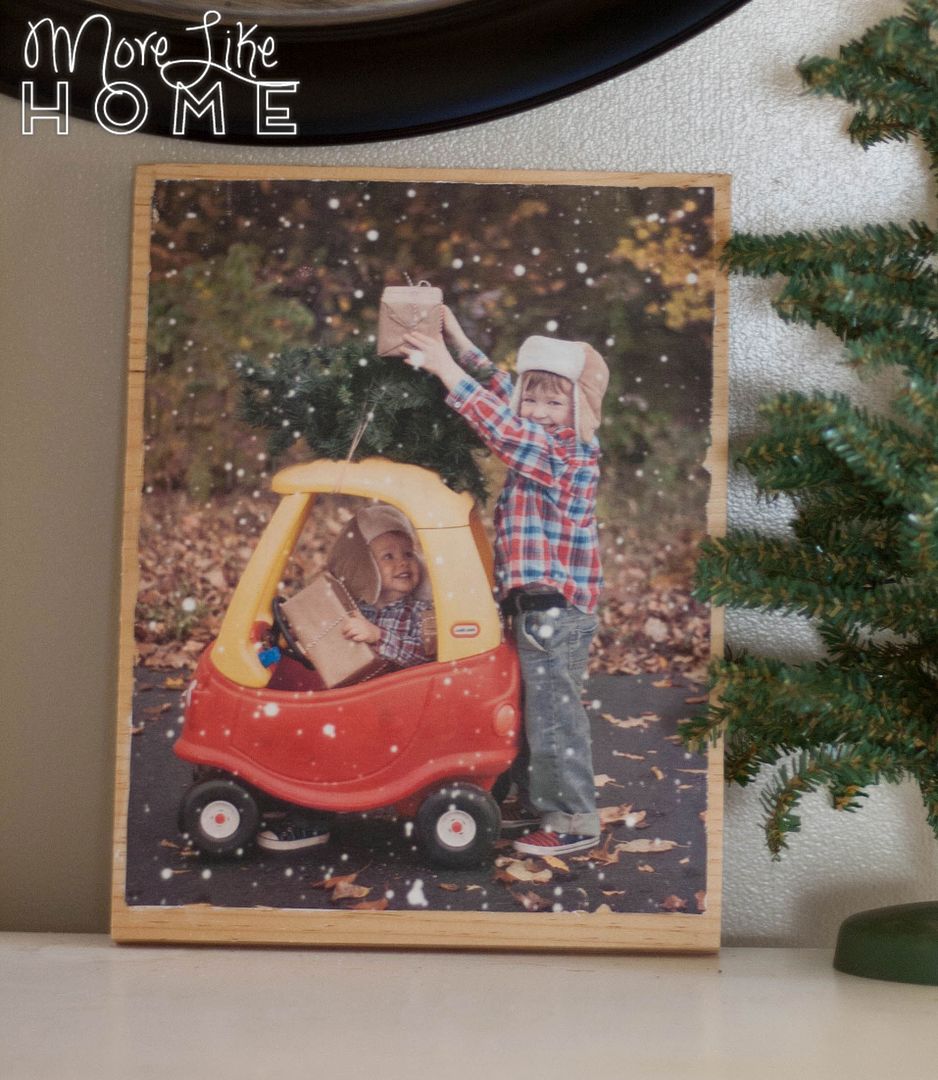
  • Mod Podge or Mod Podge photo transfer medium (If you use regular Mod Podge, any part of the picture that printed white will be transparent when you transfer the phot and show the wood color and grain. If you want the white parts to actually be white when you transfer the photo, you need to use the photo transfer medium instead. That's what we used because we wanted the snowflakes to be white.)
  • wood
  • paint brush
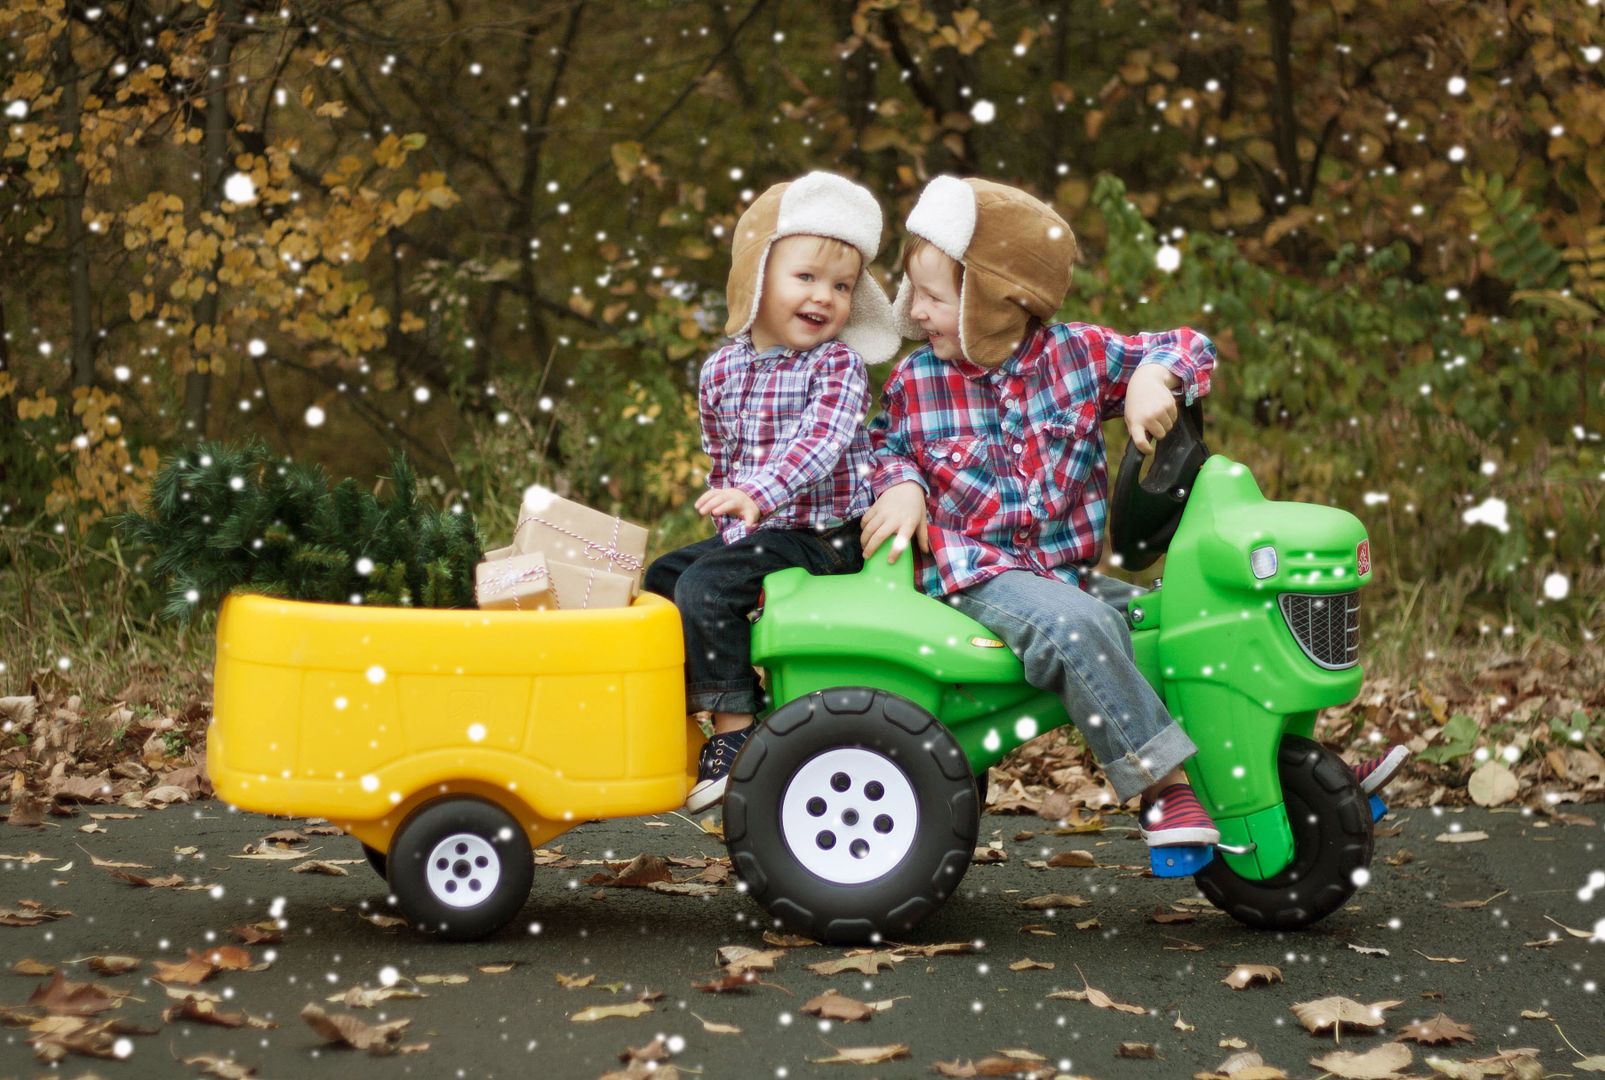
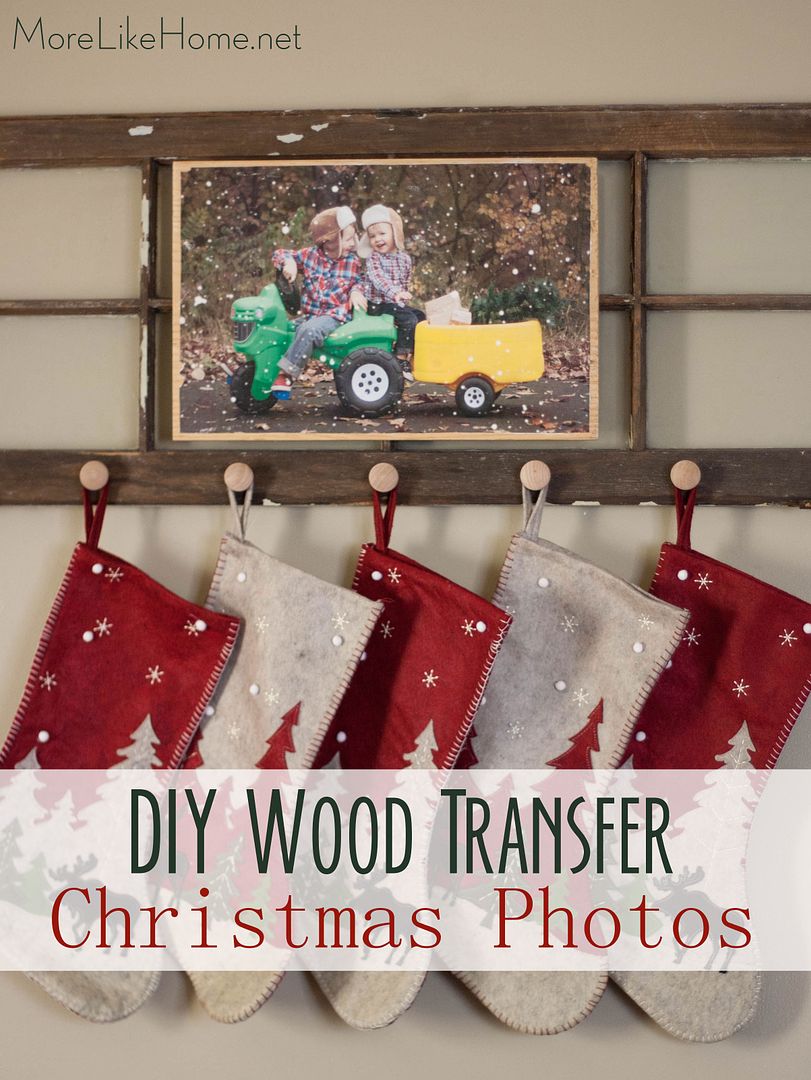
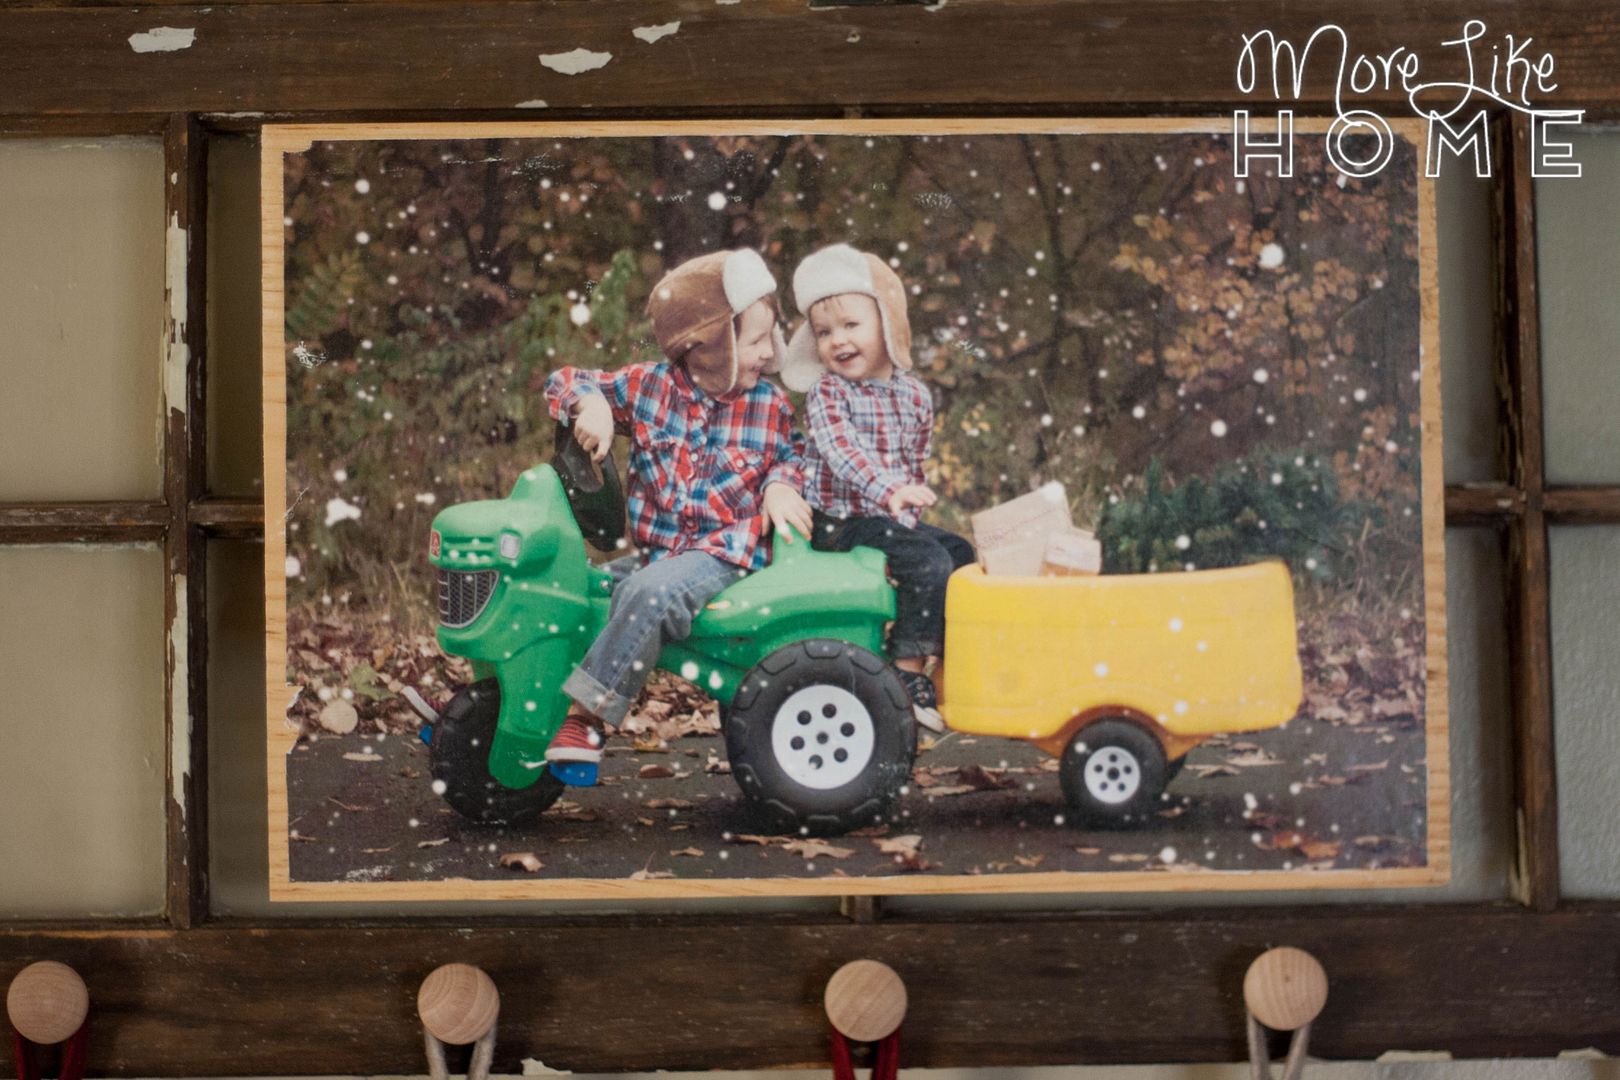
Since we wanted pictures that were specifically for Christmas time, our first step was to take some cute, Christmassy Photos. We spent the afternoon at a park with a few Christmas themed props and came away with a few really cute shots! We used our little car and tractor and decked them out with a Christmas tree (actually the top section of our tree!) and a few wrapped presents. We put the boys in plaid shirts and matching ear-flap hats (I made them using this free pattern). 


But it still didn't feel quite like Christmas... so I photoshopped in a little snow. 
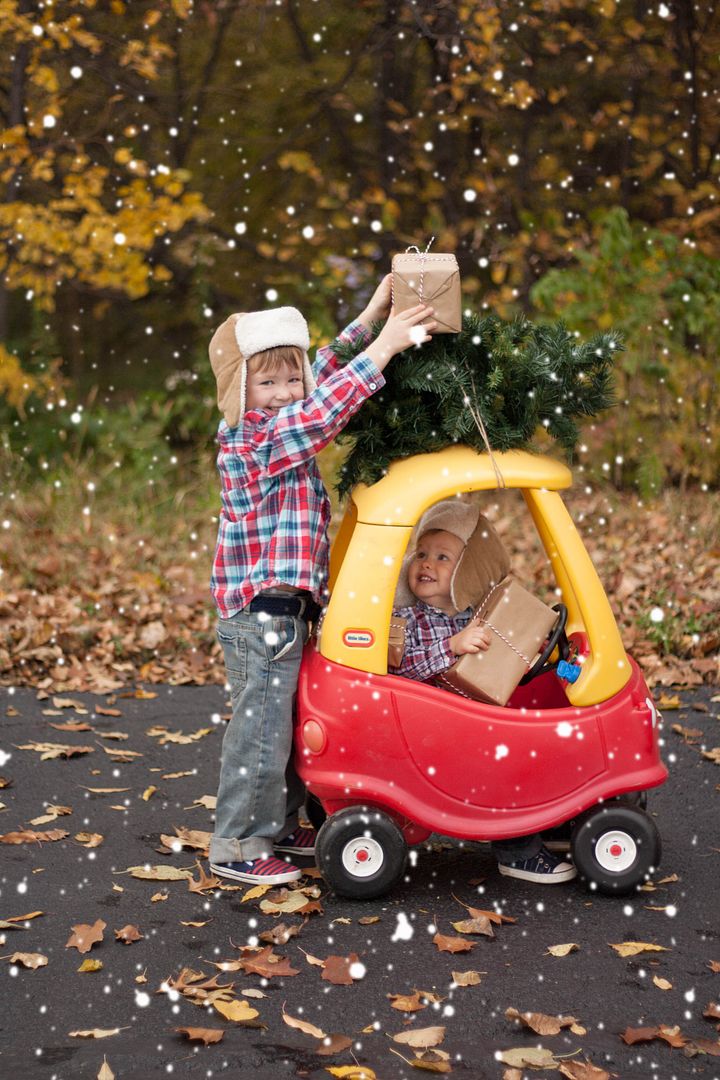

That's better.

Wednesday, November 25

Last Minute Gifts - Same Day Canvas & an Easy DIY Bunting

Christmas is right around the corner, and there's nothing worse than being caught without a gift at the last minute. But no need to worry this year!

This year you can get beautiful, personal gifts for your friends & family right up until Christmas! Walmart Photo has you covered with several photo gifts available for free Same Day Pick-Up! Yep, you can order in-store or online and pick it up the same day. There are lots of gifts to choose from, including my personal favorite - canvas prints!

We gave it a try when we were looking for a last-minute gift for my sister. A Same-Day canvas print of my niece fit the bill perfectly.

I knew she would love the picture, but I wanted to add an extra special personal touch. I didn't have a lot of time, but I knew I could pull off a sweet, simple felt bunting. This bunting is so easy to personalize. You can make it say anything - a name, a favorite nickname (I went with "sweet girl" because that's what my sister calls her), or even a word like "family" to pair with a family photo.
 

Want to make a bunting to go with your own canvas? It's fast and easy! Start by cutting out some triangle pennants - one for each letter. I cut one the size I wanted, and used it as a template to cut out the rest so they would all match.

Next I cut squares for the letters. This is the easiest way to make sure your letters all turn out the same size if you're not using a pattern. I cut a square to fit on the pennant (see the pic below) and then used it a a template to cut out enough squares of the same size.

Then I cut a letter out of each square. I just cut it freehand without any kind of pattern. To make sure they all match, just try to use as much of the square as you can. So, for example, my "s" touched the top, bottom, and both sides of it's square.

Center a letter on each pennant and sew around the edges to attach it. You can also make this project no-sew and hot glue the letters on instead.

Once all the letters are attached, use a hot glue gun to glue a ribbon or string to the back of the pennants.

That's it! You can tape the ends of the string to the back of the canvas so it's ready to hang.

Or you can can wrap them up in a little bundle and tuck it into the back of the canvas before you wrap it.

Then whoever receives your gift can have fun hanging the bunting themselves!

 
This 16x20 canvas is on Rollback for only $34.96 through 1/5/16 (normally $39.96) so it won't break the bank. It's one of the best deals I've seen for a canvas this size! You can also choose an 11x14 canvas for Same Day Pick-Up (it's on Rollback for $24.96).  Walmart.com/photo is also running a Cyber Week deal that if you order online and pick up in store, 11x14 is $22.47 and 16x20 is $29.97, good through 12/7.

You can order in-store with their quick and easy Mobile Image Transfer or by connecting with a cable at the kiosk, or you can order online at Walmart.com/photo. Then pick up at up to 3,500 locations later that day. You can see all the Same Day gift options here. They also carry many other photo gift products that are available for shipping, and Walmart Photo is offering free shipping on all cards and gifts through 12/30/15!


For more info about Walmart Photo you can visit them on Facebook, Twitter, Pinterest, Instagram, YouTube, and Google+. Last minute gifts have never been easier!

Be sure to visit Walmart Photo's brand page on BlogHer.com where you can read other bloggers' posts.


Saturday, November 21

DIY Newborn Photos - Take Two

We've been moving slower than ever the last two weeks... since we welcomed baby boy #3! He's cute as could be and the big brothers are smitten. Most of our time has been spent rocking a baby or trying to keep up with the big boys in the minutes in between, but we did manage to get all three boys corralled (and not crying) long enough to attempt some newborn photos last week.


We did the same thing two years ago when boy #2 was born, and managed to get some good shots again this time. We shared more details and tips in that post (you can read it here) so I'm just going to give you a quick refresher course and share some of our favorite pics from the shoot.


I'll start by saying... we are no photographers. And I know that a good photographer is worth every penny. But I also know that no matter how good the pictures are, we can't always afford to invest our money that way. And I've found that with a few simple tricks, we can get decent pictures basically for free. So our pictures may not be up to professional level, but we've saved literally hundreds of dollars over the years by taking our own photos! And that's a balance we're pretty happy with.


Here's a summary of our favorite tips & tricks, and don't forget you can read more details here.

Good Lighting - Use natural, indirect daylight for the best results without spending a penny on lighting.

Sunday, November 1

Babywearing & Maternity Jacket Insert Tutorial

We're about to have our first cold-weather baby. Like any day now. So I've been nesting like crazy trying to get things ready around here. One of the things on my to-do list was finding an affordable baby-wearing jacket... which it turns out is no easy task! Prices started at $45 for a jacket insert and went as much as $300 for a full babywearing jacket. Yikes. So I decided the best option was to make my own. Not only did I end up with a babywearing jacket that is both easy and affordable, it also doubles as a maternity insert to keep pregnant bellies warm!


You can make an insert to work with any jacket or coat you already own, and it's reversible so you can put the wider end at the bottom for maternity use, then flip it over for more space at the top when you have a little bundle to wear. The wider end has an elastic cinch cord to help you get a good fit at any stage.


You really only need a few things to make your own babywearing jacket insert. I already had the thread and a jacket, and I spent about $15 on everything else. The fleece was on sale, so most of the cost was the zippers. If you use coupons for those you'll save quite a bit! Here's everything you nee:
  • jacket or coat
  • 1/2 yard of fleece that matches your jacket (if you want a wider insert you'll need a little more)
  • two matching 20" separating zippers (measure your jacket to see if you need a different size)
  • 1 cord stop
  • elastic cord
  • thread
Subscribe