
So today I'm going to show you how we made the easiest upholstered headboard ever!
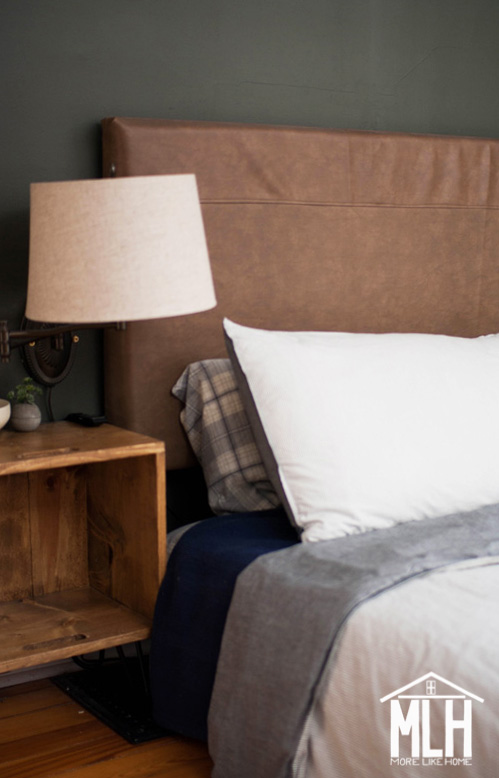
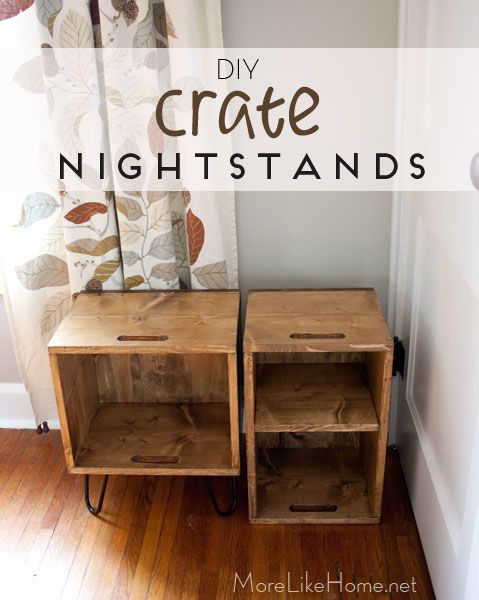
We have barely touched this space since we moved in. I mean, we've addressed a few functional issues over the years. Two years ago when we upgraded to a king size mattress I had to build a frame for it (check out my posts on why we chose a floor bed and how we built it). Then I built a pair of crate night stands to match our new bed height and added a pair of thrifted sconces so we weren't living in darkness. But after all that it still felt like a bare-bones room!
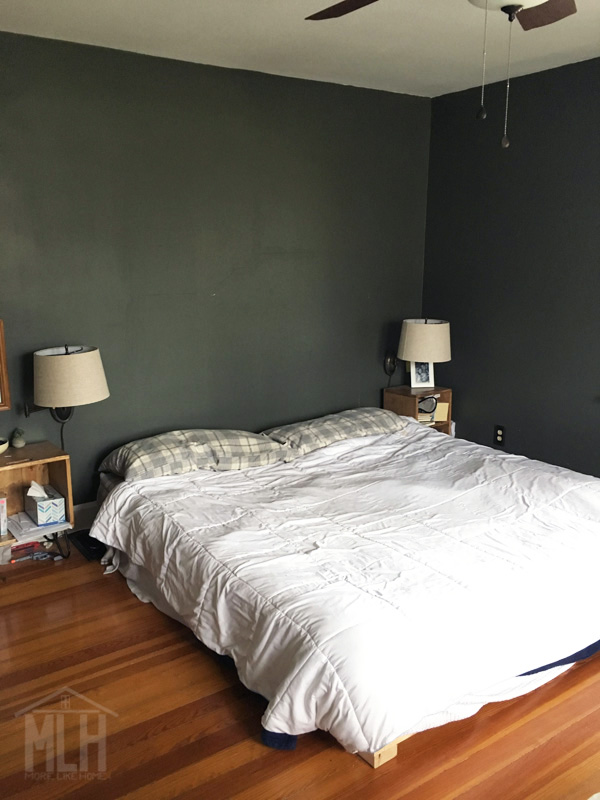
Then last year (when I was nesting with M4) I finally built this upholstered headboard so I'd have a cozy place to sit back and snuggle a little squishy baby... but before we got it on the wall, M4 showed up a week early! And that headboard? It leaned against the wall for almost a year. Gloating. The whole time.
But now it's finally up, and I'm so ready to get some more cozy touches in this room before winter.
Here's all you need:
- foam the size you want for your headboard - I used a "cot pad" from Hobby lobby that was 2" x 27" x 76" (it's only $24 with their 40% off coupon!) that fit our king size bed perfectly.
- plywood the same size as your foam - I used a piece 76x27"
- fabric - I used faux leather I bought second hand that actually used to be a pool table cover. I feel like I might have reached an embarrassing level of thriftiness.
- batting - *optional, I didn't use it but you'll probably need it if you use a thinner fabric
- heavy duty stapler
1. Cut your pieces.
I found a perfect piece of foam that was 2 x 27 x 76 and just cut my plywood down to that size. Keeping it easy over here, folks. You can cut it narrower for a smaller bed, or keep it long for a sweet, extra-long headboard.
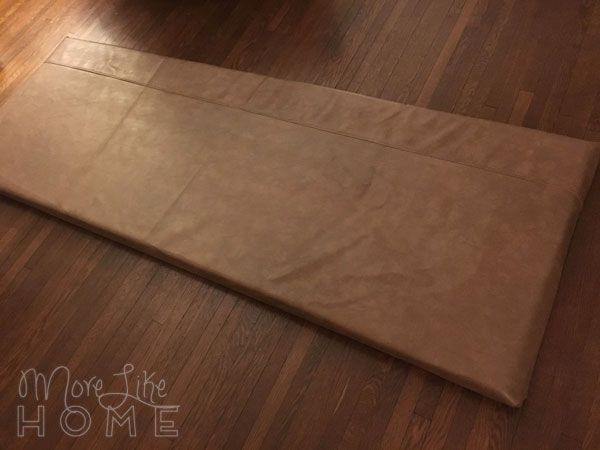
2. Stack your pieces.
Lay the fabric (mine was faux leather) face-down on the floor. Then lay the foam on the fabric. Then lay the wood on the foam. If you're using a thinner fabric you'll probably want to add a layer of batting between the fabric and foam, but this was pretty thick so I forged ahead without it.

3. Staple it.
Wrap the fabric (and batting, if you used it) up onto the wood and staple along the edges. I did the top edge first, then the bottom edge, then the ends. You want to pull the fabric taught as you staple it, but not too tight or it will leave pucker marks along the edges.

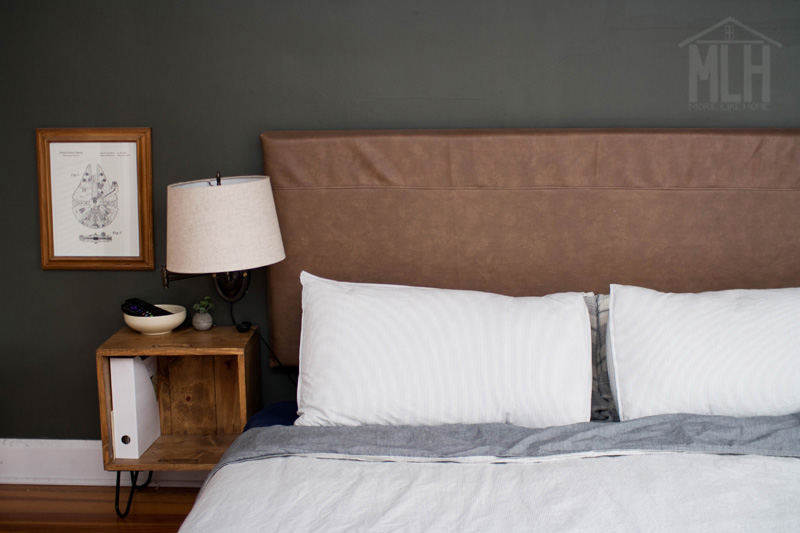
My first headboard was tufted, but this time I kept it sleek and super simple. Mostly because I was very pregnant at the time and just wanted it DONE. My only criteria by that point was a comfy place to lean back and chill with a newborn. Mission accomplished. Except, of course, we didn't actually get it up before he was born. So close, and yet so far.
The seam was already sewn into the fabric, so I just lined it up near the top to make it look intentional.
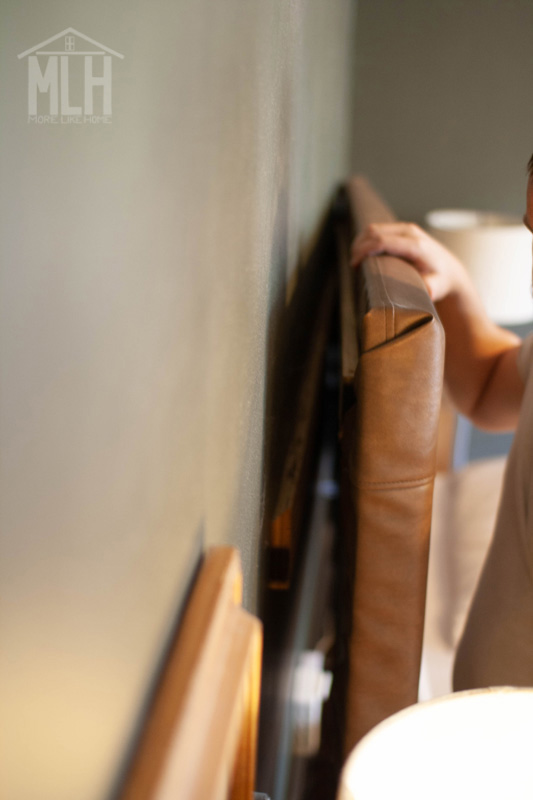
4. Mount it.
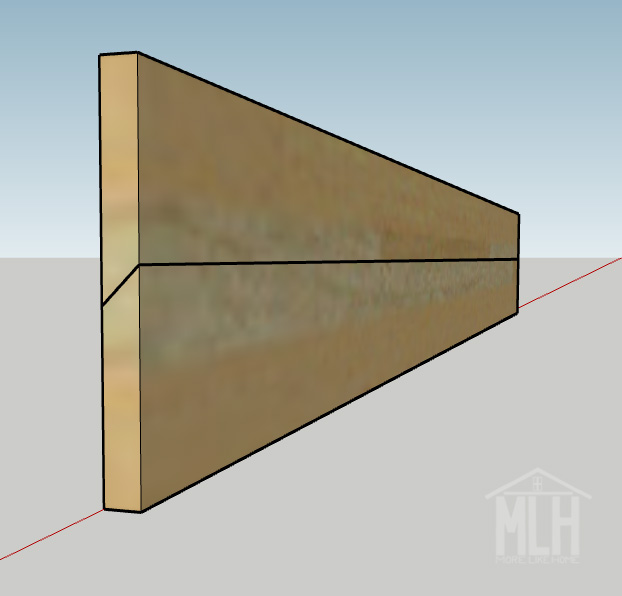
To mount the headboard, I used a scrap piece of 3/4" plywood to make a simple DIY cleat. I cut a strip about 6" tall and a few inches narrower than the headboard. I ran it through the table saw set at a 45 degree angle. Like so:
The bottom side of the cleat is attached to the wall with the angled side pointing up and higher side of the angle away from the wall - make sure it's level!
The top side of the cleat is attached to the back of the headboard near the top (careful to use screws short enough they won't poke all the way through!) with the angled side pointing down (the higher side of the angle is away from the headboard, toward the wall). Make sure this cleat is level as well!
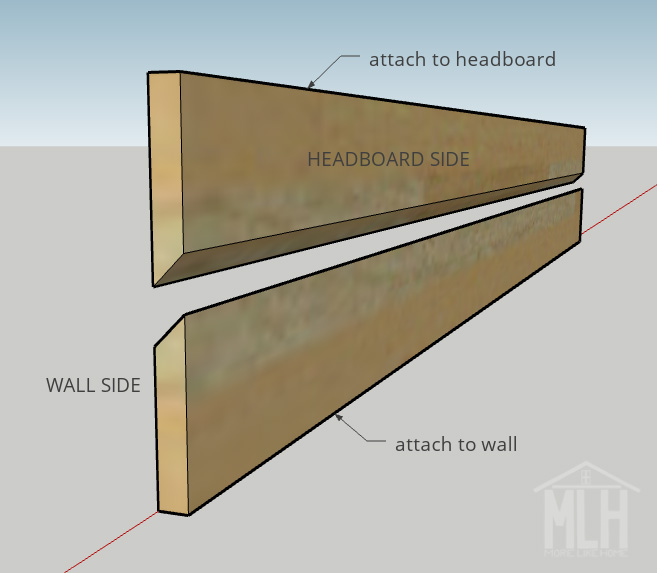
Then you just pop the headboard onto the cleat. The angled lip will slip right together and keep it in place. I also added a scrap plywood strip along the bottom to keep the headboard from rocking when we lean against it. You can use this simple cleat method for any headboard with a wood backing!
Easiest headboard ever = done.
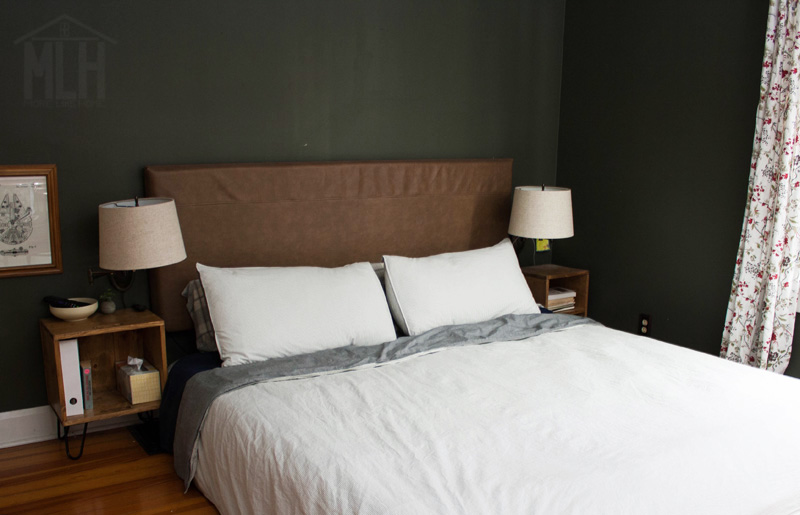
And that's where we're at! I'm working on a shelf for above the headboard and I'm toying with a few ideas for artwork and bedding. We'll see how far this $50 budget can stretch.
Don't forget next week and see the final reveal. You can join the fun and refresh your own space! I can't wait to see what you come up with!

Total Headboard Cost:
- $24 - foam
- $25 - plywood (we still had almost half a sheet leftover afterwards)
- $5 - fabric
- $54 - TOTAL
Let me know if you DIY your own headboard!
No comments:
Post a Comment