Pinterest is full of unique wall art ideas - everything from maps to hats, and even antique bike frames. You can turn almost anything into a piece of art. But here's the thing:
Art should be something you love.
I mean, those hats look pretty cool. And they're super trendy right now. But... do I love hats? No. I don't even wear hats. With the exception of one well-loved Magnolia hat that I only wear when my hair is too far gone. So a wall of hats probably doesn't deserve a place in my home. Guys, don't let the fickle winds of trendiness distract you from what your home should be. It should be
yours. It should be a reflection of you and your family and the things you (really, truly) love.
If you feel stuck or confused when it comes to artwork in your home, the first thing you should do is make a list of the things you love
(and the second thing is reading Cozy Minimalist Home to learn how to best display those things). Do you love running? Camping? Dogs? Tacos? Put those on the list! Those are the things that might deserve the honor of being on your walls. Did you notice that important word?
Might? We only have so much wall space, guys. And we don't want to fill every inch. Let your master list serve as a starting point, but don't be afraid to weed out the things that don't make the cut for your walls (it doesn't mean they aren't still important to you!) and get a firm grasp on what really speaks into your life and your home.
So I don't love hats. But know what I do love? Here's my (shortened) list:
- My Family
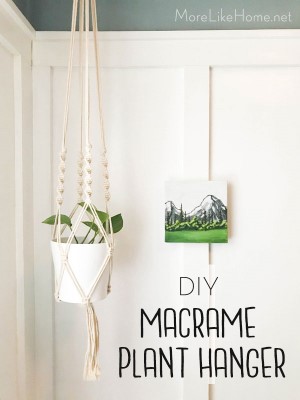
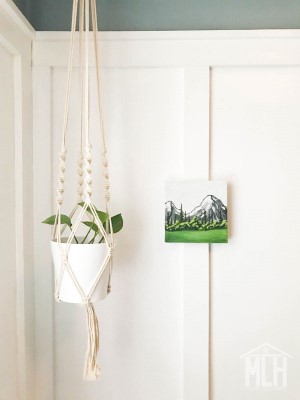
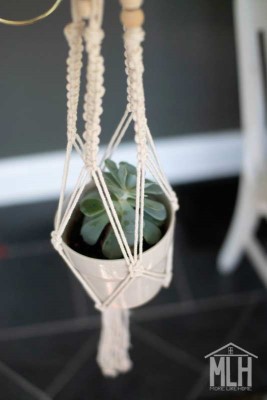
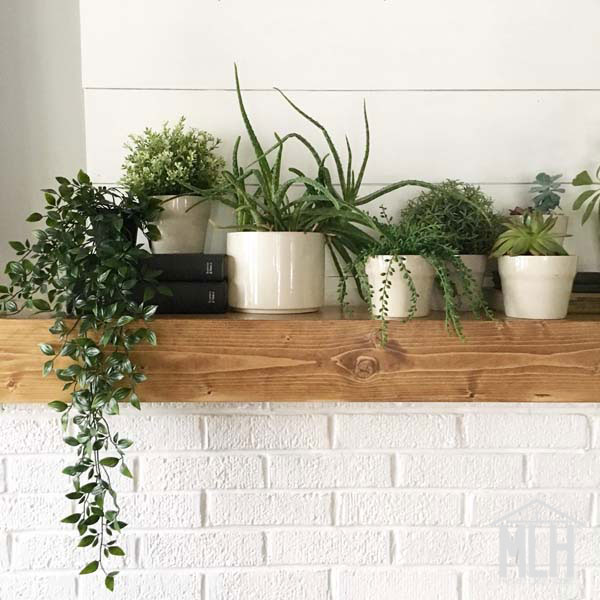
- Plants
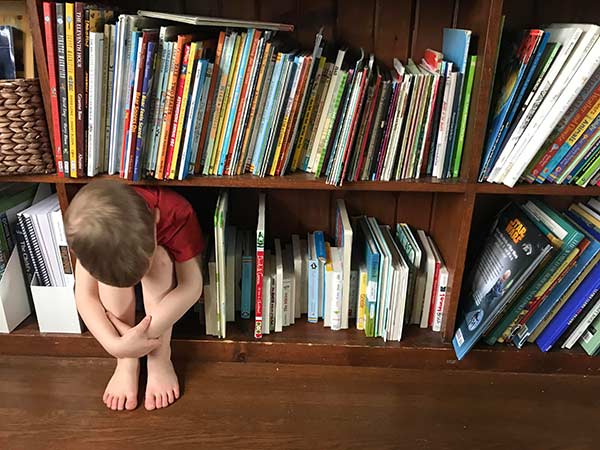
- Books
- Mountains
- Rocks
- Architecture
When you look around
my home, those are the things you should see. Plus you'll surely see Star Wars posters and all manner construction paper creations because I'm not the only one who lives here, after all. This is a family deal and, like all things, it takes some balance.
Today our home is looking a little more "lived in," but we were here almost two years without any artwork on the walls. No photos, no paintings, nothing permanently hung anywhere. I was paralyzed with indecision as I looked for "the perfect thing" for our walls. I searched through home decor stores and scoured pinterest and instagram for ideas. Nothing felt right - because
none of it was right for my home. But through all that time I had a little pile of collected goodies that I loved. I hadn't hung them for a totally ridiculous reason - they didn't look like what I was seeing everywhere else, so I thought they couldn't be right. Guys, I'm here to tell you that
art should be something you love. Did I say that already? I finally took the plunge and turned a few of my favorite pieces into a
gallery wall in the dining room. Then I added a little
treasure shelf for the boys' nature finds. And things started to change. Now I have a clear vision for my home and I can tell more easily which things deserve our space and which ones just don't.
This all brings us (at long-winded last) to the whole point of today's post. The artwork I made for our guest room. It's collection of watercolor houses framed with floor plans, and it makes my heart happy. It also tickles the toes of our resident map-lover, because it's basically a house map.
Now if you've made it this far and you're thinking "I don't even like architecture" just hold on a second. Do you love your own home? The family you've raised there and the memories you've made? You can make one of your own home and just leave it at that. I'm planning to do our home on a larger scale to hang above the bed (and I'd also love to draw our last house because memories).