Showing posts with label Etsy. Show all posts

Thursday, June 10

homeMAKER - new to my Etsy shop!

My Etsy shop is looking totally different these days, and I don't think I've ever loved it more!

I don't have a lot of time for stocking handmade items right now because I'm knee deep in all the goodness (and hardness) of homemaking. But that got me thinking - I'm a homemaker in the traditional sense of the word, but I'm also a literal homeMAKER because I love all the DIY magic that turns this house into our home. There's something wonderful about creating and nurturing a home for our family in any and every way. And I think it's something that's not celebrated nearly enough!

So most of my shop is now dedicated to all of the home-MAKERS out there! Whether you're building your own furniture, working to make your home more functional, creating a warm and beautiful living space for your family, cooking up a wholesome meal (or tasty dessert) for the people you care about, establishing the environment of love and gentleness you want your little ones to grow up in, or doing any of the countless other things you tirelessly do to care for your family and the home you share with them, YOU are doing the hard and holy work of truly making your home. 

You can grab one of the items below to you rock your role as a homeMAKER, or use them as gifts for the other inspiring homeMAKERs in your life! You can jump to a certain item below, or check out the whole homeMAKER section. And keep scrolling for a few other fun items available in my shop!

homeMAKER:


These are my faves, but I also have the homeMAKER print available on several other products like stickers, tote bags, and aprons, and more. Check out the entire homeMAKER line!


Friendly reminder: it doesn't have to be perfect to be GOOD. This is one of my favorite quotes in homemaking - whether we're talking about sharpie on the wall, ordering pizza after dinner gets burnt, or living in a rental that's definitely not your dream home. Things don't have to be perfect (they won't be most of the time) to be good! This mug is perfect for those hard days when we can all use a little reminder.

Sign Language:

Last but not least, I have a few fun designs featuring my sign language print! I do offer a free poster print download that you can use to make your own poster, but if you want an easier option my shop now stocks several sizes of poster prints. And you can even get the sign language alphabet printed on a mug or tshirt!


Note: All these items are original designs made by myself and my sister, RBH Studio (check out her shop, too!), but we use a third party company to print and ship everything so we can still fulfill orders during this busy season of life. It feels like a perfect balance for my little shop right now. :) 


Thanks for checking out the shops, and happy homemaking!

Thursday, November 27

Sew Georgia & Barr Prints {plus a black Friday sale!}

I've spent a good part of my life crafting with my sister. And through those years we've gone to many craft shows and shared a few Etsy stores. But we've put off one big change for a couple years after moving a few hours apart. And we finally had to do it. The logistics of getting orders together when we aren't together ourselves just didn't make sense, and so at long last... our Etsy store has become two. You can find me at Sew Georgia, and my sister at Barr Prints.

We both still love to craft and share a booth at craft shows whenever we can. But this has actually allowed us to each fine-tune our products and narrow our scope, resulting in better, more unique products. Wondering what we're up to? Let's take a quick shop tour, starting with my shop Sew Georgia.


So far my shop is all about moms & babies (though some of my bags would be great for anyone!) and is stocked full of handmade goodies. Most of my offerings so far are based on patterns I created for the blog! See something you love but don't have time to make it? Swing by my shop! Here are a few of my favorite listings:

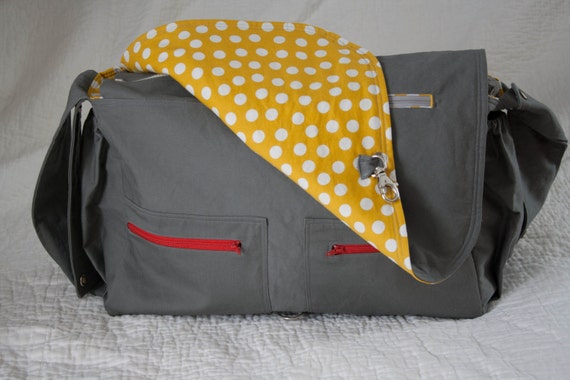
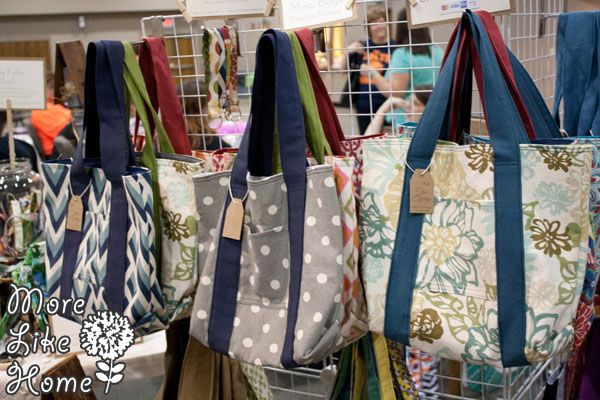
I offer stroller friendly diaper bags (tutorial here, buy one here) either premade or custom ordered. They convert from a messenger bag to a stroller bag with just a few snaps and are large enough to hold anything you may need! Twelve pockets keep you organized even on the go.

https://www.etsy.com/listing/206296442/black-friday-cyber-monday-stroller?ref=shop_home_feat_1

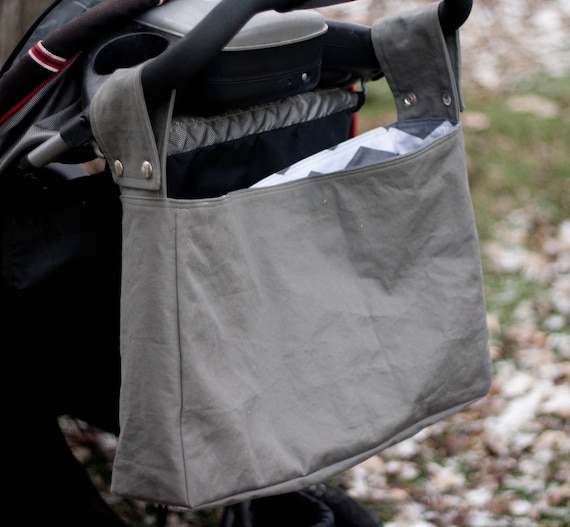
My Stroller Totes offer the convenience of a stroller bag in a simpler design and lower price. These are great if you already have a diaper bag you love. Just snap on a stroller tote and tuck your favorite bag inside. Or use it to stash jackets and snacks for the kids! I also take custom orders and can add water bottle pockets to the sides!

https://www.etsy.com/listing/212877413/black-friday-cyber-monday-stroller-tote?ref=shop_home_active_4

Also brand new to the shop is the Boston Diaper Bag (based on the pattern from Little One Yard Wonders). With its modern style and simple exterior, you'll want to carry it even when the kids are at home! It's the perfect size and boasts plenty of storage & pockets without being too bulky. It also makes a great overnight or weekender bag!

https://www.etsy.com/listing/211401609/black-friday-cyber-monday-boston-diaper?ref=shop_home_feat_3

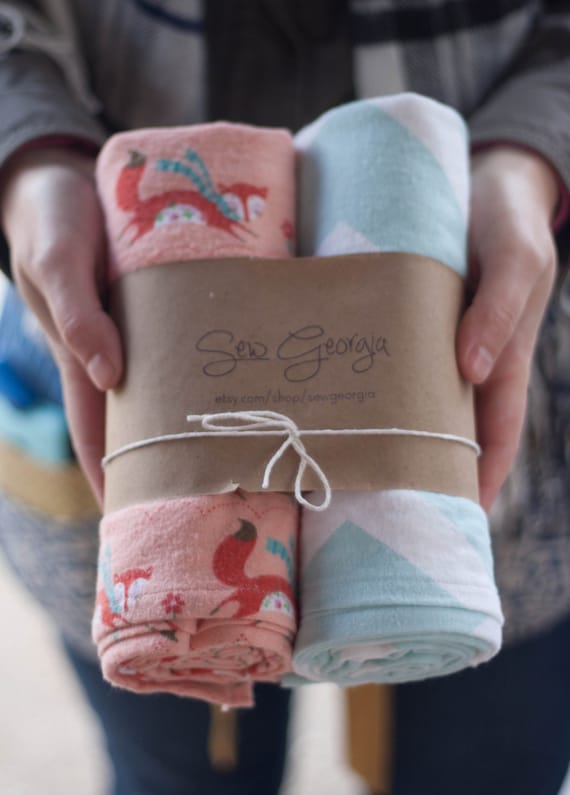
My oversize flannel receiving blankets make the perfect baby shower gift! They are snuggly soft and great for swaddling. They measure 33 x 39" to last through toddlerhood. 

https://www.etsy.com/shop/SewGeorgia?section_id=16398073&ref=shopsection_leftnav_8


And I offer much more! And this is the perfect time to try them out or do some Christmas shopping because I'm offering a Black Friday/Cyber Monday sale! November 28 - December 1 I'm offering 10% off any purchase with the code BLACK14, plus with any diaper bag purchase (or diaper bag custom order) I'll include a coordinating changing pad for FREE! All the details are posted in my shop.


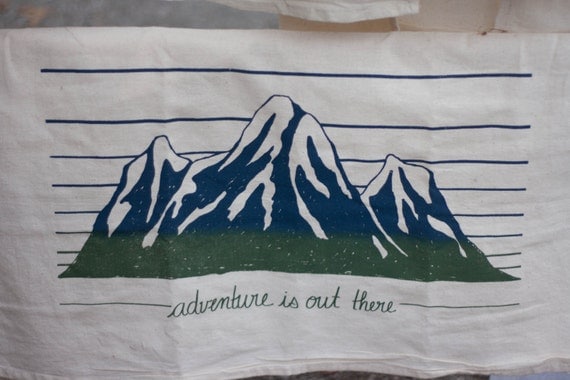
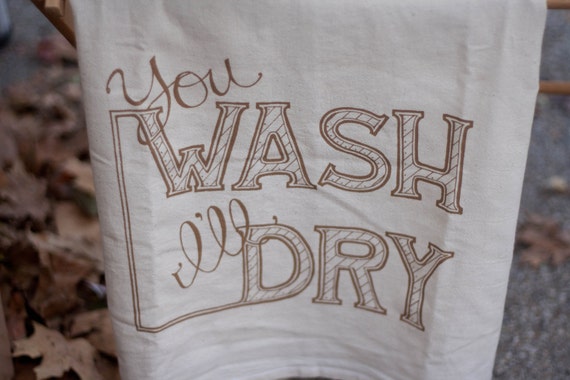
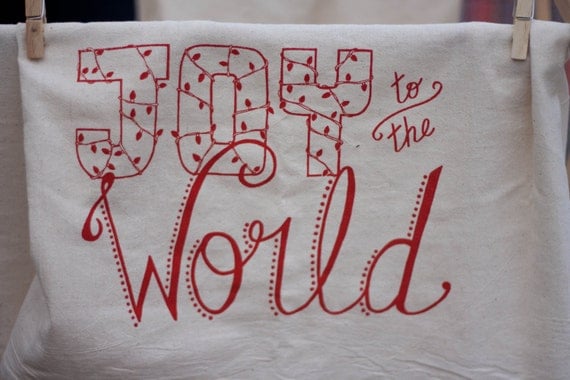
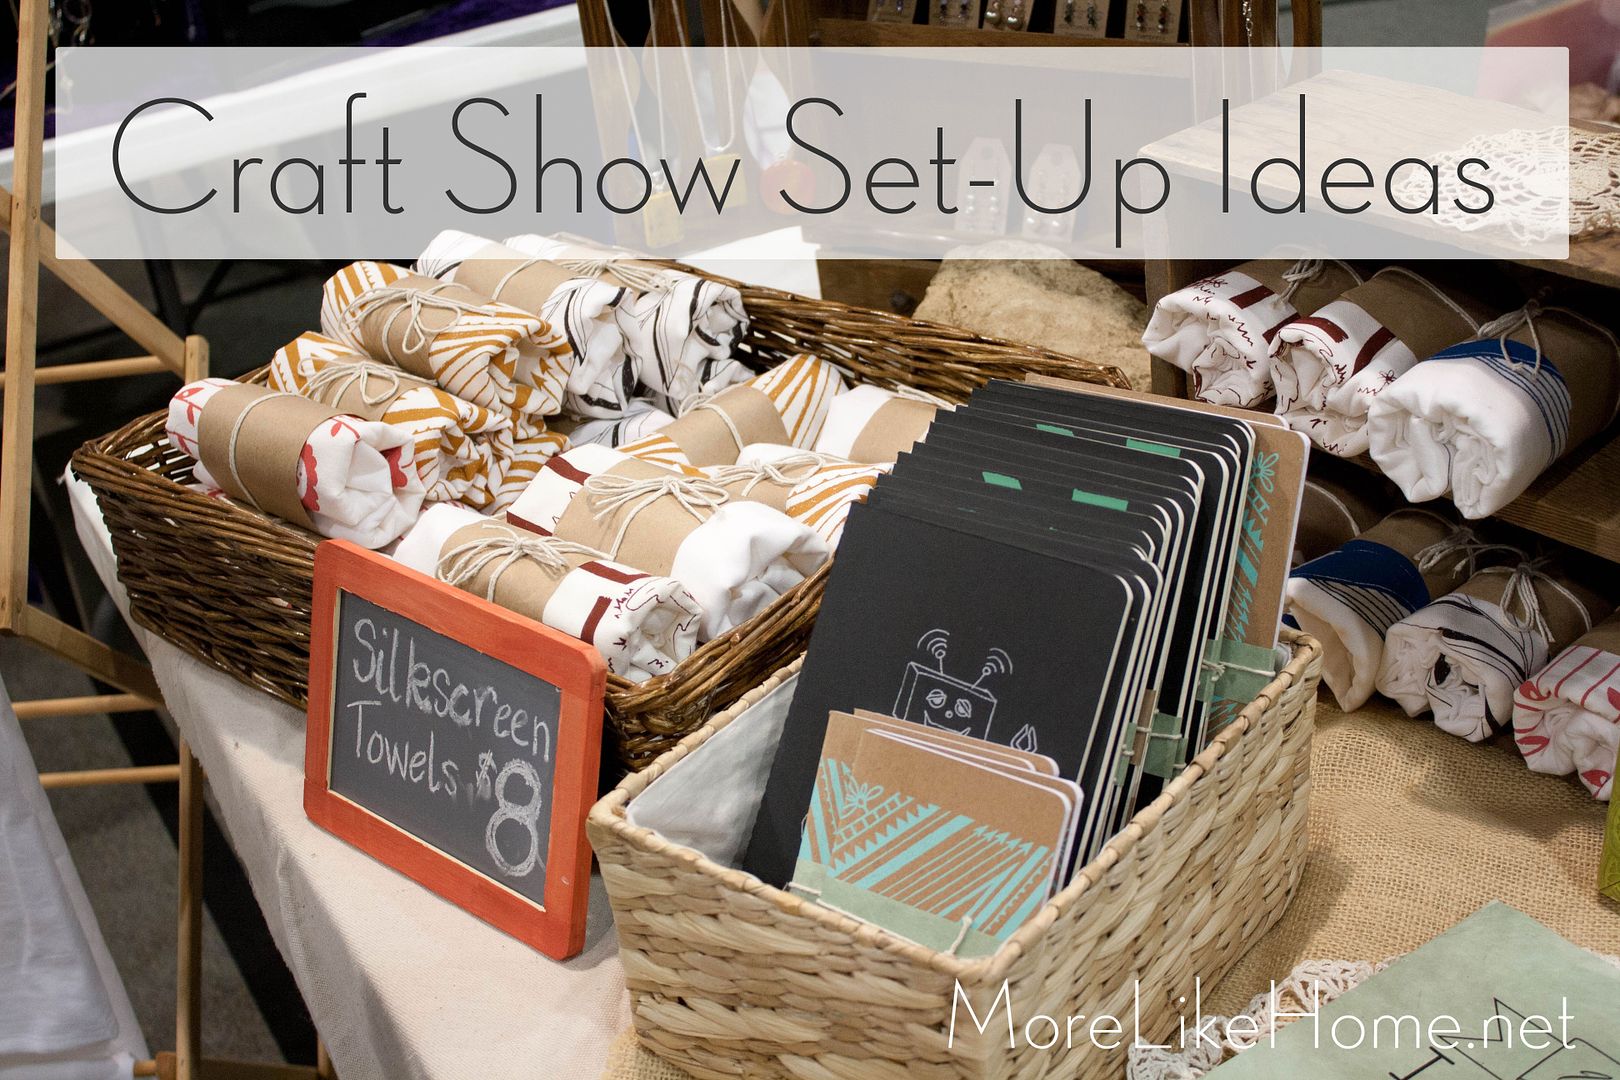
My sister has taken up silkscreen printing and you guys... she is really good at it. Her shop motto is that art should be for everyone and she's offers unique items at affordable prices! She hand draws and hand letters all of her designs, then transfers them to screens for printing. Her most popular items are her silkscreened cotton dish towels. They are 100% cotton and lint free, and are a perfect way to add a little style to your kitchen. Plus they are super absorbent! I use these towels 90% of the time and LOVE them. They make great Christmas gifts too!

https://www.etsy.com/shop/BarrPrints?section_id=15928672&ref=shopsection_leftnav_1

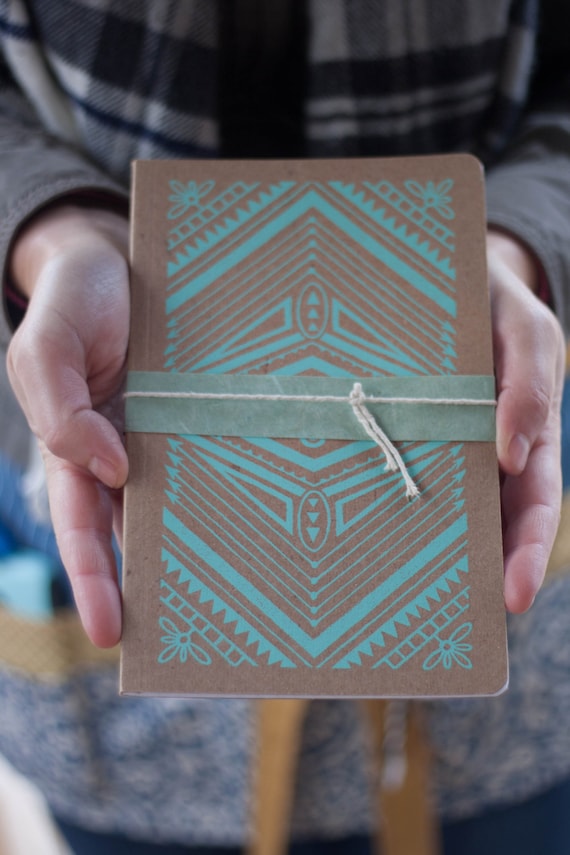
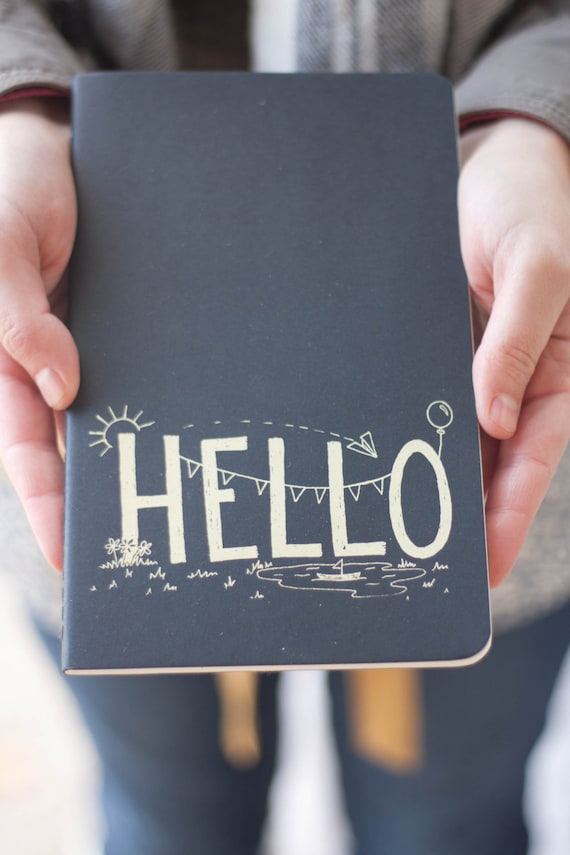
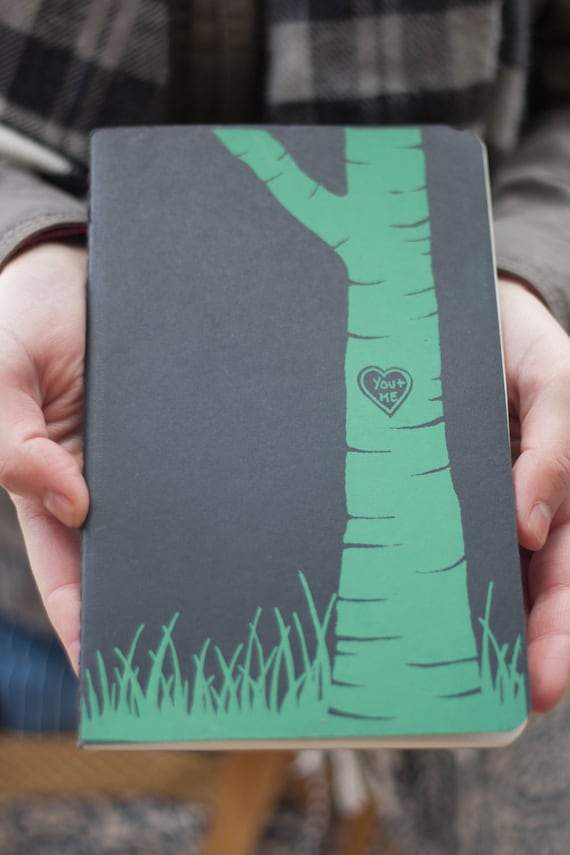
She also sells silkscreen printed notebooks, both paperback and moleskine. They make great stocking stuffers and are perfect for any list-makers like myself!

https://www.etsy.com/shop/BarrPrints?section_id=16167237&ref=shopsection_leftnav_2

She is offering a Christmas deal through the end of the year where you can buy any three towels for just $25! All the details are posted in her shop!

Happy Thanksgiving!

Monday, July 28

Spiffy Craft Show Set-Up

My sister and I are crafters from way back (you can check us out here and here). And we have always loved a good craft show. We started years ago, I don't remember if it was in high school or even before, with a small display and dabbled in a bit of everything. Since then we've honed our skills, focused on our interests, and worked on making more interesting and eye-catching displays. We're always looking to improve, but are really happy with how far we've come. So these are some of our favorite tips and tricks for craft-showing (it's a verb).


1. Find Your Groove
After spending years dabbling in everything from painting to card-making to jewelry to bags to Christmas decorations, we've found it really helps to pare things down and focus on the things we really enjoy. For my sister, that means she works with silk screening. She's really good at it, and it's definitely a rarer thing so she is always unique!


My favorite is sewing, so that's what I spend most of my time on. This is definitely a more popular field so I try to stand out by creating my own unique patterns and products.


Sunday, January 15

Infinity Scarf Tutorial

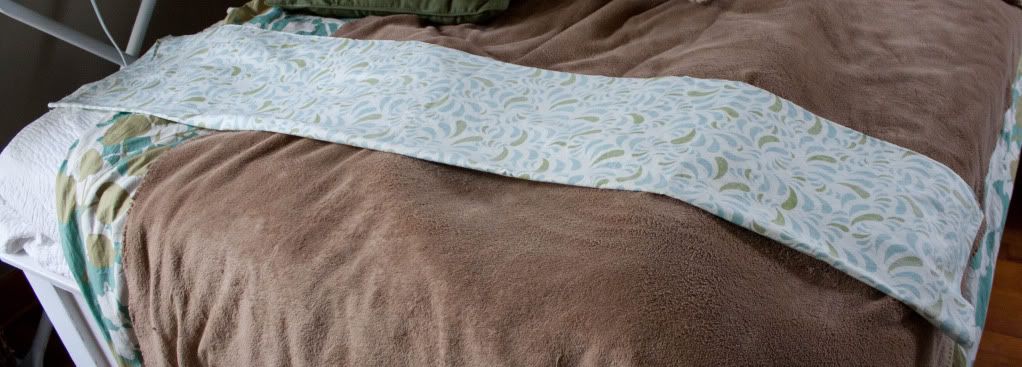
If you know me, you know that there is one thing I try to avoid at all costs... hand sewing. Ugh. Which I why, when I made an infinity scarf for my sister for Christmas, I was determined to get around it. I looked at a few different tutorials (they all involved some element of sewing by hand) and then kind of mixed them all together until I found an easy way to make a scarf without touching a needle (and with minimal visible stitches). Yay! These unusually warm January days have me thinking of spring, so I went ahead and made a few more of these cute, lightweight scarves to list in my etsy shop. What's that? You prefer to make your own? Here's how....


You will need:
~2 yards of lightweight fabric (this will make 2 scarves) (You could get by with a little less. With 2 yards I had enough left over to make the main body for one of these bags)

Start by pre-washing your fun, springy fabric and cutting out your scarf. To do this cut your piece of fabric to be about 59" long (or whatever length you prefer) then fold it in half longways and cut right down the fold. This will give you two long pieces of fabric that can be made into two scarves, so plan on gifting one to a friend!


Take one piece of fabric and fold it in half length wise, with right sides together. Like so. If you want to be extra careful you can pin the edges together, but I prefer the fly-by-the-seat-of-my-pants approach so I just kind of hold it in place as I go.


Starting a few inches from the end, sew along the long side of the fabric with a 1/2" seam (you will end up with a long tube of fabric with the ends open) stop a few inches short of the end like you see below. (or if you're me, forget this step, sew all the way to the end, and rip it out later. Oops. The space you leave here will determine how many stitches show later. I was able to do it leaving as little as 2 inches at each end.)


Now turn your tube right side out. Oooo... pretty. Now, making sure your tube isn't twisted, fold it in half and line up the raw edges of the ends (hopefully that's clear with the picture below). You'll be sewing the ends together, so start by lining up the corners that are right sides together (shown below) and keep pinning all the way around to the other corner, keeping right sides together. It may take a little finagling and will look a little goofy, but it will all come together in a minute.


Go ahead and sew along the edge you just pinned with a 1/2" seam. It should look like this:


Now flip this section right side out. See what happened? We just joined the scarf into a loop with only this tiny hole left over!


Now to close up that hole. (at this point you could hand sew the opening closed if you prefer) Tuck in the raw edges and pin the opening closed.


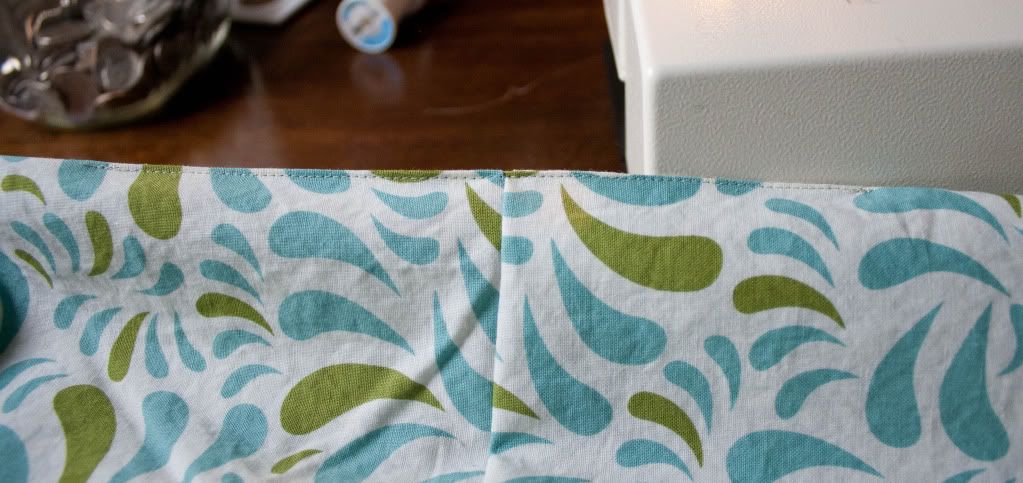
Then carefully sew as close as you can possibly get to the edge to close the opening. (there are a few inches of stitches here, but once I started leaving a smaller hole I only had 3-4" of stitches showing)


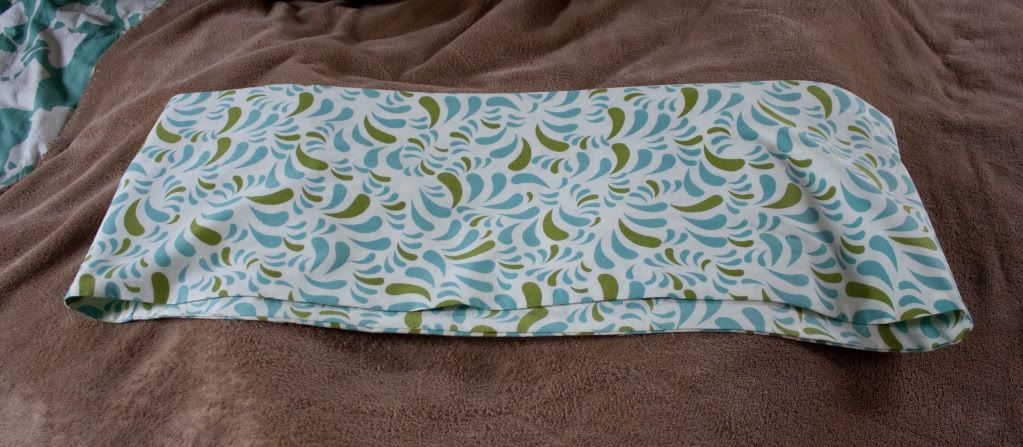
Now break out the iron to get your scarf looking fresh and crisp. And that's it! It was really pretty fast and easy, right? Hopefully the instructions made sense. It's my first time writing a sewing tutorial. :)


My favorite thing about infinity scarves is that they can be worn long....


...or doubled up!


And now for the fashion show. Here it is worn long. I know, I should be a model.


And here it is doubled, which is personally my favorite style.


You can even pull it up like a hood to keep your ears warm or head dry! And since it's lightweight it will be perfect for those spring evenings that are right around the corner.


 Although and extra layer to cover my ears doesn't sound too bad right now either.... :) (note: my nose comes to a funny little point. I just found out.)


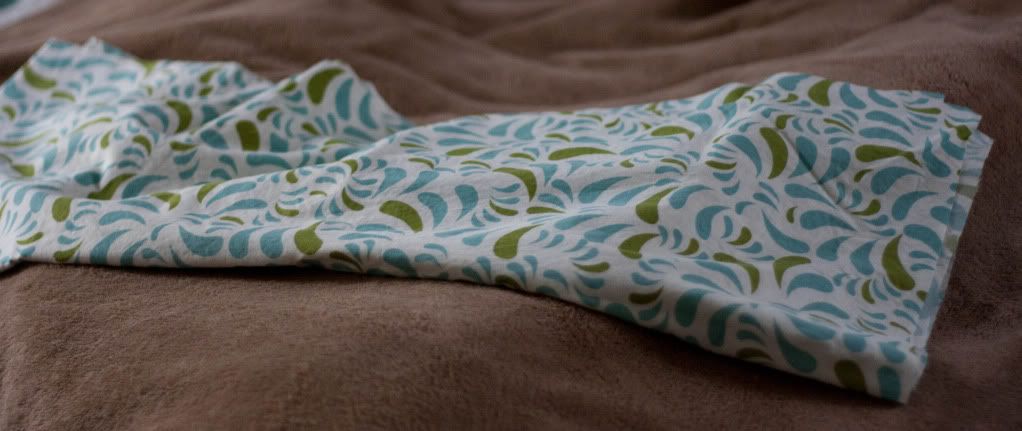
So have fun making your own scarf and let me know how it turns out! Of course, if you prefer to have me do the dirty work for you, you can head over to our Etsy shop to order an infinity scarf. Here are a few fabrics that will be on the menu...

 
 Pin It
Subscribe