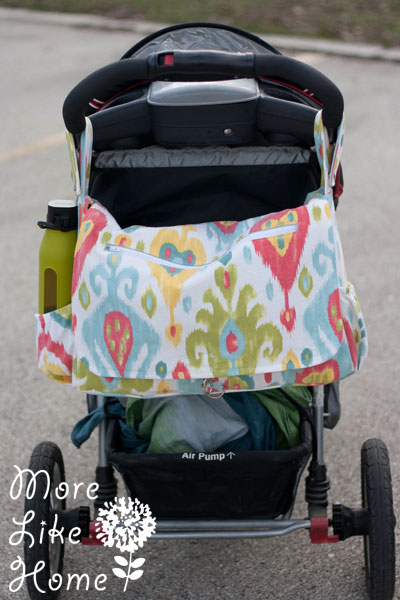
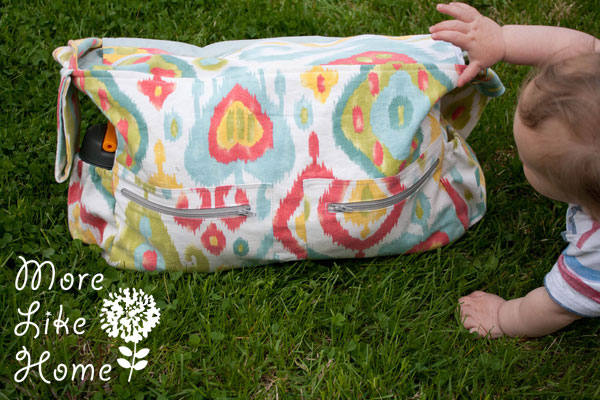
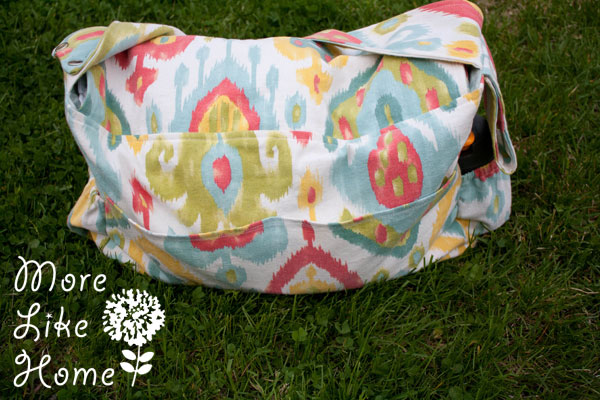
Ok, peeps. Get ready. We're about to make the sweetest, most versatile, storage-packed diaper bag in all of time and space. And the best part? It's totally stroller friendly!
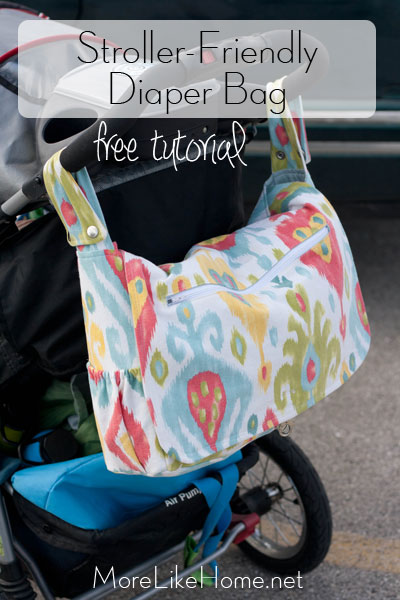
That's right. All the storage & organization you need attaches securely to the handles of a standard stroller.
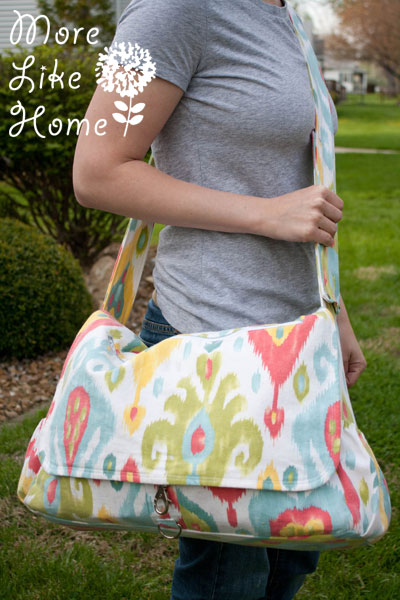
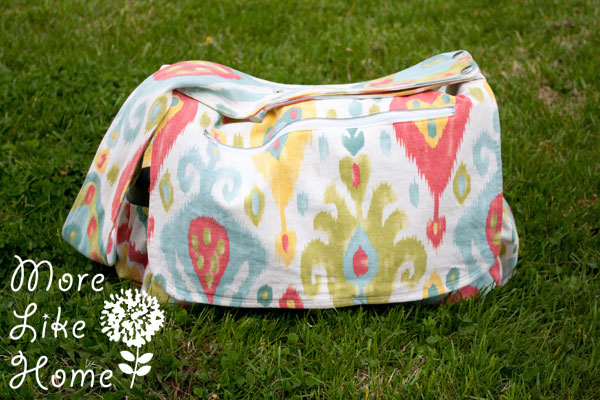
With just a few snaps it converts to a convenient messenger style diaper bag. Haul those baby stuffs in style, mommas!
And back again to a hands-free stroller bag!
If you're planning any summer outings you won't want to leave home without this. It's great for anytime you'll be doing lots of walking and don't want to lug a bag around. In fact these pics are from our trip to the zoo on Big Brother's birthday! Plus with it securely snapped on the handles, the under-stroller basket is open for lunch boxes, jackets, or baby carriers.
The shoulder strap is permanently attached on one end so you can't lose it. When you're ready to wear your bag, just snap the shoulder strap on at the other end and you're ready to go.
Want to put it back on the stroller? Snap the stroller straps and tuck the shoulder strap inside the bag or into one of the back pockets. It will be there when you need it later!
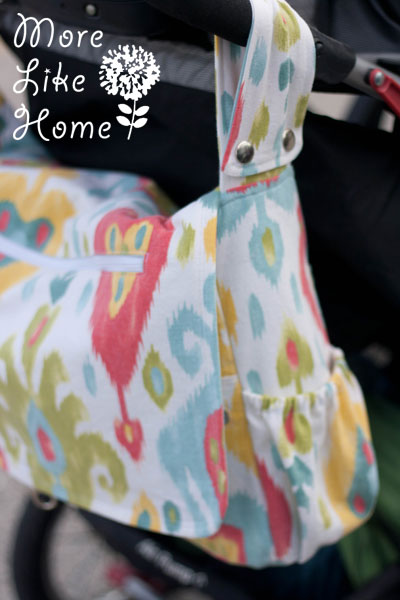
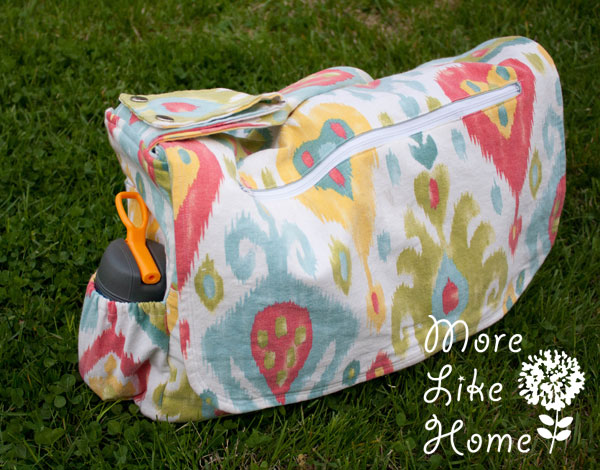
The water bottle pockets on the side are perfect if you don't have cup holders on your stroller.
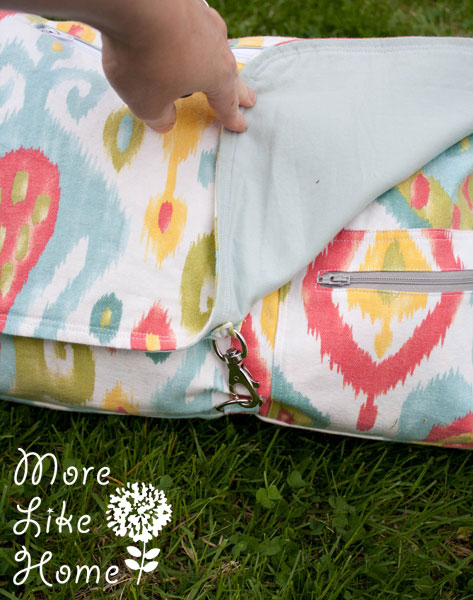
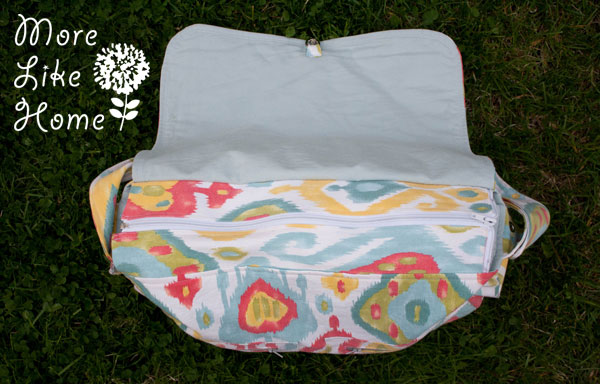
And did I mention tons of storage? The finished size is 16.5" wide, 11.5" tall, and 4" deep with twelve pockets! Let's take a closer look. The front flap has a zipper pocket built in.
The flap also has a clip for when you want it to stay closed. Big Brother has decided his personal mission is to keep it clipped at all times.
There are water bottle pockets on each end (with elastic tops to keep your drinks snug).
When you lift the flap there are two smaller zipper pockets on the front.
Baby Brother not included.
On the back there are two open pockets - perfect for keeping a burp rag handy!
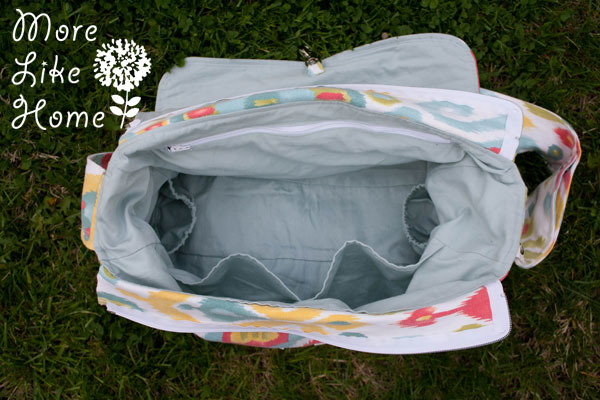
Under the flap there is also a zipper closure. Flaps are super convenient when you need to be in and out (and when it's hanging on the stroller!), but we all know nothing is worse than a diaper bag tipping over and spilling EVERYWHERE. One zip and you know your stuff isn't going anywhere. Problem solved.
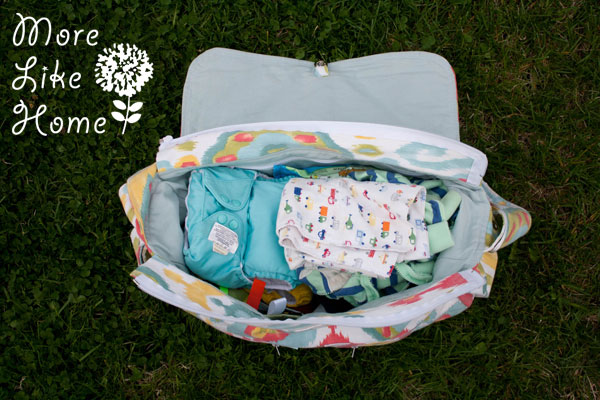
And inside that zipper? So. Much. Room. For all the stuffs. This is a pack-it-in-the-morning-and-go-all-day kind of bag. We fit everything we needed for an entire day at the zoo!
And you can keep it all organized with a whole mess of pockets. Two open pockets on the front, another zipper pocket on the back, and two more elastic water bottle pockets on the sides. Be still my organizing heart.
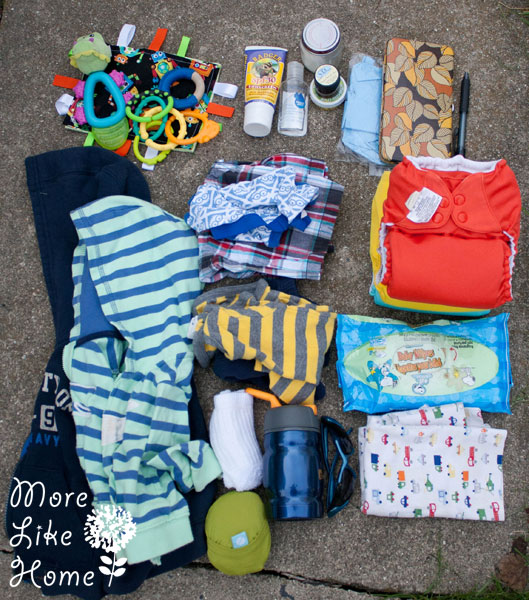
This is what I had in my bag today: baby toys, sunscreen, hand sanitizer, bug repellant, coconut oil (great for diaper rashes!), disposable diaper bags, wallet, pen, jackets for the brothers, back-up pants & undies for big brother, full backup outfit for baby brother, three double-stuffed cloth diapers, wipes, extra socks, roll-up grocery bag, water bottle, sunglasses, and burp rags. For serious, you guys, this bag is in it to win it.