

You will need:
~2 yards of lightweight fabric (this will make 2 scarves) (You could get by with a little less. With 2 yards I had enough left over to make the main body for one of these bags)
Start by pre-washing your fun, springy fabric and cutting out your scarf. To do this cut your piece of fabric to be about 59" long (or whatever length you prefer) then fold it in half longways and cut right down the fold. This will give you two long pieces of fabric that can be made into two scarves, so plan on gifting one to a friend!
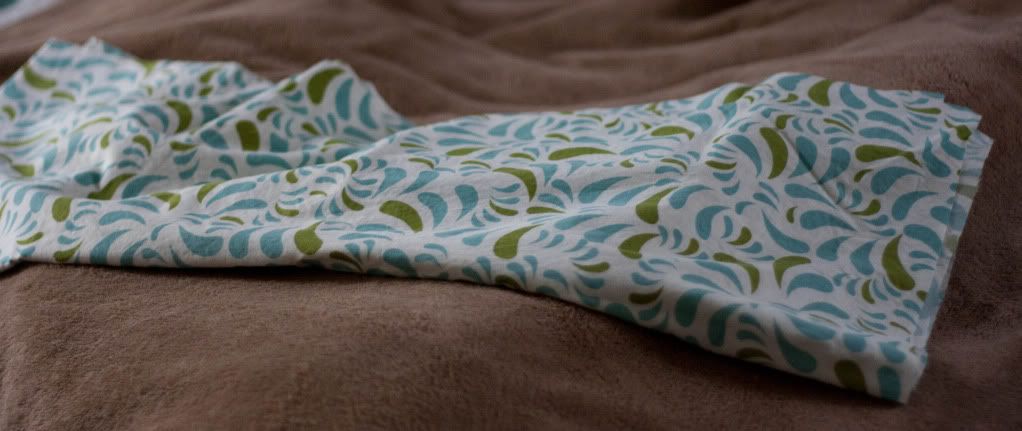
Take one piece of fabric and fold it in half length wise, with right sides together. Like so. If you want to be extra careful you can pin the edges together, but I prefer the fly-by-the-seat-of-my-pants approach so I just kind of hold it in place as I go.
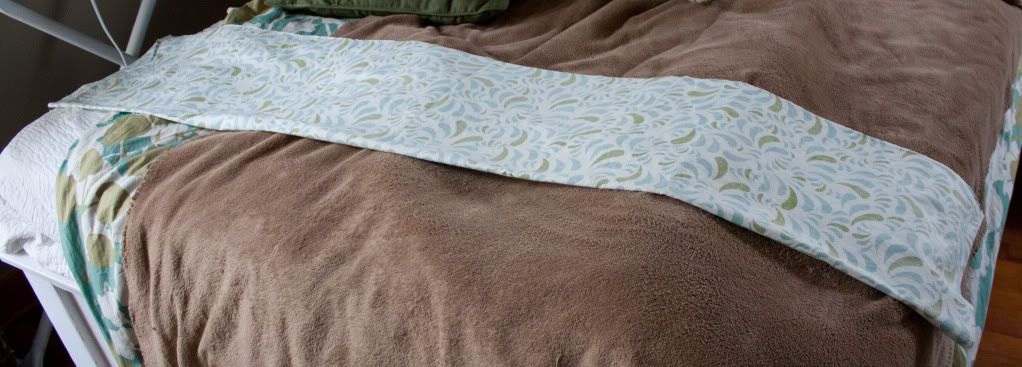
Starting a few inches from the end, sew along the long side of the fabric with a 1/2" seam (you will end up with a long tube of fabric with the ends open) stop a few inches short of the end like you see below. (or if you're me, forget this step, sew all the way to the end, and rip it out later. Oops. The space you leave here will determine how many stitches show later. I was able to do it leaving as little as 2 inches at each end.)

Now turn your tube right side out. Oooo... pretty. Now, making sure your tube isn't twisted, fold it in half and line up the raw edges of the ends (hopefully that's clear with the picture below). You'll be sewing the ends together, so start by lining up the corners that are right sides together (shown below) and keep pinning all the way around to the other corner, keeping right sides together. It may take a little finagling and will look a little goofy, but it will all come together in a minute.

Go ahead and sew along the edge you just pinned with a 1/2" seam. It should look like this:

Now flip this section right side out. See what happened? We just joined the scarf into a loop with only this tiny hole left over!

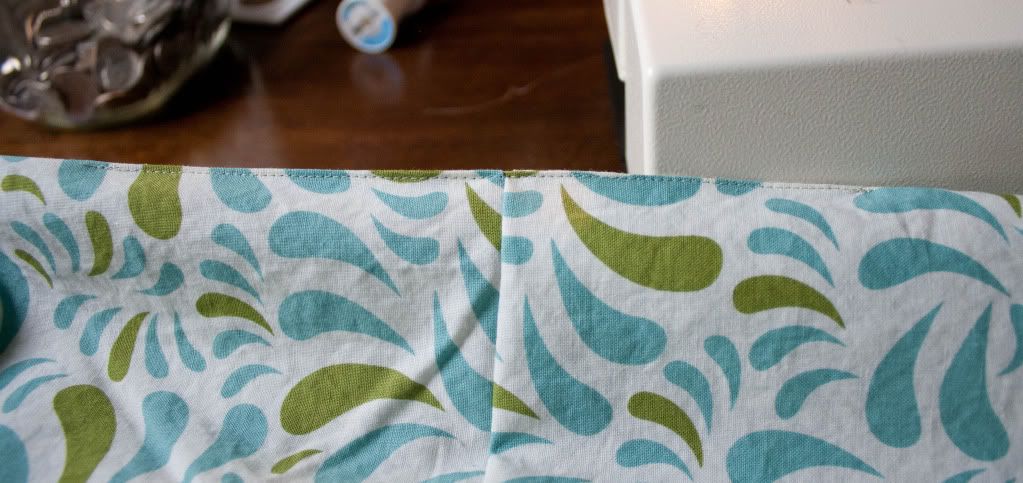
Now to close up that hole. (at this point you could hand sew the opening closed if you prefer) Tuck in the raw edges and pin the opening closed.

Then carefully sew as close as you can possibly get to the edge to close the opening. (there are a few inches of stitches here, but once I started leaving a smaller hole I only had 3-4" of stitches showing)
Now break out the iron to get your scarf looking fresh and crisp. And that's it! It was really pretty fast and easy, right? Hopefully the instructions made sense. It's my first time writing a sewing tutorial. :)

My favorite thing about infinity scarves is that they can be worn long....

...or doubled up!

And now for the fashion show. Here it is worn long. I know, I should be a model.

And here it is doubled, which is personally my favorite style.

You can even pull it up like a hood to keep your ears warm or head dry! And since it's lightweight it will be perfect for those spring evenings that are right around the corner.

Although and extra layer to cover my ears doesn't sound too bad right now either.... :) (note: my nose comes to a funny little point. I just found out.)

So have fun making your own scarf and let me know how it turns out! Of course, if you prefer to have me do the dirty work for you, you can head over to our Etsy shop to order an infinity scarf. Here are a few fabrics that will be on the menu...

I am with you on the "fly by the seat of your pants" :) I like your fabric colors! Where did you get your fabric?
ReplyDeleteIt's the best way to fly. :) They are all from Hobby Lobby (my favorite place to be!) but a couple were clearance or from their fall collection so they may be gone by now. The pink flower one they always have, I think.
DeleteThis is very pretty and a great tutorial. Love for you to come and join our linky party with this (and your other great projects): http://www.finecraftguild.com/party-51/
ReplyDeleteGreat tutorial! I just made one for my sister-in-law, two-toned!
ReplyDeleteThank you! They do make great gifts! :)
Delete