
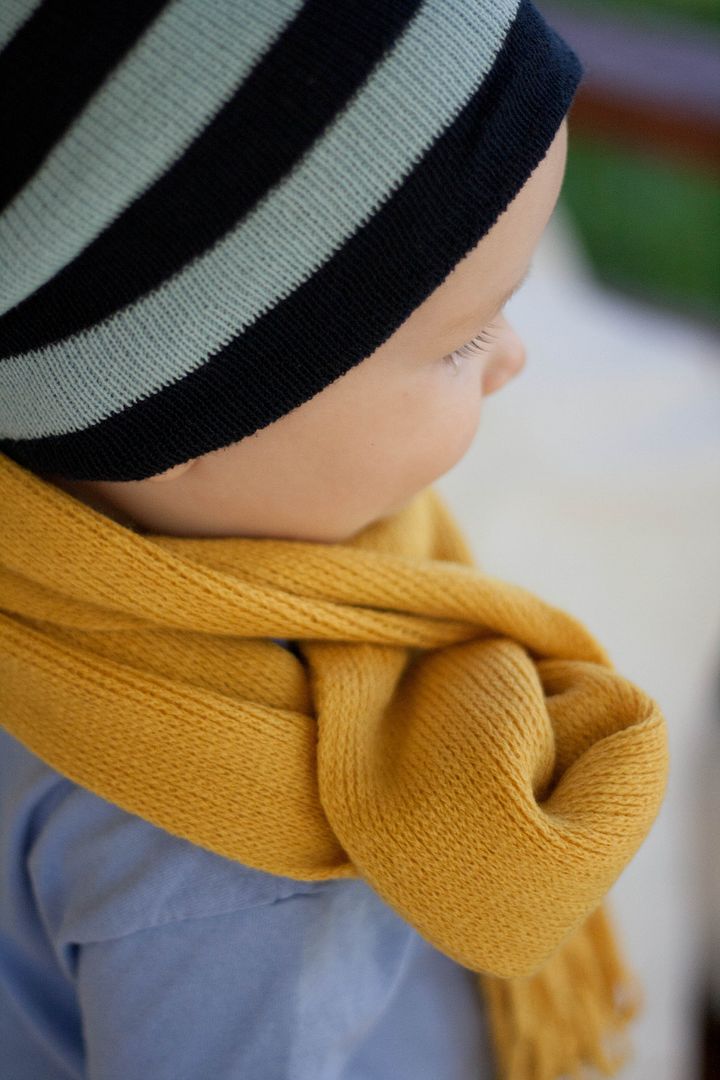
Shazzam! Cuteness attack!

I'm not entirely sure that "shazzam" is a word. Spell check doesn't seem to think so. But I think we can all agree that the above cuteness is off. the. charts. Here's what Mr Cuteness and I picked up at Dollar Tree:
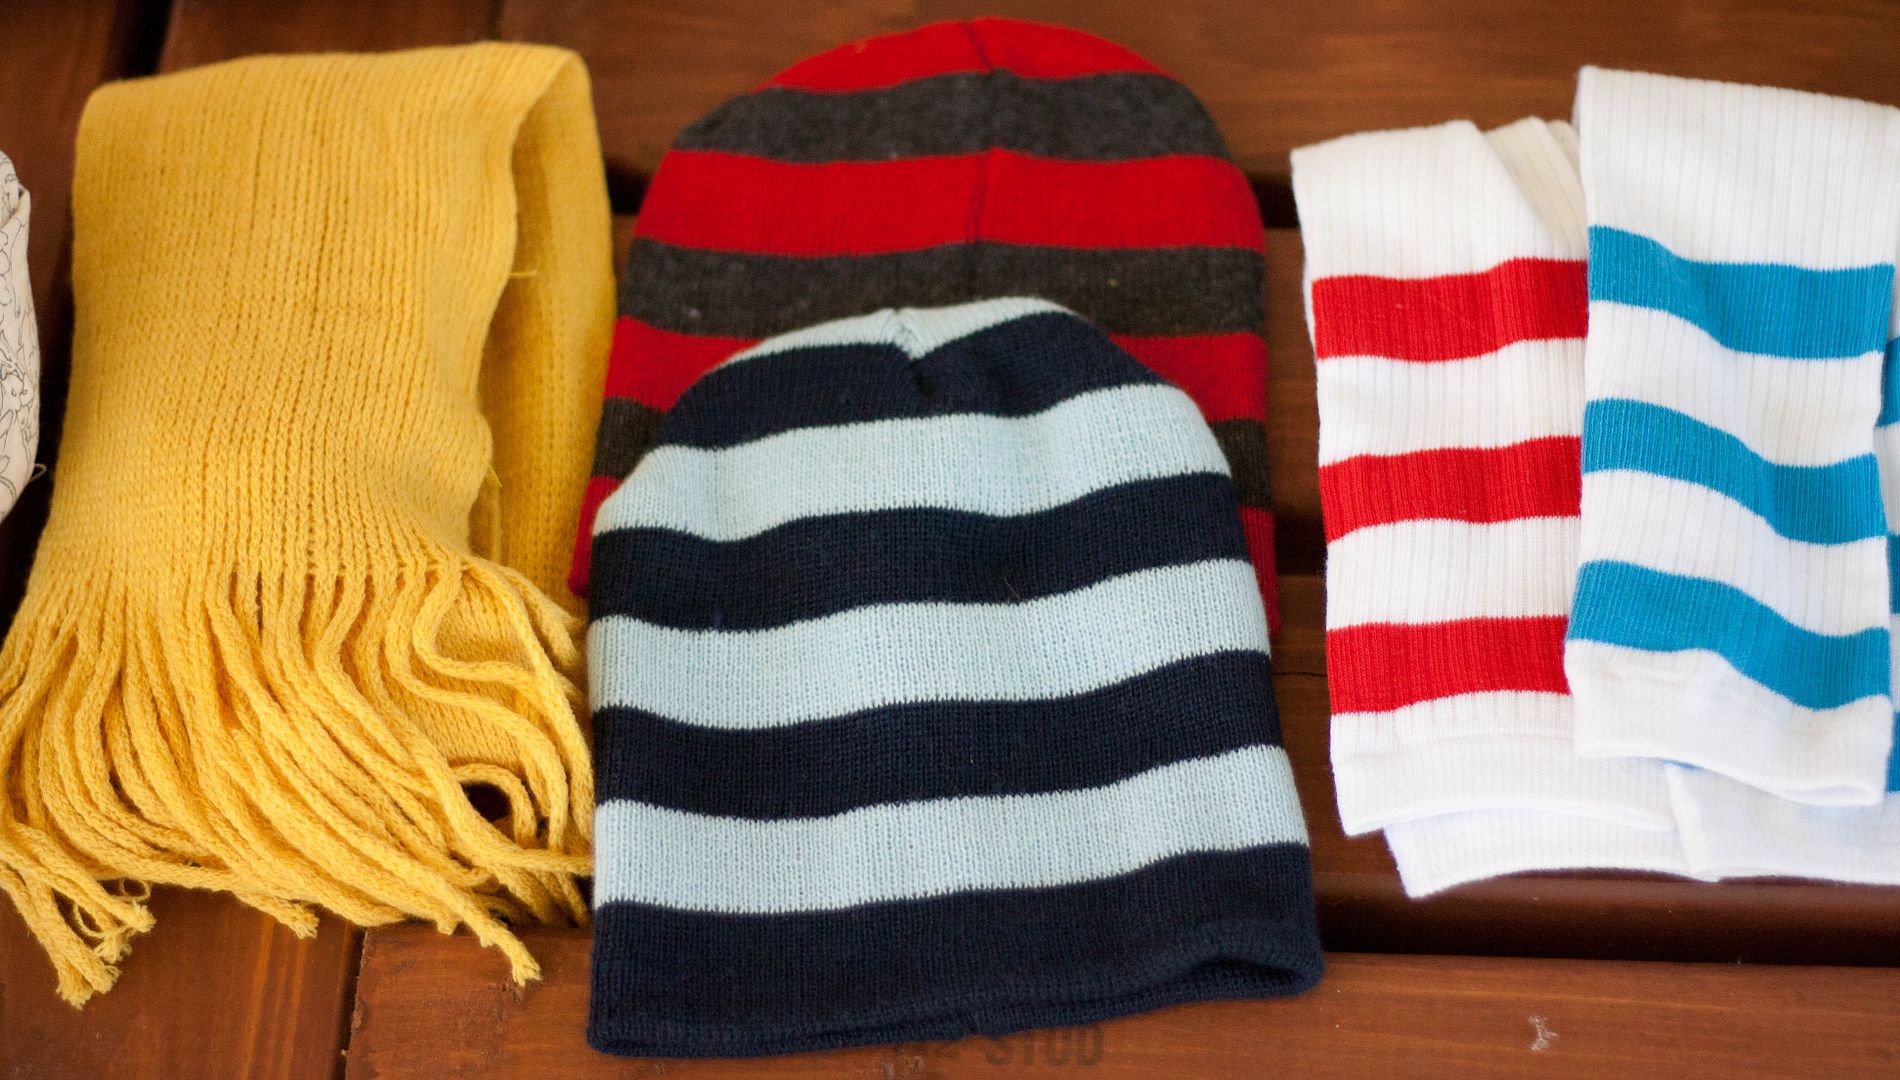
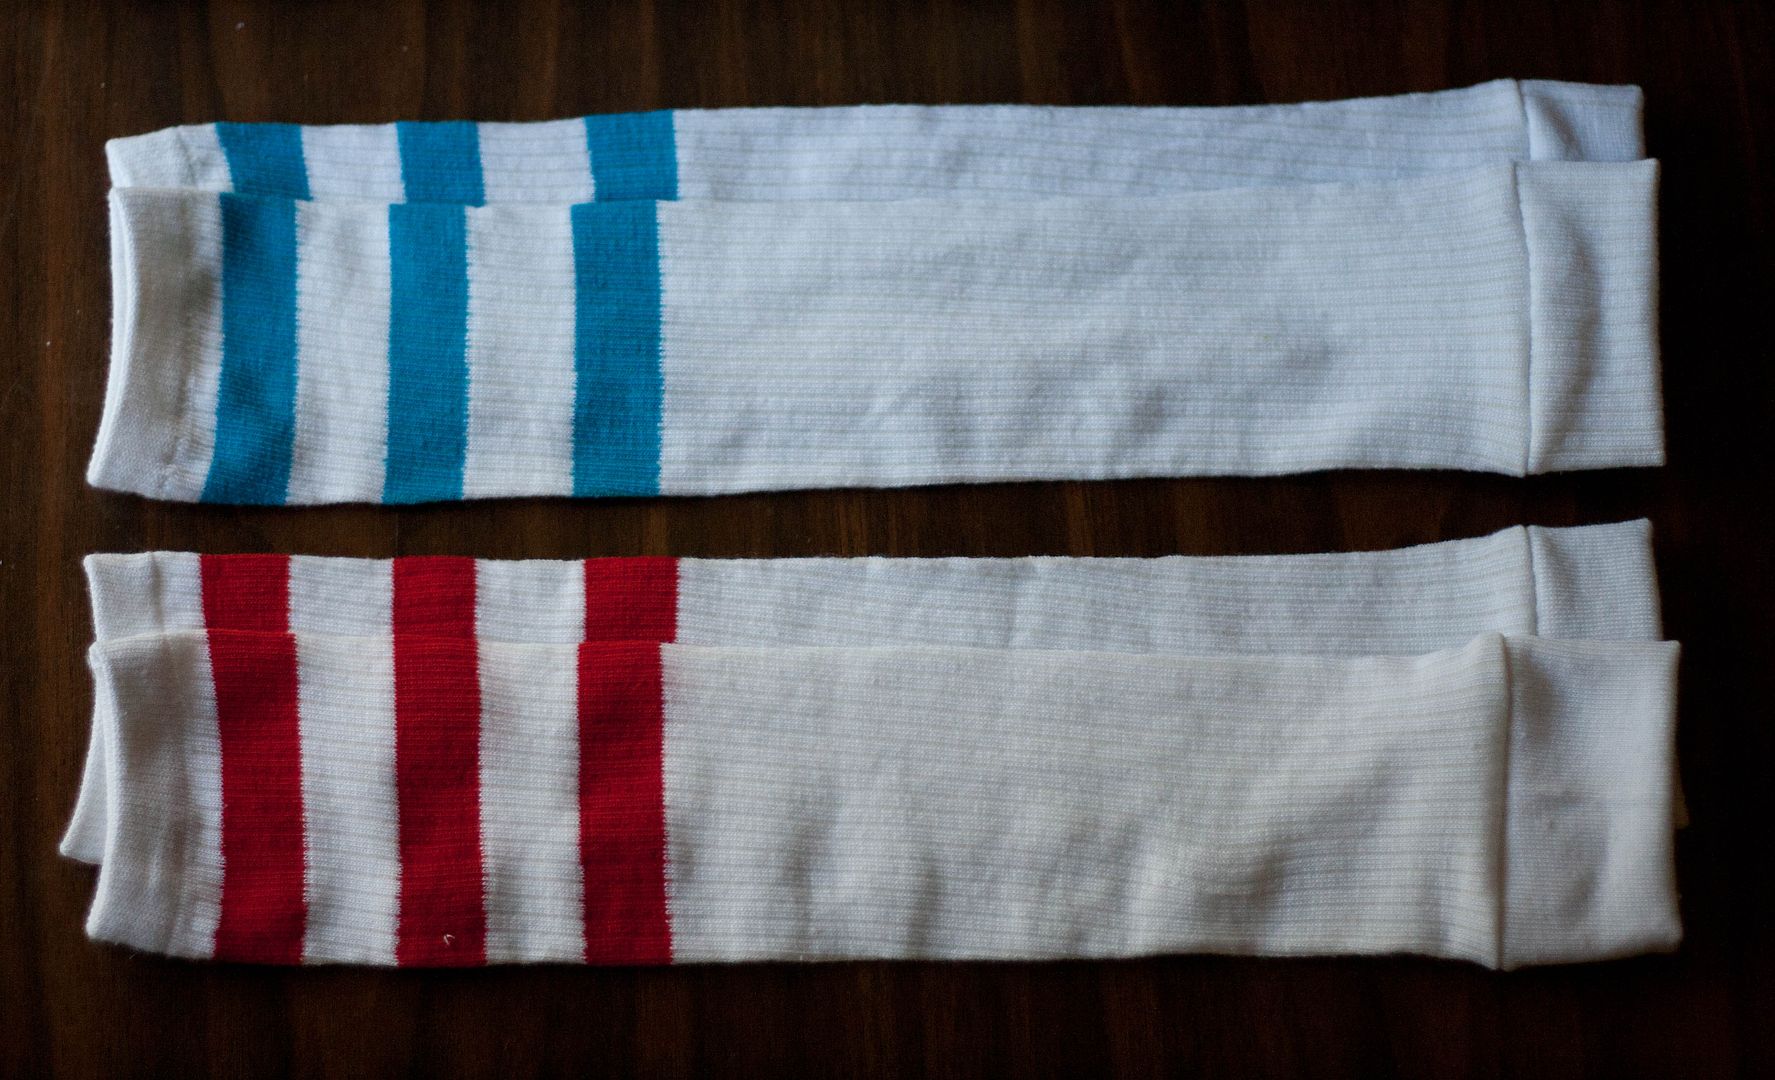
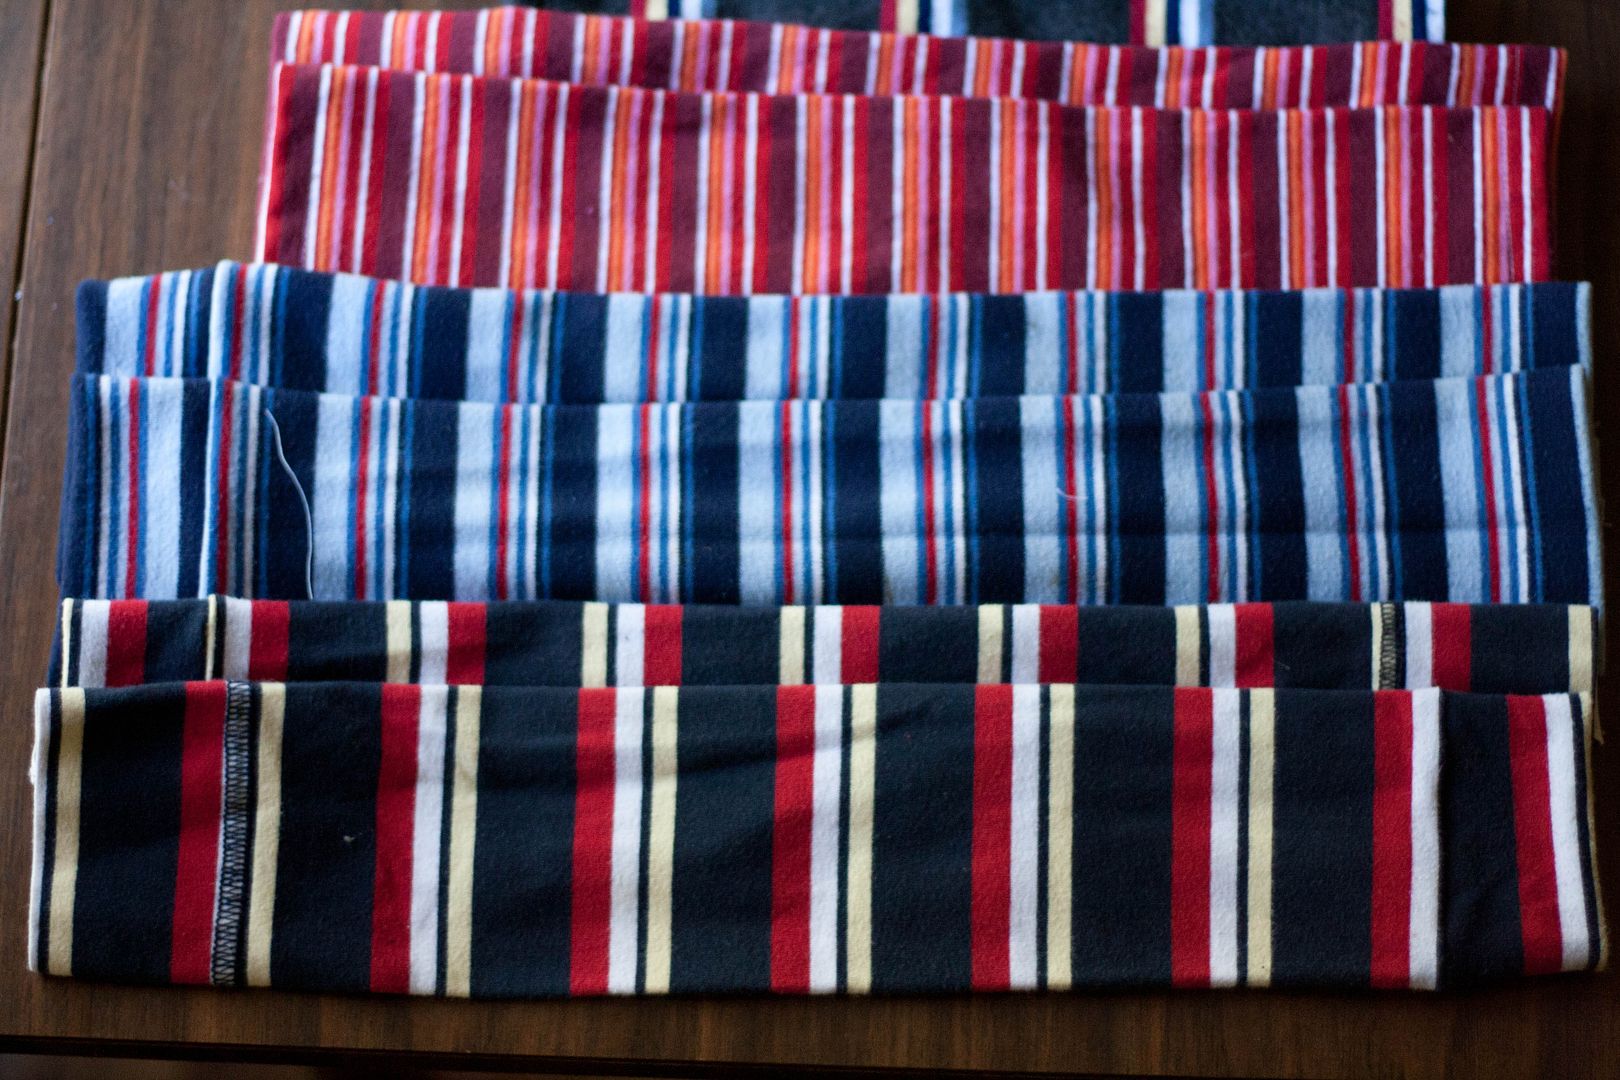
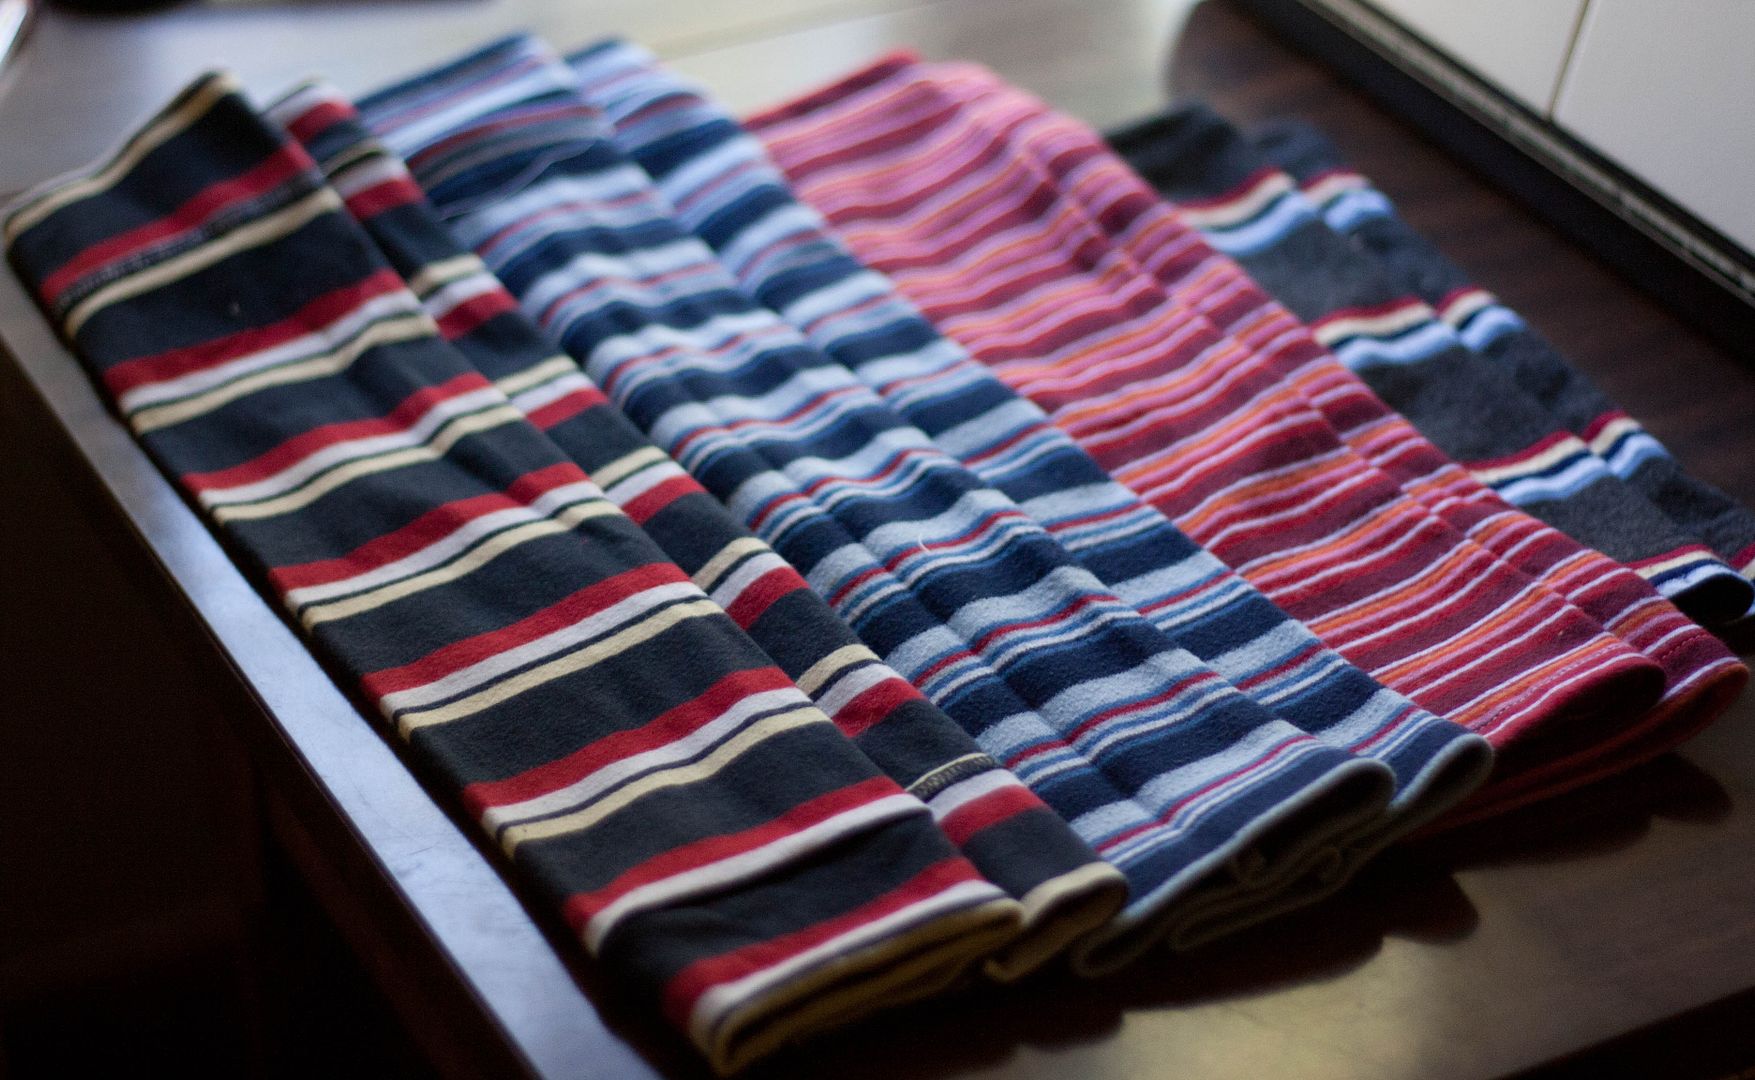
The scarf and two hats I picked just because they were SUPER cute for Baby B, and they looked so fun and little-boy-ish. They were the only ones like them so I wanted to snatch them up fast - shopping early may not be a bad thing. :) The socks I picked up to try making some baby legs for baby B. Have you seen baby legs? They're essentially little leg warmers for babies so they can just run in a diaper and leg warmers around the house so they are warm and mom has easy access to diaper changes. Handy. But they don't tend to be cheap, or very boy-ish. So I thought these athletic tube socks would be perfect for my little guy! Here's how I made them into baby legs:
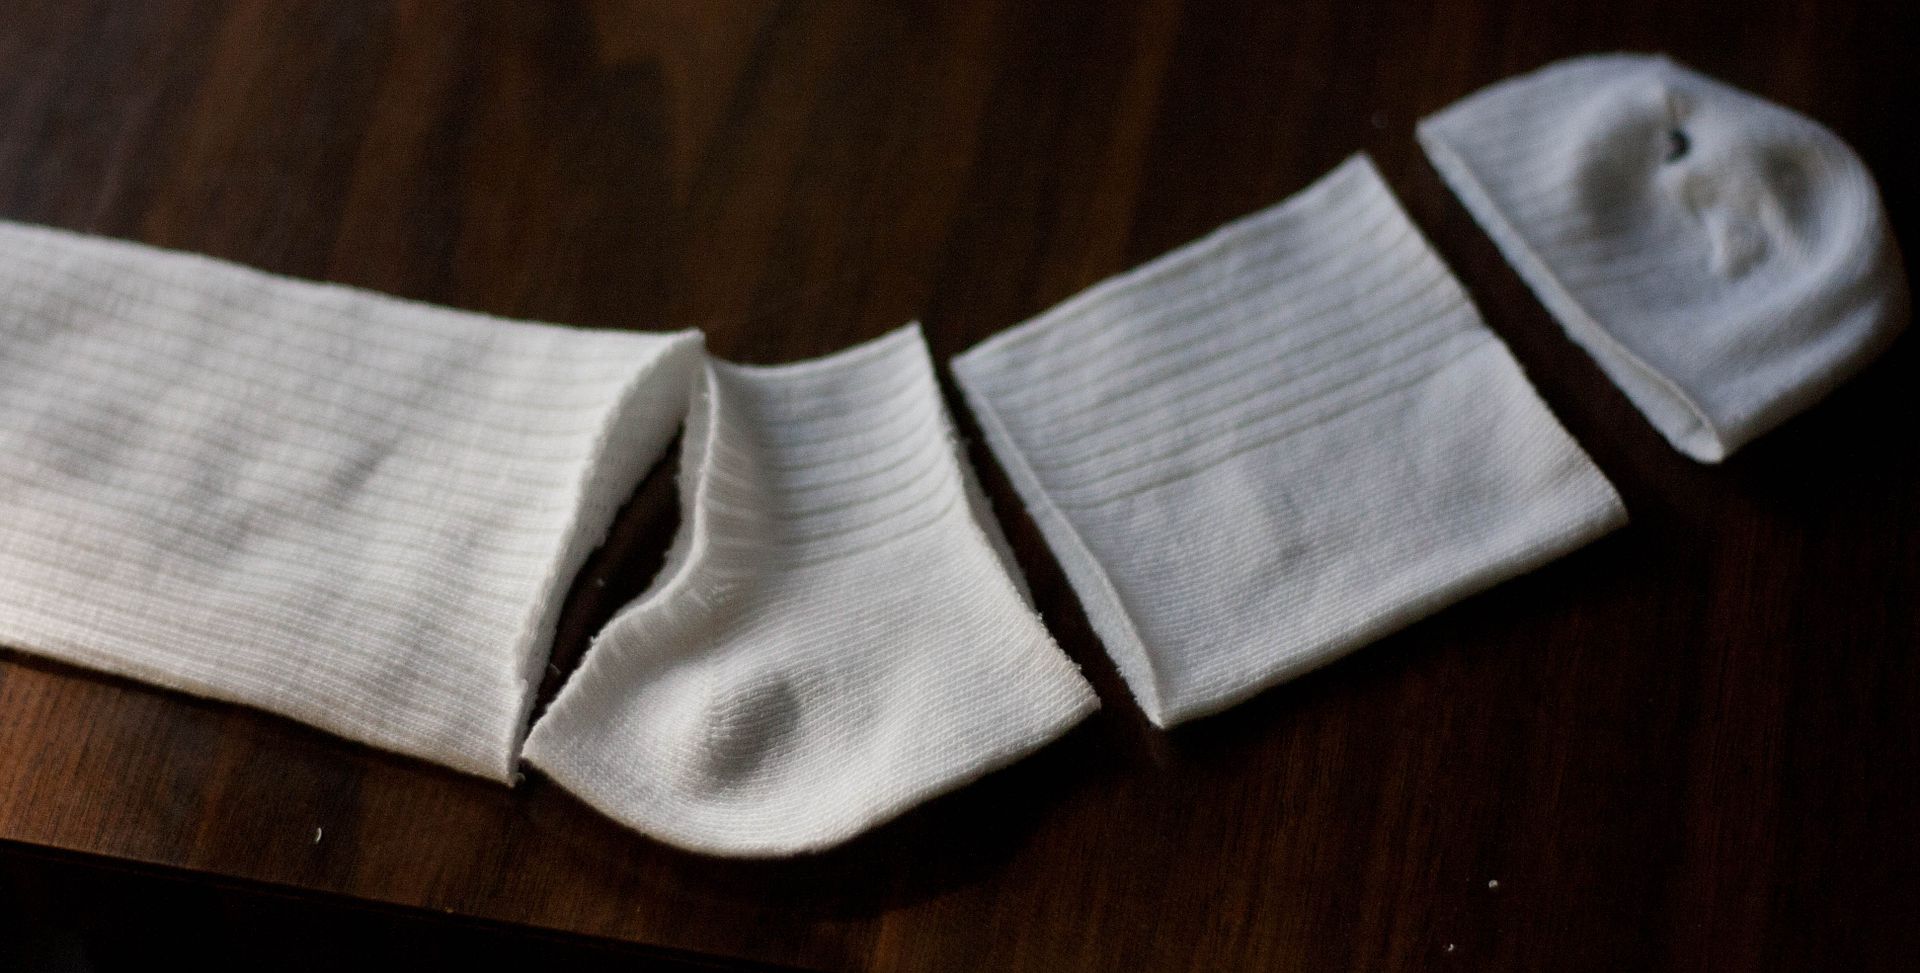
Baby Legs Tutorial
Start by cutting up each sock like this: first cut the foot off at the heel (the leg will make up most of you baby legs), then cut out the straight middle section of the foot to use as the cuff for your baby legs.
Fold the cuff piece in half (right sides out) like this:
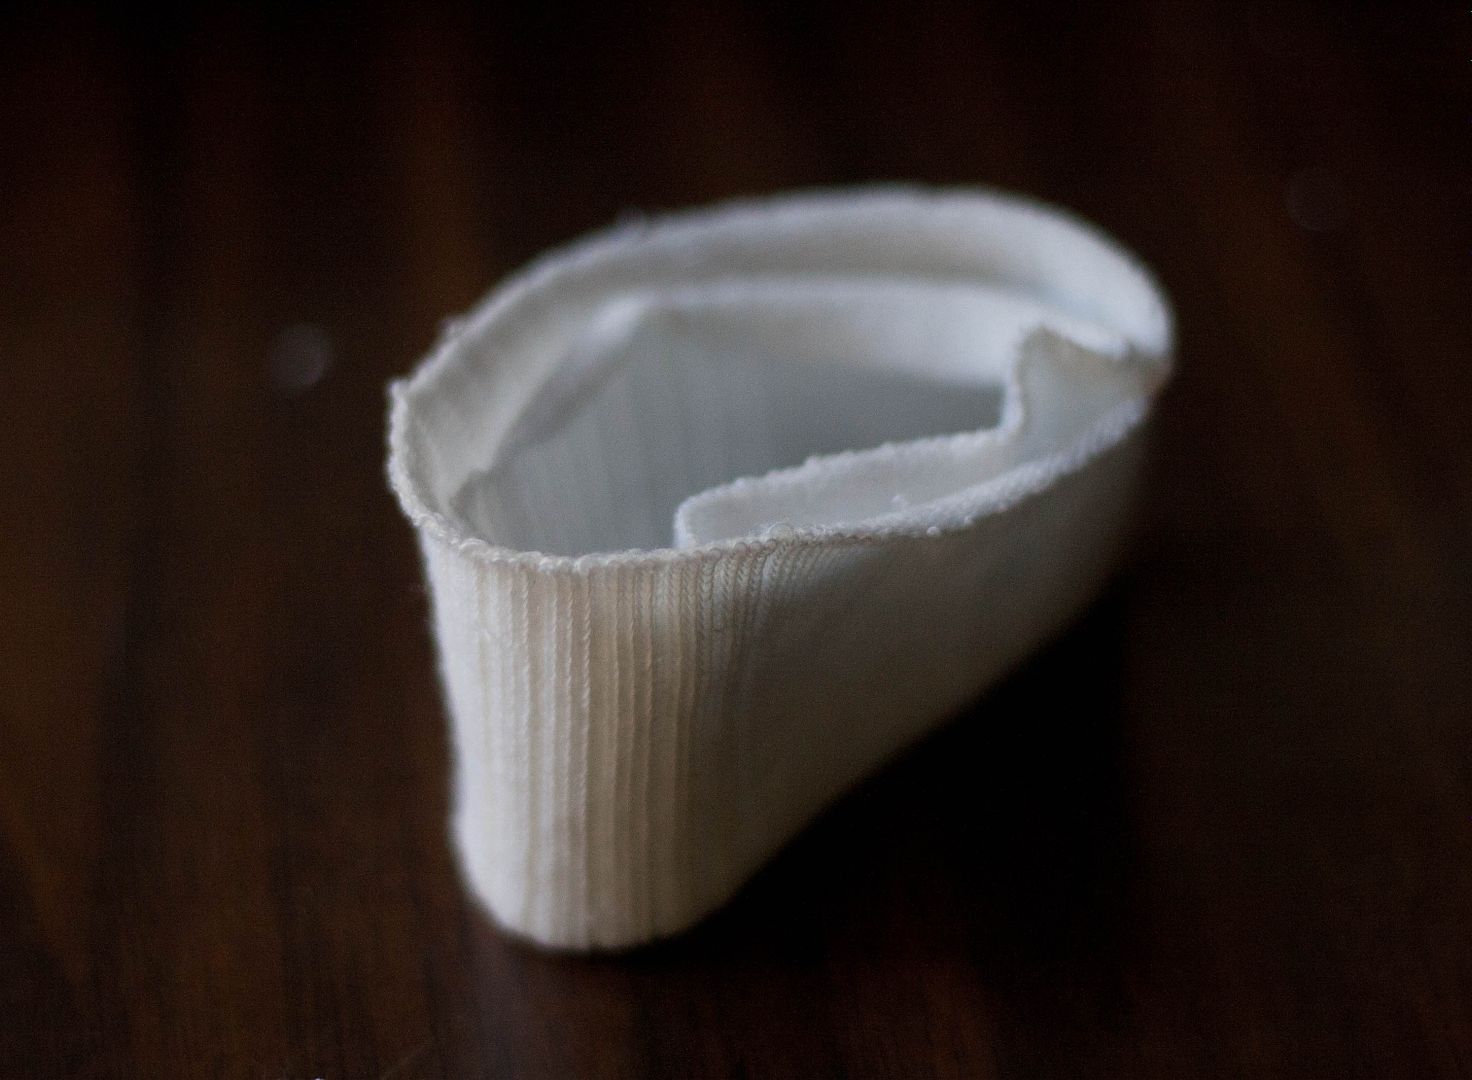
Now slide the cuff piece over the raw end of the sock (where you cut off the foot) and line up all the raw edges like this:
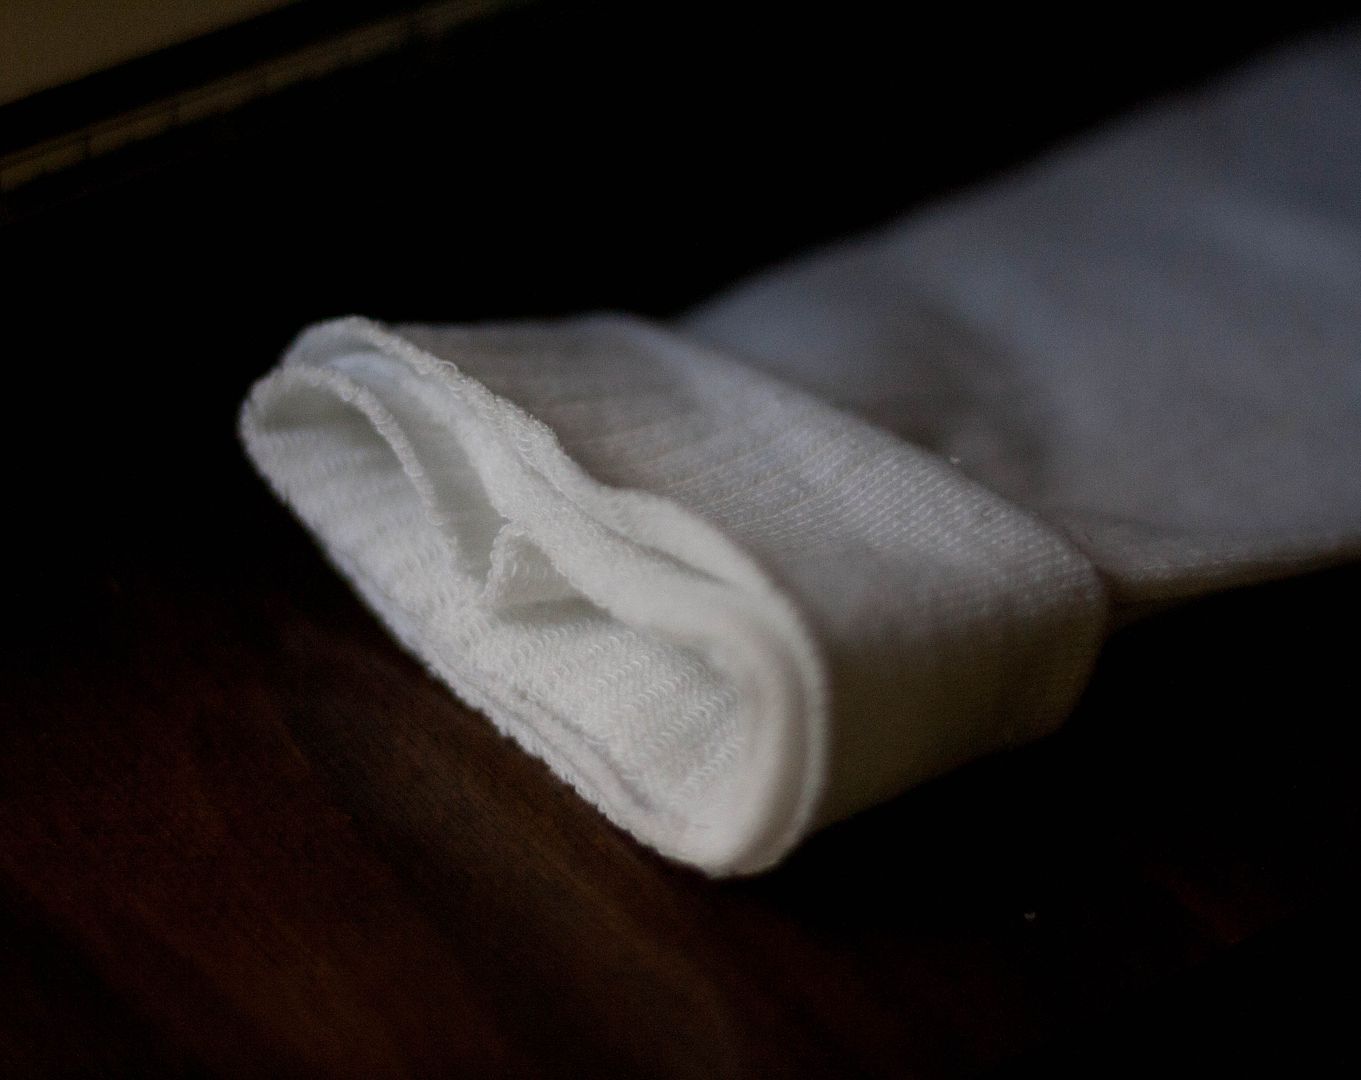
Stitch around the opening through all three layers with about a 1/8" seam allowance. Then flip the cuff right side out.
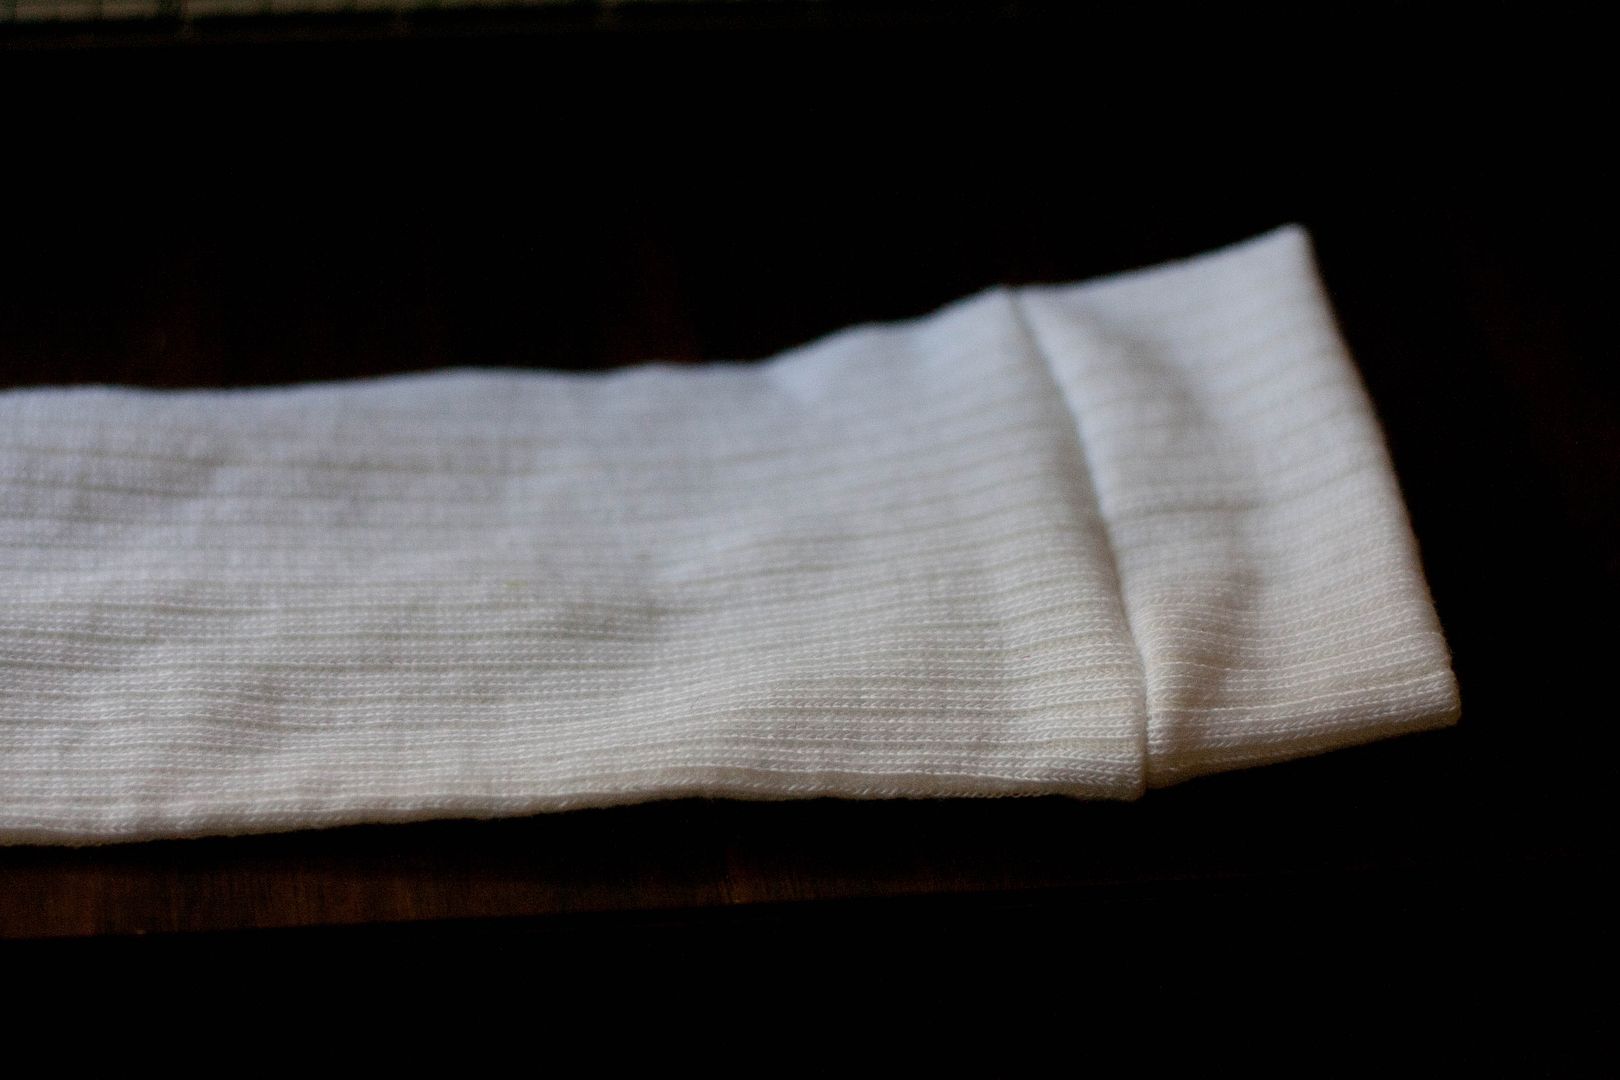
Repeat with the rest of the socks to make some super cute baby legs!
But wait, there's more. I made some more super cheap baby legs out of the sleeves of old shirts! Here's how....

Cut the sleeve off an old shirt and turn it right side out. Use a baby leg (or a sock!) as a pattern to cut out your baby legs. Line the sock up with one folded edge of the sleeve and one end even with the cuff of the sleeve. Cut around the sock, leaving the folded edge intact. In hind sight... leave a little extra space for the seams. :)
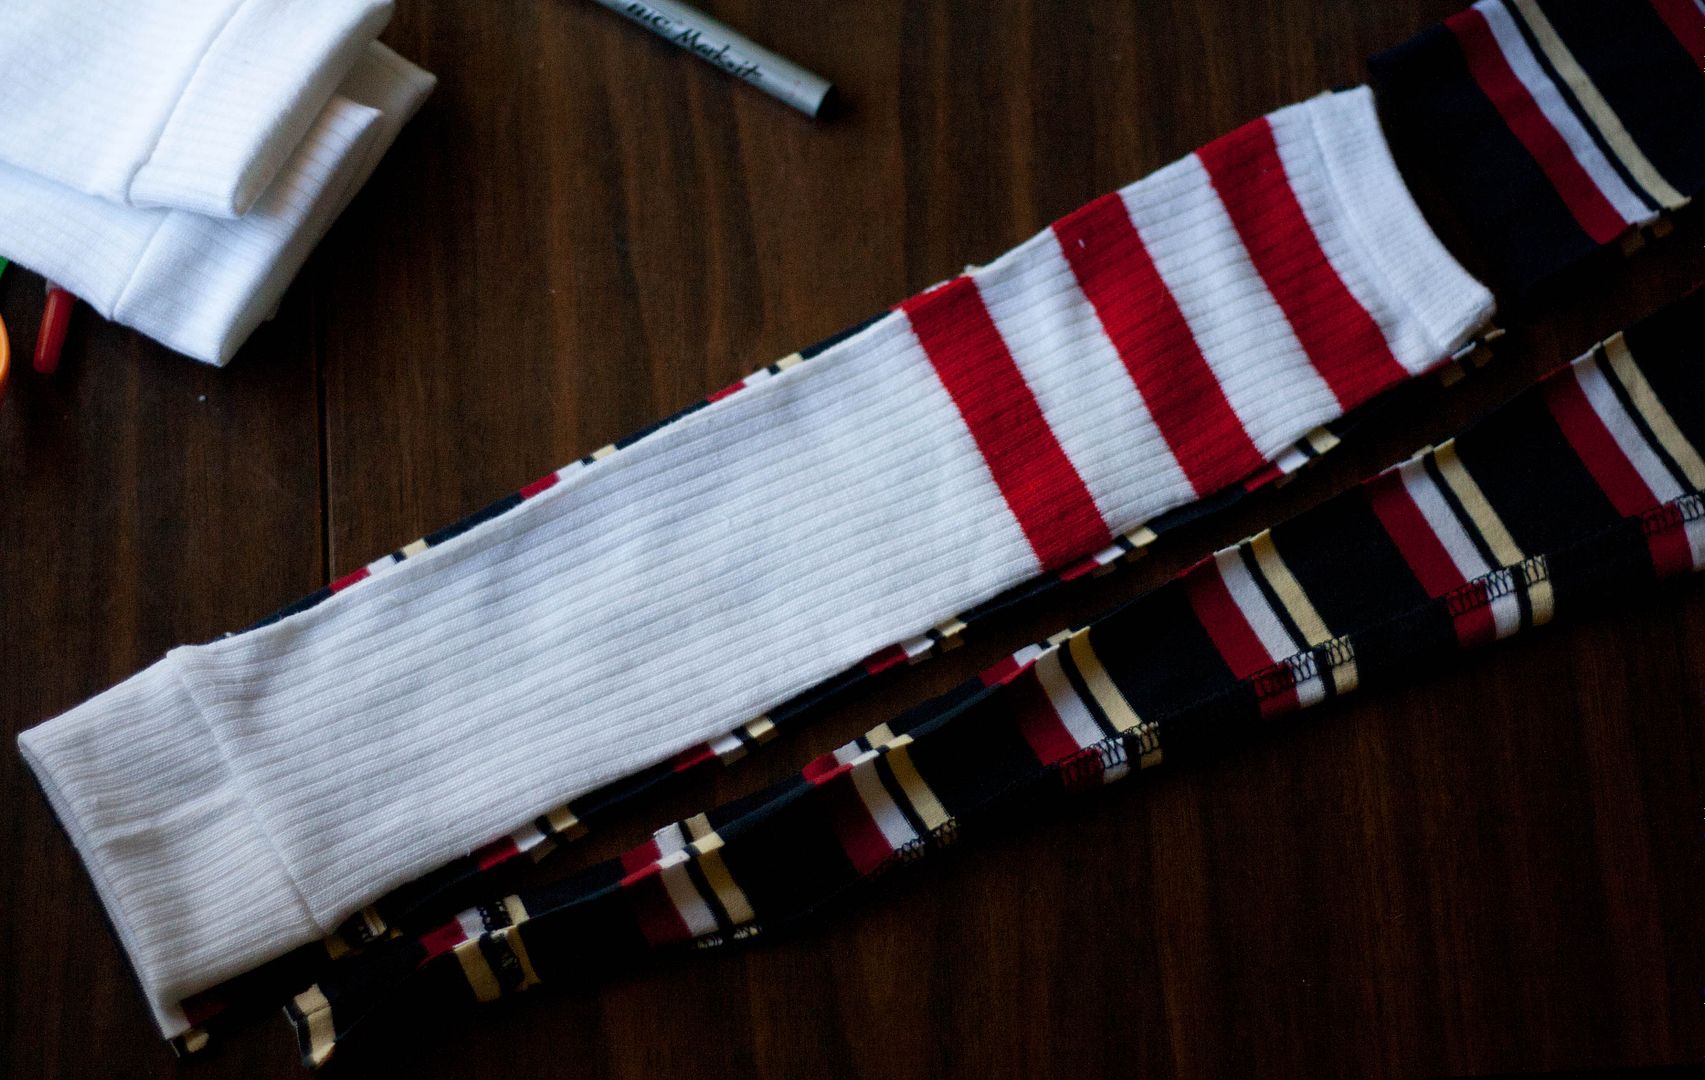
Also cut a piece the width of the sock and a couple inches tall to use as a cuff.
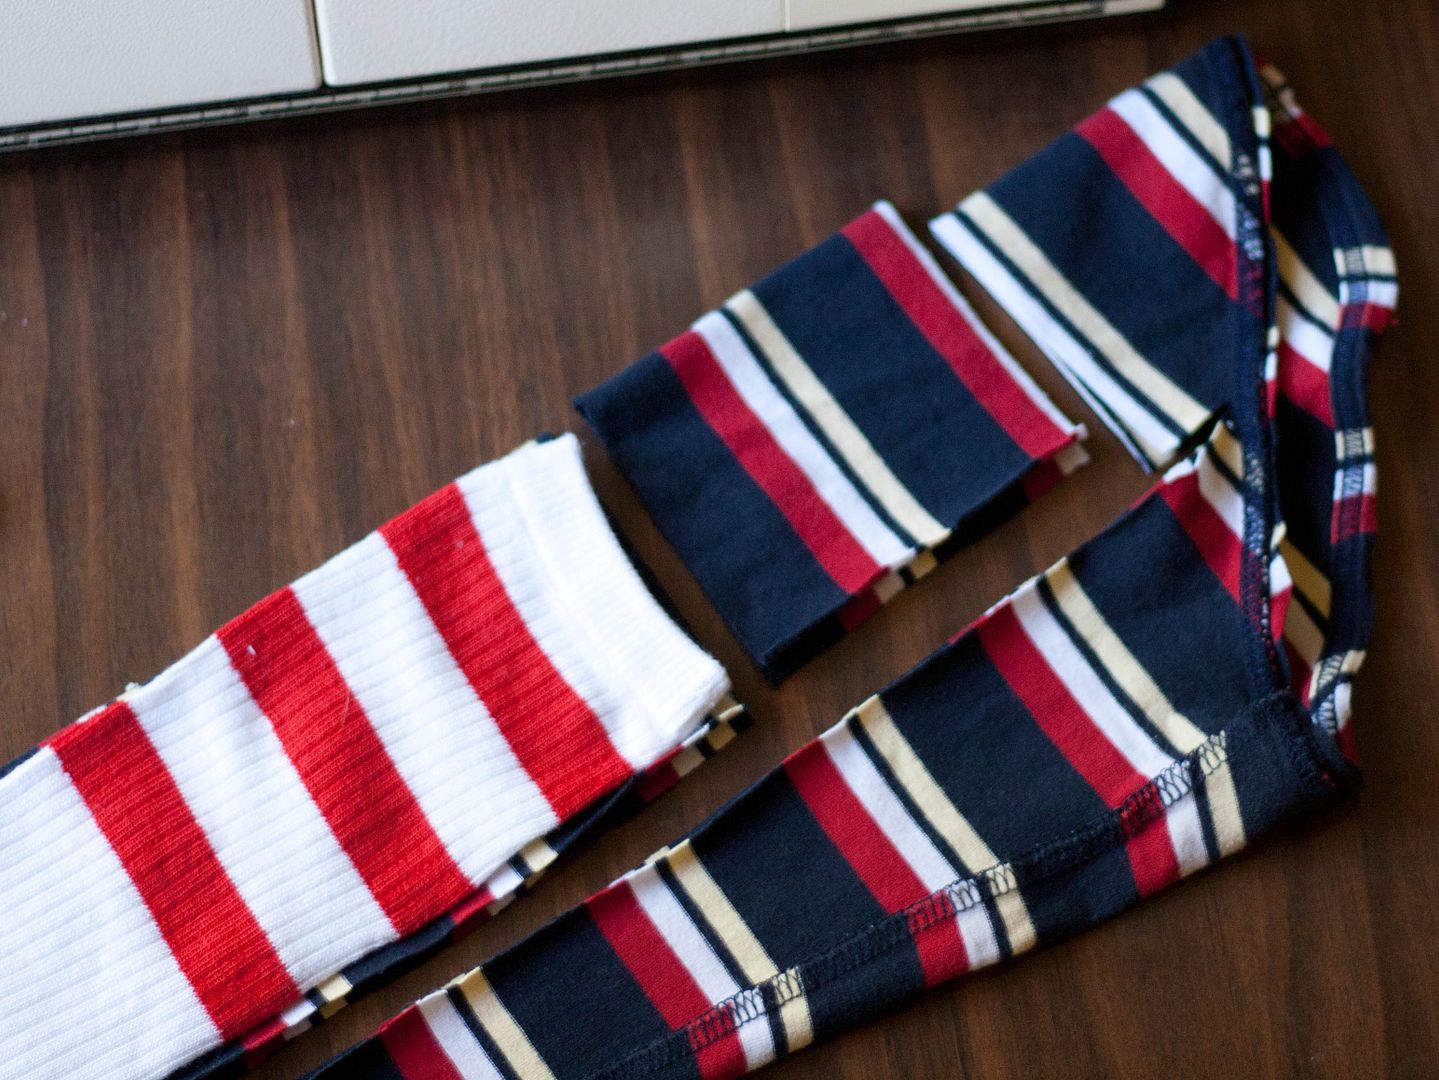
With right sides still together, sew the long edges of the leg pieces and cuff pieces closed with a 1/8" seam allowance.
Fold the cuff in half with right sides facing out.
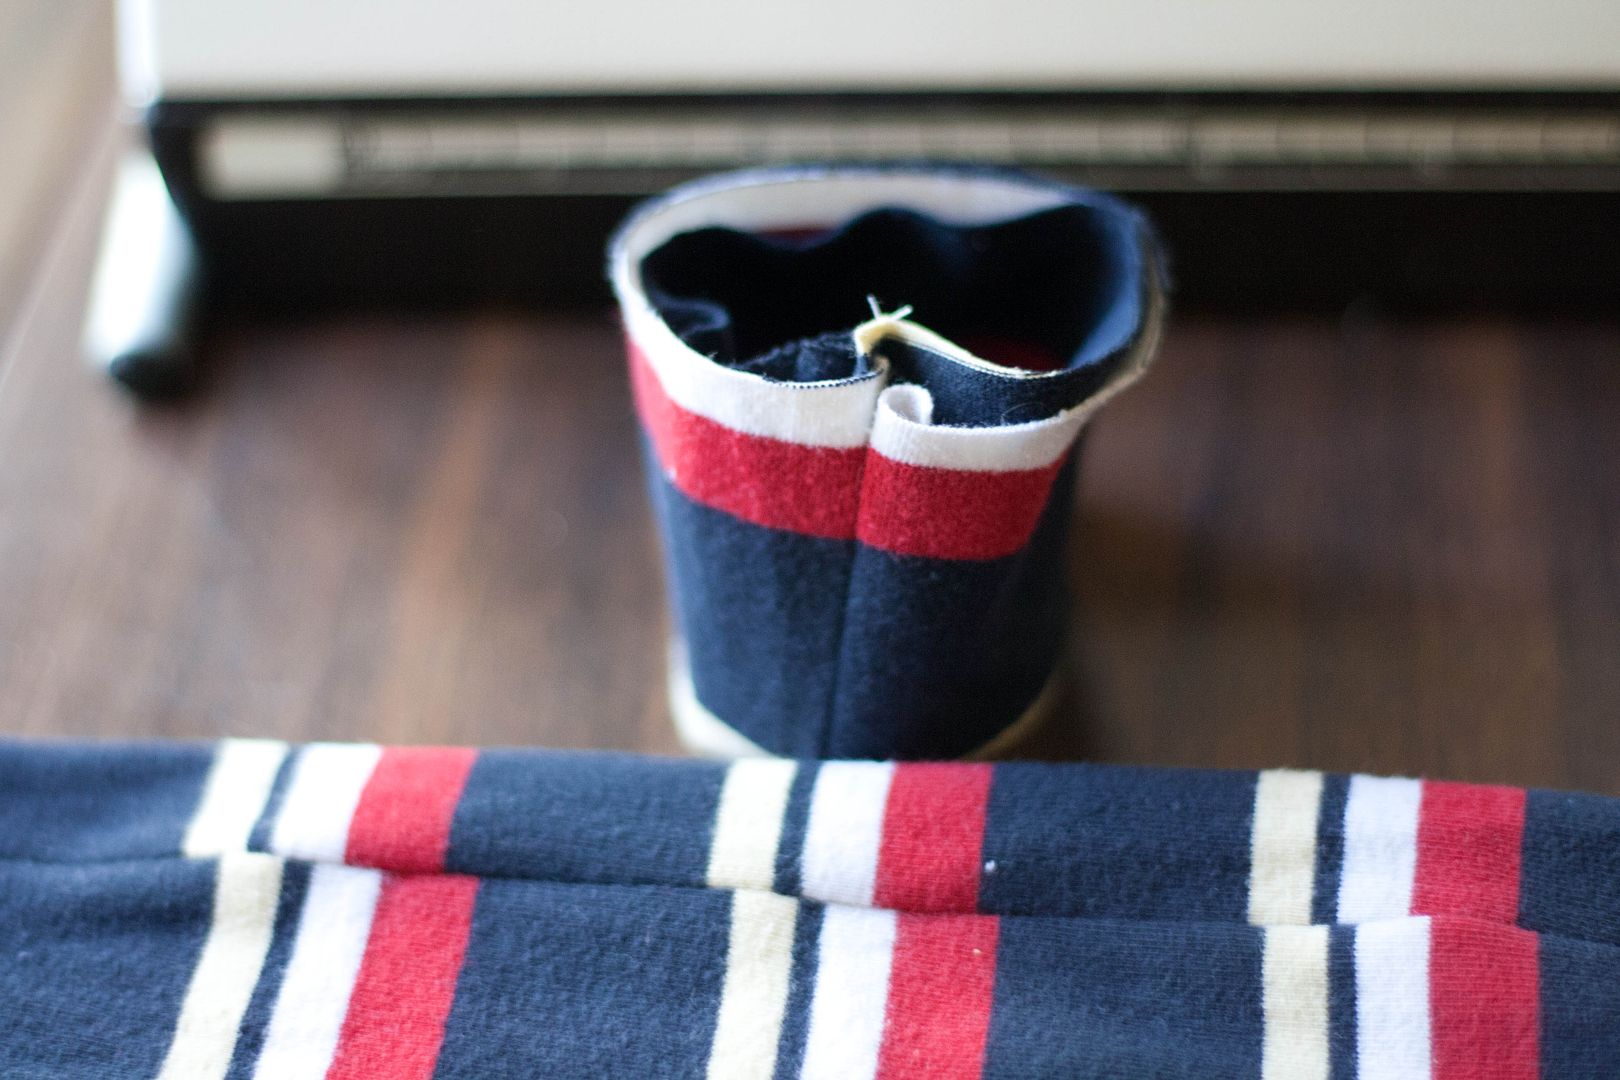
Slide the cuff over the raw end of the leg piece and line up the raw edges.

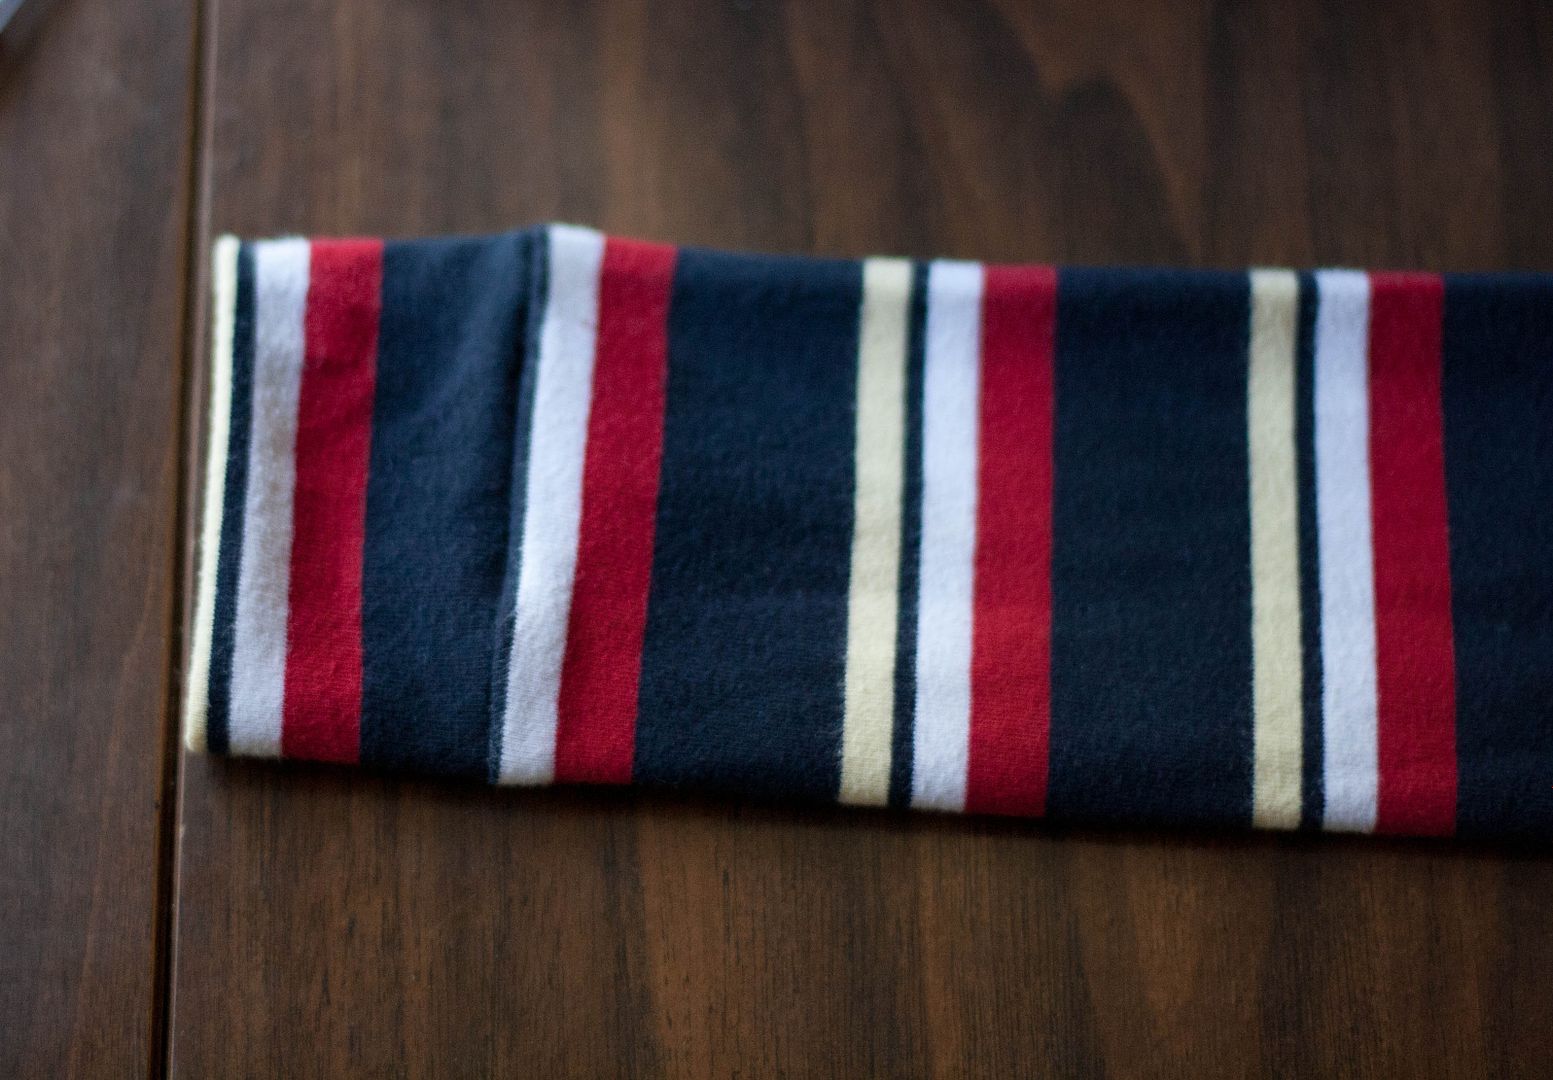
Sew around the opening with a 1/8" seam allowance. Then turn the cuff right side out. Done!
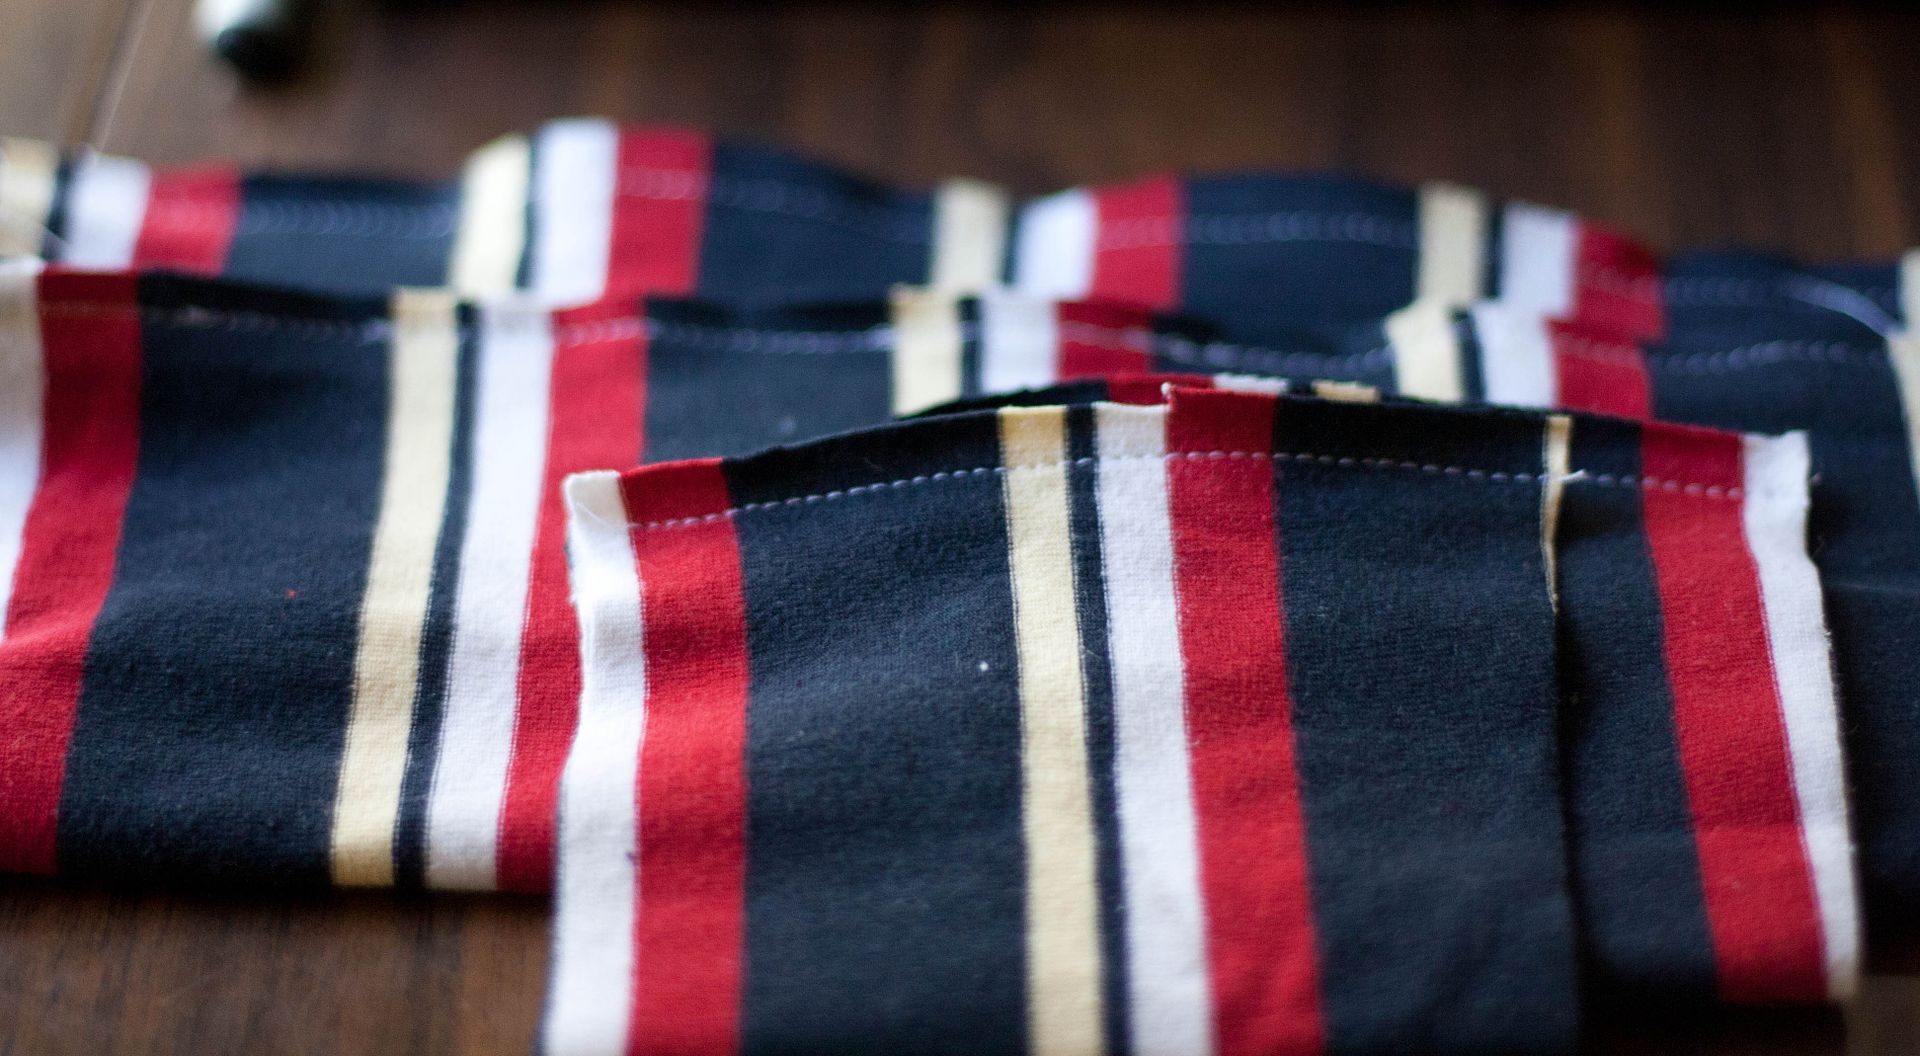
Now just repeat that to use up any extra sleeve you have. :)
These are so easy you can get a whole stash of them made up before the cold really hits! And no, the pink ones are not for Baby B. :)
Now we just need a Baby B to test these out. Oh look! Here's one now!
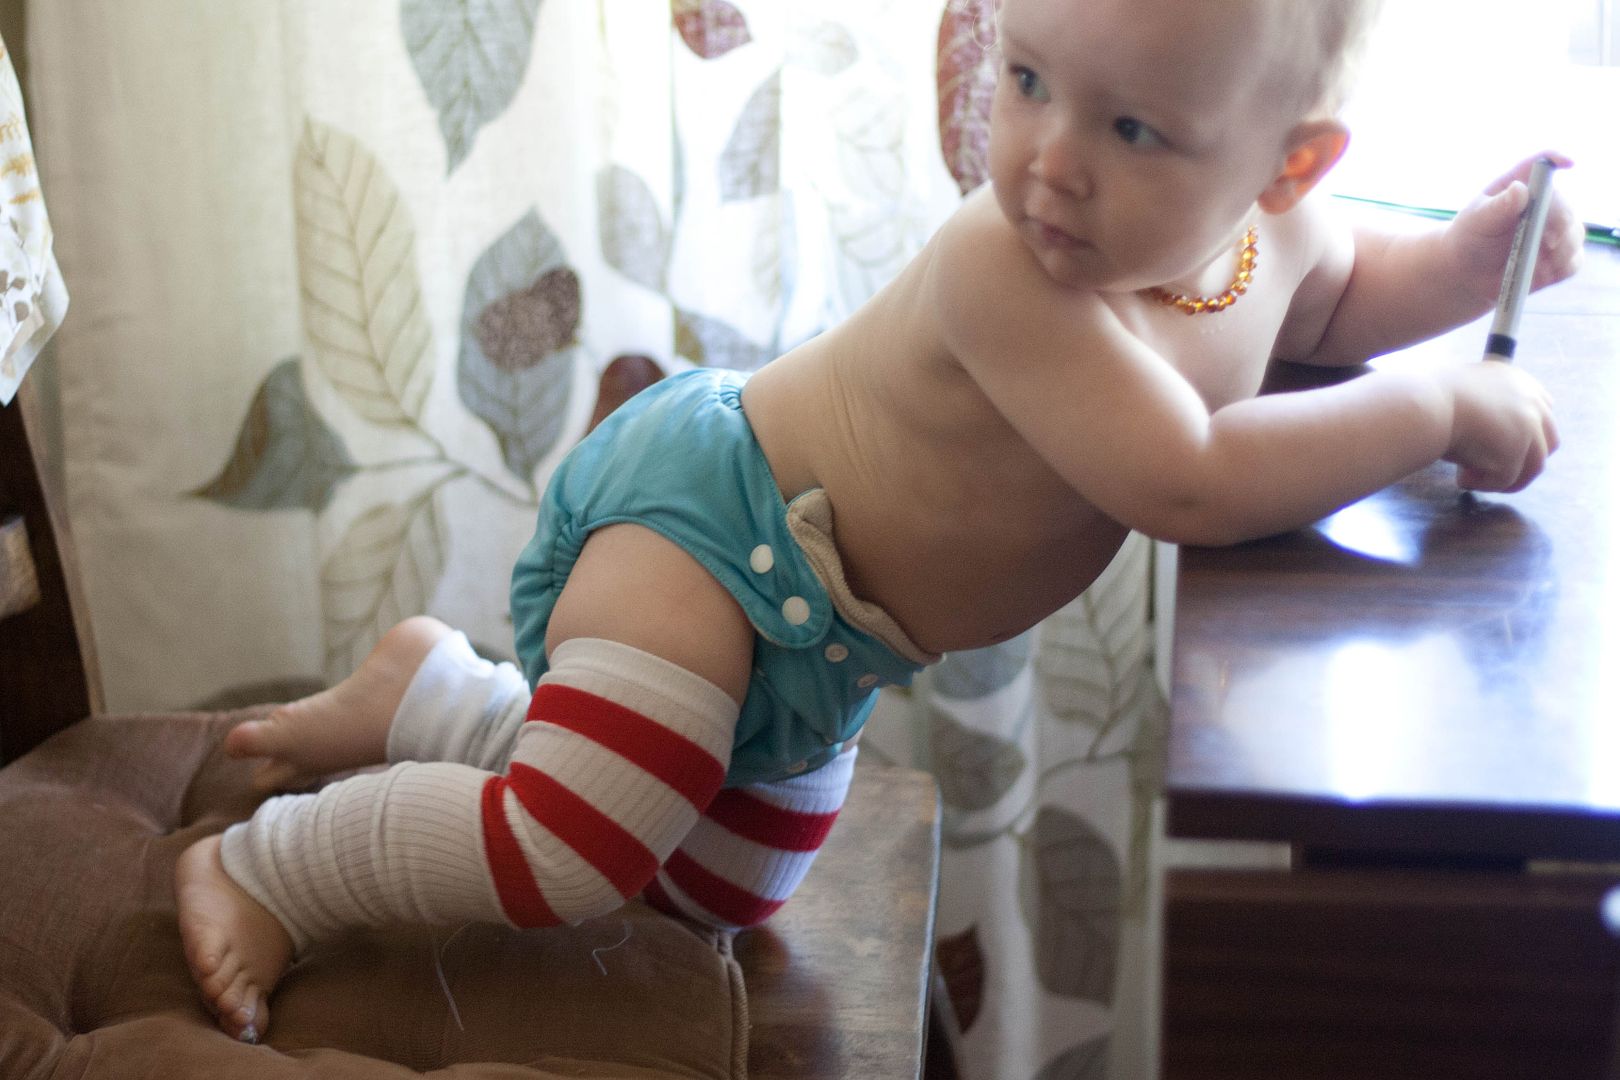
And stretch...2...3...4....
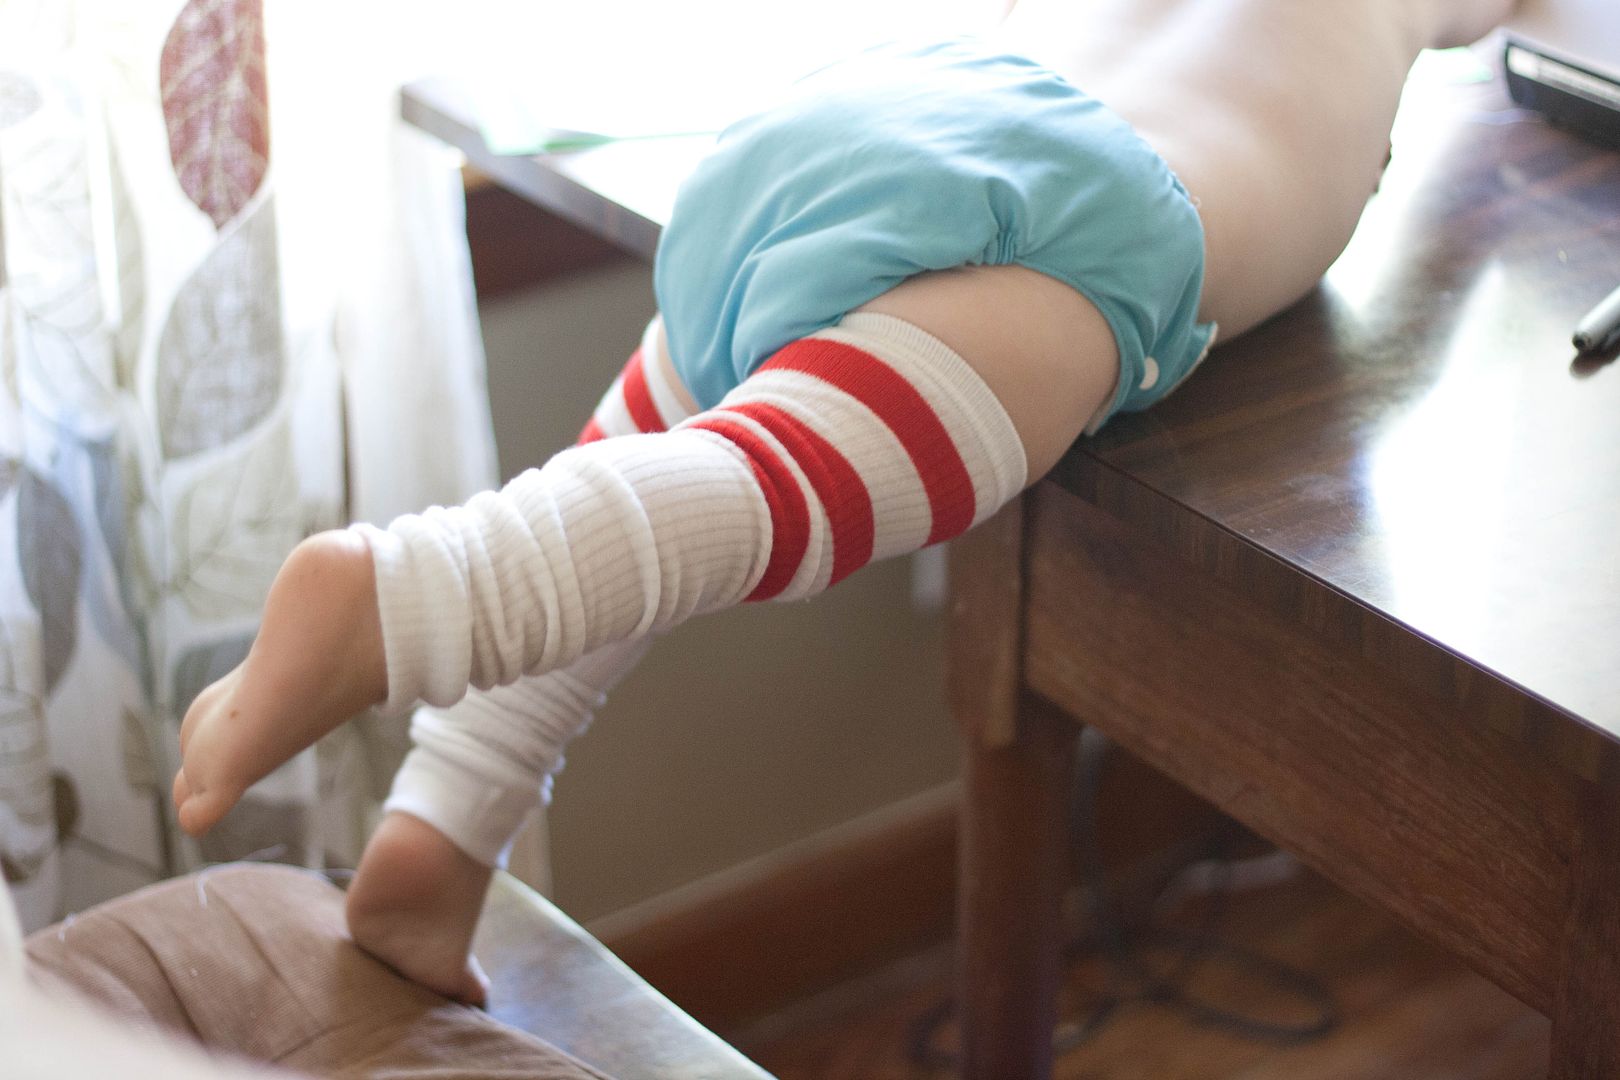
And because there is no such thing as too much Baby B, here are a few more. You're welcome.


Have you made baby legs? What's your favorite way to get ready for cooler weather?
There's no such thing as too much Baby B indeed! So incredibly cute.
ReplyDeleteThe baby legs are great, and I LOVE his little yellow scarf and striped toboggans!
ReplyDelete