

Alternately titled - Learn From My Mistakes. Ha ha. Before we jump in, let's talk about concrete for a minute. And some important things we learned along the way. :)
- Concrete seems like great countertop material to me. It's solid and durable, and functionally it seems similar to granite for a fraction of the price.
- Concrete is heavy. Seriously. With 6 people, we barely got our 6' piece in the house. So get lots of help!
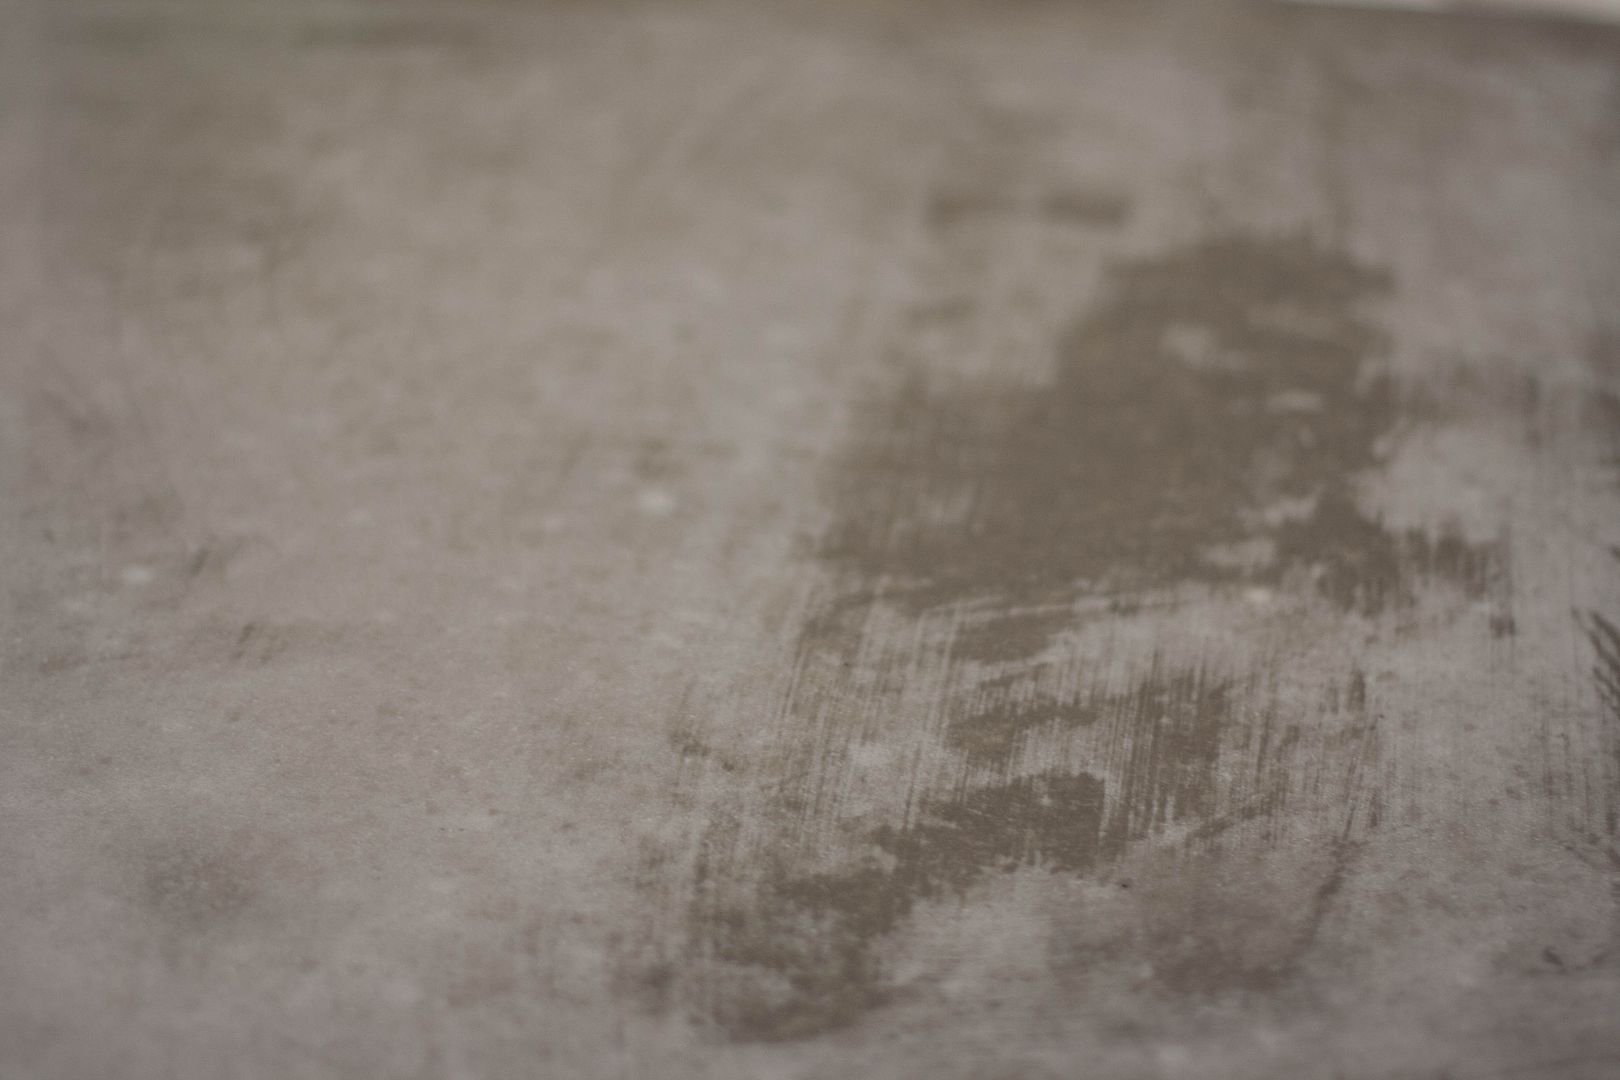
- Concrete is imperfect. I think that is just its nature. Our finished tops have different shades and markings but that is what adds to the industrial charm of concrete. If you are a perfectionist or want your tops to look exactly a certain way, concrete is probably not for you.
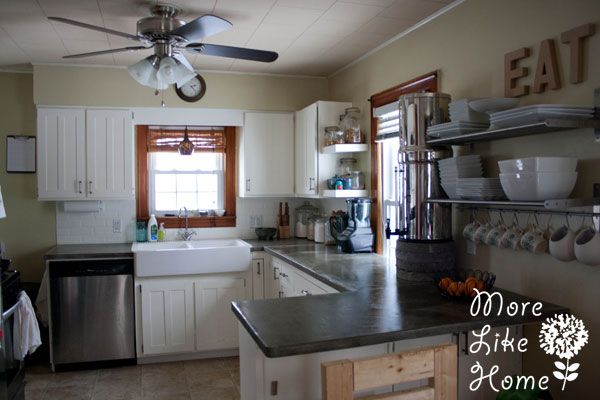
This is the kitchen a year and a half later...we still love the countertops!
Supplies
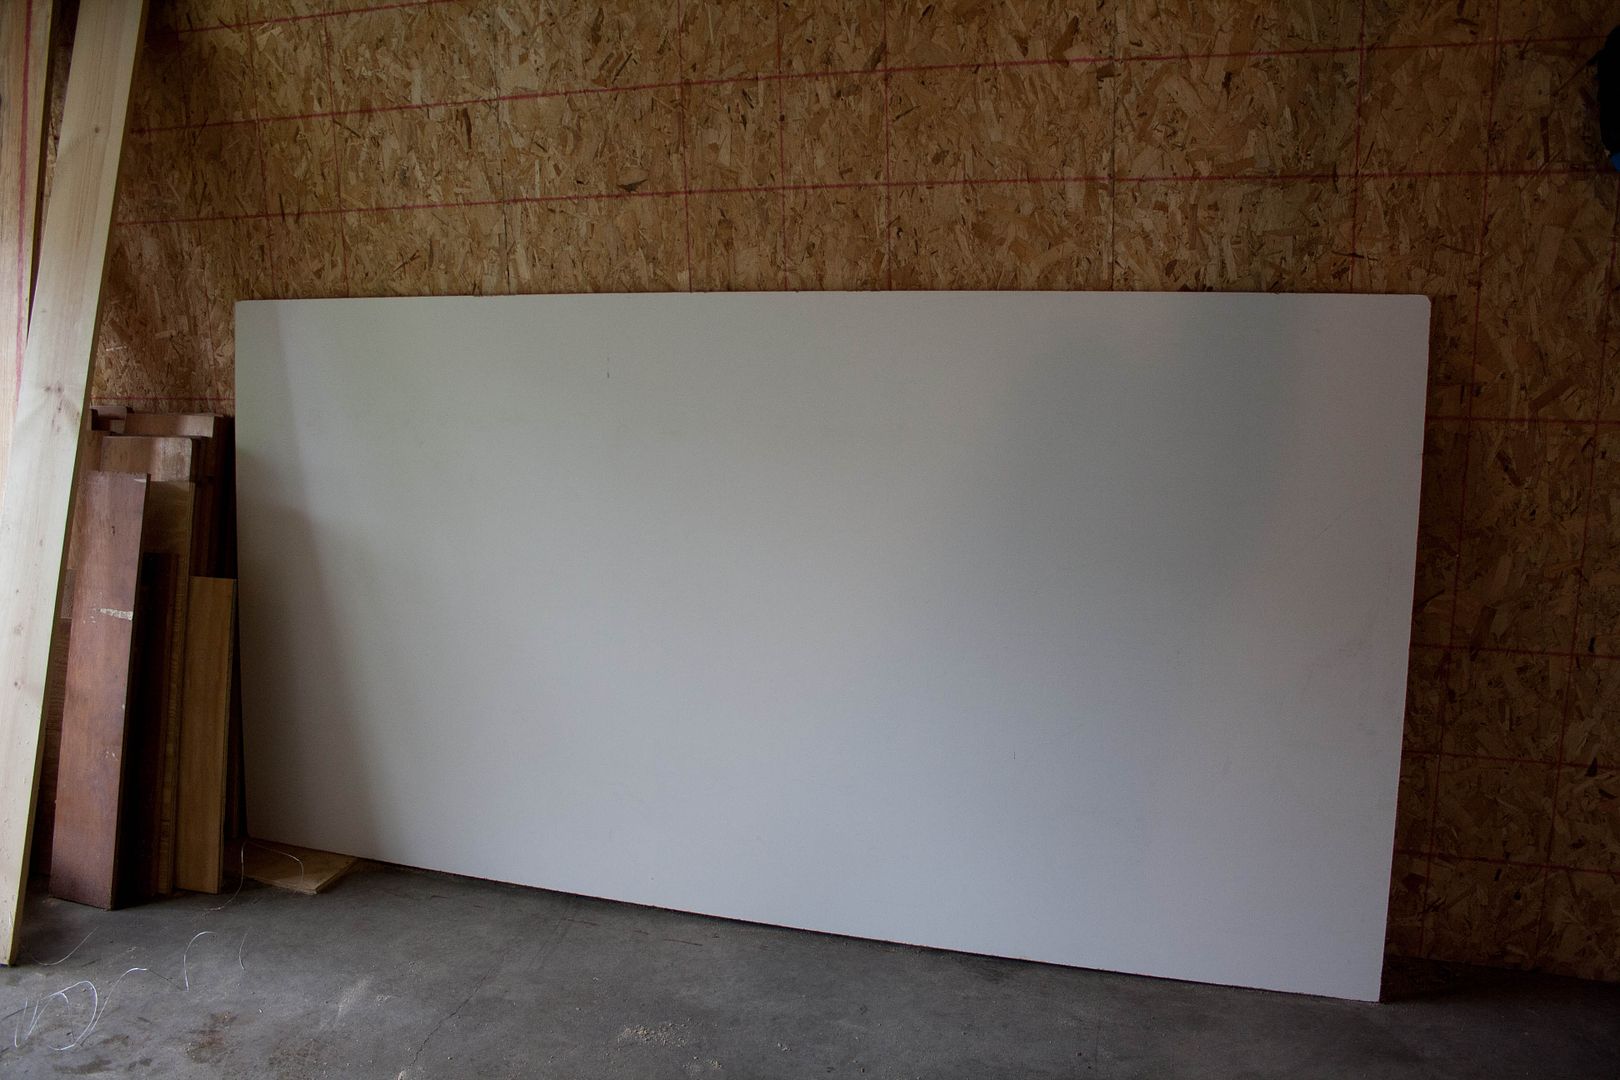
- 5/8" Melamine - This will be the forms for your countertops.
- Concrete - duh. We used a countertop mix concrete from Menards. It was quite a bit more than a regular old bag of concrete ($13 vs. $3), but we wanted to make sure we got this right the first time so we splurged for the good stuff.
- Concrete dye - if you want to change the color of your concrete. We left ours au naturale.
- Welded wire mesh - something fairly sturdy to give your countertops more structure.
- Countertop sealer - see our post about sealers here.
- Silicone caulk - for sealing your mold corners and sealing your seams.
- 1/2" plywood - this will be the base for your countertop, so you need enough to cover your cabinets.
- Support brackets - if you're planning to have a bar or overhang you'll want some extra support
- Water
- Drill
- 2" Screws
- Caulk gun
- Table Saw - you could use a circular saw but you need to make sure your cuts are super straight!
- Shims - for leveling your forms
- Utility Tub - for mixing concrete
- Hoes - for mixing concrete
- Trowel
- A Board - for skimming your forms
- Mallet or Power Sander (for removing bubbles from the forms)

The Plan
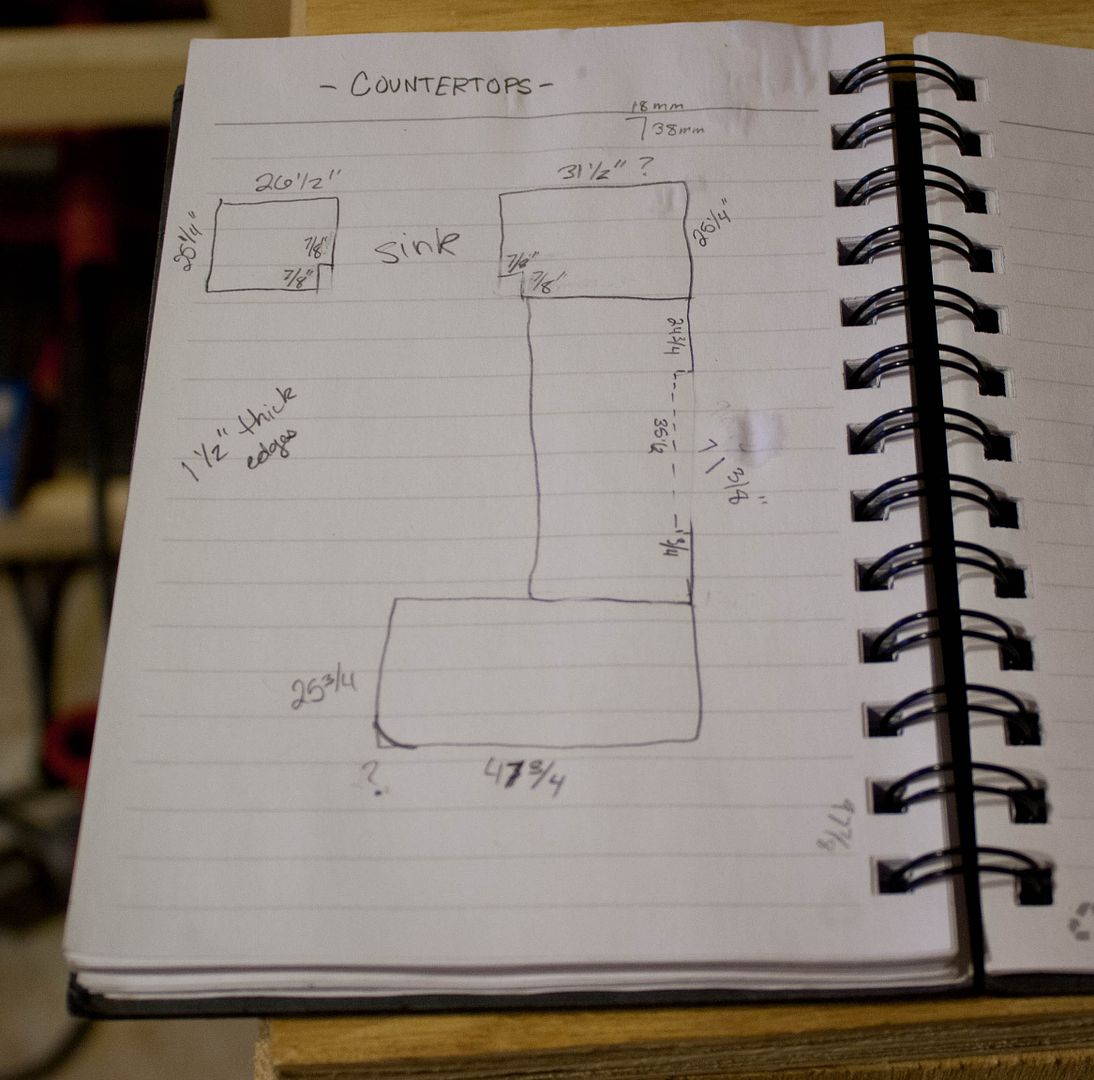
Now you need a plan. If you are replacing existing countertops, you can just measure them and pour your new tops to match. If, like us, you're starting from bare cabinets, you'll need to measure the size of your cabinets and add an overhang allowance. You should plan 1 - 1 1/2" overhang on the front edges, and 1/2 - 3/4" overhang on any exposed edges (any edges that butt up against appliances would have no overhang). I found it really helpful to draw a rough sketch of the countertops so I could mark where to add overhangs and such. Also be sure to account for any odd spaces - we had to make sure we left a notch where the countertop would run in front of the window, and our farmhouse sink needed notches in the front corners of the countertop. Another option that I read about is to create a template for your countertops. This option would be great if you have crooked walls or funny angles to work with. You would just use craft paper cut and taped to fit your space exactly. We didn't have anything very tricky, though, so we just measured. Once you have your measurements figured out, you can decide where you want to put your seams. We decided to pour ours in four pieces, putting our seams in places that seemed natural like at corners (you don't want to carry anything too long because it will be crazy heavy and more likely to snap in the middle).
Prep the Cabinets
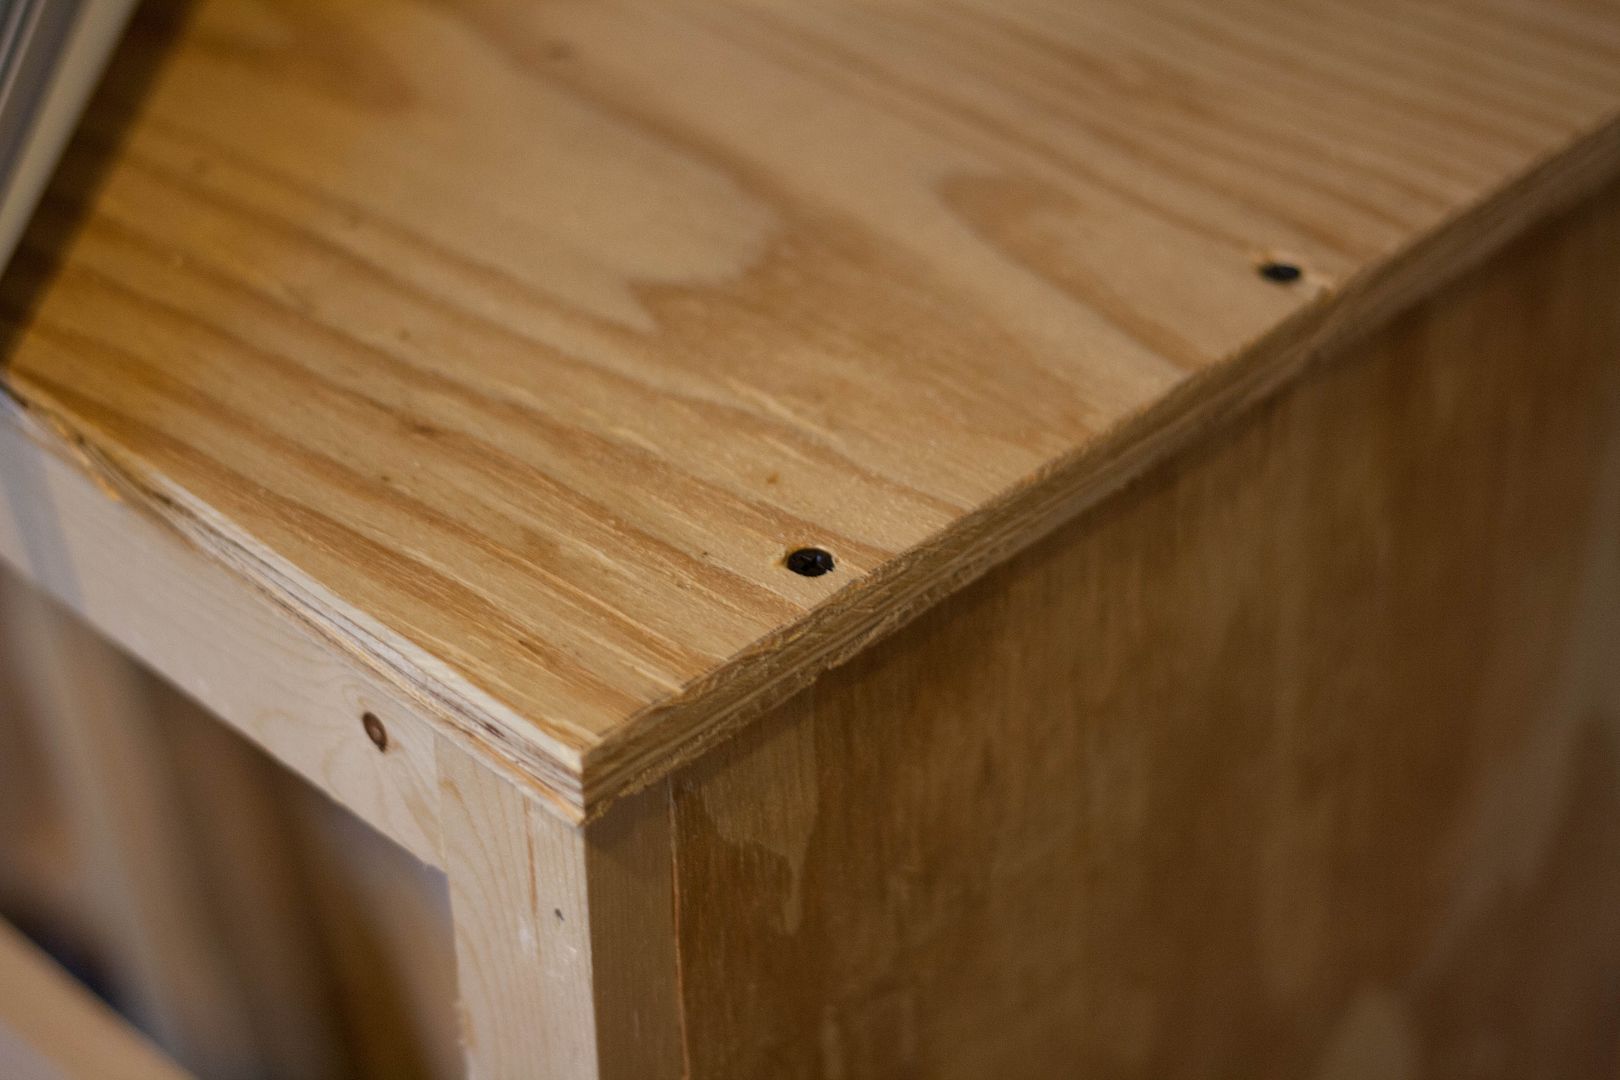
Before you install your countertops, you need to put down a base layer of plywood. We cut out plywood to sit flush with the edges of our cabinets so it wouldn't show under the lip of the countertops. For our bar overhang, we cut the plywood 1" short for the same reason.

We secured the plywood by screwing it into the frames of the cabinets. Also in prepping, you want to check that your cabinets will be able to support the weight of concrete tops. You want them to be built out of plywood (some cabinets, especially older ones, are made of thin particle board that would NOT hold up to the weight of concrete). If you're in doubt, ask a professional. If you have an overhang, go ahead and put up any support brackets you need as well.
Build the Forms
Once your cabinets are prepped and your measurements are all figured out you build your countertop forms! These will be built of melamine because it is a non-stick surface. When you pour your tops, the bottom side (the side against the melamine) will actually end up being the top and the melamine will give it an wonderful smooth finish. This stuff is pretty expensive (about $40 for the sheet) and since we like to be cheap we did some math ahead of time to figure out the most economical way to use our melamine. We ended up buying the full sheet to use (and reuse!) as our form base. We figured out that if we kept the piece whole and reused it by pouring a couple pieces at a time, we could get by with just one piece. We also bought a narrow piece (called a utility shelf panel, I think) to cut up and make our form sides.
First, you need to get your form base level. The best thing to do here is to find the levelest spot you can to work on. Lucky us - we didn't have anywhere very level. Ha ha. :) We had to work in our garage because the forecast was rainy, so we found the most level spot we could and used shims to get things as level as we could in every direction (we leveled side to side, end to end, diagonally, and really just all over the place!).
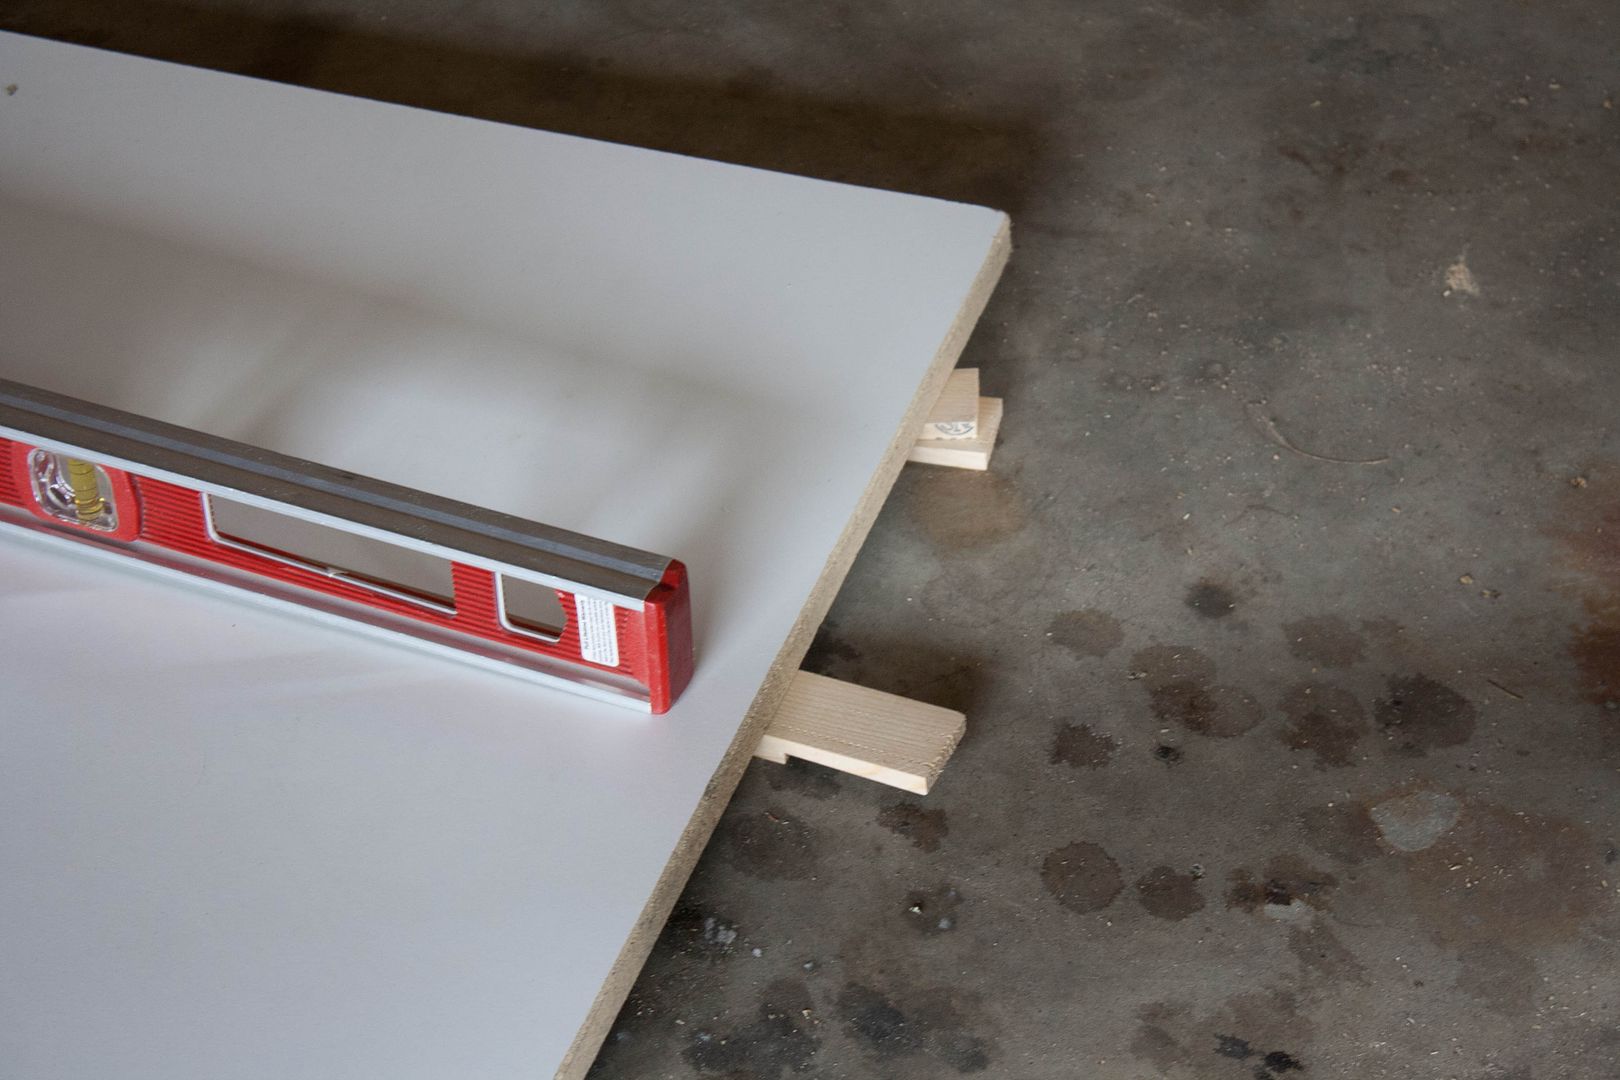
Perfecto!

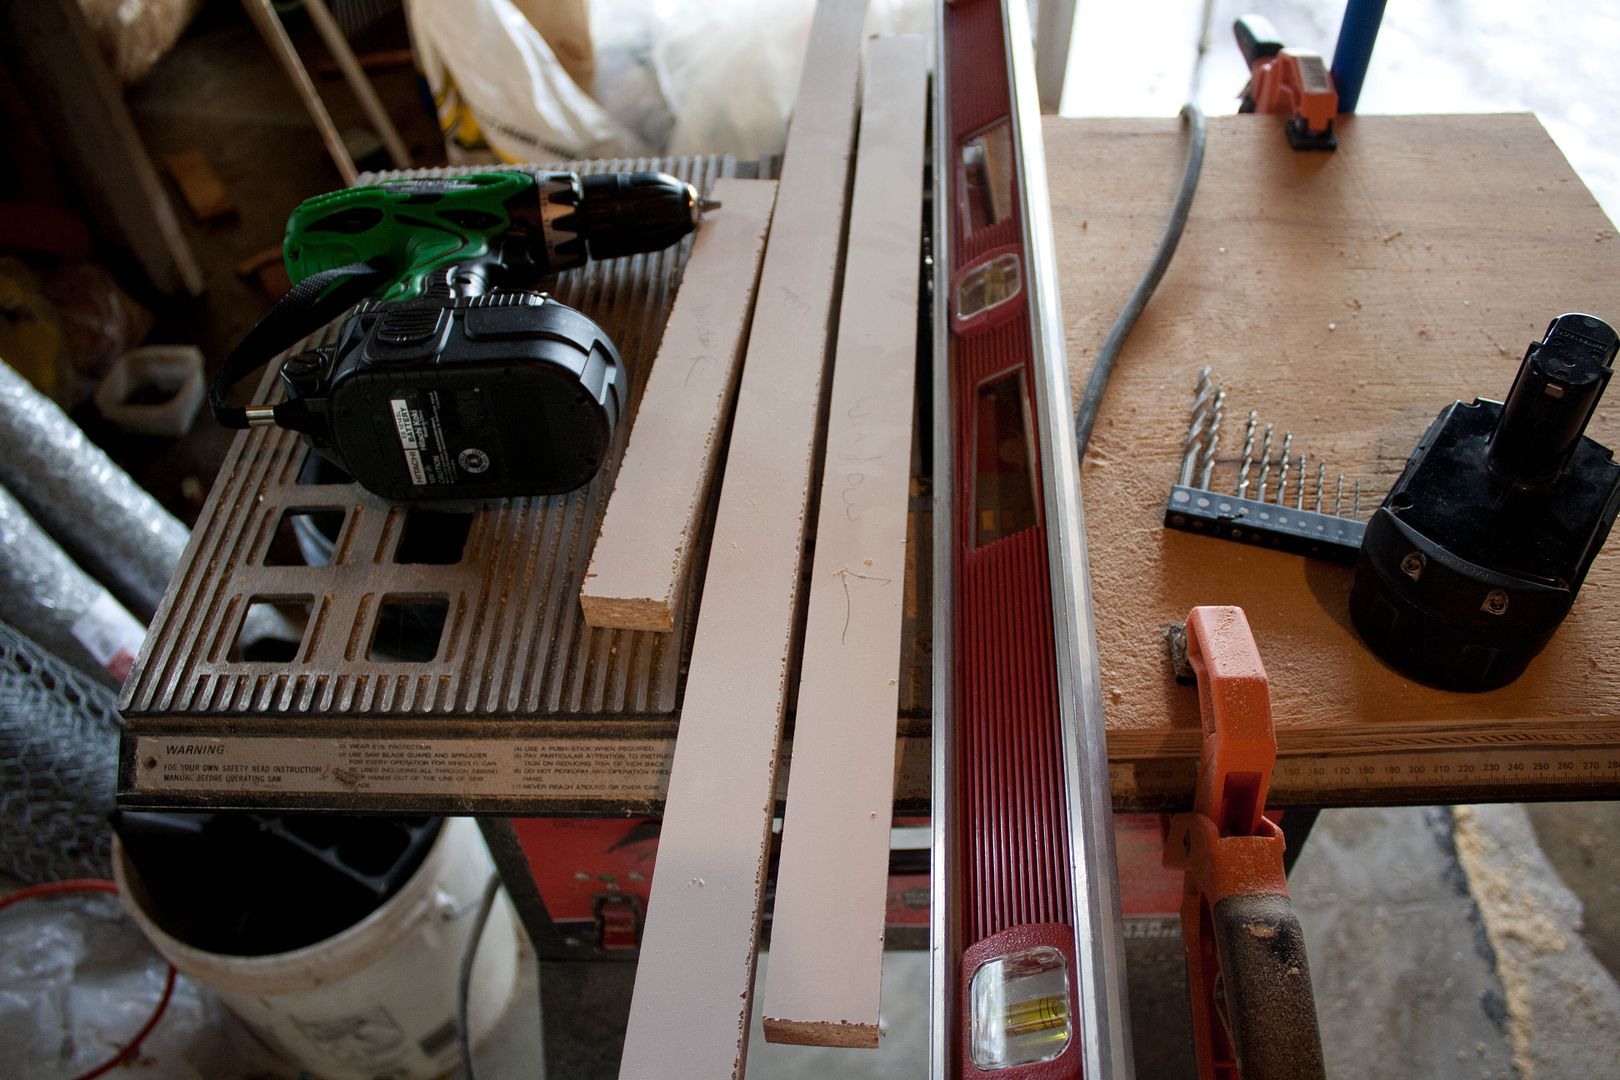
Next we cut strips to make our form sides. We used a table saw to cut our melamine shelf board into 1 1/2" strips. A standard countertop is 1 1/2" thick which is why we chose that size, but you can do what you like. I've seen some that are 2" and they look awesome...but they were probably a nightmare to carry. :)
We used our measurements to cut our melamine piece to size. Make sure you take the thickness of your form sides into consideration when you measure. You want the inside area of your form to be the size of your countertop. It sounds obvious, but trust me, you want to double check that before you pour! If you made a template of your countertops, you can just lay that on your base and build your sides around it. Easy peasy! ***IMPORTANT*** You need to build your forms upside down from your measurements. Remeber the bottom of the form will be the top of your countertop, so you need to piece to be the right size and shape when you take it out and flip it over*** And yes, we did start with the biggest section. It's called "optimism."
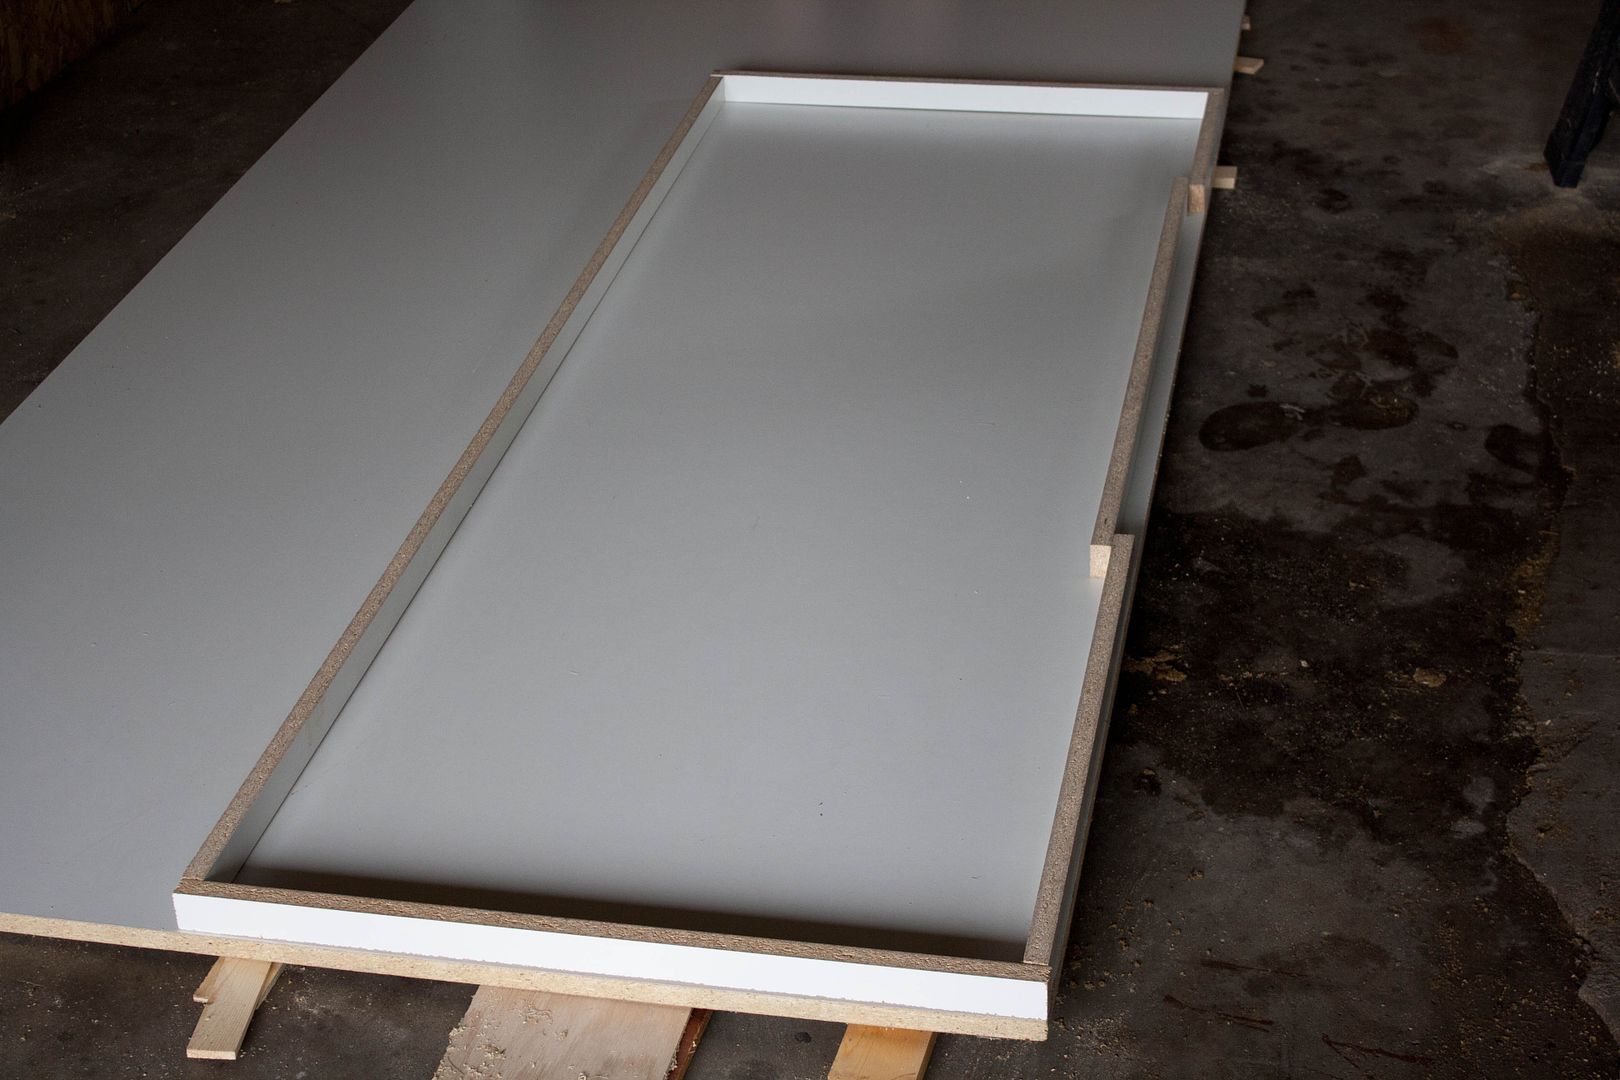
Once our sides were cut to the right size and mapped out, we checked for square by measuring corner to corner. Measure from bottom left to top right, then from top left to bottom right. If you are square, these measurements should be the same. (if you're using a template, skip this part)

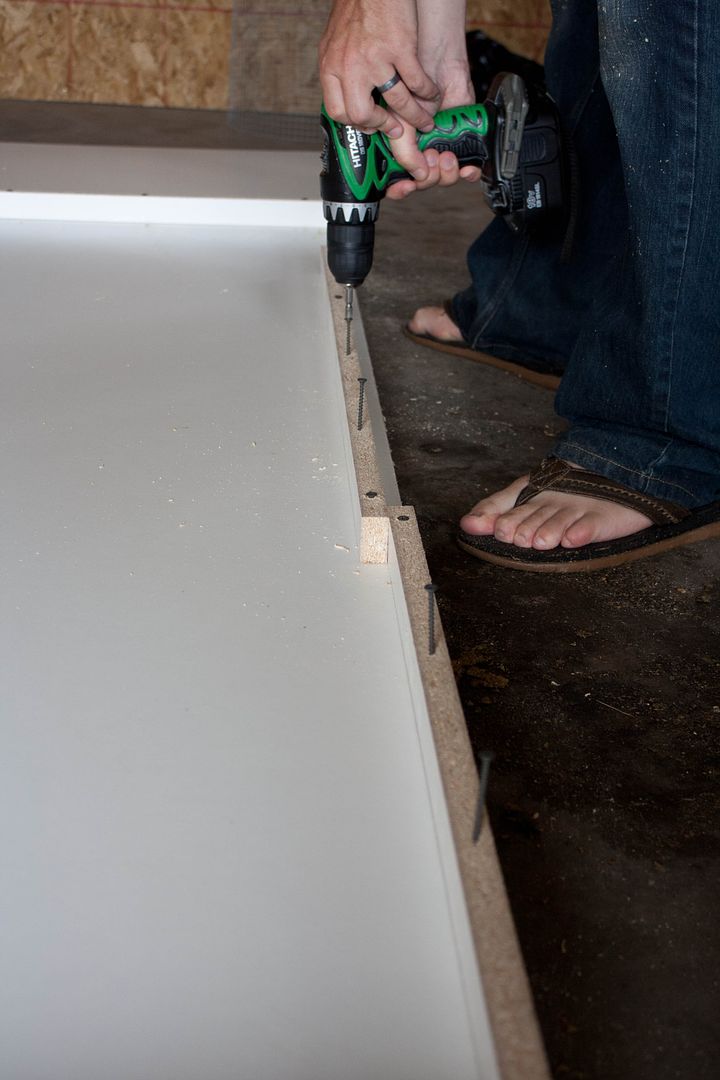
Next we attached the sides down to the base by drilling pilot holes through the sides (spaced every 6-8"), then screwing them down with 2" screws.
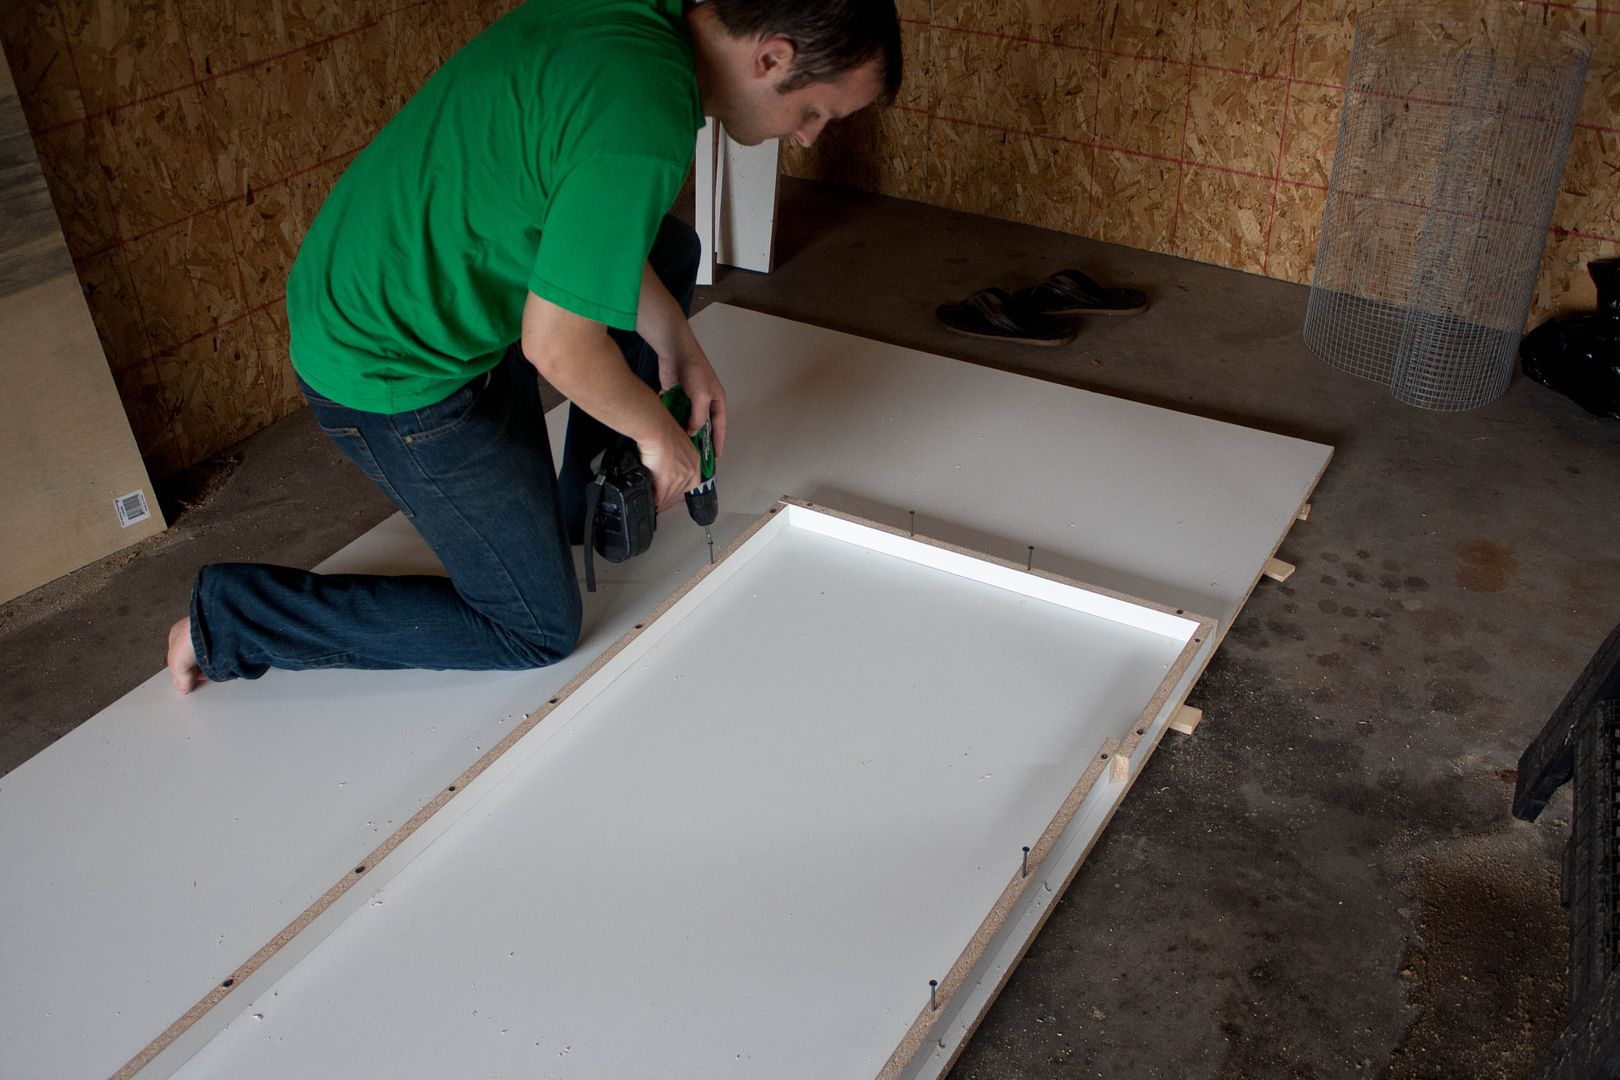
Here you can see how we notched out the space for our window. :)
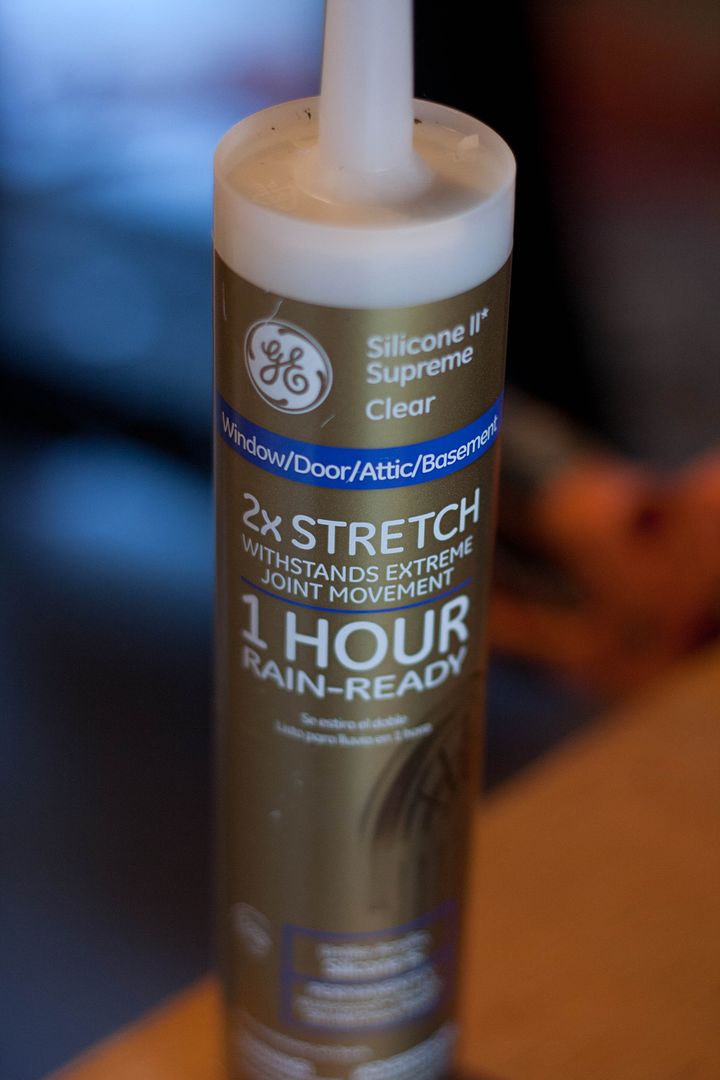
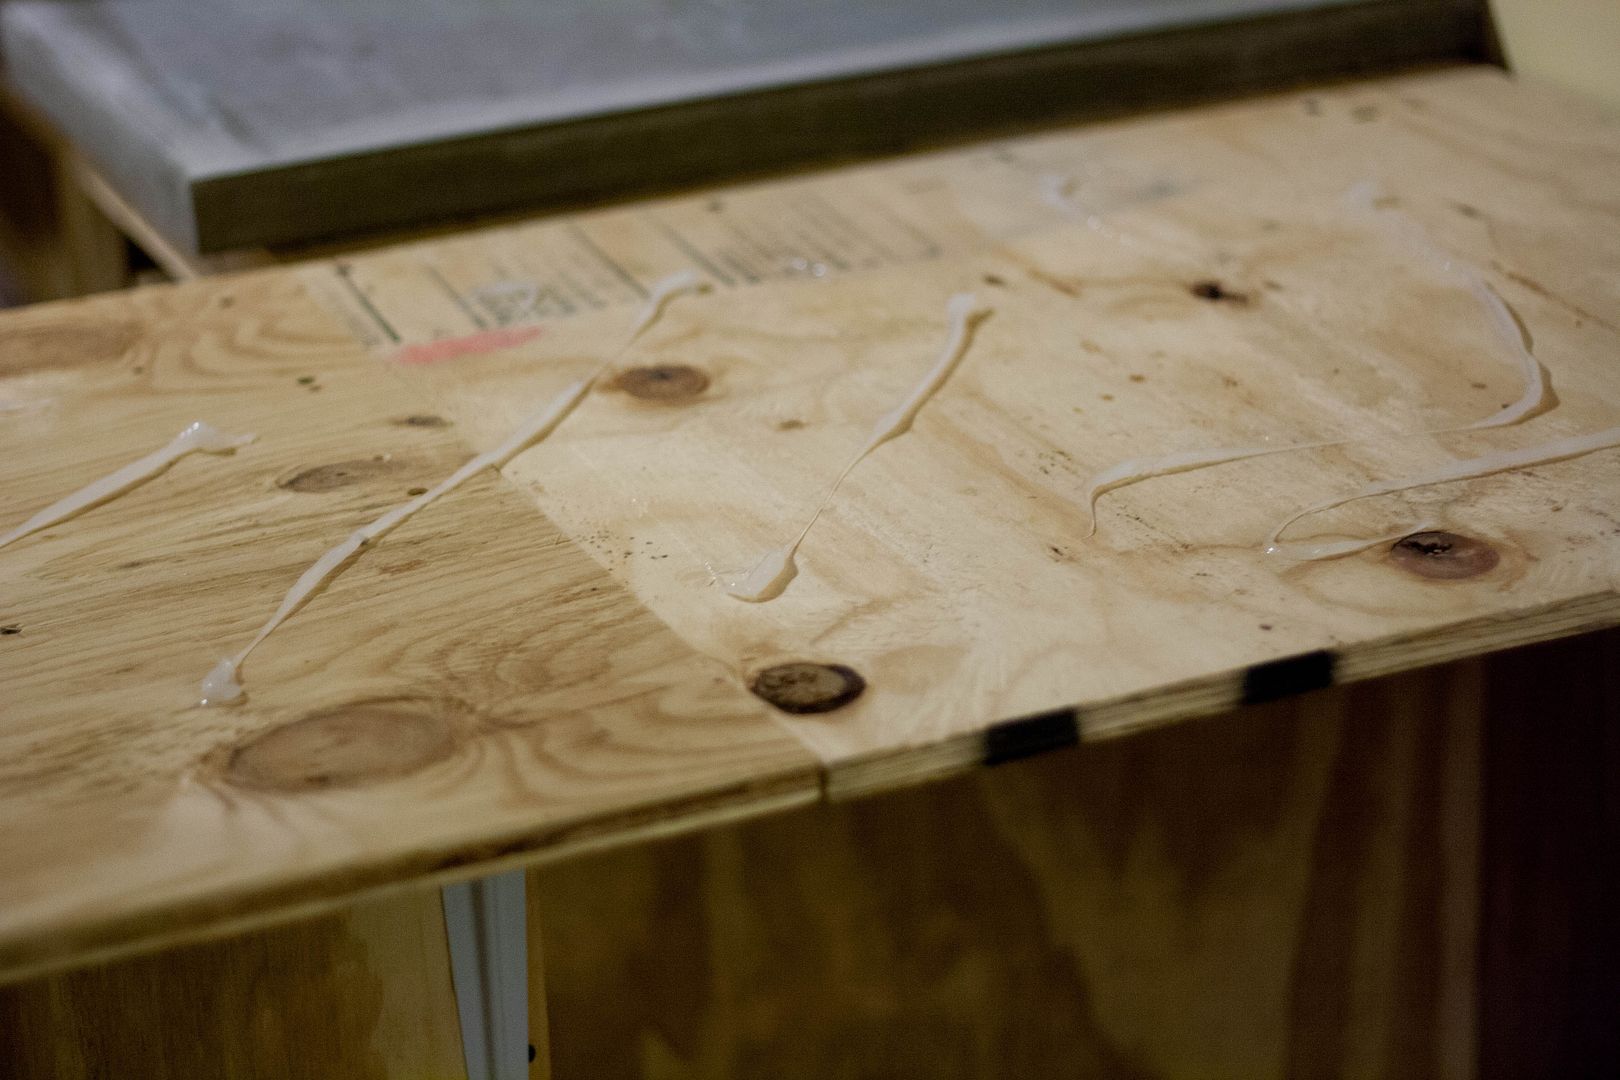
Once all the sides were secured, we had to caulk all the seams around the bottom and corners.You need a 100% silicone caulk for this job... I don't know exactly why, but that's what everybody says. So that's what did! This is the one we used:
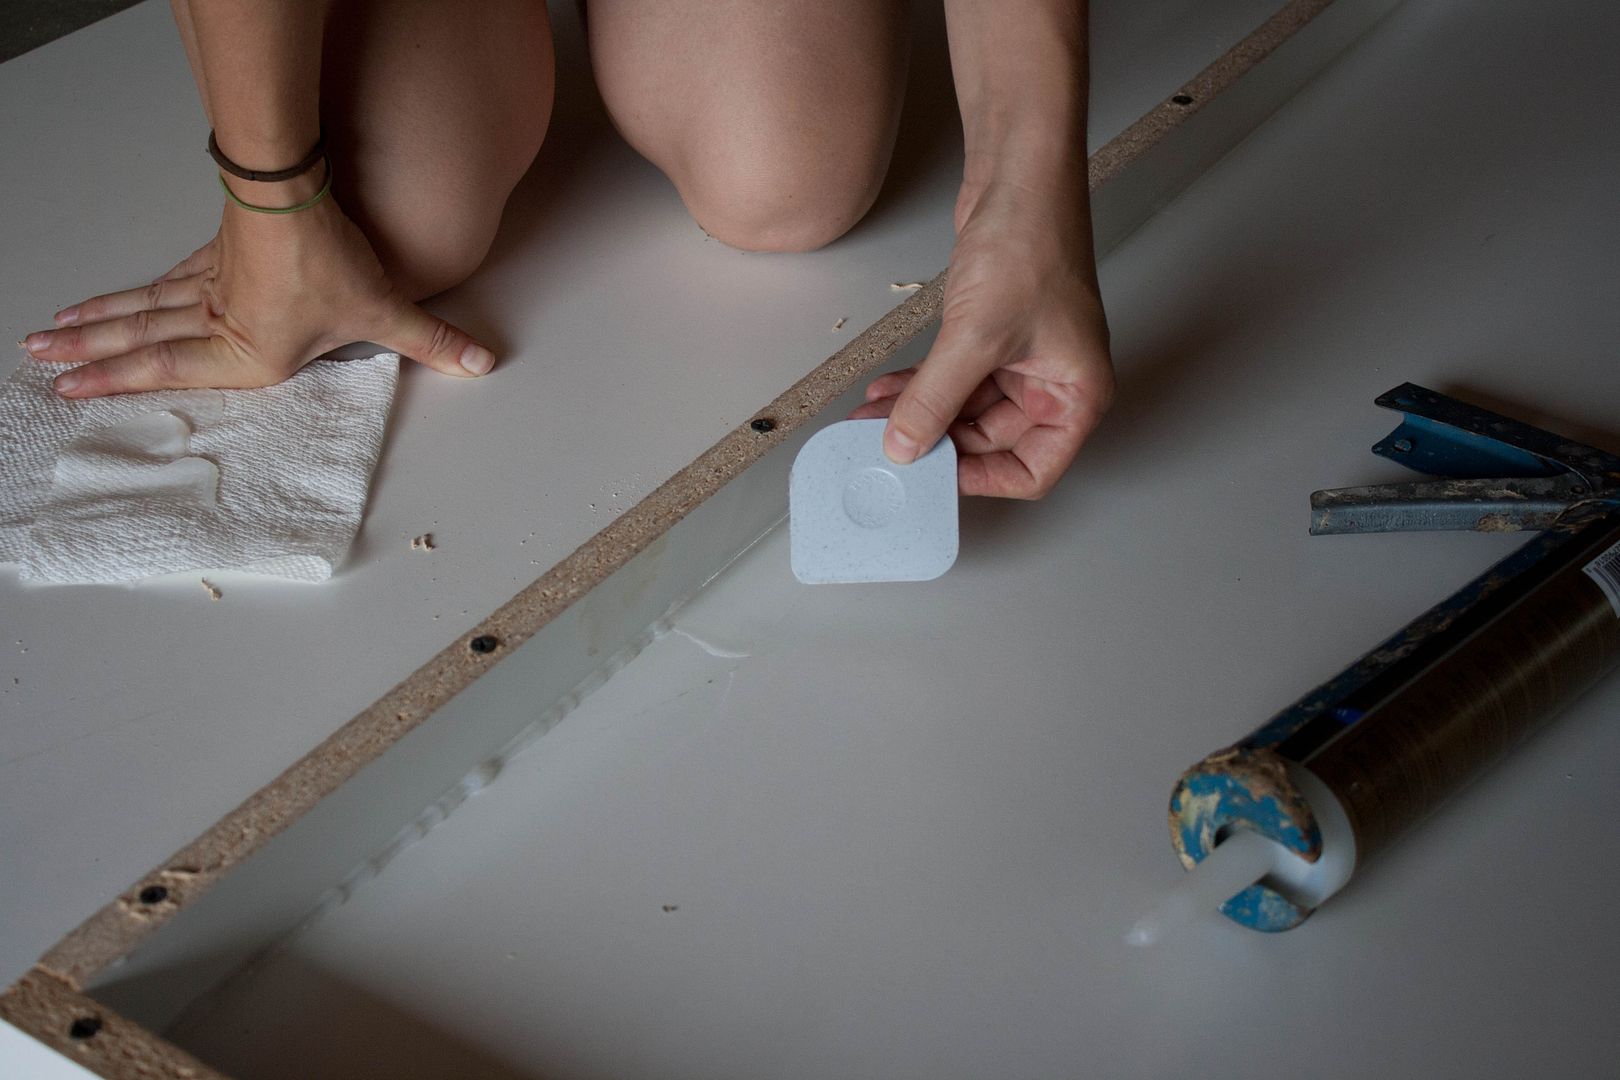
One thing caulking does is keep the concrete from seeping out under the sides and creating messy edges. But wait. There's more. Remember that the bottom will actually be the top when we are done, so making nice smooth seams here will mean nice smooth edges when we are done. We wanted a nice, slightly rounded edge so after running a small bead of caulk along the seams, we used the rounded corner of a pan scraper (like the ones from pampered chef) to make the caulk smooth and rounded (to make the corner on our bar overhang really round, we used lots of caulk to fill in the corner, then the roundest edge of the scraper ) Be sure to keep a paper towel close by to wipe the excess caulk of your scraper every few inches. We found that ANY extra caulk, even the teeniest bit, showed up pretty significantly in the final product. So be sure to wipe up any excess!
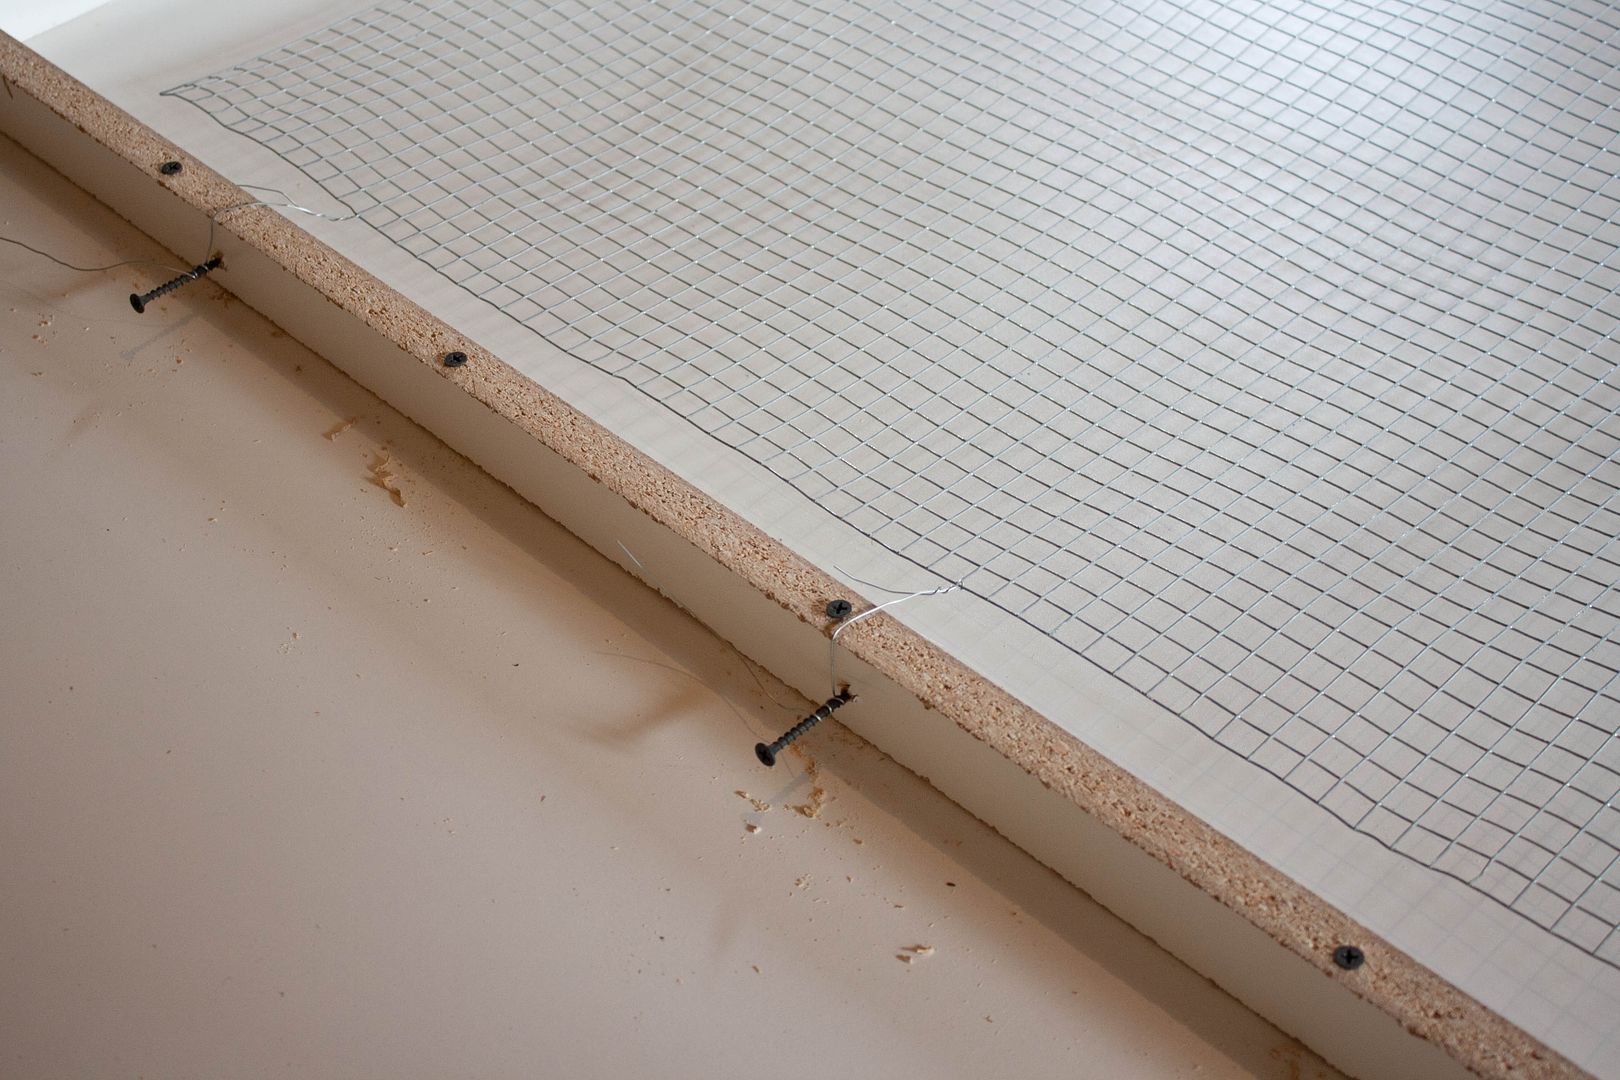
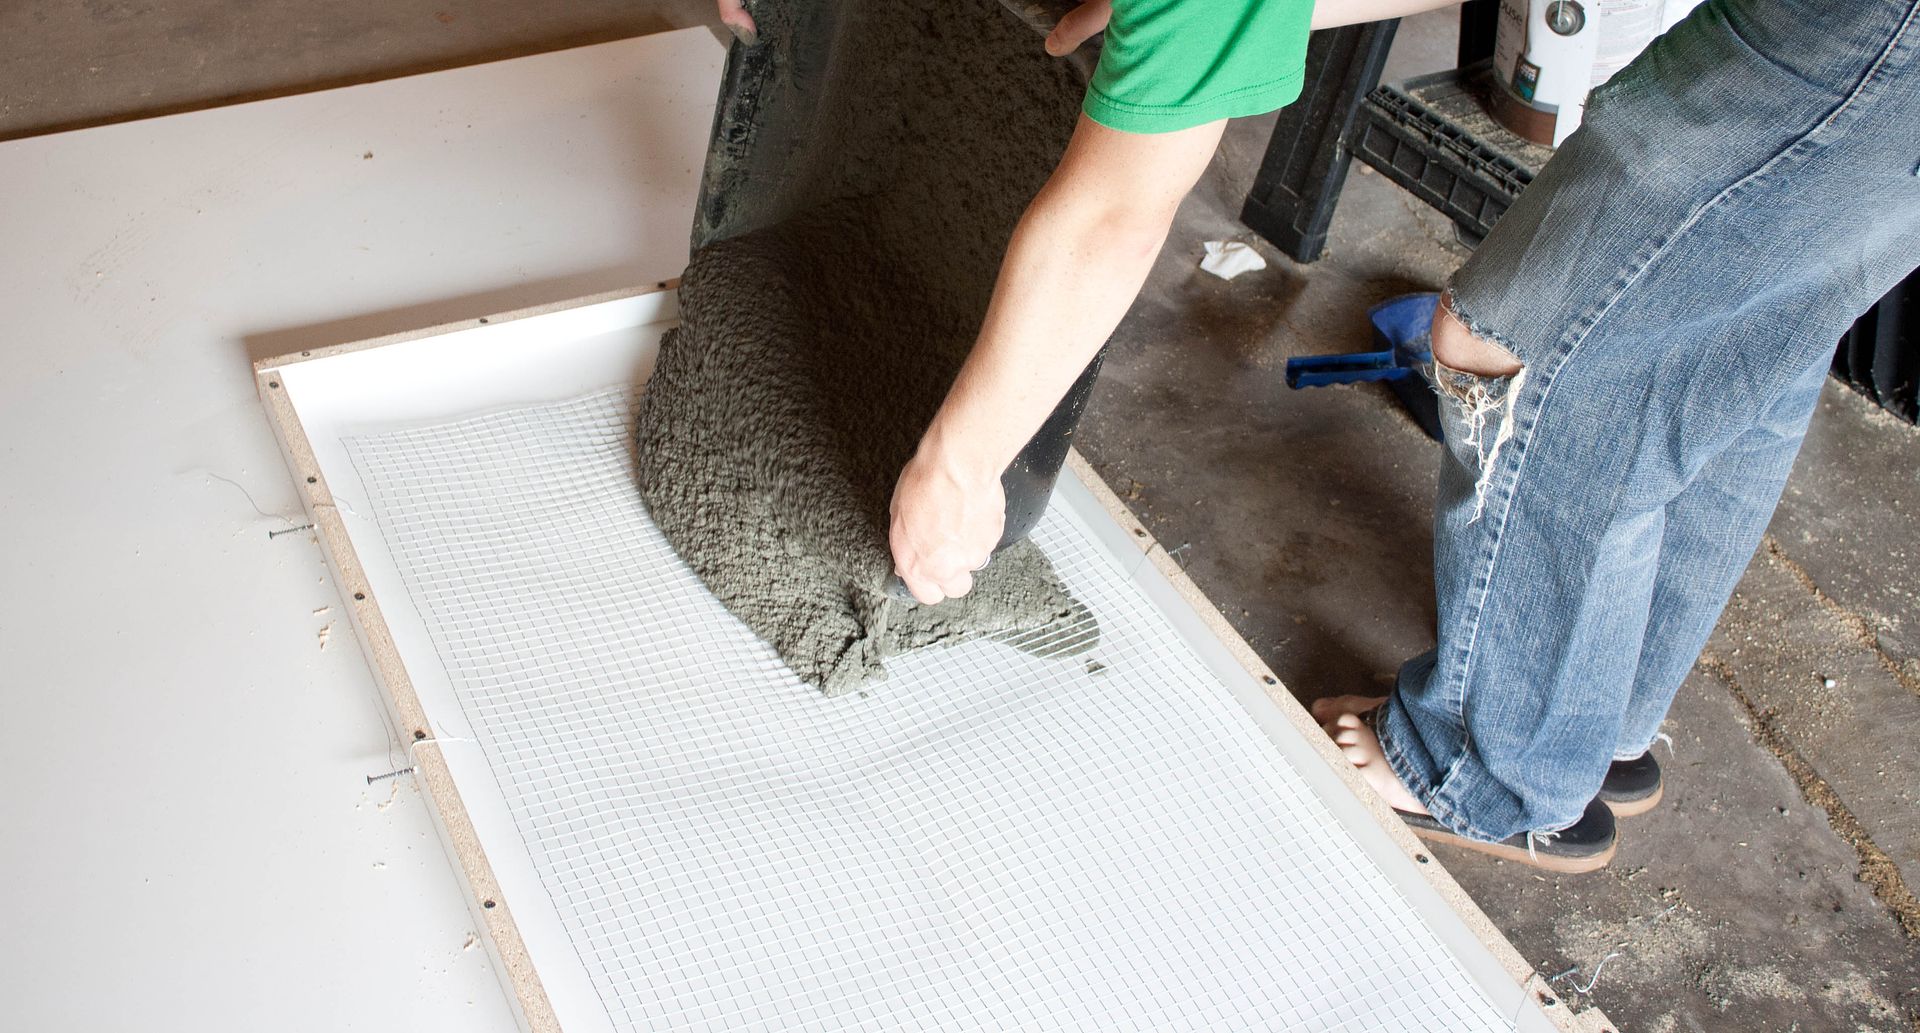
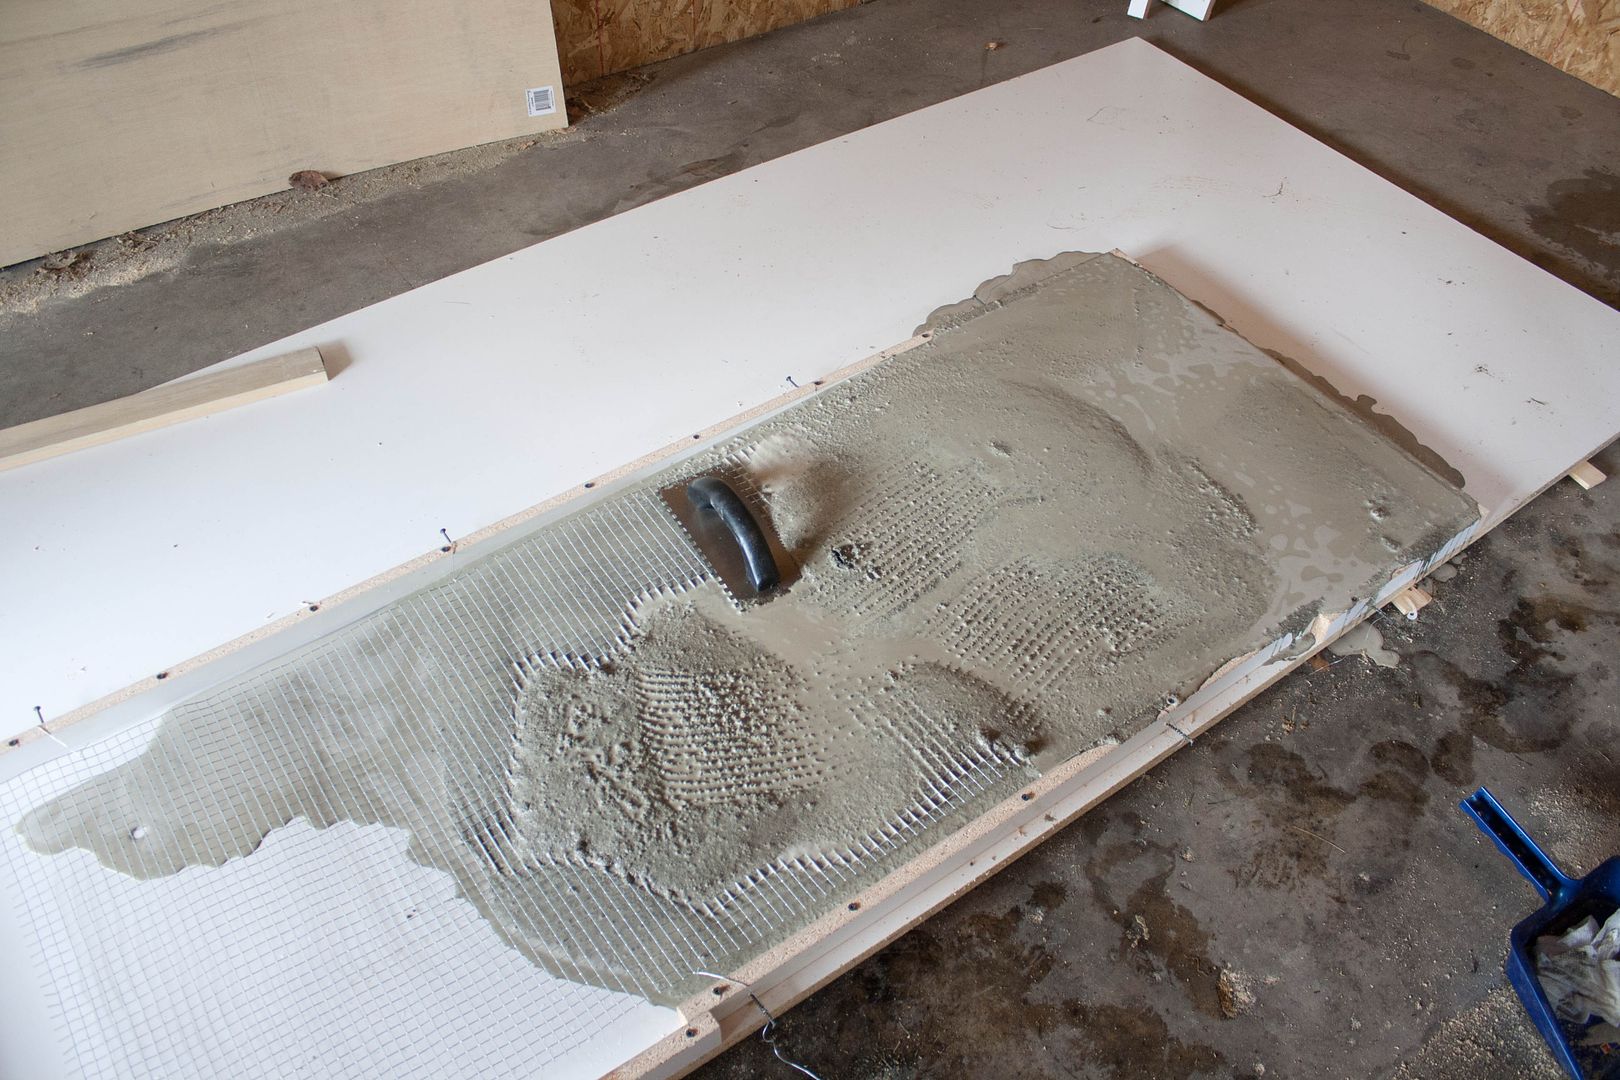
Now for the wire. We chose a mesh wire that was fairly firm, but soft enough that we could flatten it out. We cut it down to be about 2" from each side and laid it in the form.

The directions on the concrete package suggested using wires to suspend the mesh before pouring, which we tried on this form. Let me tell you - this was a terrible idea. We poured the concrete and this baby sunk like a rock and we could not get it back up. There is spot on the countertop where the mesh was *so* close we can see the pattern (but it's not actually poking through, thank goodness!). We had much better luck filling the form halfway with concrete, then laying in the wire, then filling the form the rest of the way. Lesson learned.
Mixing & Pouring
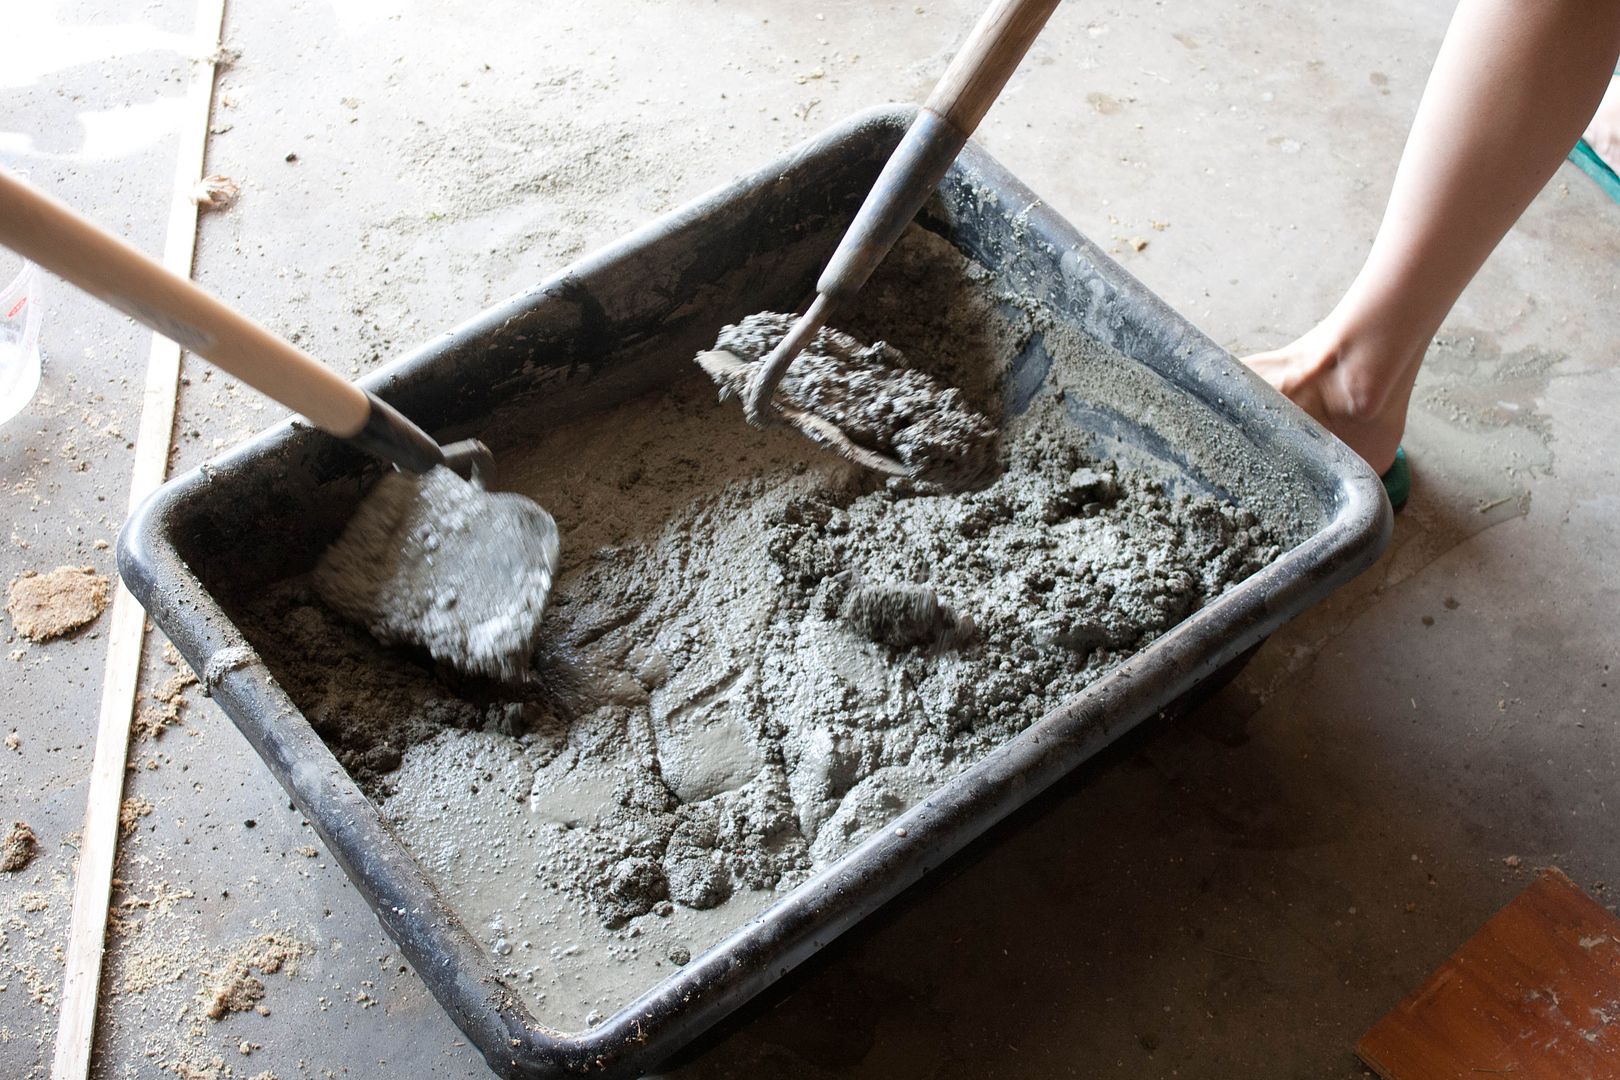
We opted for a cheaper option than renting a cement mixer and decided to mix by hand. We had to mix in batches, one bag of concrete mix at a time. Using a utility tub and a couple hoes, we mixed the concrete according the directions - we started with the water then added the concrete bit by bit. (note: my dad says you should definitely wear shoes because too much contact with wet cement can actually burn your skin. oops.)
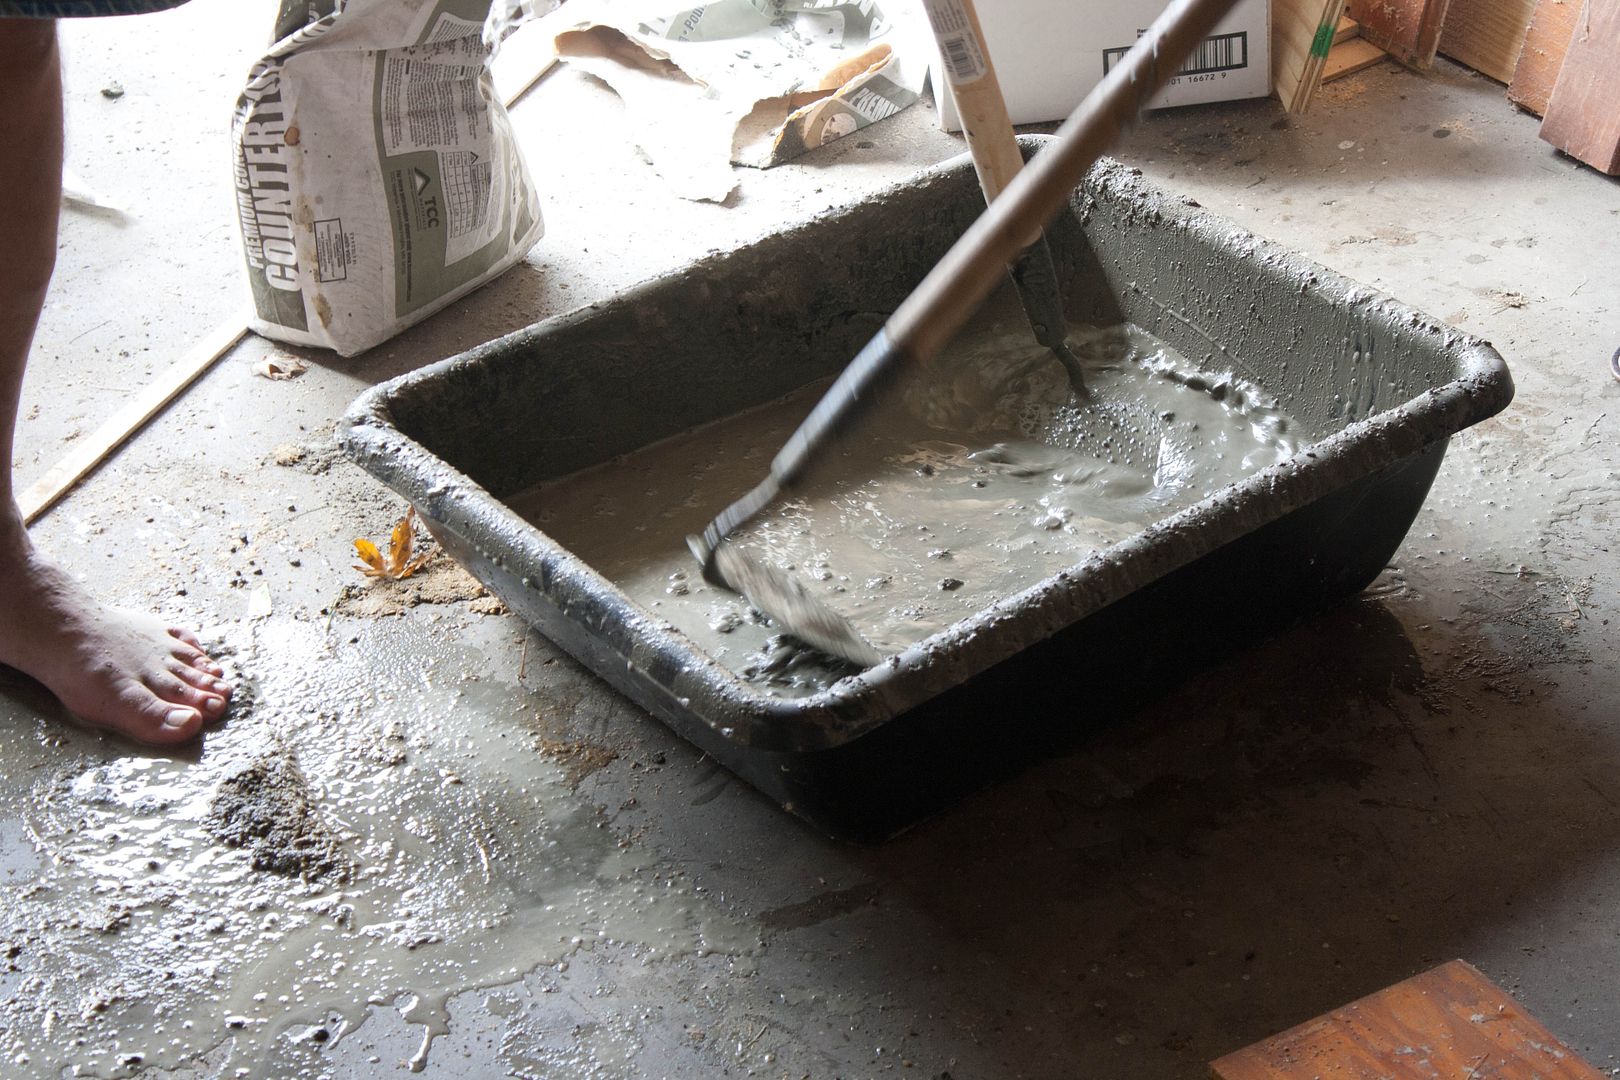
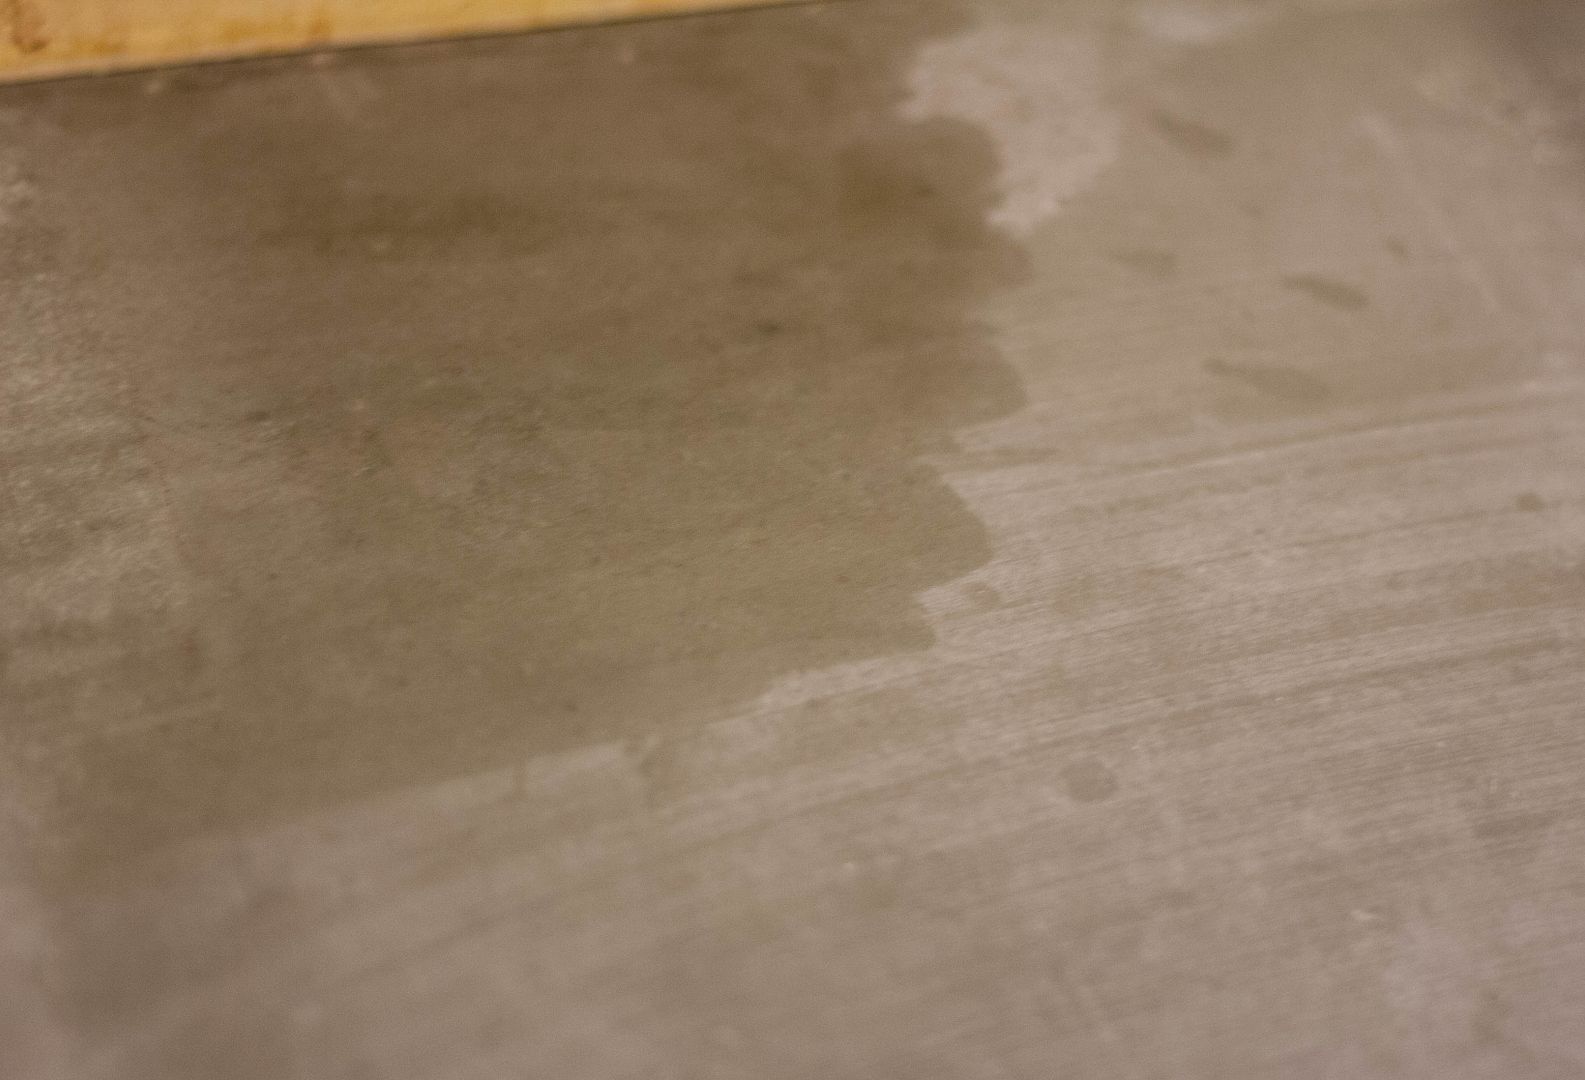
Anyway, we started by mixing the amount of water the box suggested and... we ended up with this:
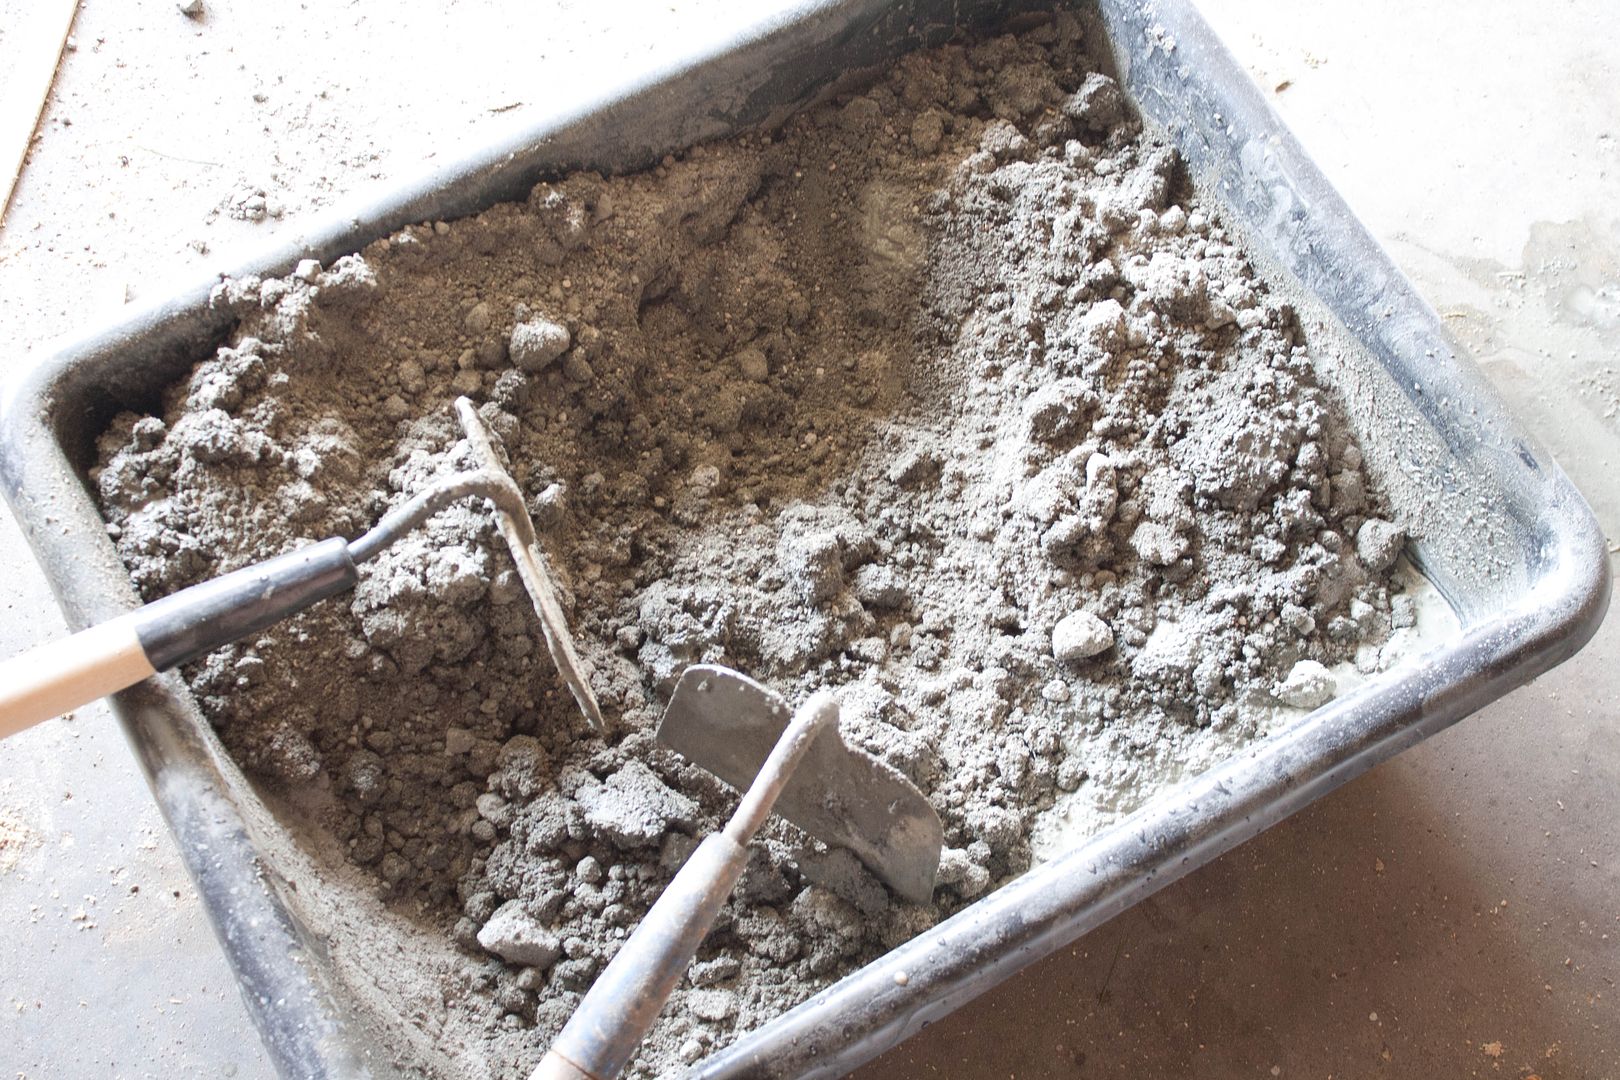
That can't be right. So we slowly added more water to get it a better consistency. This is where we started to learn things. While we do think more water was necessary, it is important to add it SLOWLY. We found that sometimes a single cup was all it took to get it right. We wanted it wet, but not soupy, if that makes sense. We found that the parts where we used really soupy concrete didn't turn out as smooth as the rest, and that the amount of water used affected the final color with the runnier parts being a lighter gray.
Then we poured! And learned more (like that we should add the wire later, which I mentioned a few paragraphs ago). On our first piece we started pouring at one end and worked out way down the form, but after it dried we found that any variance from batch to batch was really obvious across the countertop. With the rest of our tops we spread our first batch across then entire bottom of the form, then added our subsequent batches on top. These tops turned out much better with an even color all the way across.
We had to work pretty quickly so things wouldn't set up before we were done. We poured in batch after batch to fill the form. After each addition - this is important - we used a mallet or belt sander to vibrate the edges of the form and release any bubbles (because bubbles now = holes in your finished top). We still had a few tiny bubbles left that made some little pin holes in our finished top, but we did get out most of the bubbles and all of the big ones!
See all that extra water in the form? That's bad. That means you are using TOO MUCH water.
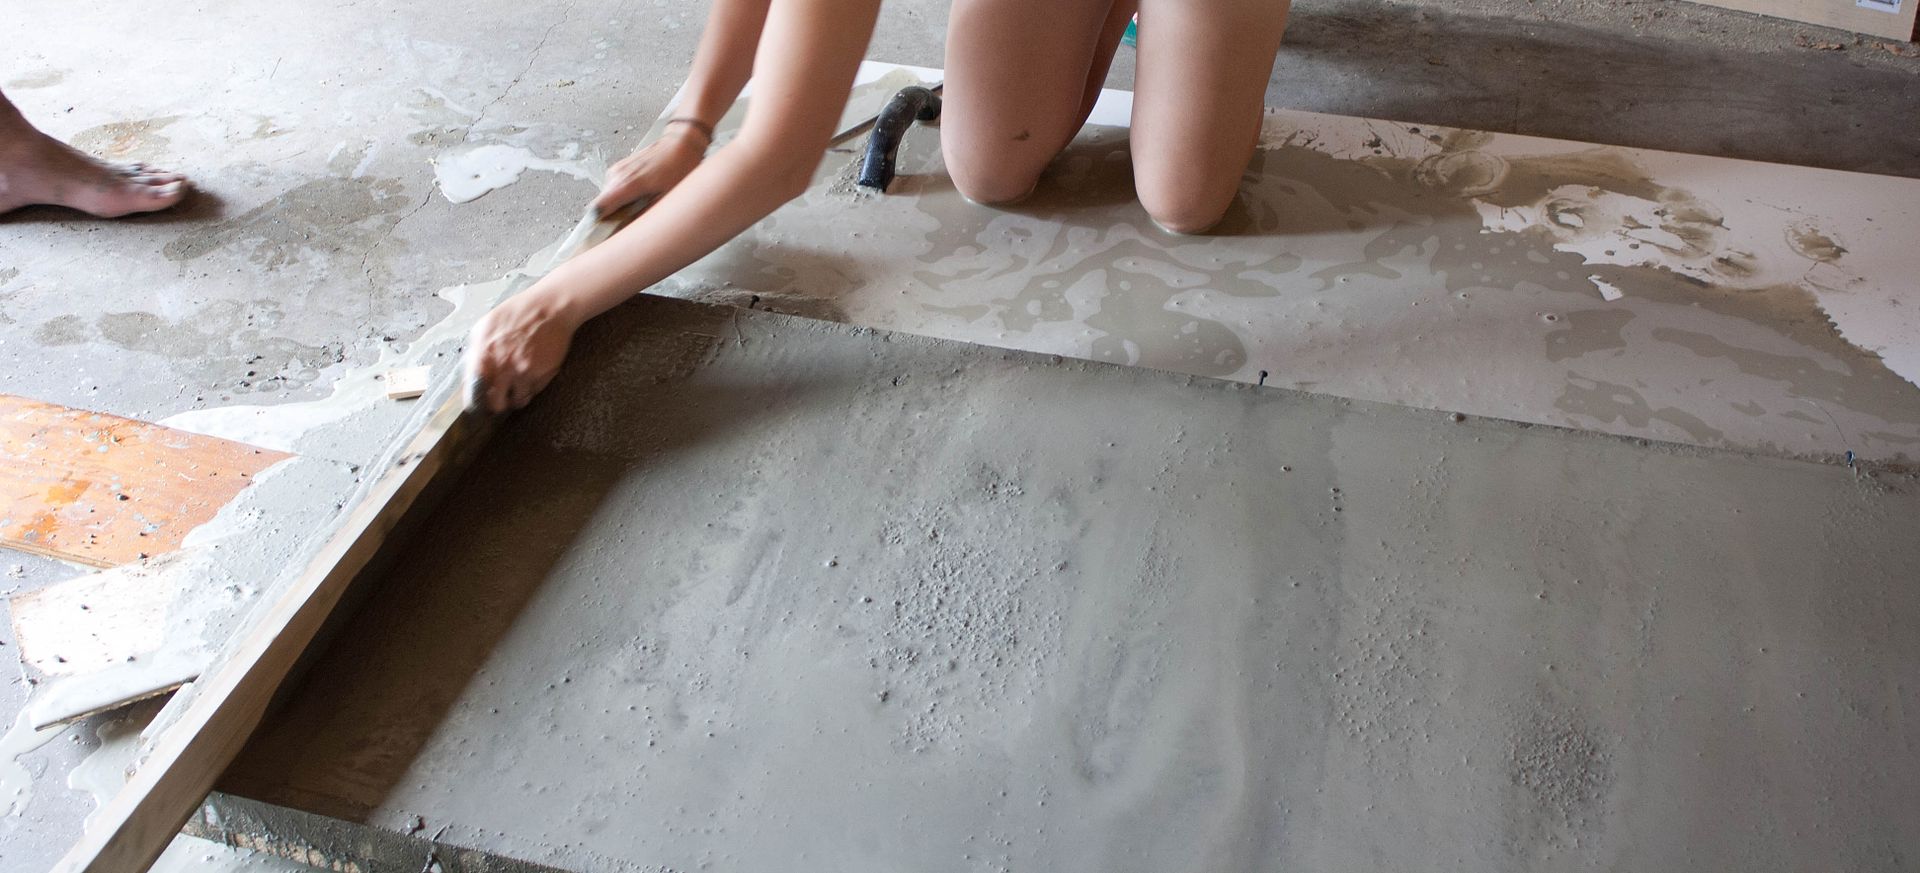
As we filled up the form, we used an extra board to skim across the top of the board and get it as smooth and even as possible. To do this, rest the board on the sides of the form and slide it from end to end while working the board back and forth in a sawing motion. This will smooth out the cement and remove any excess from the form. If you have any low spots that sit below your skimming board, fill them in and go over it again until it is as smooth and even as you can get it. Now we wait.
Removing the Forms
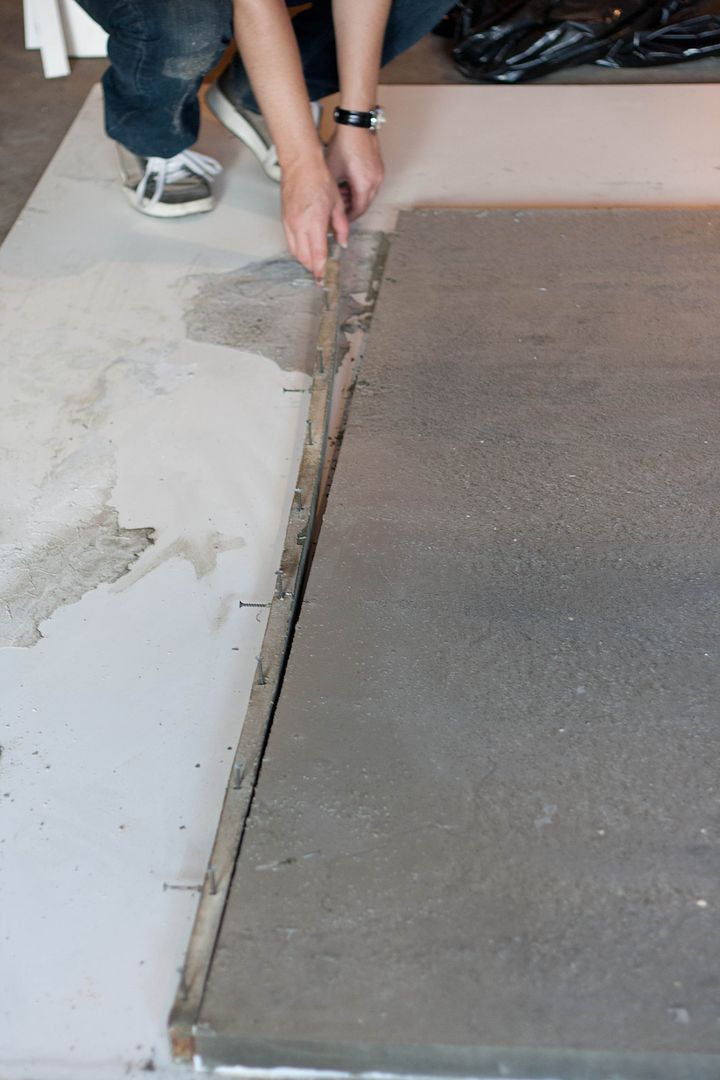
According to the concrete mix package, we let the forms dry and cure for 18 - 24 hours (although they are not fully cured at that point). For the first form we waited the full 24 hours, for the other we waited just 18 and didn't really notice any difference between the two. Once the the tops had dried long enough, we loosened the screws in the sides of the form and pulled them away. Leaving the screws part way in the side boards gave us something to pull on. Make sure you do not pry against the cement because at this point it is still soft enough to be scratched or even gouged by tools!
We removed all the sides, then got ready to pick up the countertop and move it into the house. I don't have any pictures of this part because this thing was darn heavy and all hands were on deck! I started by laying several old towels along the right side (in the pic below) of the countertop form. Then while a few people spotted the countertop, the rest of us grabbed the left edge of the form and tipped it up. The edge countertop slid onto the towels and we kept tipping until the top was standing up on its edge. The spotters held the countertop there while we moved the form out of the way. Then we all lifted the top, making sure a strong person was in the middle to reduce the strain in the middle of the countertop and make it less likely to snap. We high-tailed it into the house... as fast as we could with a few hundred pounds of countertop. :)
Installing & Sanding
Some tips I read suggested using a caulk or adhesive to secure the countertops to the plywood base. We did a little for some of the pieces, but seriously, these things weighed a ton. I don't think they are going ANYWHERE. But if you want to use an adhesive, please, do it BEFORE anyone picks up the countertop. They don't want to hold that thing any longer than they have to. :)
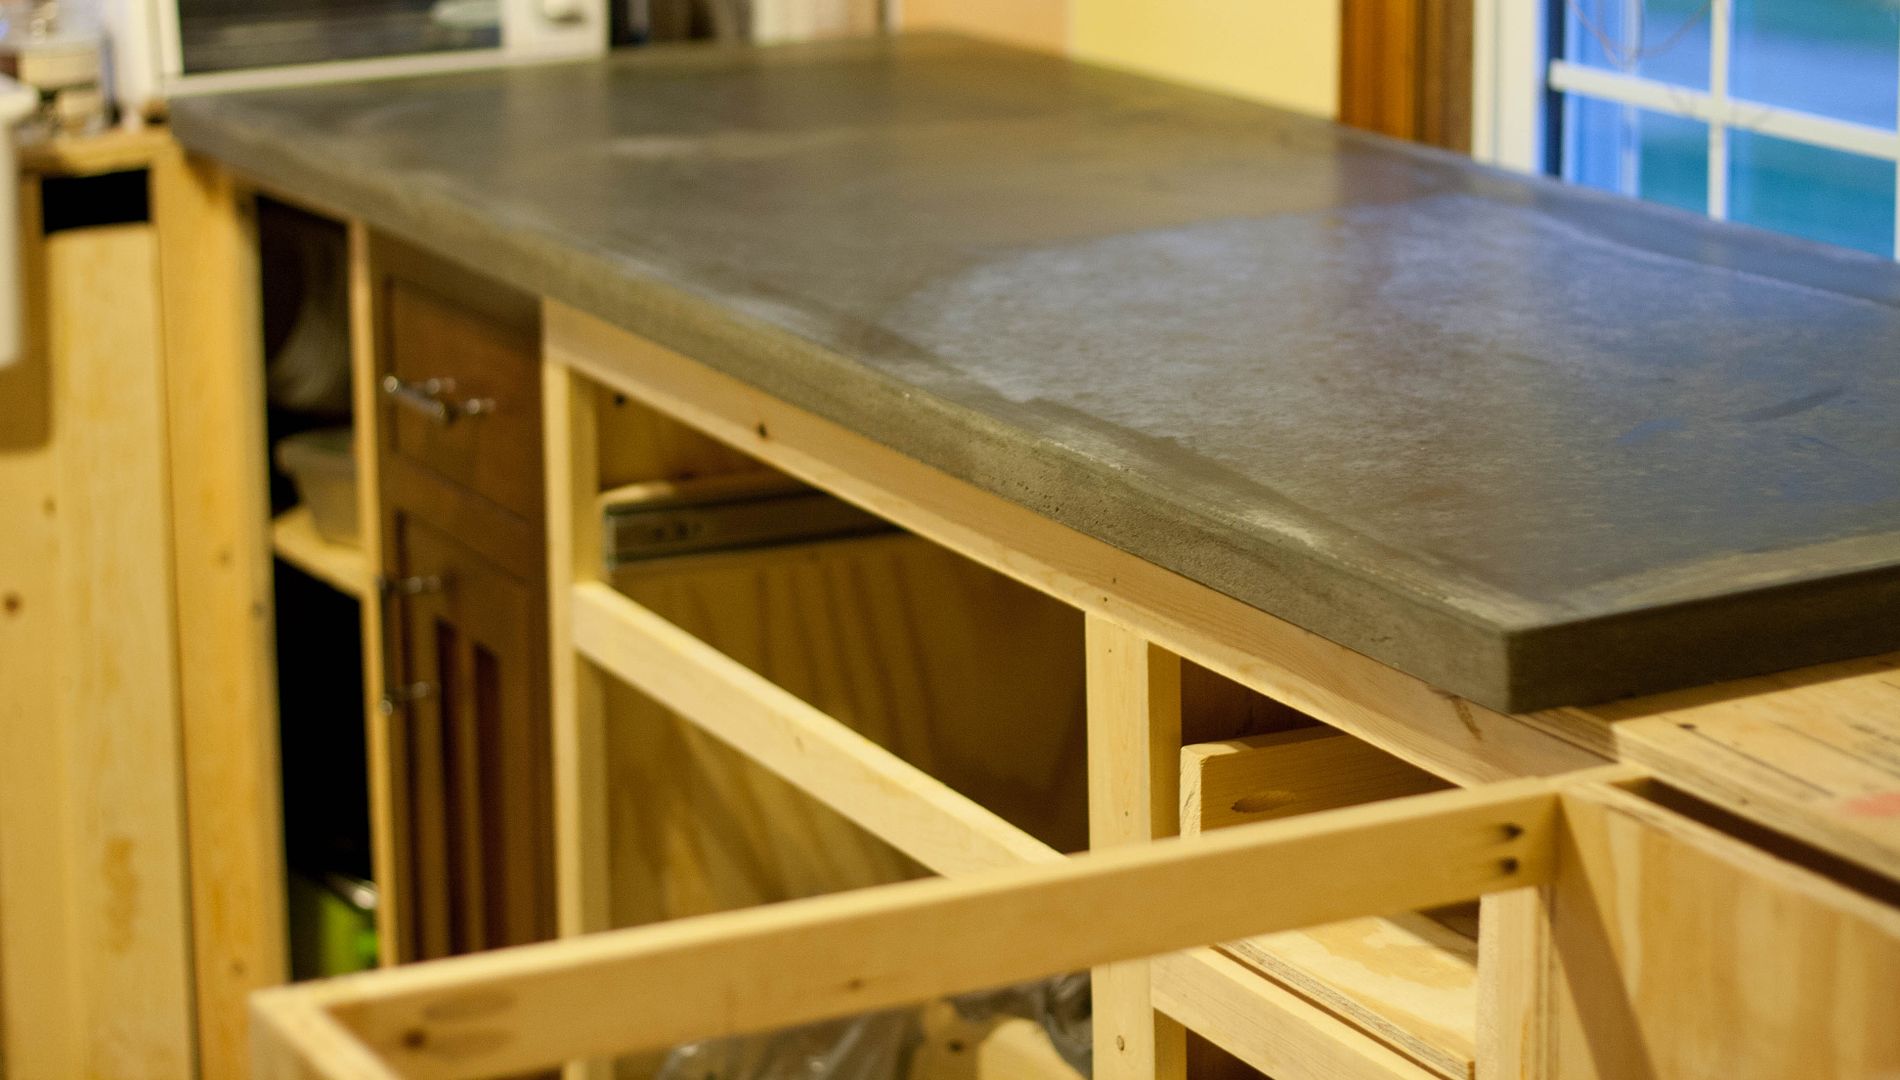
Then we slid the countertop into place. Whew.
Now we had to repeat that process to build the rest of the pieces. We flipped our melamine base over to make a clean work surface, then attached sides for the rest of our forms.

Here they are drying...

By this time we had learned more about how much the water impacted the finish and our remaining piece turned out much more similar and even than the first. This is an example of how much the color varied on our first piece. We are totall fine with it, but just be warned that if you make concrete tops they will probably end up like this in some places.

After the remaining pieces dried for 18 hours, we removed the forms and installed them on the plywood base.

Now you want to sand it down ASAP. This will help you smooth any rough spots, but you have to do it soon because as the countertop cures it will become much harder (if not impossible!) to make any difference sanding. We also mixed up some slurry (which is just a super runny cement) to fill in a few of the holes left by bubbles and sanded that down after it dried. We waited 3 or four days before we let anything touch the countertop after that (which may have been over-cautious... but better safe than sorry!) and after that point were careful to work on a towel to protect the countertop because it wasn't sealed yet. I read that it takes up to a month for it to fully cure, but afer a few days it is cured enough to use with a little caution.
Finishing
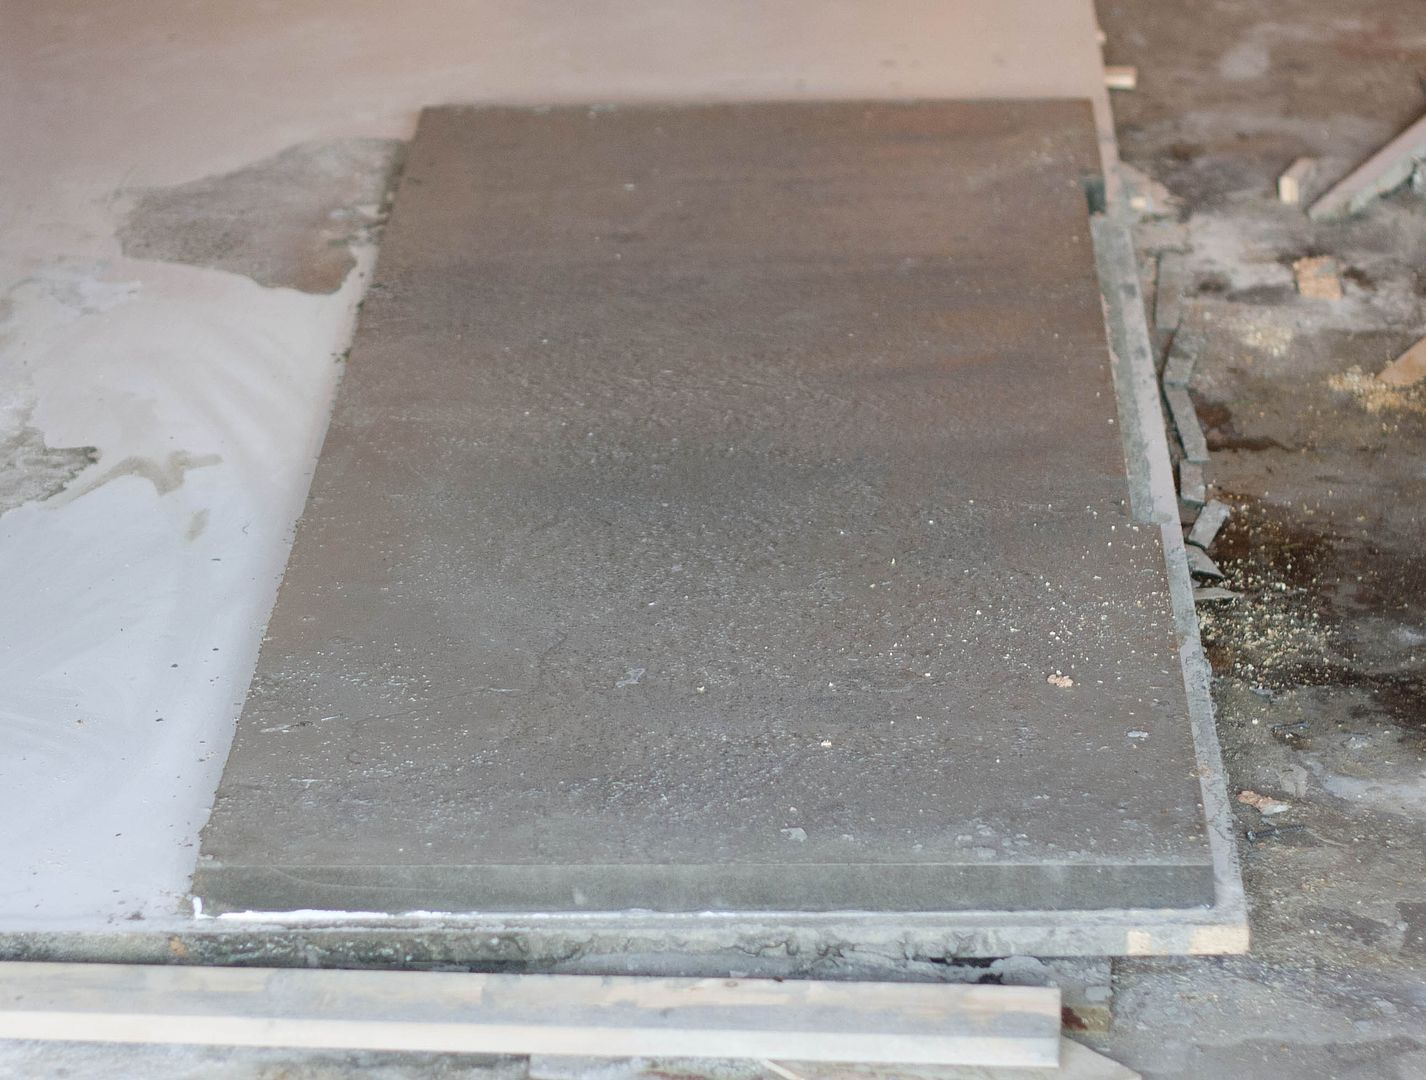
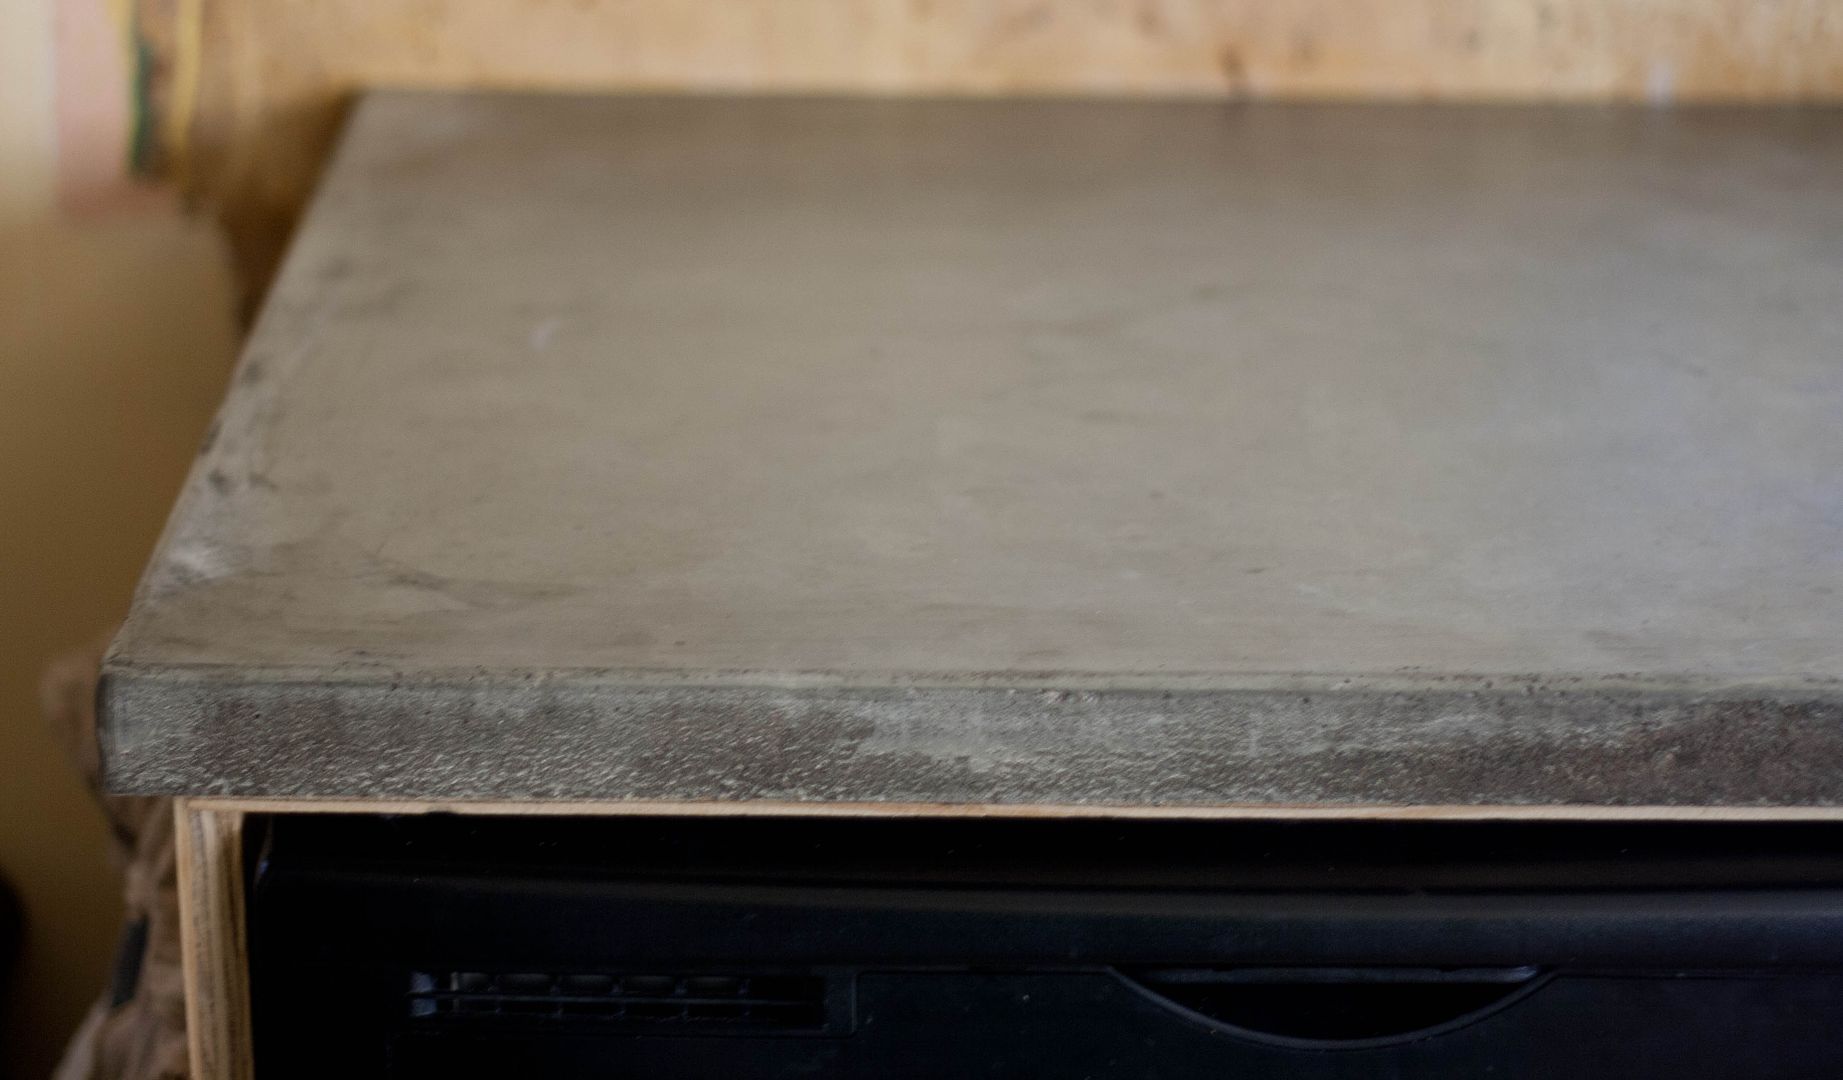
Time to seal! This will make your tops waterproof and stain proof. You can see our review of the sealant options here. We decided to go with the Sealer and Enhancer which slightly darkens concrete (to the color it would be when wet) and seals it without making it too shiny. We did a test section in the back corner to make sure we liked it first:
We could tell before we even opened the bottle that this was going to be a stinky job, so we put it off until we were ready to head out of town for the weekend. Then N did the dirty work while Baby B and I played outside by the packed car. :) N said it was pretty simple to apply. He painted it on, let is sit 1/2 an hour, wiped off the extra, let it sit another 1/2 hour and repeated. Then we left town, planning to come home to a beautifully finished, albeit slightly stinky, countertop. This is the piece that turned out the best:

And this is the kind of sheen it has:
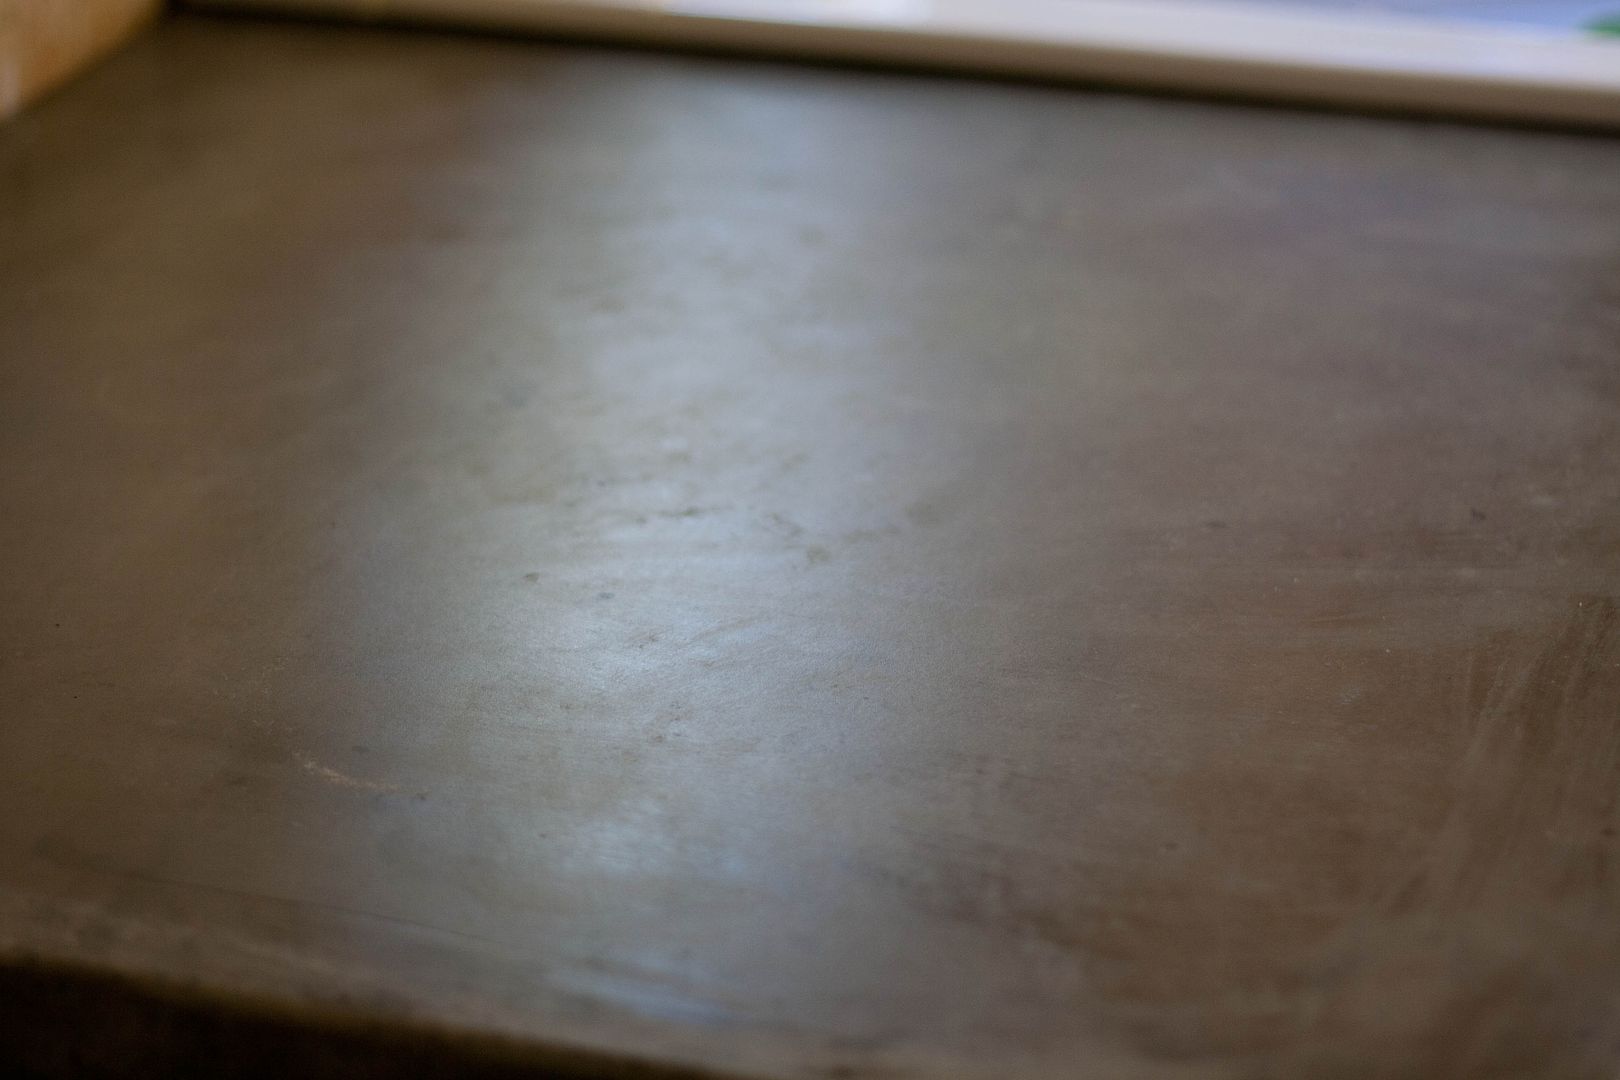
But it didn't all work out that way. :) Some places (probably where it didn't get wiped off evenly) were streaky or splotchy.
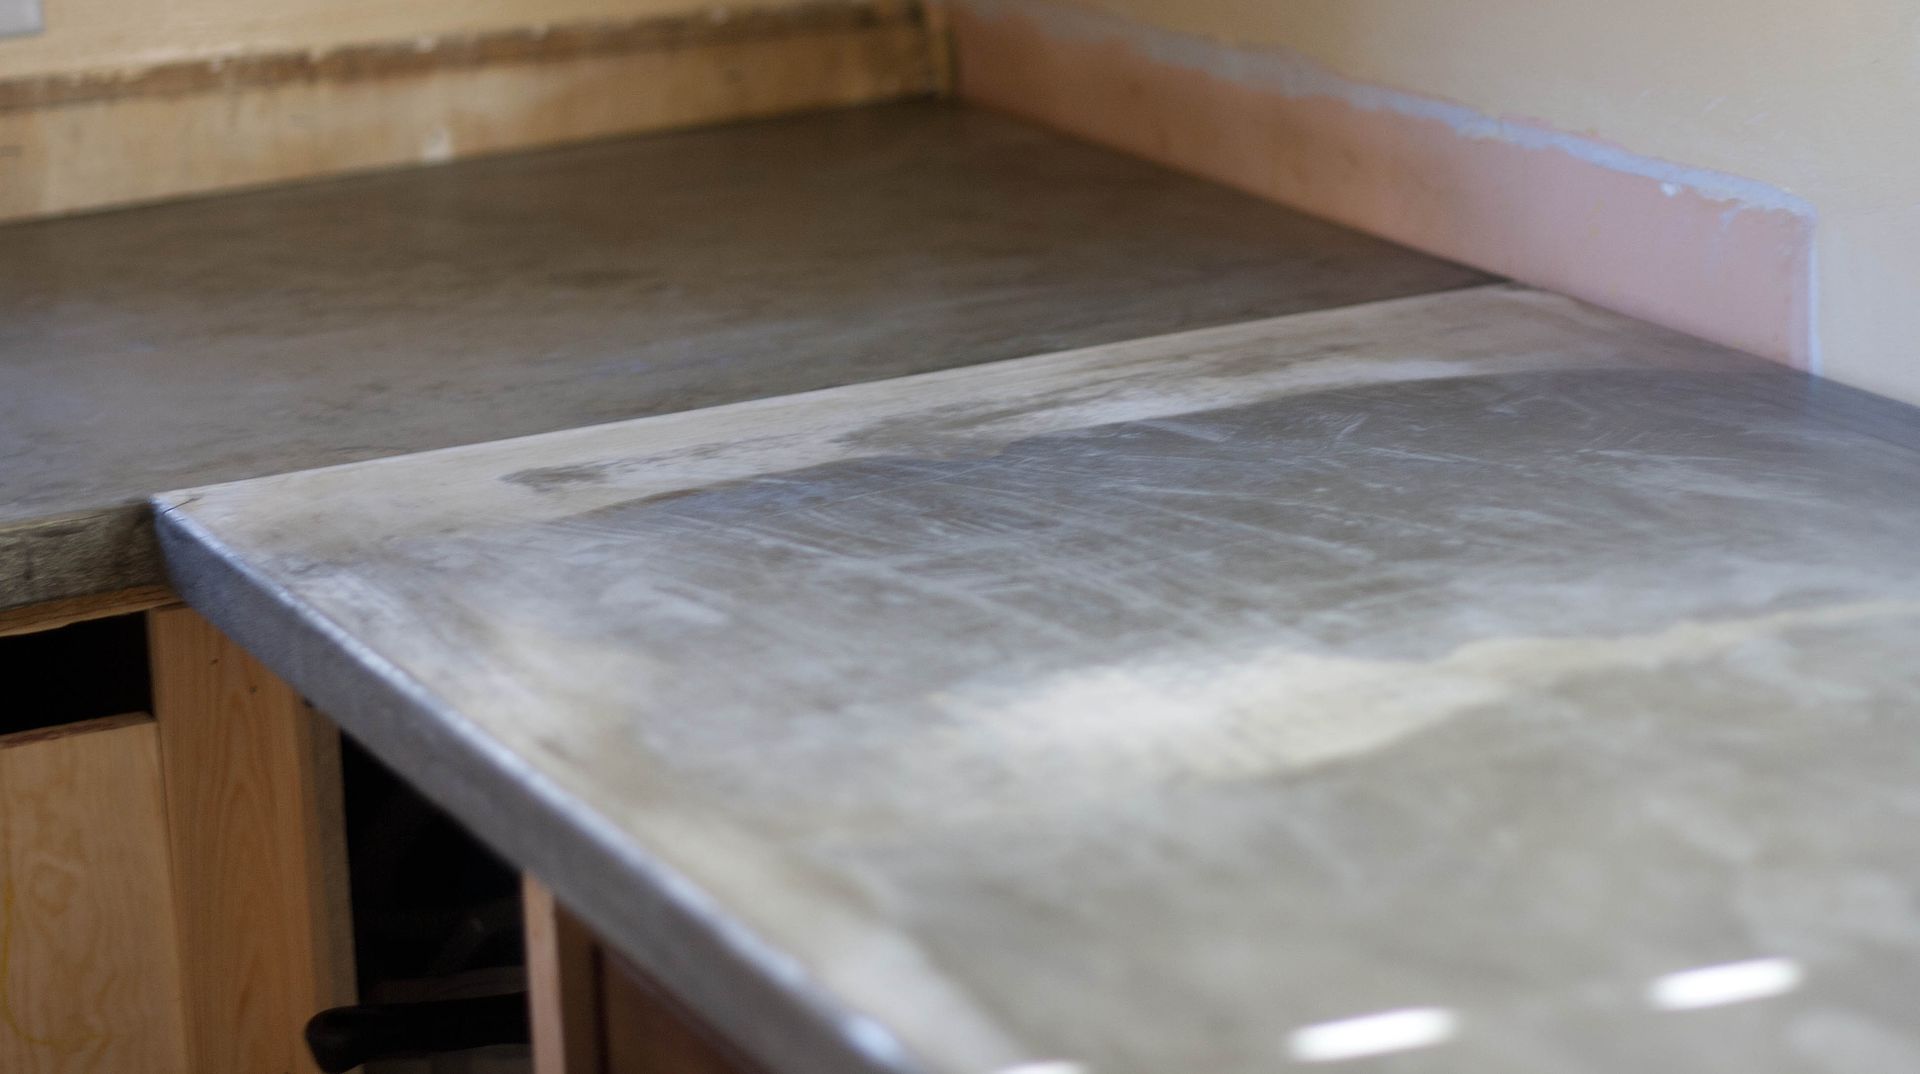
The super light edges on this section are where the cement was way too runny. Like I said, lesson learned.
Here are some streaks:
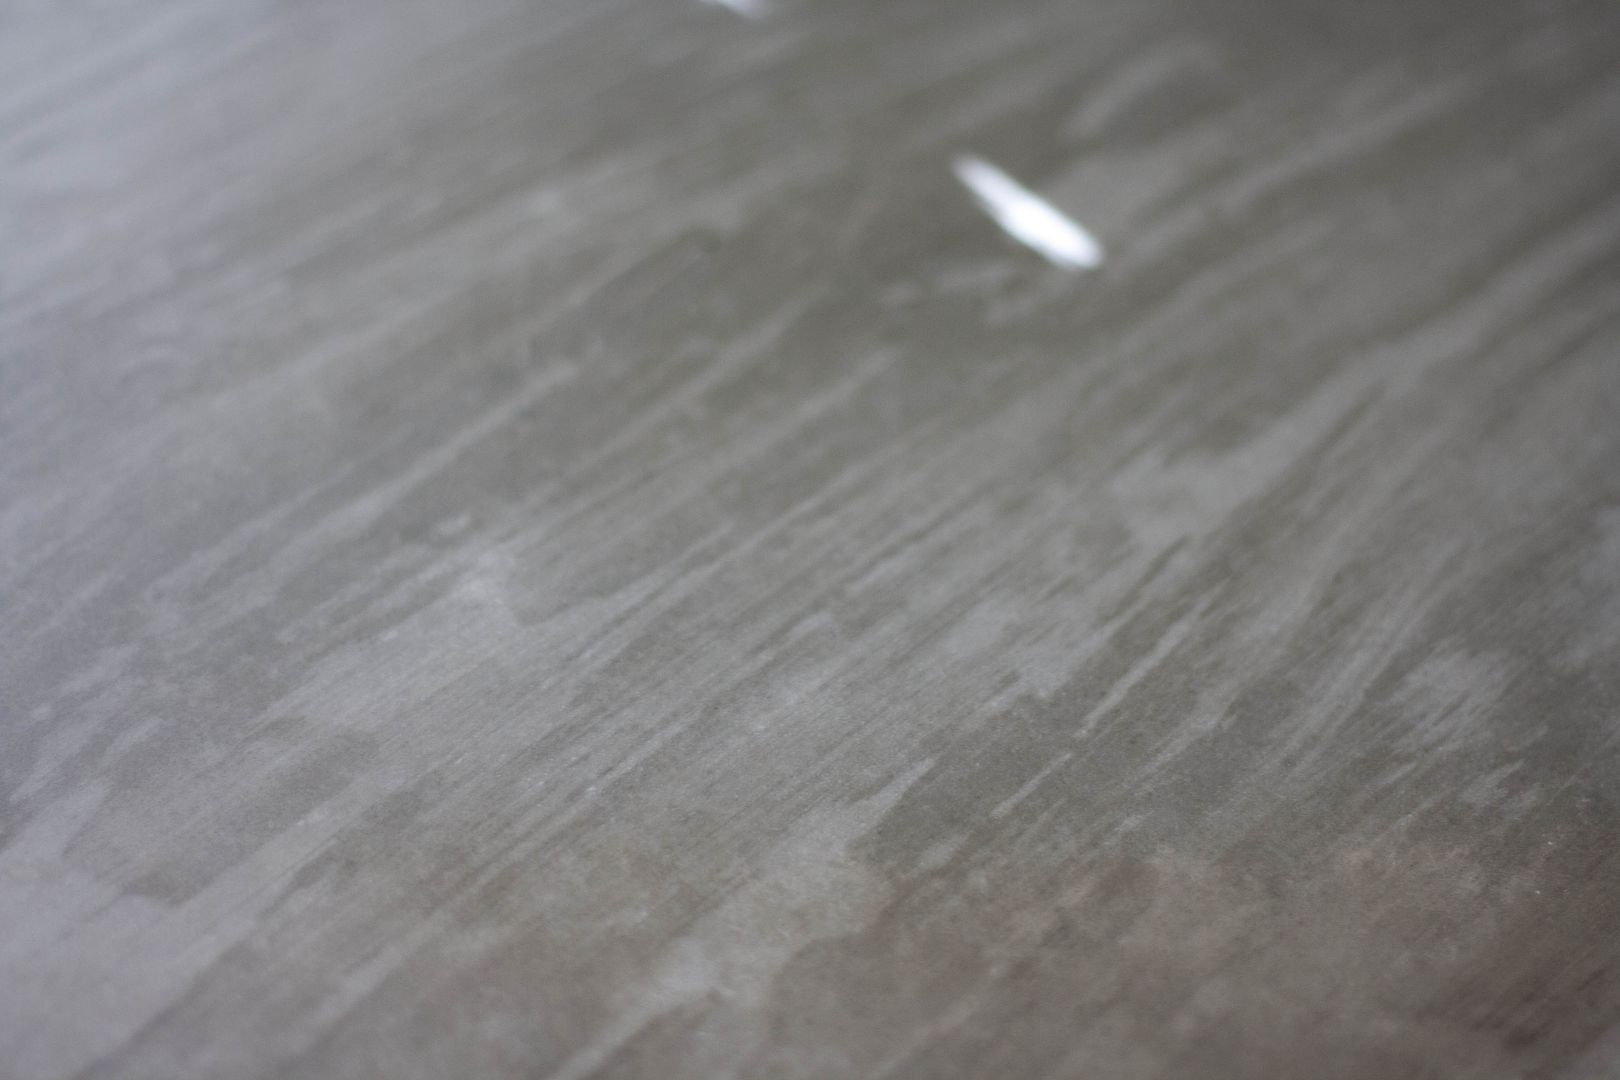
And some splotches. Fortunately with some soap and scrubbing I was able to get rid of most of this and even things out quite a bit. What does that say about the long-term durability of the seal? I don't know. We'll just have to wait and see, I guess. After talking with a Lowe's employee, he suggested using a rag to kind of rub in the sealer instead of painting it on. Maybe that would have given us a better finish?
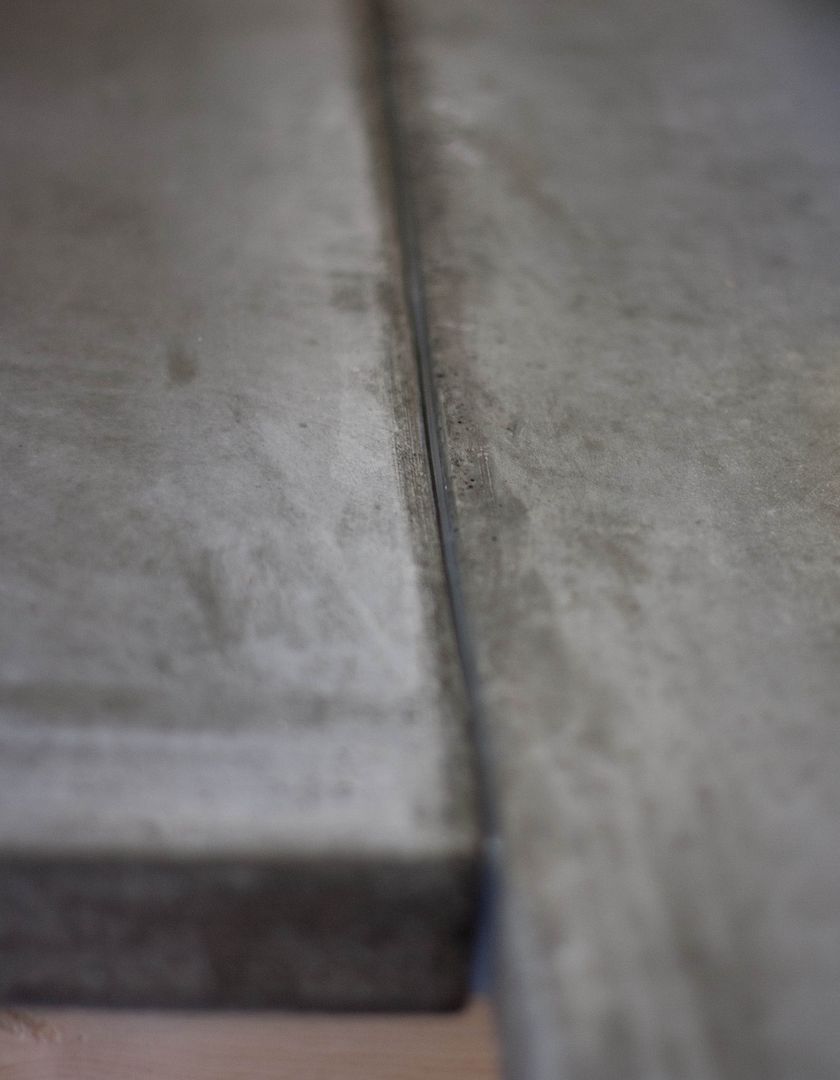
Almost done. After the seal dried we just needed to caulk all the seams to keep crumbs and especially liquids from creeping down into there. I used a clear silicone sealer for this.

And put a tiny bead of it down the seams between the pieces, around the sink, and against the wall. Don't do too much because we don't want any extra left on the countertop.

Then I used my finger to smooth it out and remove any extra, being careful not to get any on the countertop.
And we're done! Woohoo!
But I'm sure you have a few more questions, so here are a few more countertop details for you:
How much did it Cost? We did about 30 square feet (15 linear feet) and this is what we spent:
- $143 - Countertop Concrete Mix at $13/bag
- $20 - Wire Mesh
- $30 - Countertop Sealer
- $6 - Silicone Caulk
- $45 - Melamine (one full sheet and one 8' shelf)
- $40 - 1/2" Plywood for the base
- $6 - Brackets for the Overhang
- $15 - Extra Tools (shims, mixing tub, trowels, etc.)
That's about $11/square foot. Like I mentioned back at the beginning though, we bought the expensive countertop concrete mix, so if you're willing to risk regular old concrete you could do it for even less!

How long did it take? Well I'm glad you asked. We managed to all the prepping, form building, pouring and installing in one long weekend, then did the sealing another weekend. Here are some timing breakdowns:
- Building Forms, Mixing and Pouring - this depends on if you mix by hand, how many forms you build & fill, how many people are working, etc. We spent probably 2 -3 hours on the first piece and 4 hours on the rest of the pieces. It went kind of like this:
- 1/2 - 1 hour buidling each form
- 1/2 hour caulking (plus 1 hour waiting for the caulk to dry)
- 1 - 2 hours mixing, pouring, skimming
- Drying & Curing - this could be different based on the concrete mix you use, so read the package carefully
- 18 - 24 hours for initial drying before we removed the forms and moved the pieces
- 2-3 days additional curing after installation
- Filling Holes & Sanding - spent probably 1/2 hour on this... wasn't super thorough, but I'm okay with that. :)
- Finishing - like everything else, this will depend on the product you use but this is how it worked for us.
- 2 hour sealing (15 minutes sealing, 30 minutes waiting, 10 minutes wiping, repeat)
- 3 days out of the house for the stinky sealer to air out
- 20 minutes caulking

That was long and confusing, can you be more concise? Uh... well... Can you at least summarize? Yes. Yes I can.
- Measure or make a template
- Put a plywood base on the cabinets
- Build the forms (upside down! and level them!)
- Caulk the forms (wait for cauld to dry)
- Mix & pour the concrete
- pour a layer across the bottom
- use mallet or sander to remove bubbles
- repeat if necessary to fill form half way
- lay in wire mesh
- continue pouring layers & removing bubbles to fill the form
- Skim the concrete to make it even
- Wait 18 -24 hours for the concrete to dry
- Remove the forms
- Put adhesive on the plywood base if you want to
- Carefully and with much help stand the countertop up on its side, then carry it in and install it
- Wait 2-3 days for it to cure.
- Seal it
- Caulk the seams
- Done.

And there you have it. Countertop DIY. Do it.
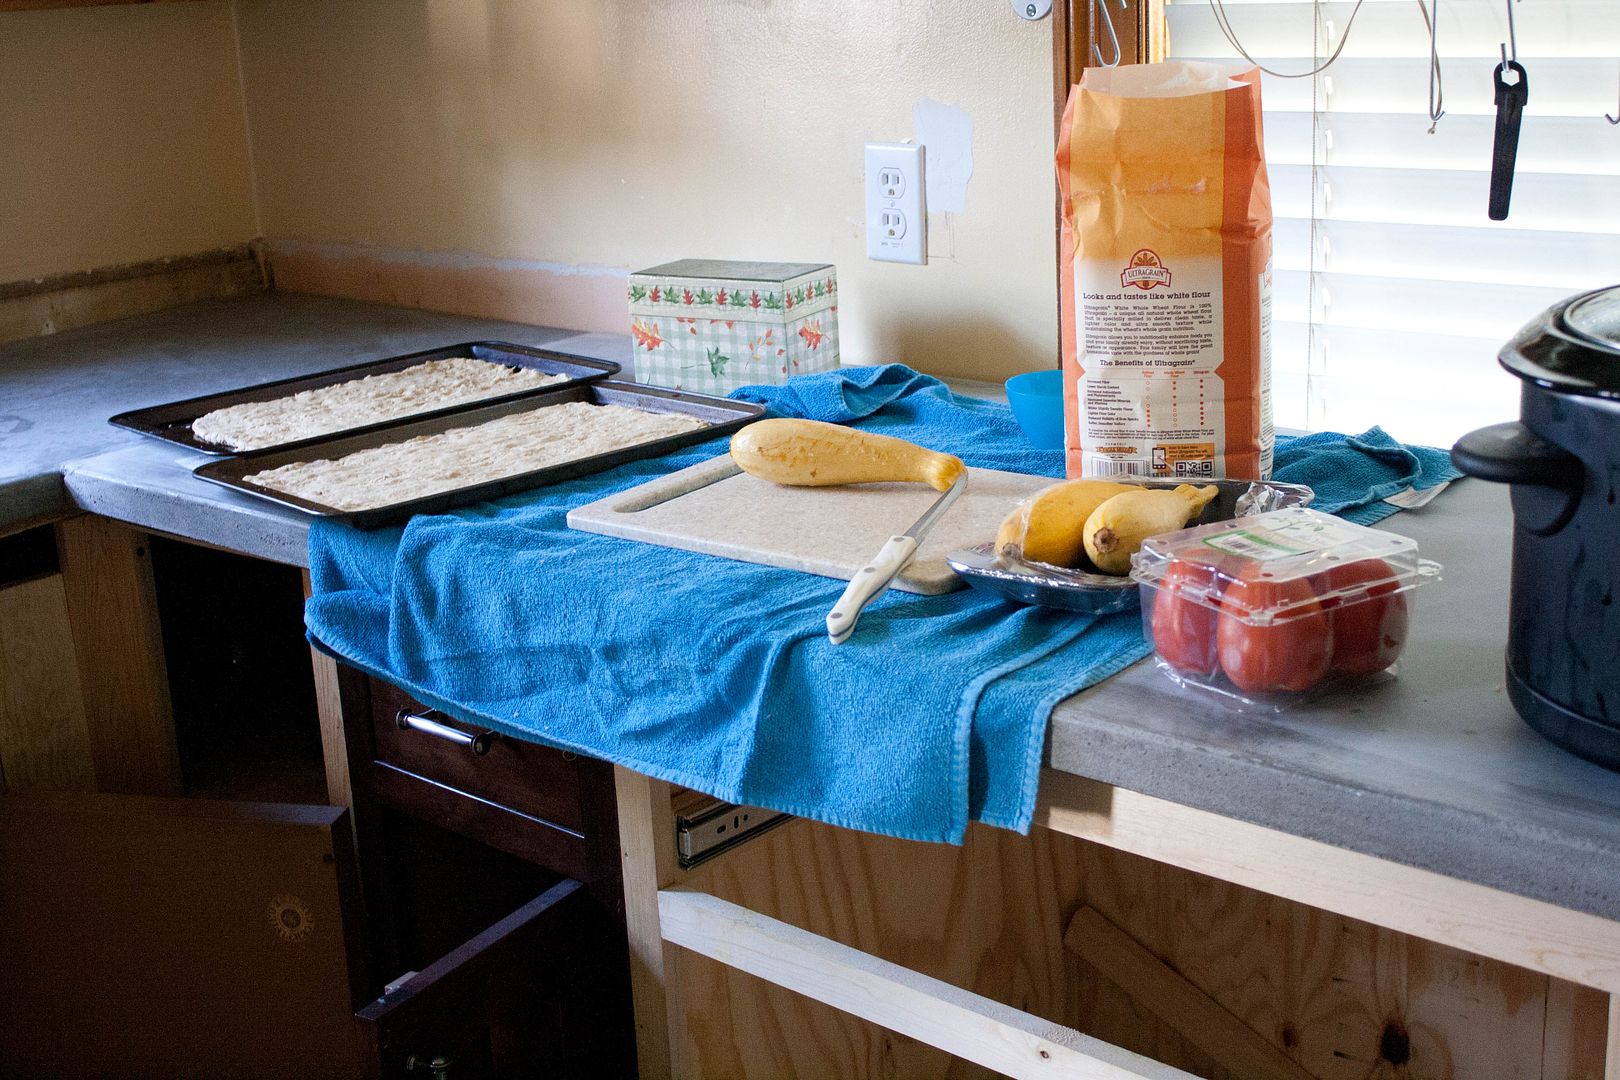
Also, grab some cheap herb plants, slap them in some pots, and see how much fresher and cheerier it makes those spiffy new countertops look.
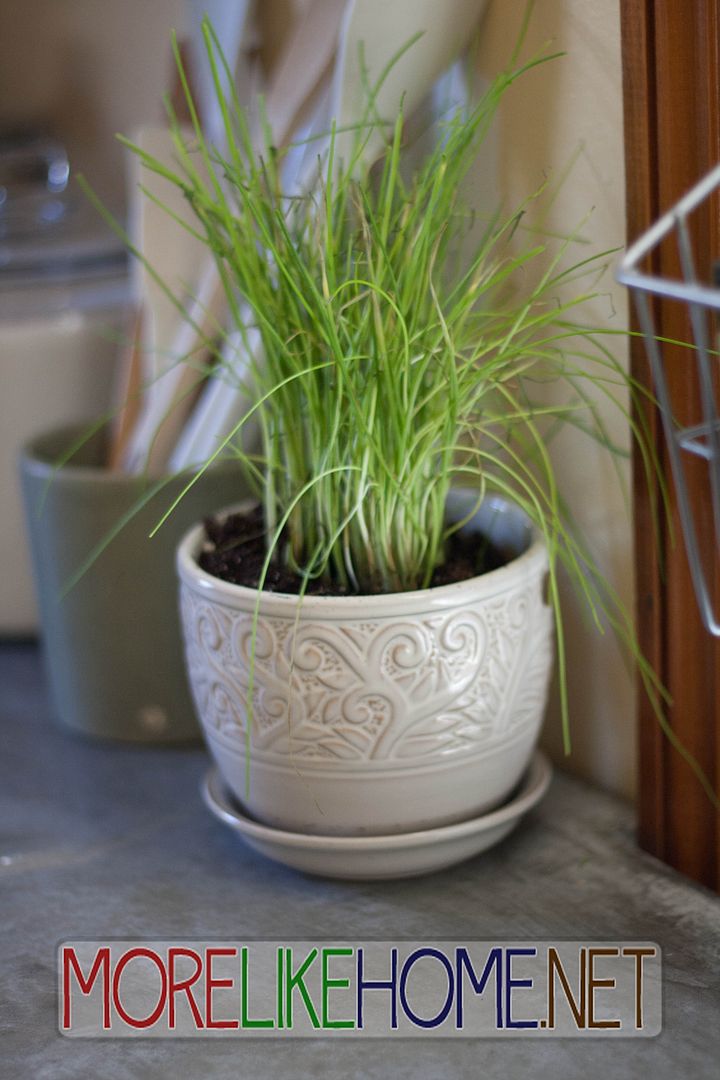
It's magical in my kitchen right now. And it's not even done yet.

Please let me know if you have any questions, tips, or if you make a countertop of your own! Happy DIYing!


It looks beautiful!
ReplyDeleteYay! I've always wanted concrete countertops. They look SO beautiful!
ReplyDeleteWow! That looks awesome. Great job :)
ReplyDeleteLOVE this! I'll be keeping this in mind for future projects!
ReplyDeletewelivedhappilyeverafter.blogspot.com
what a beautiful job, friends!!! if i ever move back to the States and need my own DIY jobs, you're the people i'm going to :) <3
ReplyDeleteYes please! :)
DeletePicture perfect! BHG "I Did It!" worthy. :)
ReplyDeleteAwww, thanks Hillary!!! You know that's the biggest compliment EVER for me. :)
DeleteYou have done a very thorough job explaining the whole process, with lots of attention to detail (which I need)! I have always loved concrete countertops and I am pinning this tutorial just in case. Your counters look fantastic- great job! Thanks for sharing at Gettin' Krafty With It!
ReplyDeleteThanks for posting this. I plan on doing this for my kitchen, and the step by step will make it easier to explain it to my hubby. Y'all did an awesome job!!!
ReplyDeleteHELPFUL HINT: When finishing your seams at the end with silicone, use painter's tape on each side of the seam. Pressing it firmly so it doesn't seep thru. After you silicone and smooth it out, peel your tape. It will keep the excess silicone off the counter. :)
ReplyDeleteWhat a great tip!! Thanks so much for sharing! :)
DeleteWonderful detail and perfect results. I did a similar project and used the 3 dollar concrete and it has been there for 10 years. I also used a two part epoxy bar sealer that has held up great (but not to heat).
ReplyDeleteOh, I'm so glad to hear that! It would definitely save a bit of money using the standard concrete instead. Thanks for sharing! :)
DeleteMy husband and I poured our concrete countertops about 2 weeks ago. We've been researching sealers, but there's just too much info out there (it's overwhelming!). We want something cost efficient and relatively low maintenance. I was wondering how your counters have held up with the sealer and enhancer that you used. How does it hold up to moisture, acids, oils, heat, and scratches? Would you choose something different if you were to do it again?
ReplyDeleteThe sealer we used has held up great to scratches, heat, oil, and moisture, but it seems to have met its match with acid. After making a recipe with a lot of limes, some of the spots won't go away. We're going to sand that piece and try another sealer eventually, but for now we can live with a few spots. Sorry I don't have a better alternative to offer yet.
DeleteThose turned out awesome! Thanks for the excellent tutorial. I have one question. How did you make sure to get the two separate pieces the same height? :)
ReplyDeleteThe pieces will be as tall as the frame you build, so it's just a matter of using a decent table saw to make the frame. I would suggest borrowing or renting one rather than trying to get your lines perfectly straight with a circular saw.
DeleteDid you ever consider pouring the counters in place. If so, why didn't you, and what were the cons in doing it that way? Thanks, Mark
ReplyDeleteWe did consider it that, it would have been nice not to have to move the pieces! The main reason we didn't choose that is that the melamine surface is what makes the top so smooth. The bottom of our contertops (the part that was on top when we poured them)turned out very rough and holey. If we had poured them in place our surface would be like that now! You could probably smooth it out with lots of sanding, but that would make a lot of dust in the house. Not to mention the mess pouring in the house would make. Plus I was afraid we would mess up on our first try so I didn't want to do anything too permanent/hard to undo. :)
DeleteOh My,
ReplyDeleteBest tutorial I have seen so far. Is it possible to make the concrete a lighter color? Was the polishing and sealing really that difficult this is what holding my husband back? Also is it possible to add glass flakes or valspar crystal. Thank You again great job
I don't know a way to make it lighter. They sell dyes to make it darker but this is the normal color of the concrete and I don't know of anything that lightens it. Sorry! That part wasn't really difficult at all - our came out surprisingly smooth and just took a tiny bit of sanding on the edges. The sealer was really simple too, basically wipe it on and let it dry. I don't know about glass or crystal, but it sounds really cool! Maybe make a small sample mold and mix a tiny bit of concrete to test it out first? Good luck!
DeleteIf you make your own mix you can use white portland cement rather than the grey concrete and you will end up with a finished product that is virtually white ready for staining or color depending on how you choose to proceed.
DeleteWhat a great idea! I've never heard of this white cement before. Thanks so much for sharing! :)
DeleteThis tutorial must have taken you forever to write! It is very thorough and helpful- it's definitely the best I've seen for this project. If I get the guts to actually go through with this project, I'm using your tutorial. I'm definitely concerned about our older cabinets being able to support the concrete, and we can't afford to replace those for the project.
ReplyDeleteThank you! We tried to be thorough because we had such a hard time finding a tutorial about it. :) That's a bummer about the cabinets, I know our old ones never would have held it. It's pretty heavy. :(
DeleteGreat tutorial. Did you guys have any problems with the notching around that massive sink?
ReplyDeleteThank you! The sink isn't being supported by the countertop at all, so it won't damage the surface. We built a support structure under the sink which supports from below. The sides hang over the countertop and we caulked that gap to keep water out. The sink we chose is perfect for this project because it spans all the way from the backsplash past the front edge of the counter...that means there was no need to make the countertop mold a special shape to accommodate the sink.
DeleteSorry, just read this again and I think I misunderstood the first time. There are notches at the front corners of the sink. We didn't have any problem with them, just used a small cube of melamine to block off the spaces. But I think the key was to cover the raw edge of the melamine with caulk to make sure it didn't stick. :)
DeleteWhere did you get your sink? I am looking for one just like it!
DeleteIkea! We love it! http://www.ikea.com/us/en/catalog/products/S59093554/
DeleteThank you very much for the thorough explanation of your DIY concrete countertop adventures! Definitely the most helpful thing I've read as I prepare to make my own concrete counter for our new bathroom vanity. A first for me, this project will be and your post was revelatory. I will most assuredly be linking this to my own blog post! Thank you!
ReplyDeleteGood luck! I'd love to see pics when you finish! :)
DeleteYou mentioned sanding...What do you sand them with? Just a hand sander and regular old sand paper?
ReplyDeleteYes, we used regular sand paper with a very fine grit. You could use a hand sander but be very careful not to take off too much. We only had a few spots that needed sanded at all and were easily able to sand it by hand, so I would worry about an hand sander wearing it down too quickly. And be sure that you do it on the time line described and sand right away! Once it cures it becomes nearly impossible to sand! Hope that helps. :)
DeleteThanks so much for your super great post! I found it really helpful -- so much so that I linked your posting to my own concrete countertop post! http://humboldtartdept.blogspot.com/2015/01/its-concrete-countertop-woo-hoo.html
ReplyDeleteThanks for providing such great information!
Hi, sorry if this appears twice. I don't know what happened to the comment I just made. :-) Anyway, Great tutorial! Very Clear and concise. I would like to ask the what is the square footage of your countertop. The total area. Thanks!
ReplyDeleteHi! I believe it's about 32 sq ft total.
DeleteIs that an Ikea farmhouse sink? We are planning on DIYing concrete counters but pouring them in place and would like to also install an Ikea farmhouse sink. I was curious if you had to notch out pieces on the front of the counter where the sink rests on the counter?
ReplyDeleteHi! It is an Ikea sink and yes, we did have to notch out the front corners. We just blocked them off when we poured the concrete by putting a small block of wood in the corner and covering it with the caulk so it wouldn't stick. It worked out great! :)
DeleteIt looks like in your main image at the top you can see the wood underneath the concrete...how would you avoid that in the future? All that work, so if you are standing far away can you see the wood under the countertop in your kitchen? I would not want that..
ReplyDeleteHi! I took this picture lower than eye-height so it might be showing more than usual for that pic. But we painted that wood the same white as the cabinets and used white brackets and I honestly never even noticed it after that, so I can't say if it is visible or not! It it was it blended in really well. The only other thing you could do would be cut the wood back farther from the edge, but I was more worried about the countertop cracking if it didn't have enough support, especially with little boys climbing up there all the time. Hope that helps! :)
DeleteWould not 1/4" tempered masonite work as well for the forms rather than the expensive melamine you used? It's very inexpensive and has a sealed very smooth side. I know it can't be used to paint on, as in pictures, because it's so nonporous.
ReplyDeleteI don't have any experience with it so I can't say how well it would work, but my first thought is that 1/4" is very thin and you would need a perfectly level surface to lay it out on (unless it's stronger than I'm expecting). In our uneven garage, having the thick melamine allowed us to level the form with shims without the weight of the concrete causing the base to sag. :)
DeleteHey Georgia,
ReplyDeleteI recently came across your site and I’m wondering if I can post one of my articles here.
I’ve been writing up home improvement articles too and would love the chance to write
on your blog but I couldn't manage to find your email. If you could get a hold of me at
ikatie.jones@outlook.com? I would greatly appreciate it.
Thanks,
Katie
did u mentioning sealing the concrete countertop and do i need to reseal it yearly. were start thinking of building a house and i love concrete countertops juts had a few questions about it. Thanks in advance for all yall’s help.
ReplyDeleteYep, we posted more about the sealing options here: http://www.morelikehome.net/2012/09/sealing-concrete-countertops.html and ended up going with the Sealer and Enhancer. We resealed it about every other year, but it depends on use and cleaning. Some sealers may last longer than others, but I don't know of any that don't need to be re-sealed at some point. Hope that helps! :)
DeleteI am looking at making your Homestead Table. My kids are notoriously hard on anything wood in our house--I'm thinking maybe this might be the tabletop answer! Do you think the farmstead table with all those 2x4s would support the weight of a concrete top?? Thank you!
ReplyDeleteHonestly I'm not sure. Which is not a very helpful answer - sorry! That table will definitely be sturdy, but I can only imagine how heavy a concrete top that size will be (it took 3-4 people to carry our largest piece, and this tabletop would be quite a bit bigger than that was!). I would consider adding another set of legs in the middle of the table for extra support (although that might make it harder to fit chairs where you want them) and I would definitely do a sheet of plywood underneath the top for extra support and for attaching the concrete. Hopefully that helps some. Sorry I don't have a better answer!
Delete