Wednesday, February 19
$100 Bathroom Makeover - Going Green!
Tuesday, December 3
$3 Christmas Wreath Hack
Want to add a little Christmas cheer to every corner of your home without breaking the bank? Me too! And this is one of my favorite hacks to get the job done. Wreaths are so versatile because they don't need any floor space, you can hang them just about anywhere, and they are super easy to put up. These little guys have an extra bonus - they're only $3 each at Hobby Lobby!
Thursday, January 25
DIY Renovation - What To Do Yourself vs. What To Hire Out
I've had a few questions about what we do ourselves vs. what we hire out, so I thought it might be helpful to go into that more in-depth today and talk about not just what we personally hire out, but also how we make those decisions (and I'll walk you through how to make those decisions for yourself as well). It's always a good to have an idea of what you really can (and want to) do yourself before you begin any kind of remodeling project! I addressed this briefly in my post about installing the recessed lighting in our kitchen if you want to check that out as well.
When it comes to home renovation, you're not only deciding how much you want to pay, but also what you want to pay. Because doing things yourself involves a different kind of cost than paying a contractor. While DIY does save money, it costs time instead. Nathan once spent a whole Saturday installing flooring in our dining room with help from a friend and they only got about 75% done. So while we saved a lot of money over having it professionally installed, it cost him a couple days of time instead. See what I mean?
So for every part of your renovation, you need to evaluate your unique needs and decide exactly what you're willing to pay. Find the balance that works for you, your home, and your family. Today I have several tips to help you think through these decisions and I put together a free printable workbook to help you as you work through that thought process! You can get it here:
Friday, January 12
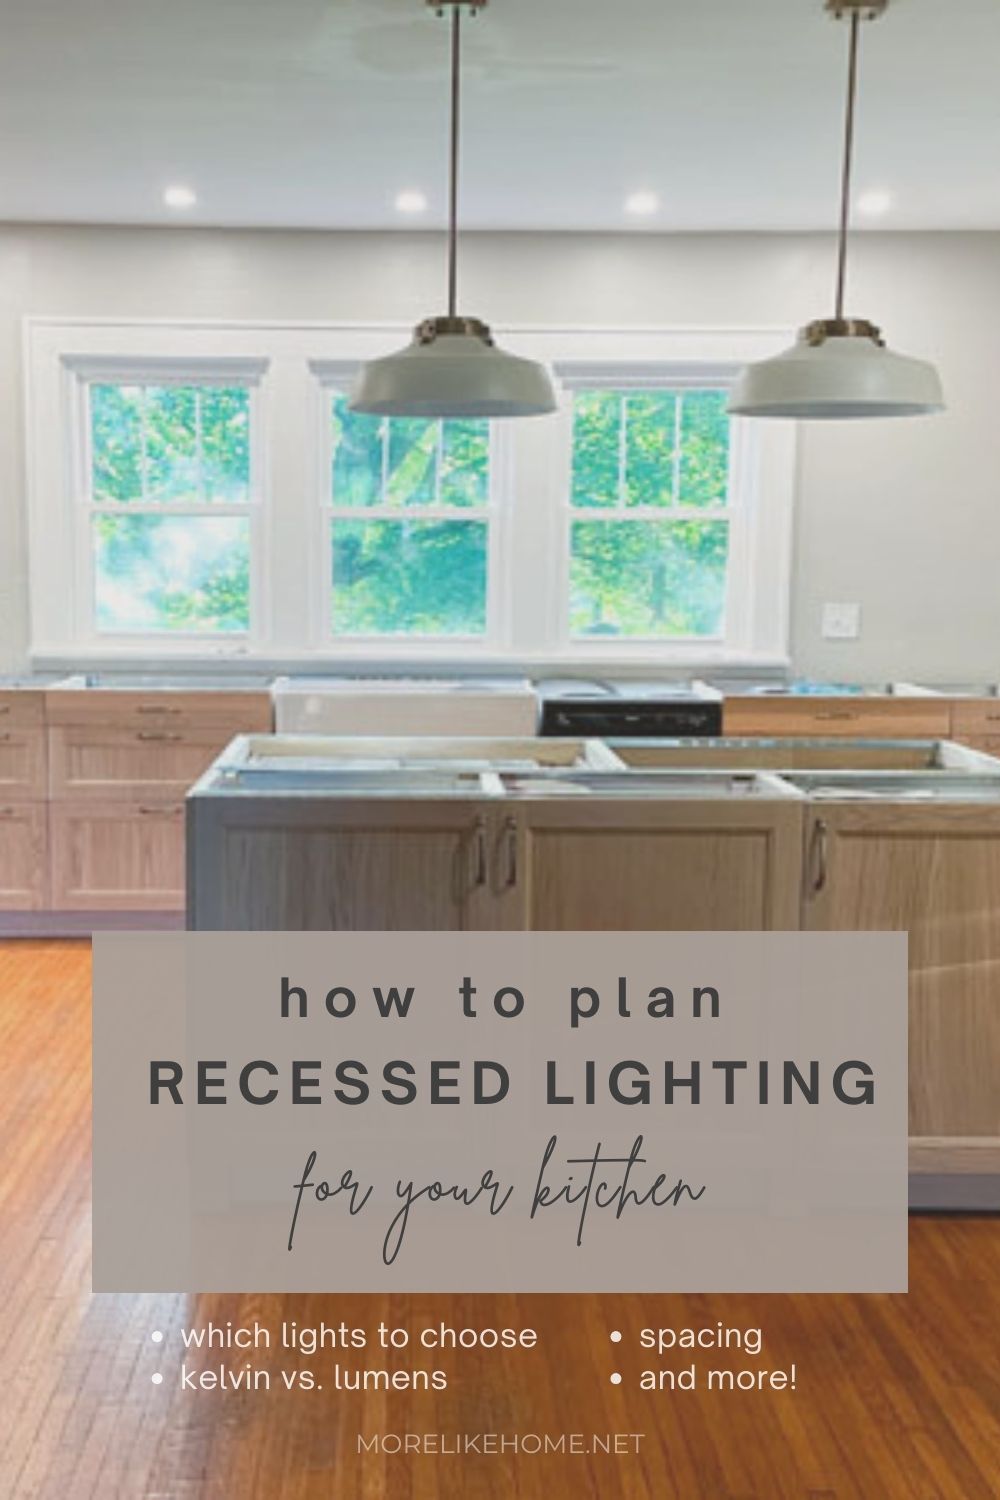
Installing Can Lights in our DIY Kitchen Reno
Lighting is so important to a functional kitchen. I'll admit I'm no lighting expert, but I did plan all the lighting for our DIY kitchen remodel myself and I know that you can do it, too! So today I'll share the lighting choices we made for our kitchen (and why we made them) which should at least be a good starting point for you to jump into your own kitchen lighting project!
Tuesday, January 9
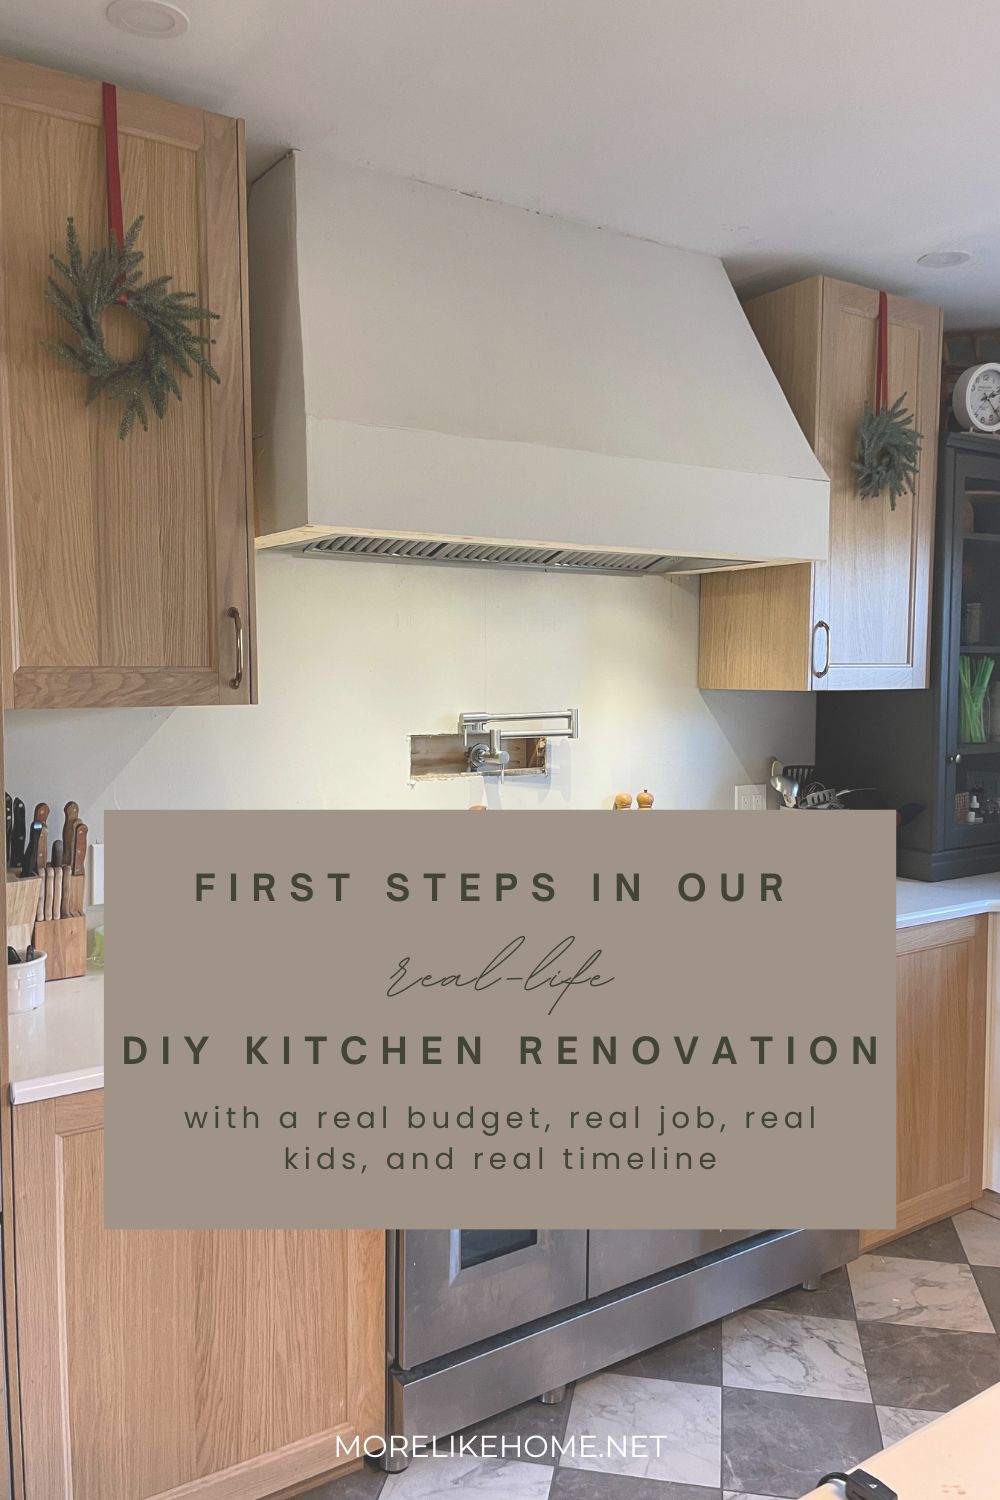
First Steps in our DIY Kitchen Renovation
Guys, we're well over a year into our DIY kitchen renovation. Which sounds crazy. But we're DIYing the entire thing (on top of jobs/kids/homeschooling) so it takes as long as it takes. I've been planning to share as many details as I can, but it turns out finding time to both do the DIY and write about the DIY has been difficult has not been something I really wanted to try to do. So. I didn't.
But I think it's time. So today I'm going to kick if off by going back to the beginning to share the first steps we took toward get our dining room ready to convert into a kitchen just in case it would help anyone else planning a similar renovation. Obviously the very first step was a lot of planning, which you can read about here. Then the first actual ax-to-the-grindstone step was getting the bones of the room ready and creating a blank slate.
Tuesday, December 7
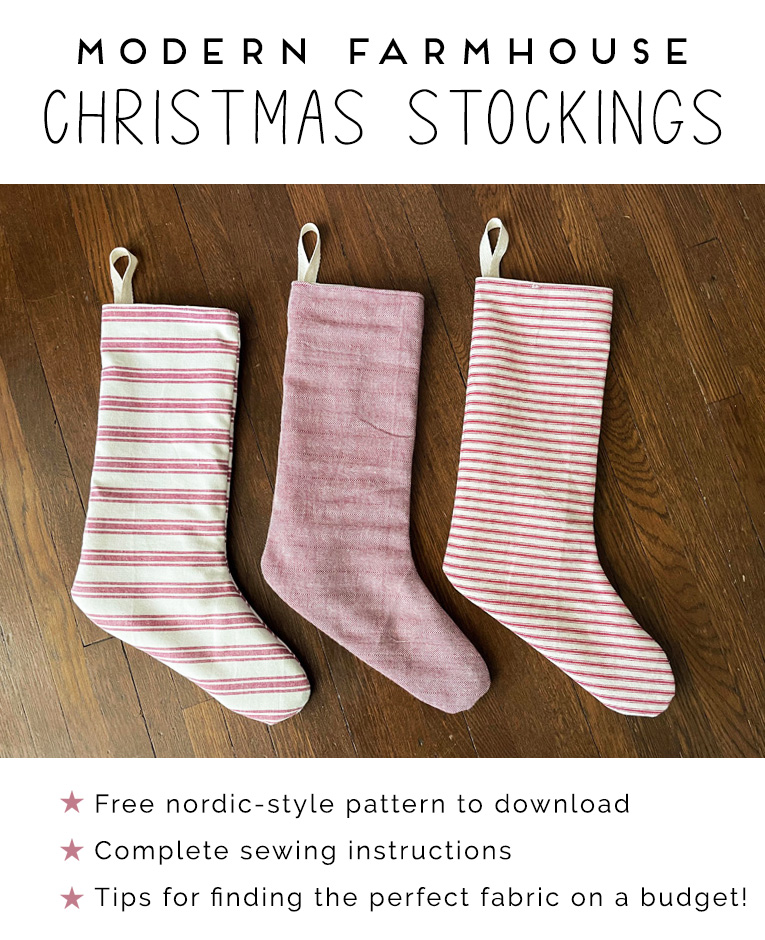
DIY Modern Farmhouse Christmas Stockings
New year, new stockings... again.... How often is it normal to get replace your stockings? Growing up we had the same stockings my whole life (my parents still use them!) and I feel like that's the normal thing to do. It's all part of the nostalgia of Christmas, right? But here I am replacing my stockings for the... fifth time? I've started from scratch every time we added a baby (since we needed to add a new stocking) but almost every time I breathed a sigh of relief that I could finally ditch stockings I didn't love and try again. Here's what I've tried so far (you can read the full saga in this post):
- Failed Sweater Stockings
- DIY Flannel Stockings - I ended up hating these. I was on a tight ($0) budget and made them out of leftover flannel from other projects that didn't match my Christmas style. I won't totally knock this idea though - I think a cute plaid set would feel wonderfully cozy!
- Cheap Hobby Lobby Stockings
- $5 Christmas Stocking Hack - I actually really liked these ones! And I honestly don't have a good reason why I didn't just make a seventh one to match for our newest addition - it was just so much red when so many of them were up there together, and! So this time I'm trying something that feels a little more organic - like a collection we can add to over time.
And now I'd like to introduce you to my newest stocking love: mix-and-match modern farmhouse stockings!
Saturday, October 2
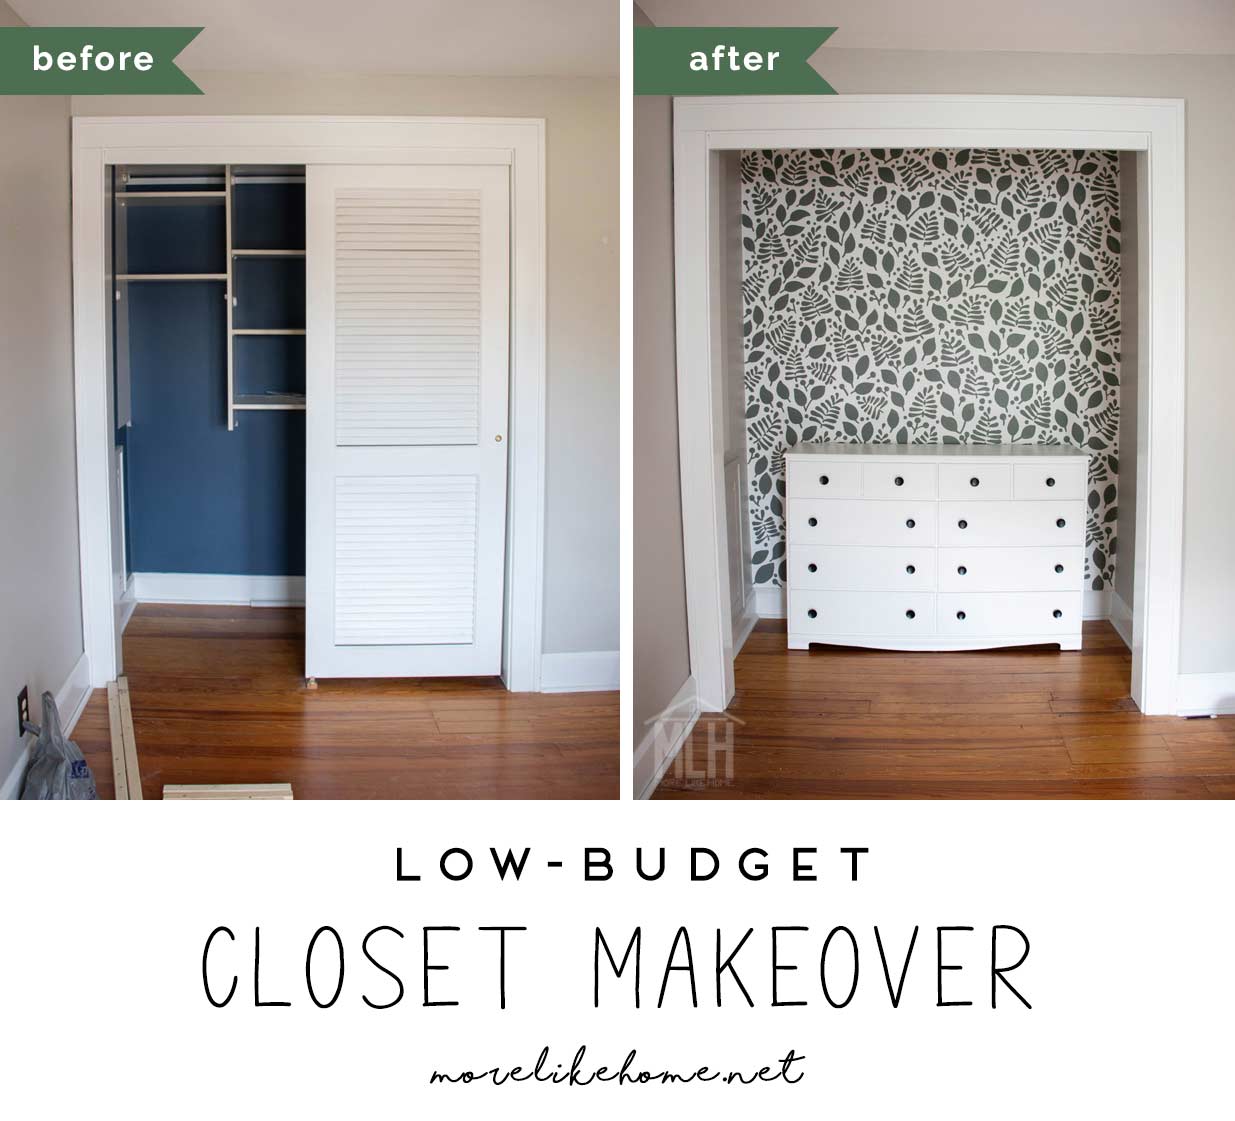
Boys' Closet Reveal (Low-Budget Makeover!)
Hey guys! It's time for the closet reveal! You saw a peek of it in the bunk room reveal (check that out here if you missed it), but the final details are done and this closet is already working hard for our boys. This was a 100% low-budget use-what-we-have project because seriously, guys, you don't have to spend a fortune to create a beautiful home for your family! Here's a reminder of where we started and where we left off during the bunk room reveal:
And here's their closet today:
Thursday, July 22
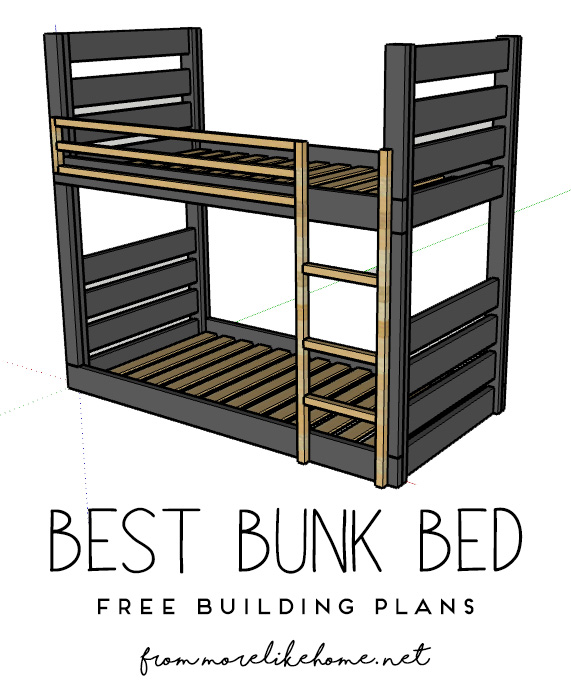
Bunk Bed Plans
Today I'm sharing plans for the regular double bunk bed we used in our boys' new bunk room!
**Returning to this post more than 3 years later...we still use these bunk beds every day. They've held up great and love them as much as ever!**
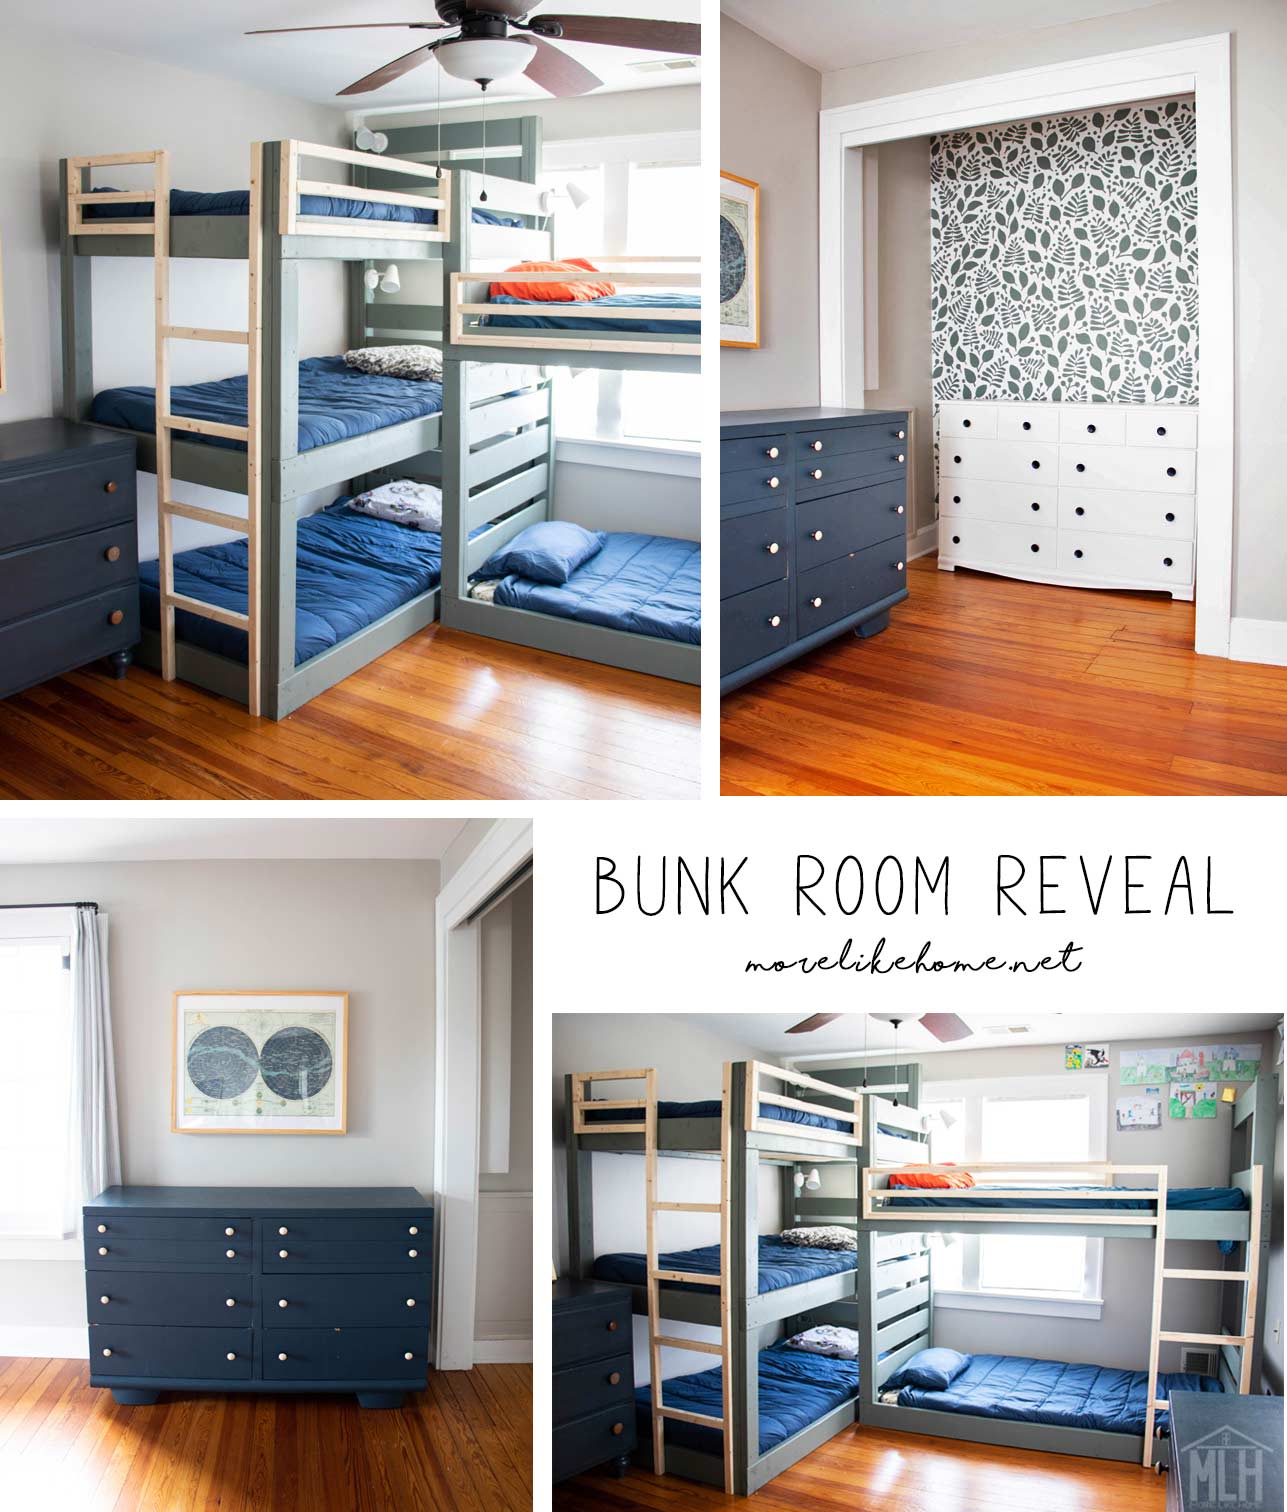
We built the bunks as two separate units (a freestanding triple set and double set) so if we ever change course later and decided to split them up, we can! They also disassemble into a few large pieces for easy moving. We painted them all a muted green ("Retreat" from Lowe's) which feels perfect for a boys room without being over-powering. And I love the contrast that came with leaving the ladders and railings natural wood.
You can find the triple bunk plans here.
Monday, July 19
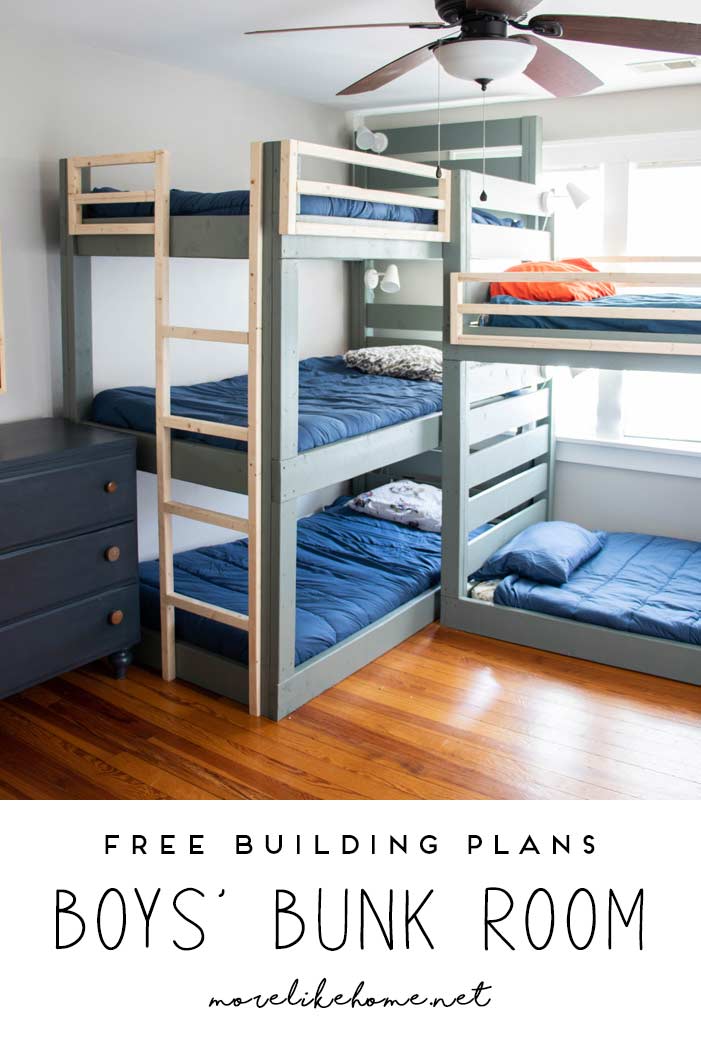
Triple Bunk Bed Plans
Guys, it's time for bunk bed plans!
You probably already got a look at the bunks during the room tour (if not, you can check out the full tour here) and today I've got plans ready for your to build your own. We'll start with the triple bunk today, and you can find the double bunk plans here.
**Returning to this post more than 3 years later...we still use these bunk beds every day. They've held up great and love them as much as ever!**
We built the bunks as two separate units so if we ever change course later and decided to split them up, we can! They also disassemble into a few large pieces for easy moving. We painted them all a muted green ("Retreat" from Lowe's) which feels perfect for a boys room without being over-powering. And I love the contrast that came with leaving the ladders and railings natural wood.
Thursday, July 1
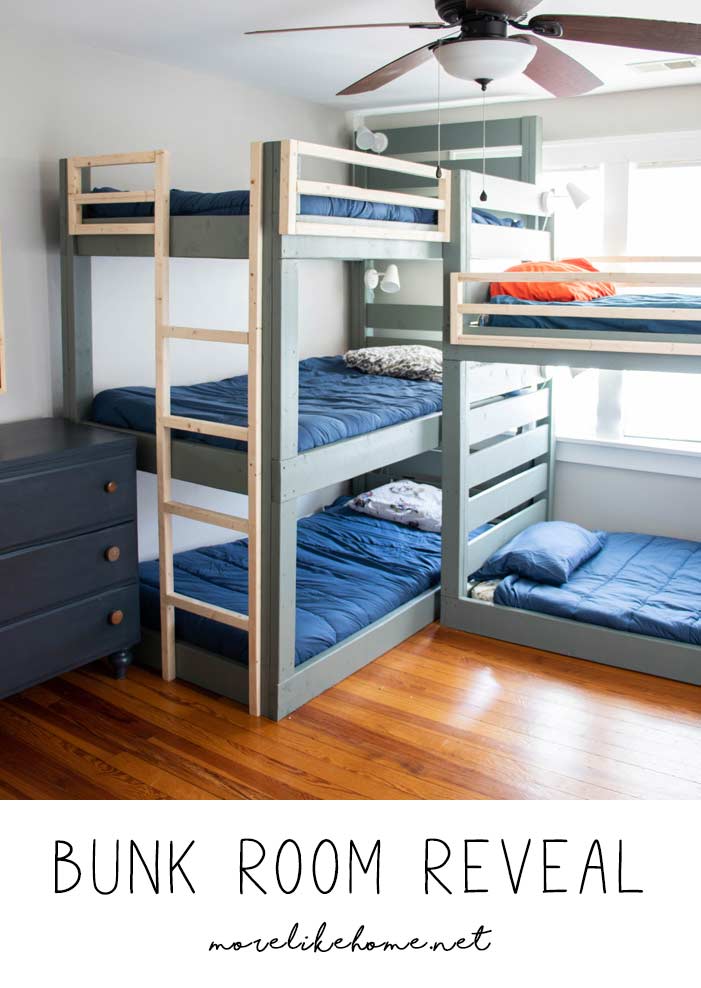
Boys' Bunk Room Reveal
Ladies and Gents, this is the moment you've waited for....
The boys bunk room is DONE and I am so excited to share it with you! This room used to be our guest room, but we realized that we could make the space work for our family so much better if we turned this into a bunk room for all five boys and turned their old (bigger) room into a dedicated play room. I don't know about you, but there are a couple things I was tired of:
- Boys playing with toys when they should be going to sleep.
- Stepping on those toys when I go in to check on them at night.
- Boys who couldn't nap while their brothers played. Or play while their brother napped.
So we decided to ditch the guest room and create a dedicated sleeping space that is only for their beds, their clothes, and a their favorite books. This allows their bigger room to house the toys along with plenty of open floor space to play and, of course, the monkey bars + rockwall play area we built for them a couple Christmases ago.
Ready to see how we fit FIVE BOYS (and all their clothes) into one room? Let's check it out!
**Returning to this post more than 3 years later...we still use these bunk beds every day. They've held up great and love them as much as ever!**
Monday, December 21
DIY Paper Sack Christmas Stars
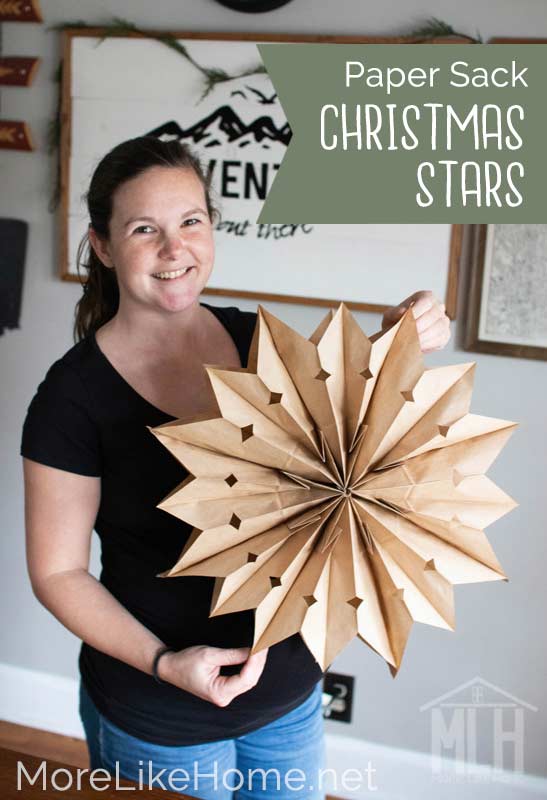
Hey peeps, I've got a super easy Christmas craft for you today! We're going to make these giant paper Christmas stars:
And the best part? This project only takes about 10 minutes and costs only $1.00! It's a great way to make a big impact with limited time and budget, and it's super fun to do with any kids who are able to use scissors on their own. We've been hanging these all over our house this week!
Here's all you need to make your own:
- 7-8 paper lunch sacks (you can usually get a pack of 40 at Dollar Tree!)
- scissors
- hot glue gun
- string or yarn (you might be able to find string at Dollar Tree, too!)
Thursday, December 10
How I Made 50' of Beaded Garland for Under $1!
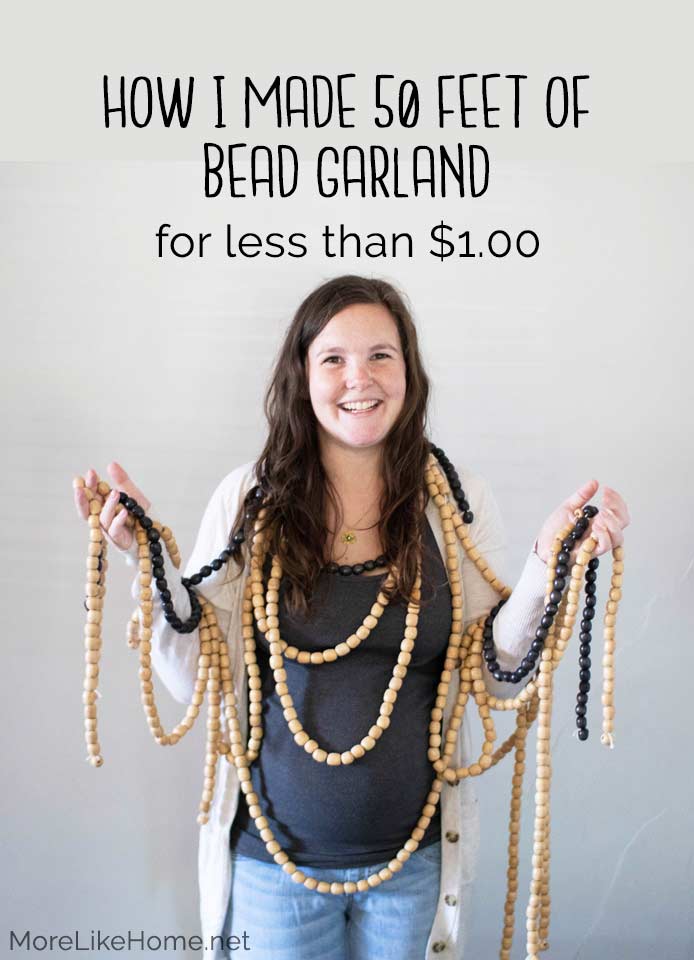
Bead garland is one of my staple Christmas decorations. I can't get enough! But I know it can be pricey to buy up enough of it to really make an impact, let alone cover a single tree. In fact I spent several years slowly building a collection of red beads by purchasing a strand or two at a time during after-Christmas clearance sales. I even looked into buying beads to make my own garlands and couldn't find a way to do it that was cheaper than the Christmas clearance bins... until this summer when I stumbled across what might be the greatest bead garland hack of all time.
It's true, guys - I made over 50' of DIY bead garland and spent less than $1.00 on the whole lot. Thanks to the magic of yard sales and a little creativity!
Thursday, October 1
DIY Window Screens for our Ford Transit Camper Van
Check out the rest of our DIY Camper Van posts here.
Friday, April 24
Easy DIY Planter
Check out the rest of my free building plans here.
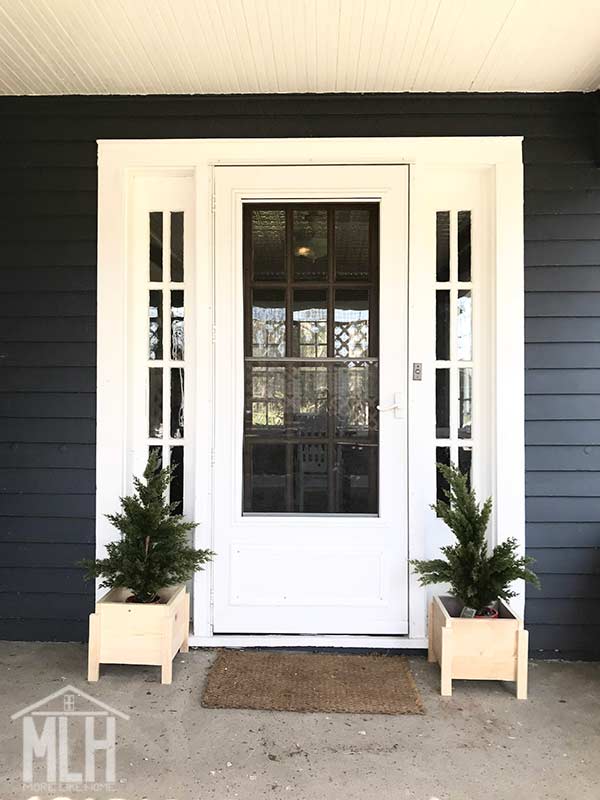
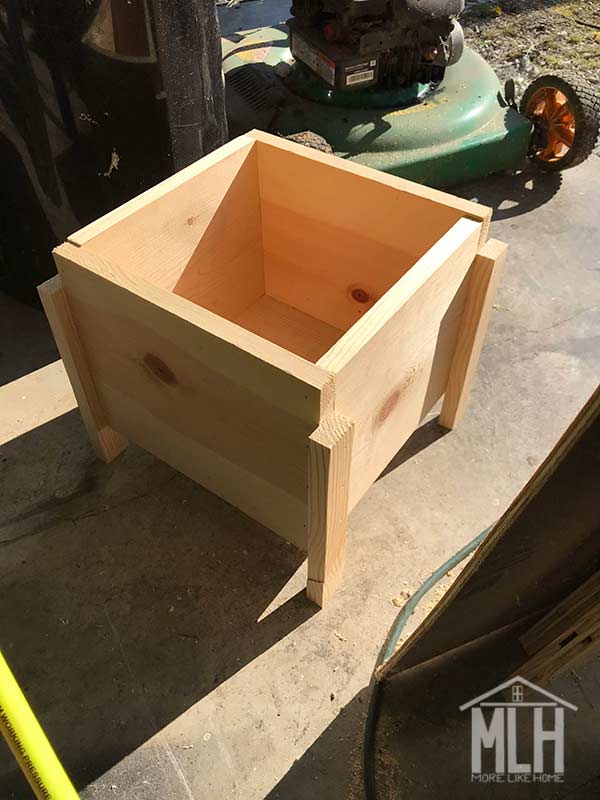
And the bonus for me was that I made them entirely from my scrap pile! But if you don't have a stash of scraps yet, don't worry. Each planter uses just two short boards so it's still a budget-friendly project.
These planters come together super quick and it's a very simple project that's great for beginners. It just might be the easiest project on the entire blog!
Friday, April 17
Matching Child-size Ties + Bowties
But last summer I was putting together outfits for my sister's wedding and I wanted to add a special touch. Something to dress it up just a bit more than usual and add a little matching to the day (I love when they match).
For little boys, that naturally led to matching ties and bow ties! I found a few ties on Amazon, but the ones I liked were almost $25 each. And the few I didn't totally hate (that would arrive in time) were still $10-15 each... and I would need four. Not how I want to spend my $$ today, thankyouverymuch. It just felt like a lot of money for a little accessory.
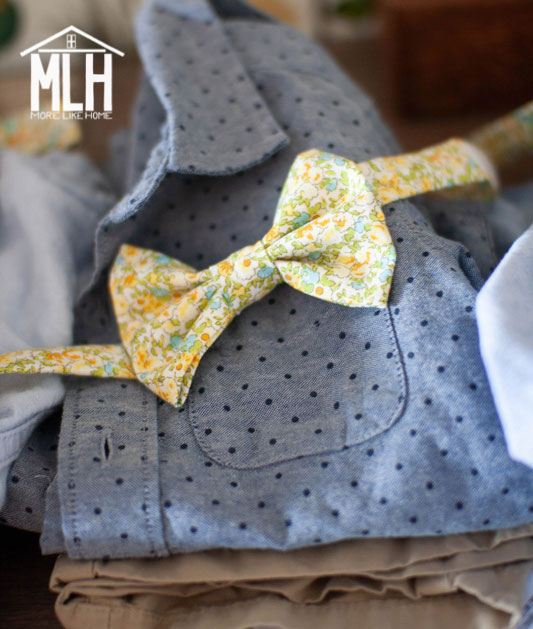
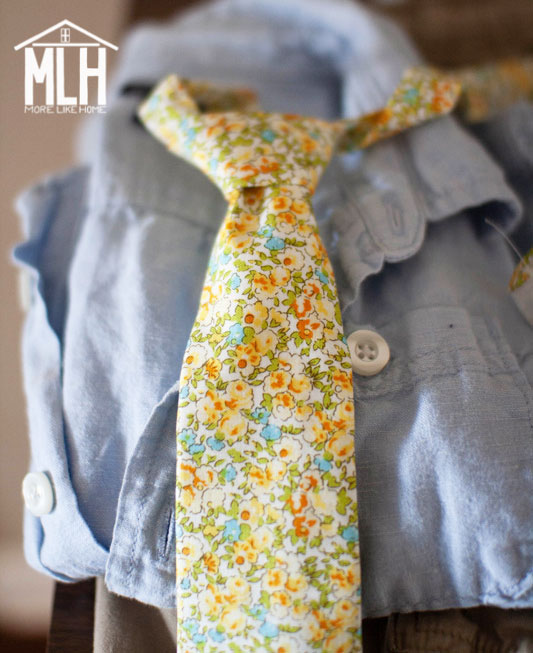
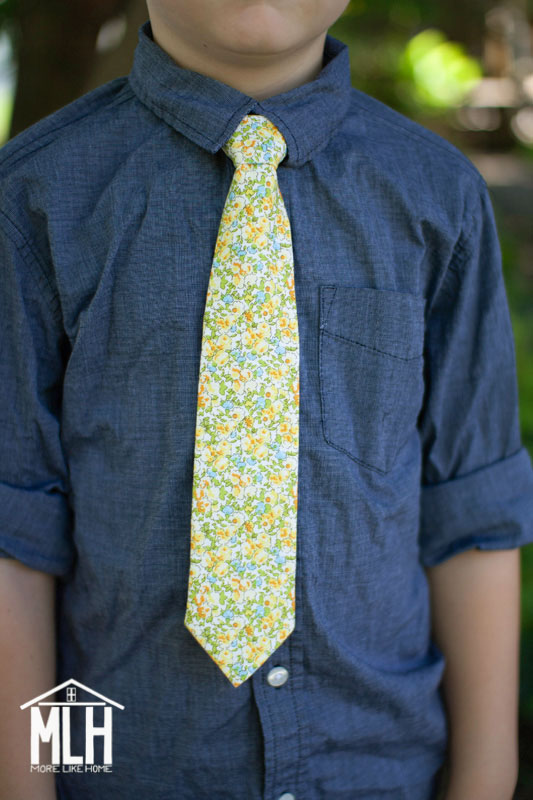
I decided on regular ties for the three bigger boys and a bow tie for little guy (so he wouldn't get tangled up while crawling around). For my 8-year-old, I added a few inches to the tie pattern to make it a little longer. My five- and three-year-olds are wearing it true to the pattern. Hopefully that gives you an idea for any adjustments you need to make for your own sizing! I also copied the velcro strap from the bow tie pattern and used it for the regular ties, too, instead of using the elastic it shows in that pattern.
The fabric was from Hobby Lobby and cost $7/yard regular price, but their fabric is always on sale so it ended up being only $5/yard. One yard was enough to make the set of four. I also bought one pack of 5/8" velcro for $2 and had plenty to split that between all four ties, bringing the grand total to just $7 for all four!
I couldn't believe how cute they turned out! I kept looking at them like "Did I really just make these??" So cute and so professional looking. And under two hours to make the whole set.
Just wanted to share since it's a great little project to tackle while you're cooped up at home (and perfect if you have scrap fabric to use up!). Seriously, I can't recommend these patterns (or little boys with matching ties) enough. What have you been making lately?
Thursday, April 2
How to Turn Stock Cabinets into DIY Built-In's
This project started much like every other project we've ever done: with me saying "It will be easy! We'll be done in like two weeks!" And just like every other project... I underestimated. Like, a lot. It took us nearly two to complete these built-ins. Not because this process is difficult - it's actually pretty simple - but because we were exceptionally slow at setting aside time to work on it, and because the walls in this old farmhouse are crazy crooked. I mean, DIY always takes longer than I hope (you'd think I would learn - but no) but this project was even worse because we spent so much extra time cutting and recutting each board to fit tightly against walls that just aren't straight. But as usual, that slow and steady work has finally paid off in a big way.
It's hard to believe this is the same corner:
Sunday, January 26
Planning DIY Built-Ins
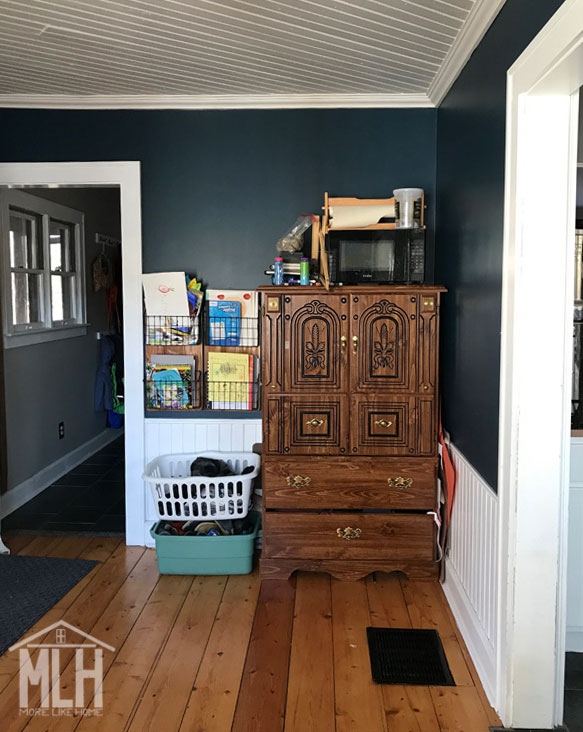
We have this little nook of our kitchen - it's probably supposed to be a breakfast room or something fancy like that. But, alas, we are not fancy folks. And I have no interest in a breakfast nook, because we eat breakfast at our big farmhouse table. So I toyed with a few other ideas for the space: a playroom (but we don't have that many toys and don't need another room for them), a homeschool room (I actually set it up for this for awhile, but we always end up in our cozy library/office for homework), and a craft room for the kids. So far, the craft room is the thing that seemed to stick. I'm a crafty mom and I have so far produced three crafty kids (and I expect the fourth will follow his brothers), so we have no shortage of art supplies and half-completed projects. But we do have a shortage of storage space and organizational genius to corral those things. Hence our first project of the year:
We're building DIY built-ins!
Thursday, January 9
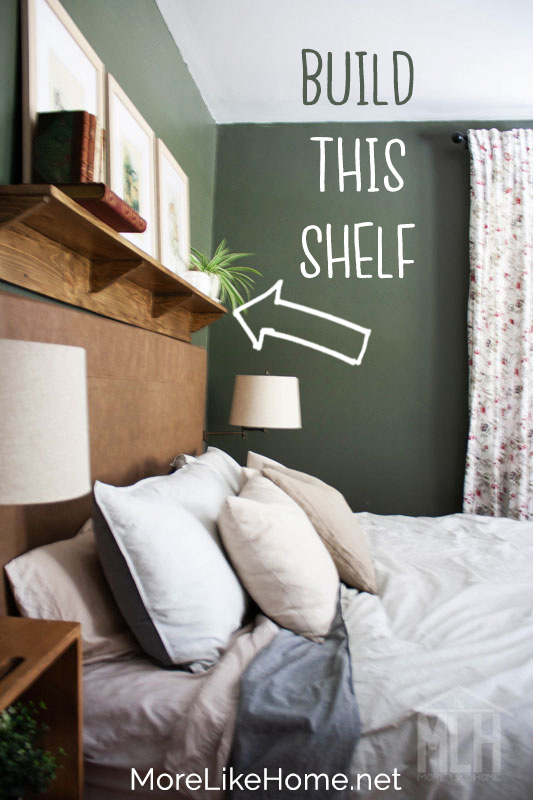
DIY Easy Headboard Shelf

Want more refresh ideas on a super tight budget? Check out these room reveal posts:
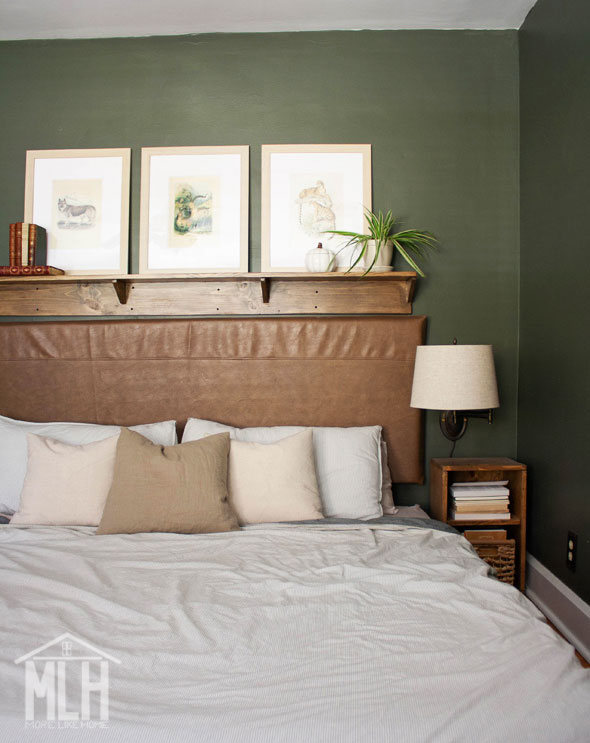
For this refresh, we also DIY'ed the easiest upholstered headboard EVER. You can see how we made it here. Other than that we just tweaked a few details and accessories to totally transform the space! You can check out all the details - the budget, what we bought, what we moved around, etc - in this post.
To make your own shelf, this is all you need:
- 1x8 board for the shelf - the length you want your shelf to be
- 1x6 board for the back - the length you want your shelf to be
- 1x4 board for the brackets - scraps or a 4' board would be plenty (you need more brackets for a longer shelf, less for a shorter shelf)
- 1 1/4" wood screws
- optional: Kreg Jig + 1 1/4" pocket hole screws (definitely don't need it but I used it so I didn't have any holes to fill)
- optional: finishing nails (I just really don't like to fill holes, guys)
- wood glue
- wood filler, if needed
- sandpaper and whatever paint/stain/sealer you want
- screws for attaching the shelf to the wall (we used 3" screws and drilled directly into studs)
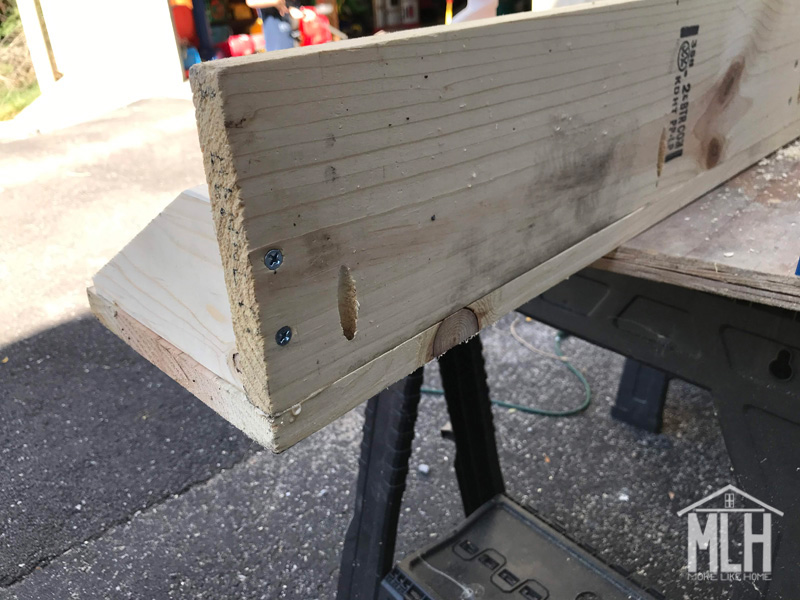
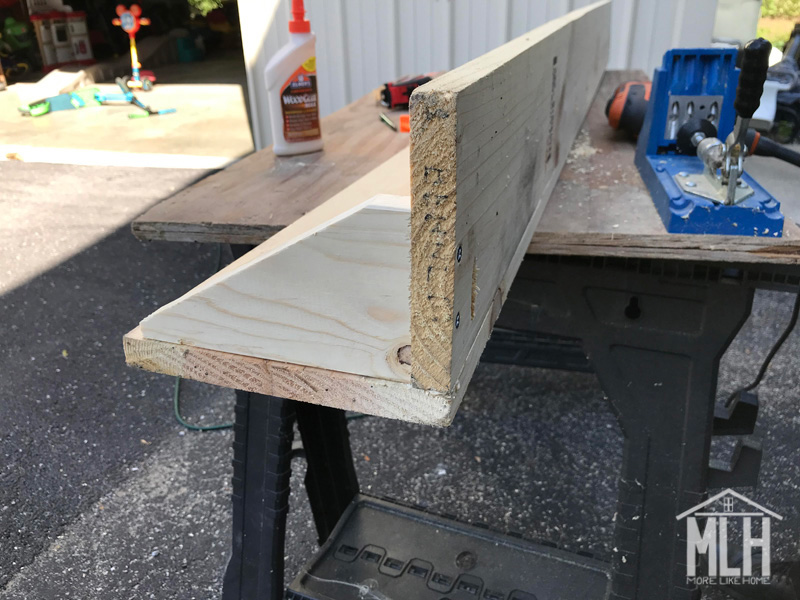
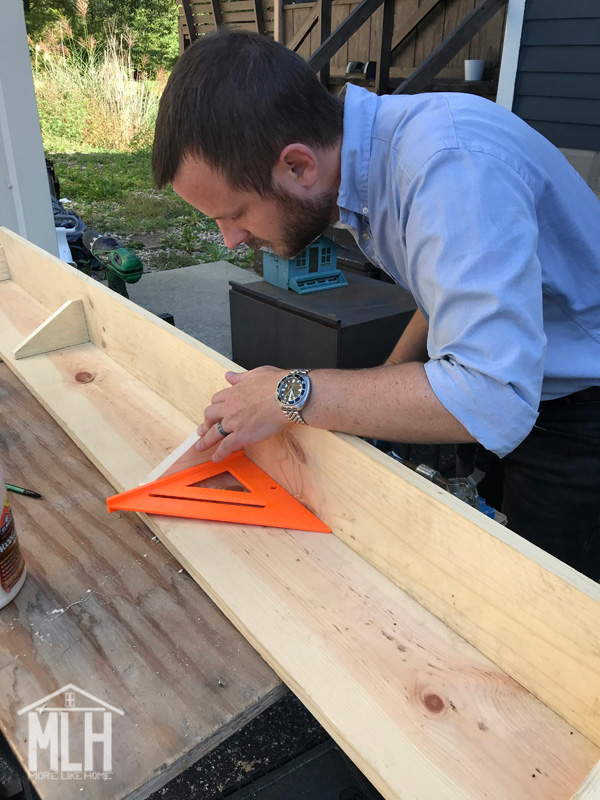
Attach the back board to the shelf board - the shelf should rest on top of the back board, not butt up against the side of the back board. Attach it with wood glue and by drilling down through the top board into the edge of the back board with 1 1/4" wood screws. Or use pocket holes along the back of the back board to attach it - then the holes will be hidden against the wall!
So in this pic, since the whole shelf is upside down right now, the shelf board is laying down and back board resting on top of it and attached with Kreg Jig pocket holes:
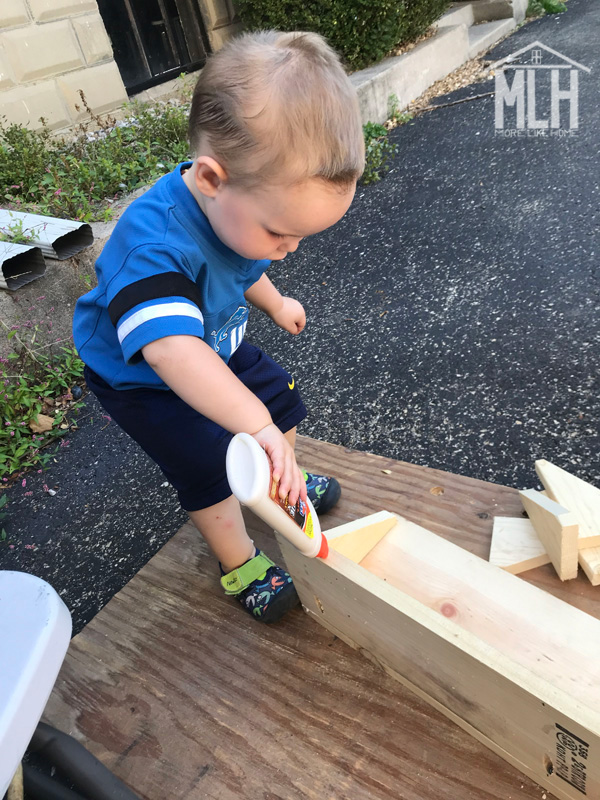
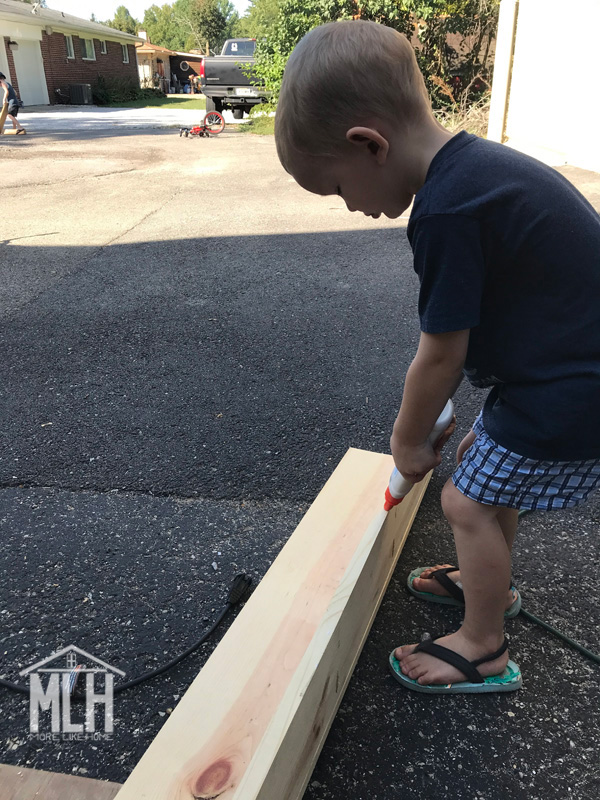
Don't forget the glue. And don't forget to put the glue up when you're done or a little helper might make himself helpful.
Next you need to make the brackets. Start by cutting pieces of 1x4 that are 6" long. I cut four for this shelf, but you can do more or less as needed for the size of your shelf and to fit the look you want (but remember more is always better if your shelf will be carrying a load!).
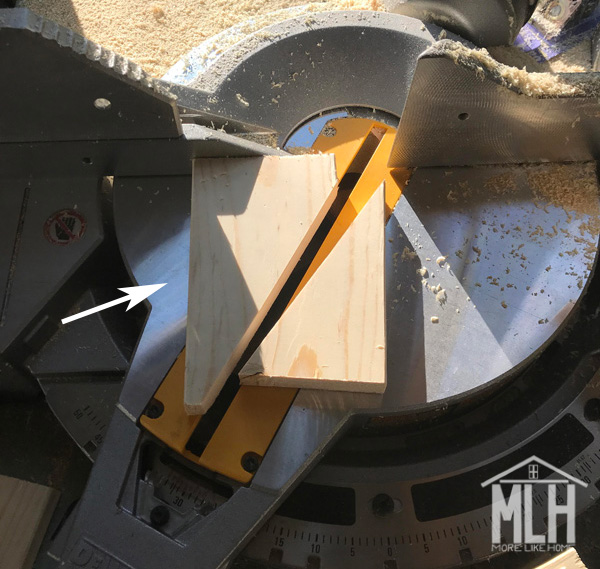
Then you need to cut each of those 6" pieces into the bracket shape. I set my miter saw to a 30 degree angle and cut a practice bracket to make sure I liked the proportions. I'm pointing at a pencil mark. That will be important in a minute.
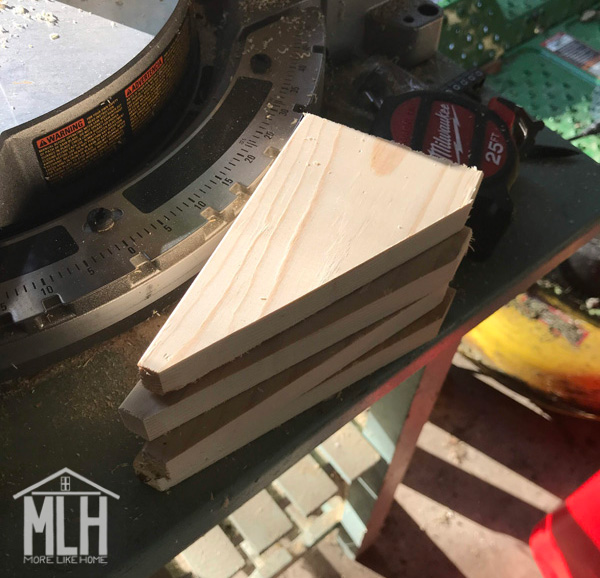
The piece on the left is the bracket. I cut it so that there was a straight edge left at both the front and back (it doesn't go all the way to a sharp corner like the scrap piece on the right). Once I was satisfied with the bracket shape, I lined it up against the saw blade and used a pencil to mark a line at the edge of the board. That line I was pointing at two pictures back. Then I just had to line up each of the other 6" boards with that mark and knew I was getting perfectly matched brackets. You could also trace your cut bracket onto the top of each piece of wood instead. Whatever floats your boats, peeps.
Go ahead and cut as many brackets as you need. Actually, I think I cut five but when it came time to install them I decided I liked it better with four.
As is always the case, but especially when your miter saw is set to an angle you're not accustomed to... PLEASE DO NOT CUT YOUR FINGER OFF.
K, thanks.
Now you can install your brackets. The long side of the bracket goes against the shelf (remember that's on the bottom in this pic) and the short end goes against the back board.
You're almost done! To finish your shelf, fill any visible holes with wood filler (be sure to get a stainable type if you're using stain instead of paint) then sand everything down really well. This is the most important step for a professional finish! Start with a rough sandpaper, then go over everything with a medium paper, then again with fine paper. Once it's super smooth, finish it with whatever paint or stain and sealer you like.
I tried out a few leftover stains on a scrap board to see what would work with my walls and headboard (budget project = no $$ for new stain). I tried Early American, Weathered Oak and Coffee, and decided on a layer of Weathered Oak topped with a layer of Early American. It hit that sweet spot of not-too-gray-but-not-too-brown.
Full disclosure: I used to read about people mixing or layering stains and think it was flat out crazy. Like who has time for that? Just pick a stain already! But here I am. Turns out it was the best way to make the most of what I had.
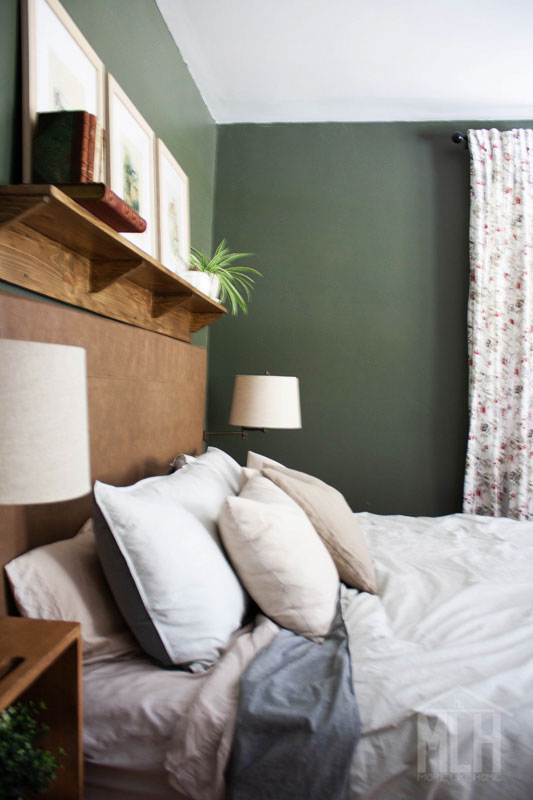
Once it dried we hung it centered above the headboard. We drilled straight through the back board into studs in the wall. Yes, the screws are visible, but we're sleeping with our heads under this thing and didn't want any chance of a shelf-falling wake-up call. We used black 3" drywall screws since we knew the heads would be show (still not super pretty, but better than shiny silver heads!).

All done!

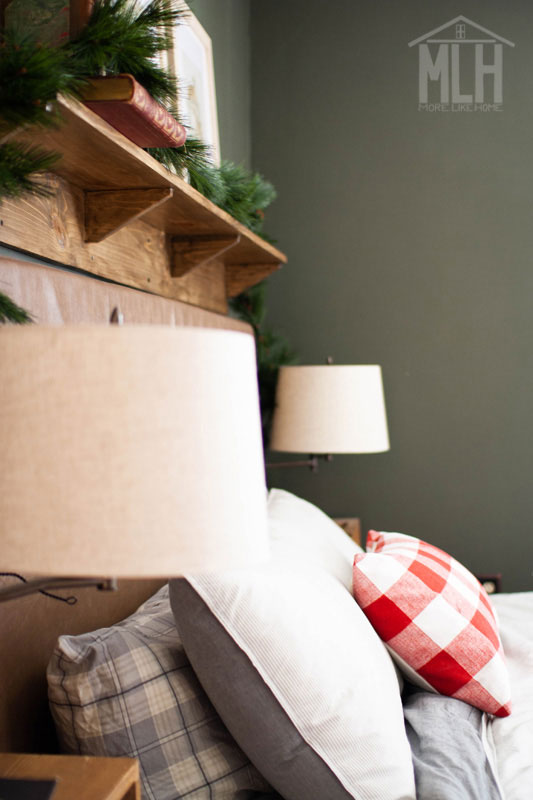
And here's an update with it decked out for Christmas:
Now I'd love to hear - what's your favorite thing about your bedroom? Is it a special piece of decor? The layout or flow? Something you made yourself? Let me know in the comments!


