
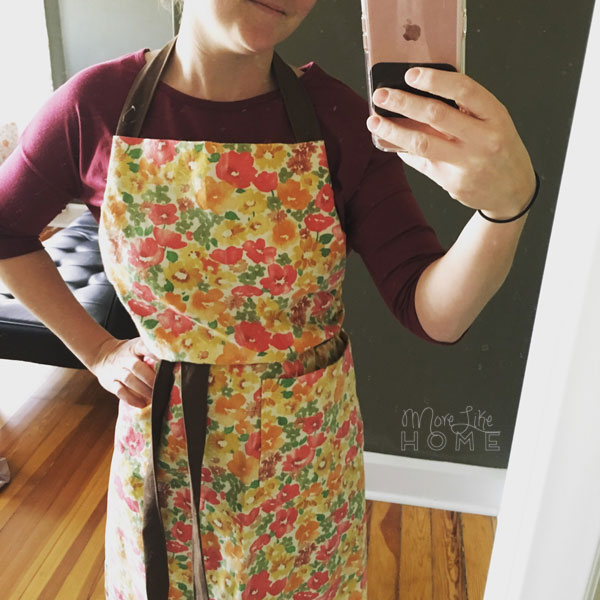
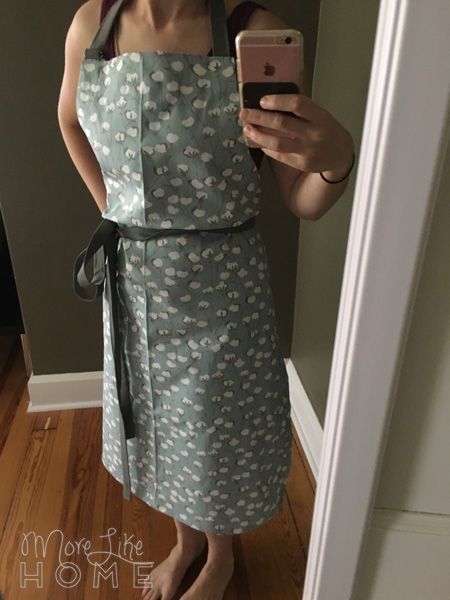
Update: I looove this one I made for my mom with the same pattern. I like to wrap around my waist and tie in the front for a cuter fit.
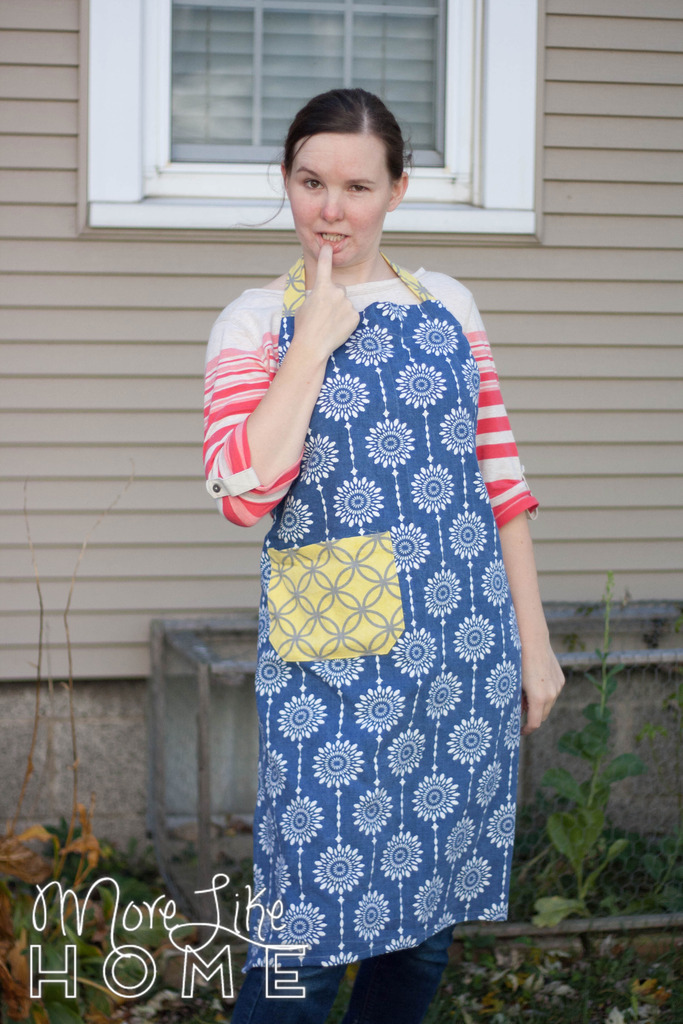
Every new wife needs a good apron, right? Unfortunately I always like to make things harder for myself and make up my own pattern. I want it to look just how I want it to look and I don't want to spend time looking through tutorials for one that is perfect. My first attempt totally flopped, so I put off trying again... for... two years. *shame* Sorry, Sister. But I finally got into a nesting flurry a few weeks ago and finished one!
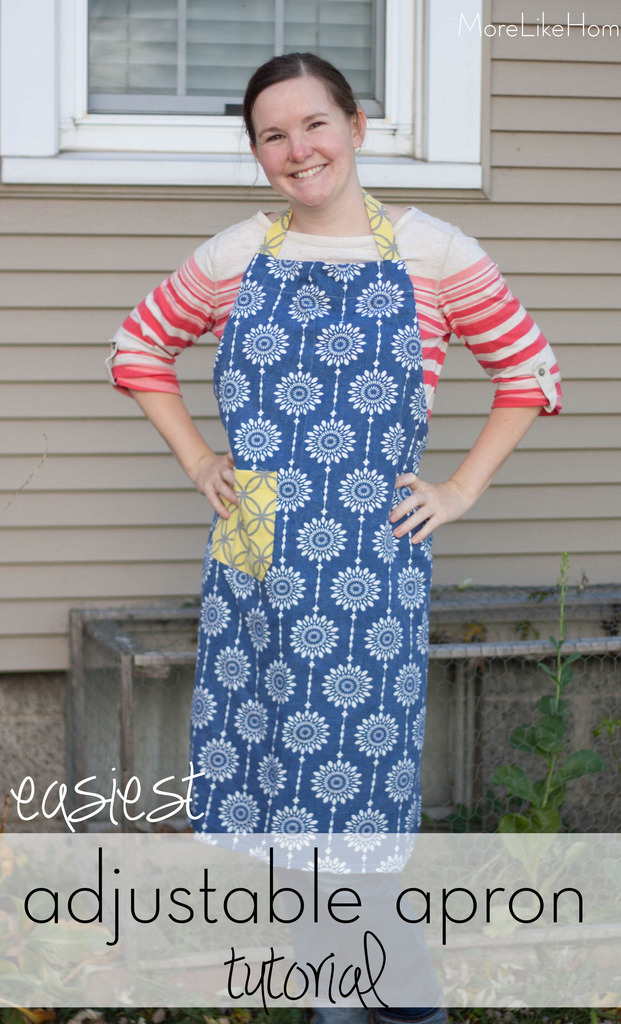
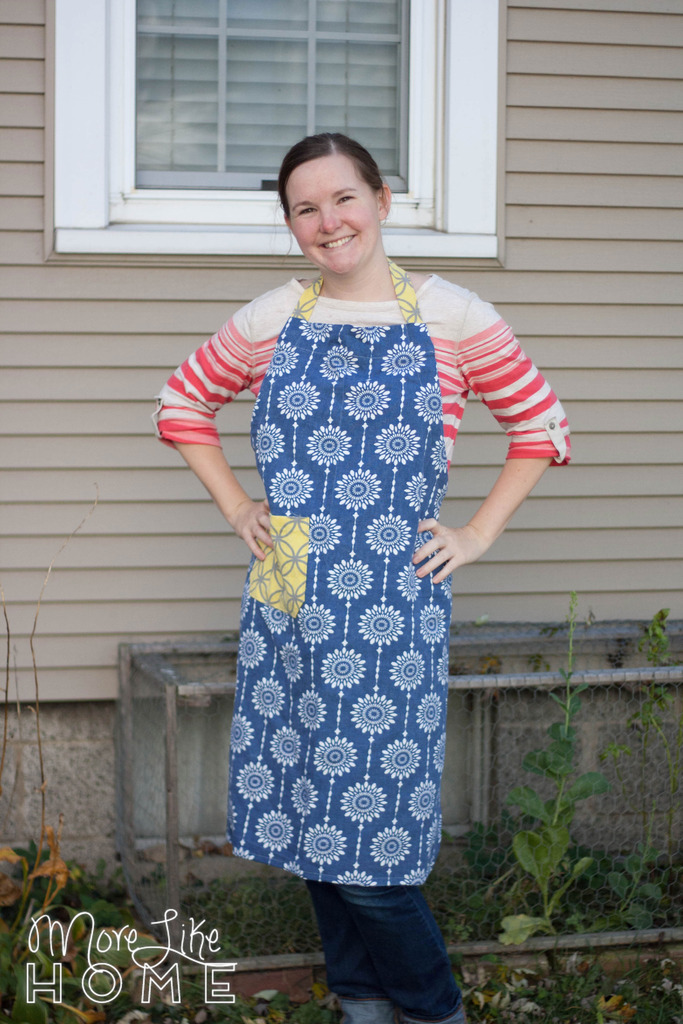
The finished apron gives you full coverage when you're cooking. No more splatters around around a too-narrow bodice (I cook messy, okay? Don't judge.). Plus the generous size will work for most cooks. It also boasts a handy pocket and a hanging loop for when it's not in use. But most importantly, it has my #1 most desired feature in an apron: an adjustable strap. Not one you have to tie or slide through rings (you won't spend more time adjusting your apron than you spend actually cooking the food), all you have to do is pull the ties to make the neck loop shorter. And you guys... all this convenience is still pretty easy to make! This is all you need:
- 1.75 yards main fabric (you can get more for a longer apron or less for a shorter apron)
- 1 yard strap/pocket fabric
- thread

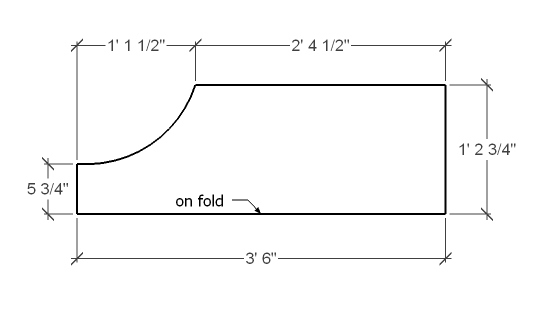
Let's start by cutting your main fabric. Cut a piece 29 1/2 x 42" for the main body. Fold the piece in half length wise and lay it with the fold facing you (see drawing below). On the left edge measure up from the bottom 5 3/4" and make a mark. On the top edge measure in 13.5" from the top left corner and make a mark. Draw a curve connecting the two marks and cut along the curved line. This is your main apron body. If you want to make your apron a little more feminine, you can curve the bottom corners of the apron.
Open up the folded fabric and hem the side and bottom edges of the apron by folding the edges under 1/2", then 1/2" again and sewing right along the inside edge of the fold.

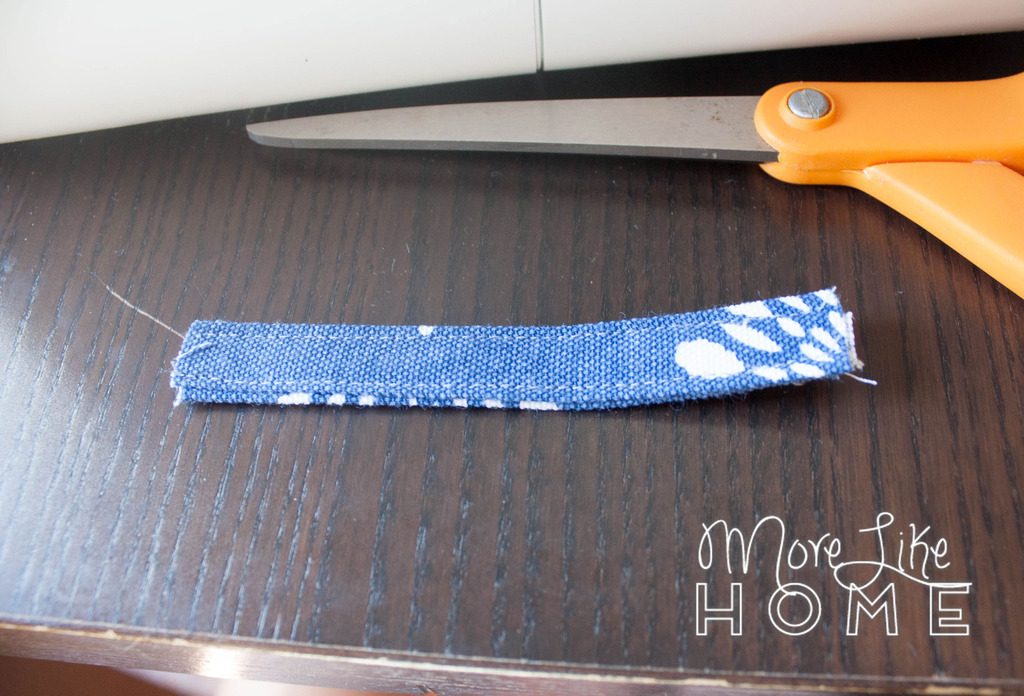
Now make the hanging loop. Cut a piece of fabric 2x4". Fold it in half lengthwise and press, then open it up and fold both edges in toward the center crease and press.
Fold it along the center crease again, then stitch along both long sides.
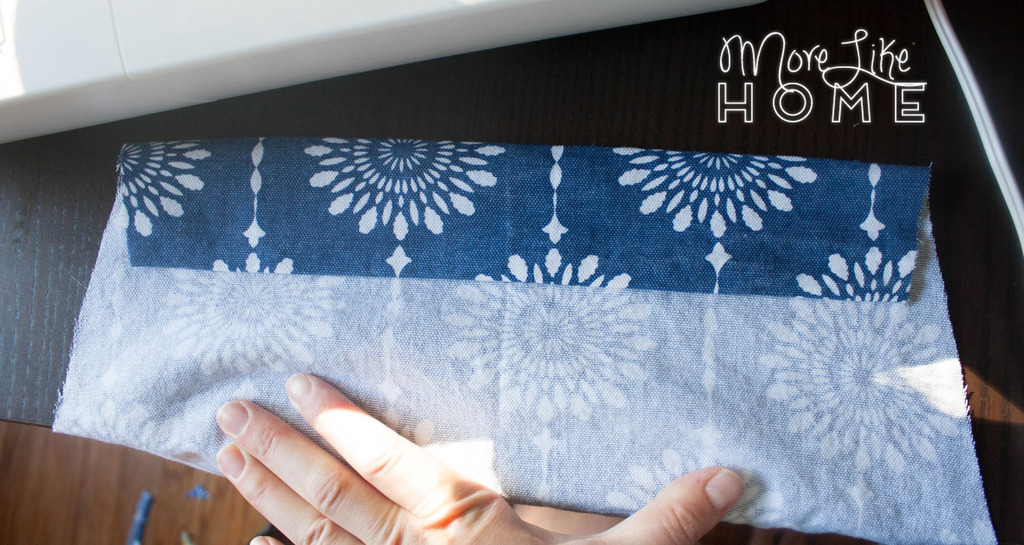
At the top of the apron, fold the top edge down 3" and press, then fold the raw edge under about 1" and press.
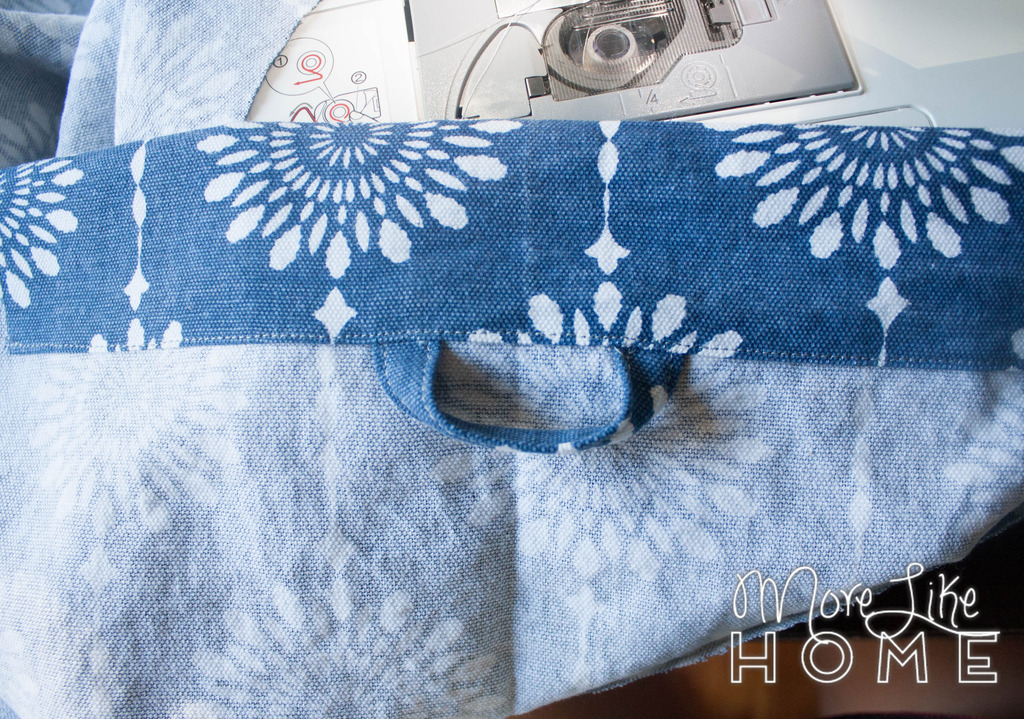
At the center of the apron, tuck the ends of the hanging loop under the folded edge about 1/4 - 1/2" and pin it in place.
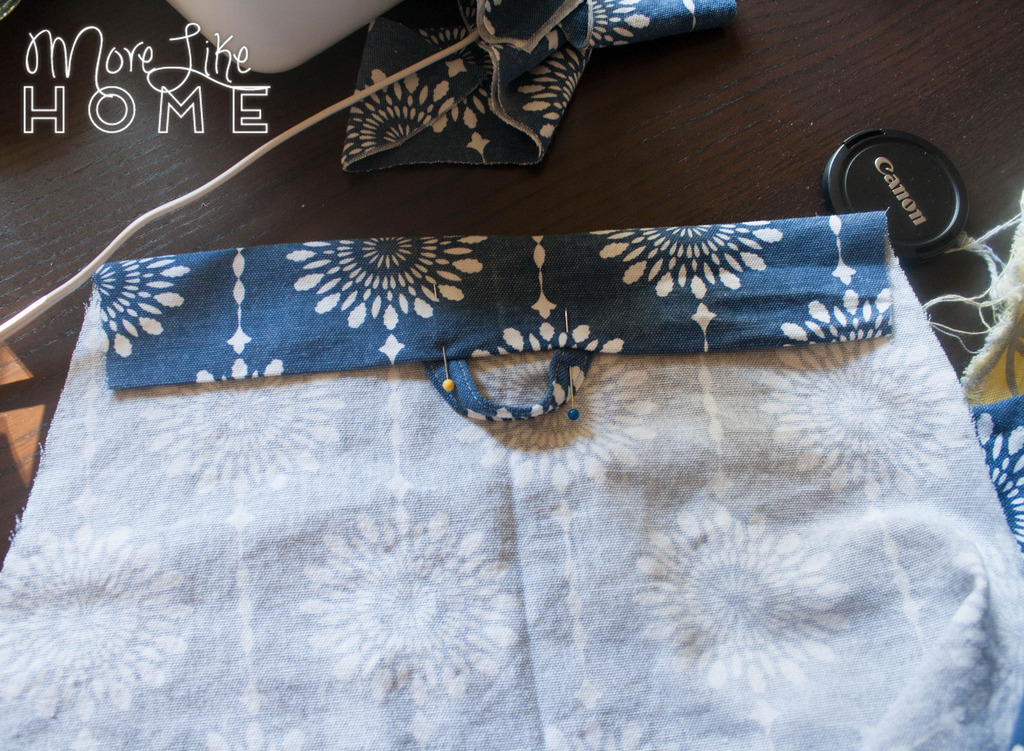
Sew right along the bottom folded edge to attach the loop.
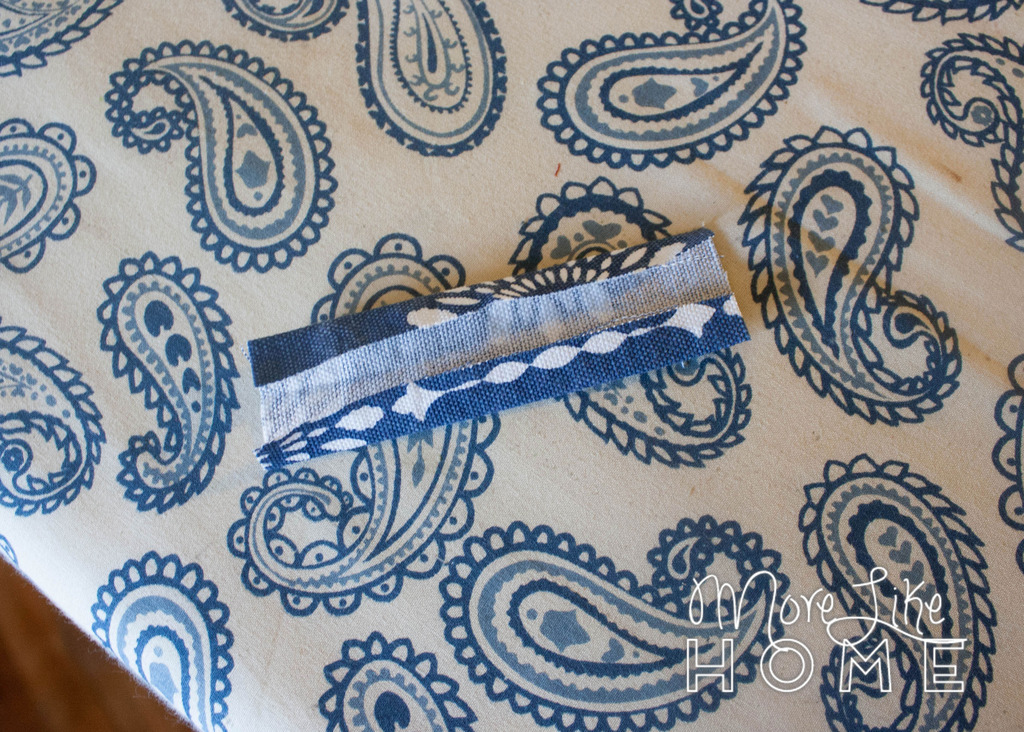
Now you need to cut a trim piece that will become the casing for the adjustable strap. Start by using the piece you just cut as a template and cut a matching curve in your main body fabric (see below). Working along the curved edge you just cut, measure in 2.5" and mark a parallel curved line. Cut along the line to make a curved strip of fabric that is 2.5" wide (see next pic).
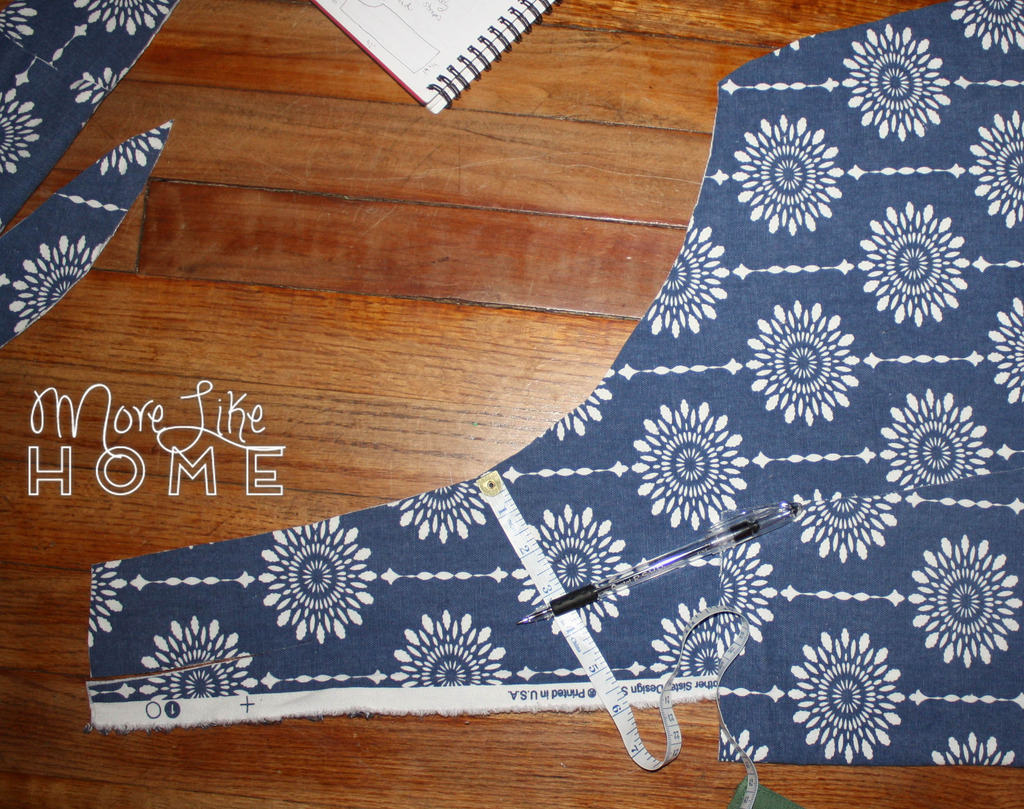
Use the strip as a pattern to cut out a second matching strip (lay your fabric face-up and place the pattern on it face-down to make sure it faces the opposite direction). Lay one strip face-down on one of the curved edges of the apron, lining up the raw edges. Pin it in place.
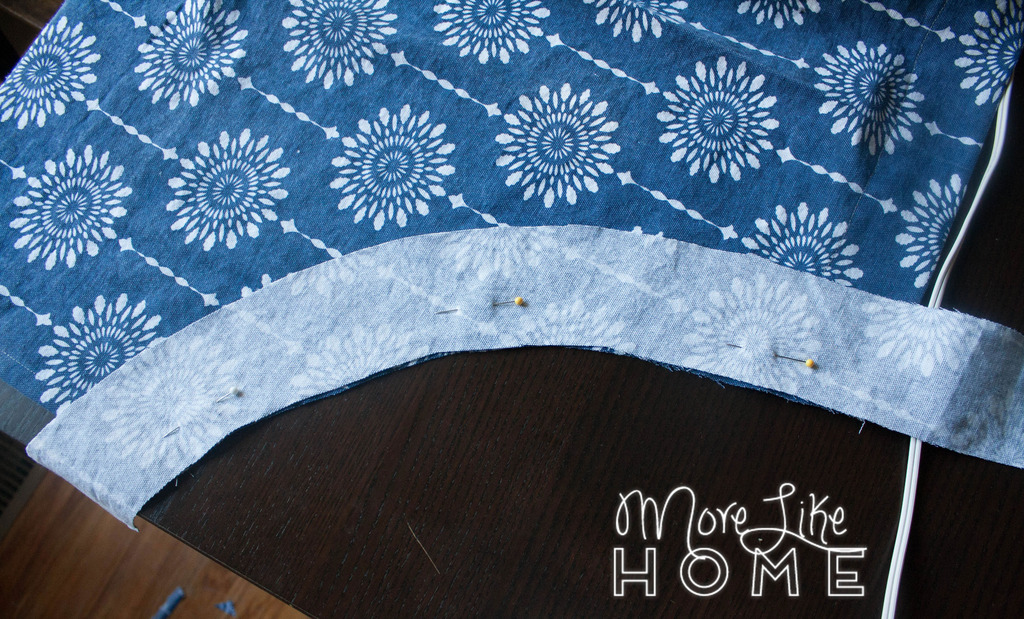
Fold the short ends under, making them even with the edges of the apron. Sew along the curved edge with a 1/2" seam allowance.
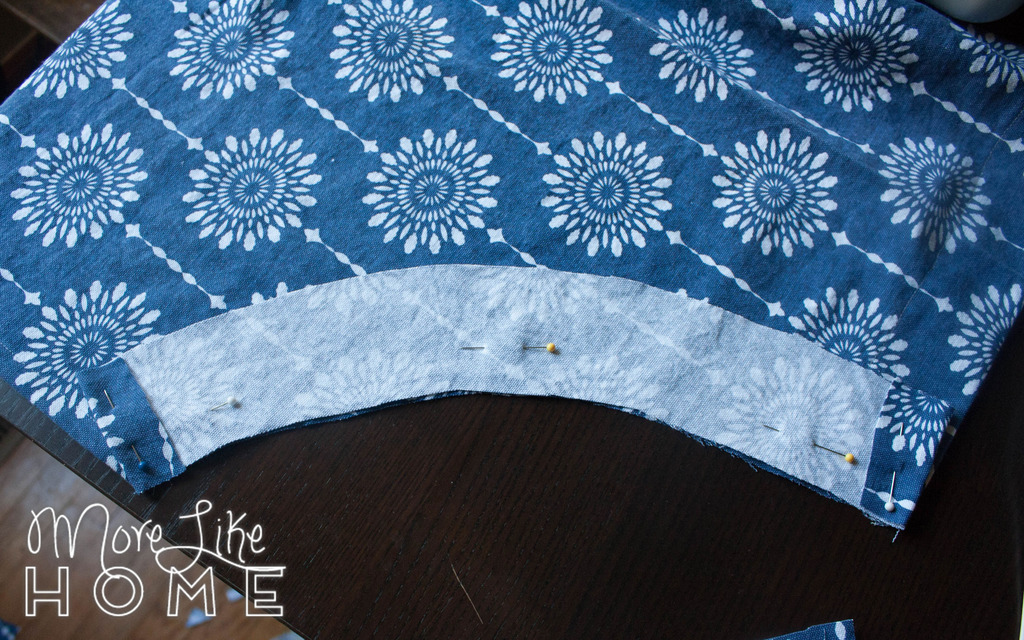
Open up the curved strip and press the other raw edge in 1/2".

Fold the strip over to the back of the apron along the seam, keeping the raw edge tucked under, and pin it in place. Press it nice and flat. Sew right along the inside folded edge, but leave the short ends open!

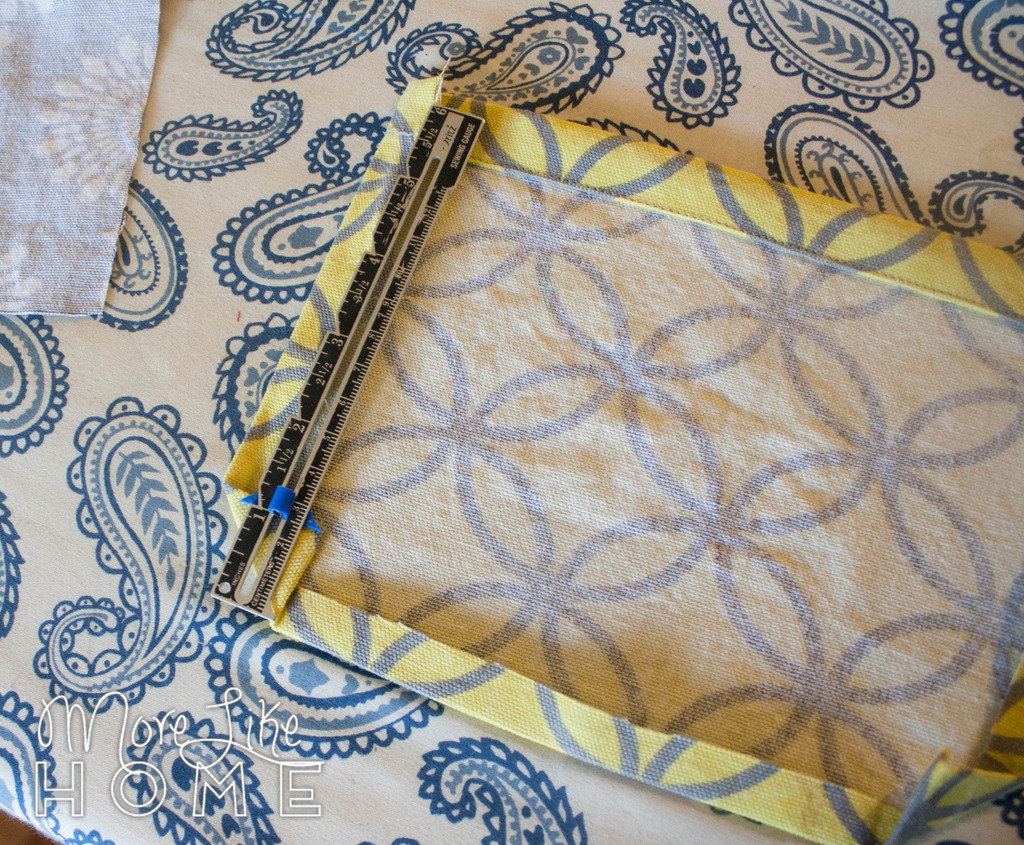
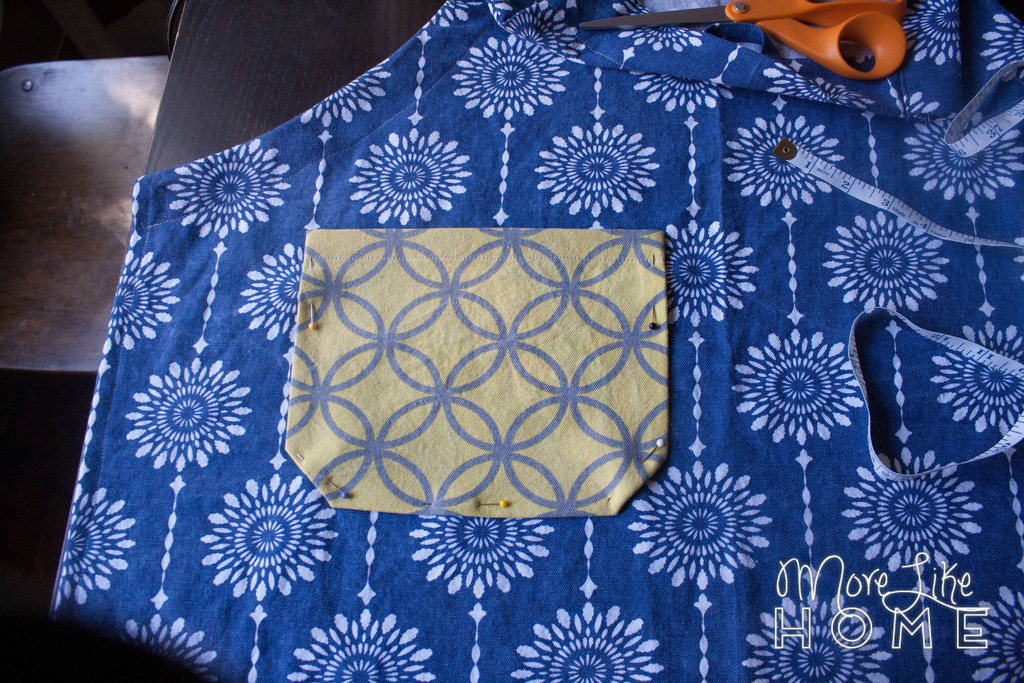
Now you can make the pocket. Cut a piece 10 x 9" from the strap fabric (or the body fabric if you want it to match the apron). fold the top edge down 1/2" and press, then 1" and press. Stitch right along the inside folded edge.

Fold the sides and bottom in 1/2" and press.

Fold the bottom corners in 1" and press:
Lay the pocket on the front of your apron. I put mine just below the strap casing and in 4.5" from the side of the apron. Pin it in place. Sew right along the side and bottom edges, but leave the top open. You can put a matching pocket on the other side of the apron too if you want.
Now make the straps (you're almost done!). You need a strip of fabric 3.5 x 138" to make the strap. Since we only have a yard of fabric, cut a few 3.5" wide strips the length of your fabric. Sew the strips together by placing them right-sides together and sewing across the short ends with a 1/2" seam allowance. Keep adding strips until you have a long enough piece.

Press the seams open.
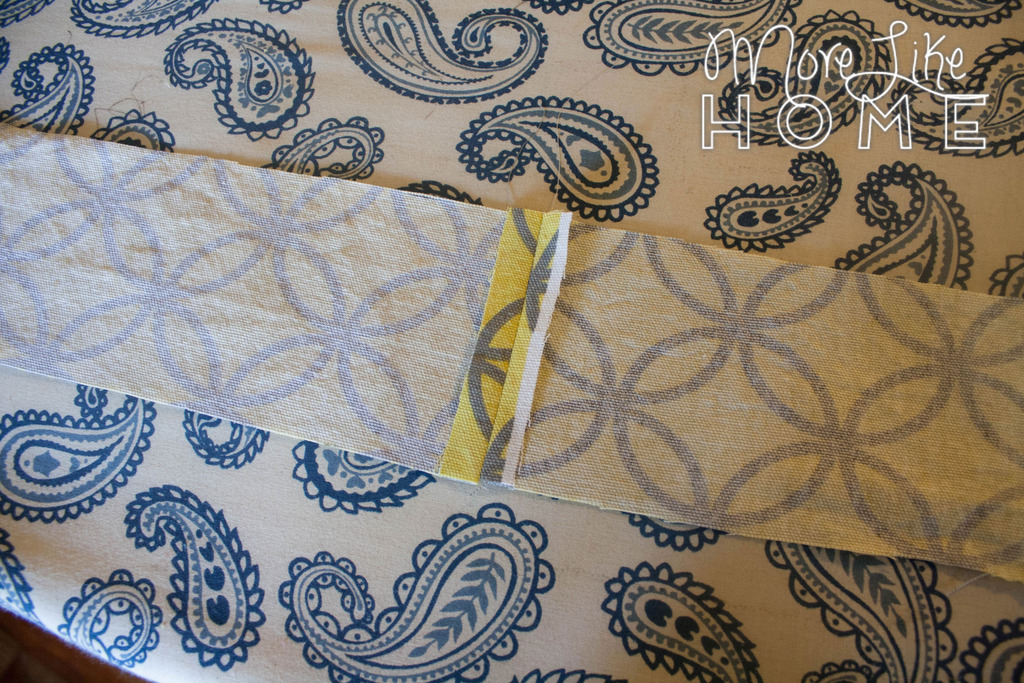
Fold the strip in half lengthwise and press. Open it up and fold the edges in 1/2" and press.

Fold it back along the center crease.

Tuck the short ends in about 1/2". Sew along the short ends and the long edge to finish the strap.

Thread the strap through the casing (a safety pin through the end of the strap can make it easier to work through the casing) so your apron looks like this:
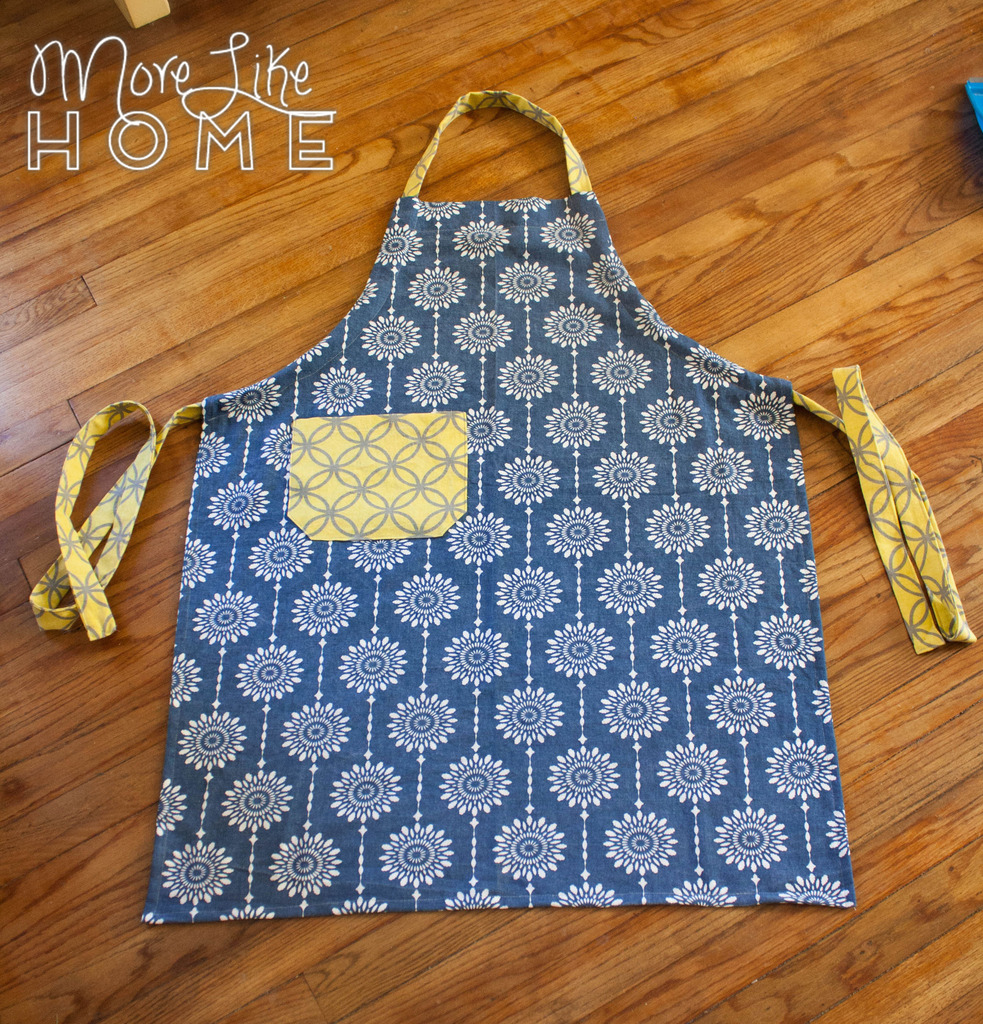
You're done! This apron is perfect for anyone who likes to cook (I'm thinking mom & grandma) and with a more masculine fabric the neutral style is even great for guys whole love to grill! It's also a great wedding, housewarming, or hostess gift.
It's also good for sisters. Even sisters who, when you ask for a quick picture in the new apron, give you one good shot and whole lot of this:

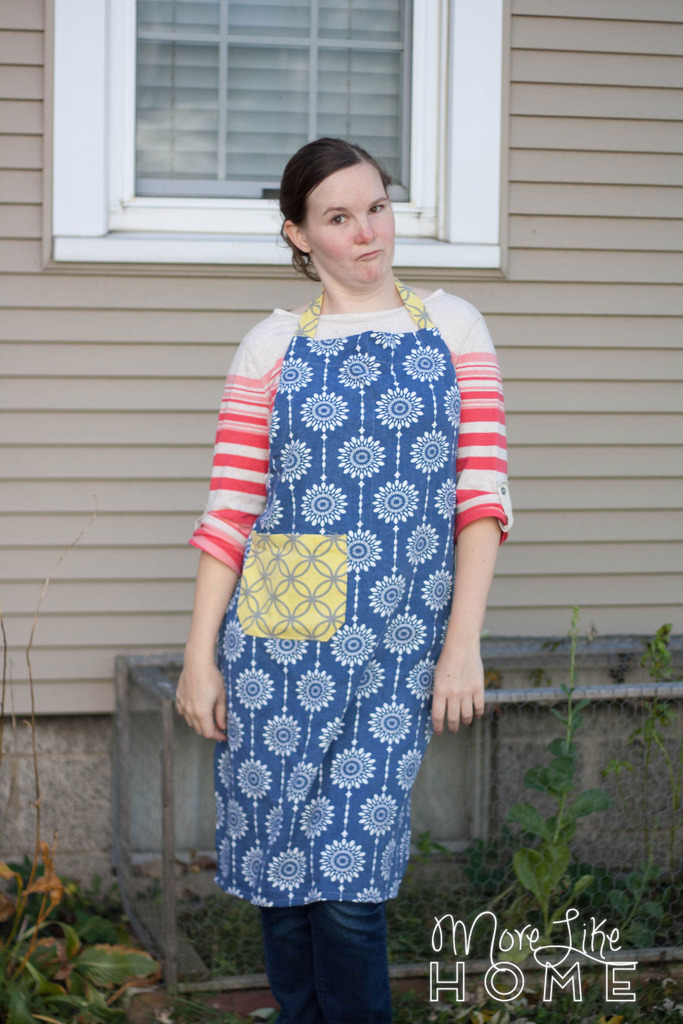
The internet thanks you, sister.
P.S. Here's one more I made for my other sister. The cotton stem print had me feeling a little Fixer Upper vibe!

Just what I wanted! Thanks for the clear instructions. I like these straps so much better than the D-ring kind.
ReplyDeleteYou're welcome! I agree, I'm never going back to D-rings! :)
DeleteYou're welcome! Have fun! :)
ReplyDeleteAwesome tutorial! Thank you for sharing!
ReplyDeleteIs there a video for directions?
ReplyDeleteNo, I don't have a video for this one. Sorry!
DeleteExactly what I was looking for, thanks!!
ReplyDeleteThank you. Literally saved my bacon 😁 not long to Christmas! 👍💗😍
ReplyDelete