
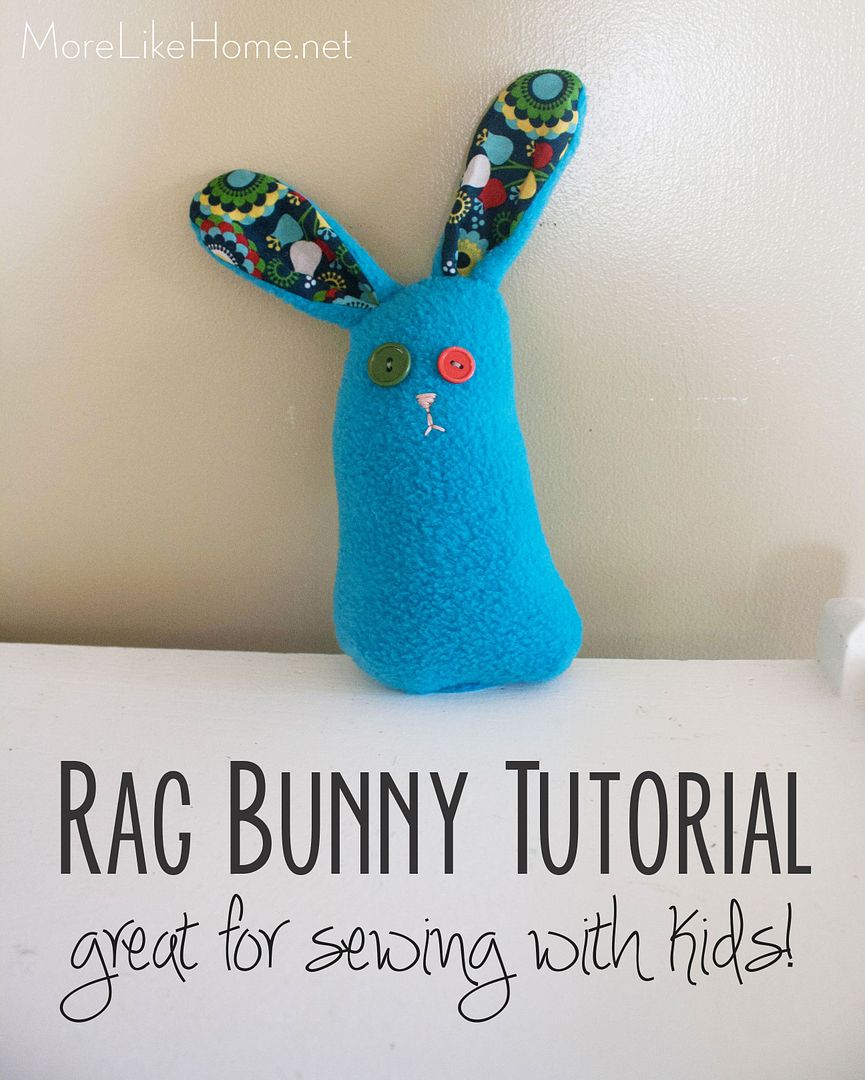
Well, it turned out my pregnant brain couldn't come up with anything. Fortunately my sister came to the rescue and sent me a picture of some adorable little fleece bunnies. Whew. These guys were so fast and so easy, and I was even sewing them with a two-year-old and a four-year-old! They are a perfect project to get started sewing with your kids. They get to try hand sewing, machine sewing, stuffing, and even drawing their own pattern. Plus this project is fast enough that mom doesn't get burnt out with all the "help."
Here's what you need to make your own fleece bunny:
- 1/4 yard of fleece
- scraps of quilting cotton for the ears (if you're buying some 1/8 yard is more than enough!)
- buttons for eyes
- embroidery floss for the nose & mouth
- stuffing
- thread

Start by drawing a pattern for your bunny (or you can just cut your bunny out free-style). My four year old drew our bunny pattern. He made it like the picture we saw with the top rounded and the bottom more square, but really you can do whatever bunny shape you like! I drew the ears. Just remember that you need to add extra space for seam allowances, so draw everything a little bigger than you want it to be. Our first bunny's ears were cut with the pattern and turned out a little skinny so we cut the second pair bigger. I remember my mom having my sister and I draw patterns to make our own rag dolls when we were little (I still have that doll!) so I really wanted that to be a part of this project too.

Use your pattern to cut out your bunny pieces. You need:
- two fleece body pieces
- two fleece ears
- two cotton ears

Sew the face on your bunny. We attached the eyes with thread (the boys loved using the needle for this part... it was terrifying for the mom holding the fabric). For the nose and mouth we just free styled the stitches because I have no idea how to embroider. We ended up with something resembling a nose and bunny mouth and everyone was happy!

Just remember to keep your bunny face in pretty far from the edges. You'll lose quite a bit of bunny between the seam allowances and stuffing. You can see in the bunny on the left the face looks really tiny in the middle, compared to how it looks once the bunny is finished and stuffed on the right.

Now for the ears. Line up one of the fleece ears with one of the cotton ears with right sides together. Sew around the top and sides of the ear with a 1/4" seam allowance leaving the bottom open (left ear below). Then flip the ear right side out and press it flat (right ear below). Repeat with the other ear.

Fold the bottom edges of the ear in toward the center and baste along the bottom edge of the ear to hold it in that position.

Pin the ears face-down on the front side of the bunny like this:

This is when Big Brother says "Mommy! Take a picture of him peeking!"

Back to business.... Lay the back of the bunny on top of the front piece with right sides together, keeping the ears sandwiched in between. Sew around the bunny with a 1/4 - 1/2" seam allowance (all allowances are approximate when sewing with small children. it's okay.) leaving about a 2" opening at the bottom.

Pinch the bottom corner of the bunny and sew across the end like the picture below. Repeat with the other corner. We didn't measure, we just did what looked good. You just want to add a little depth to the bottom of the bunny so it will sit up a little better.

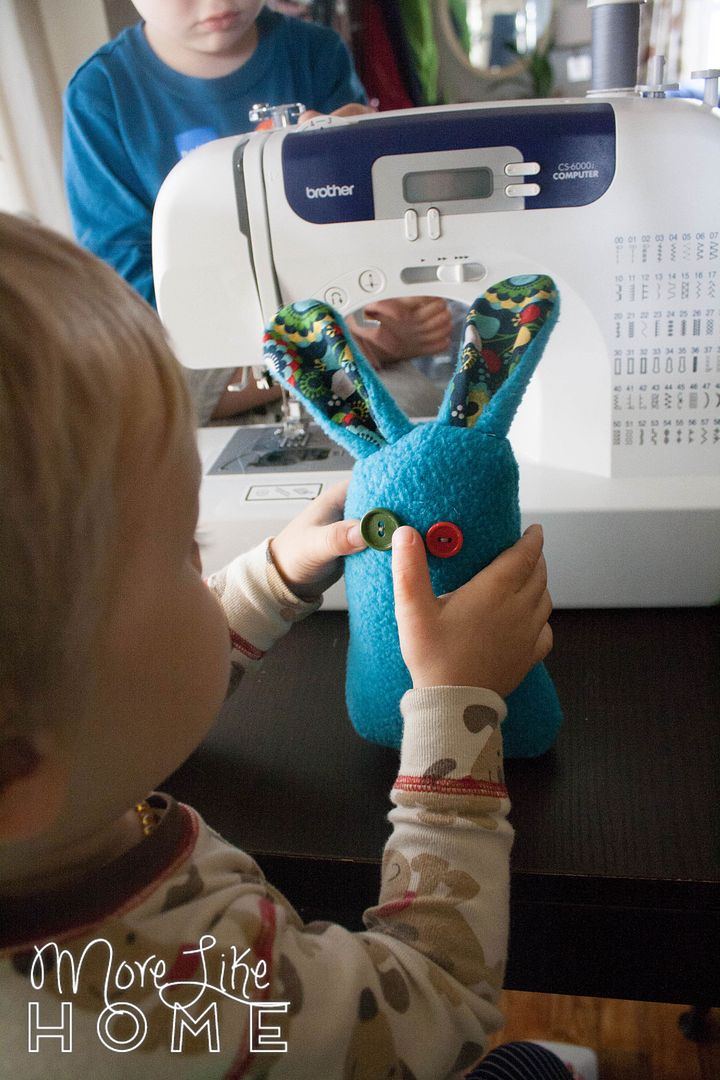
Flip the bunny right side out and stuff the body through the hold in the bottom. (This is my two-year old helping)

Sew the opening closed. We did it with the machine but you can do it by hand if you want it to look a little neater.

All done! Besides being fun to make with the kids, these little bunnies make great gifts or stocking stuffers.You can make them for your kids, or help you kids make some for their friends!

Big Brother like his so much when we were done, he hugged it for a minute and said "Maybe this one will be for me and brudder's will be for our baby...."


But he did come around once Baby Lump was actually born. Did I mention he named our baby Baby Lump months ago? And he stood by that name until the day he was born.

I think Baby Lump likes it!

Bonus Footage = Yoda Wolverine and Knight Toon Link! They like to be creative with the costumes.

But back to our little bunnies... with a coupon it was just a couple dollars for 1/4 yard of fleece so it's a pretty cheap project. And you if you make them the same size as we did you can get two bunnies out of it!

Have you sewn with your kids? What did you make, or what are you planning to make with them first?

I am gonna sew this for my little one. I have been thinking for while but i now i have an idea. thanks for sharing this tutorial.
ReplyDeletelooks so cute.
ReplyDeleteI have some small colorful pieces of clothes, and i intend to make use of them. Using buttons to make bunny's eyes seems to be easier than sewing. thanks for your suggestion
It's a great scrap fabric project! Have fun. :)
DeleteSo cute~
ReplyDeleteThanks for sharing.