
Want to see more garden posts? Check out my original square foot garden, what I planted in it, how to plan a garden layout, 2x4 garden fence, critter-proof salad garden, companion planting, starting seeds indoors, and my temporary mini-greenhouse.
At first I planned a few simple rectangle beds like we put in at our last house. But then I came across this garden in an issue of BHG that got my wheels turning a whole different direction.
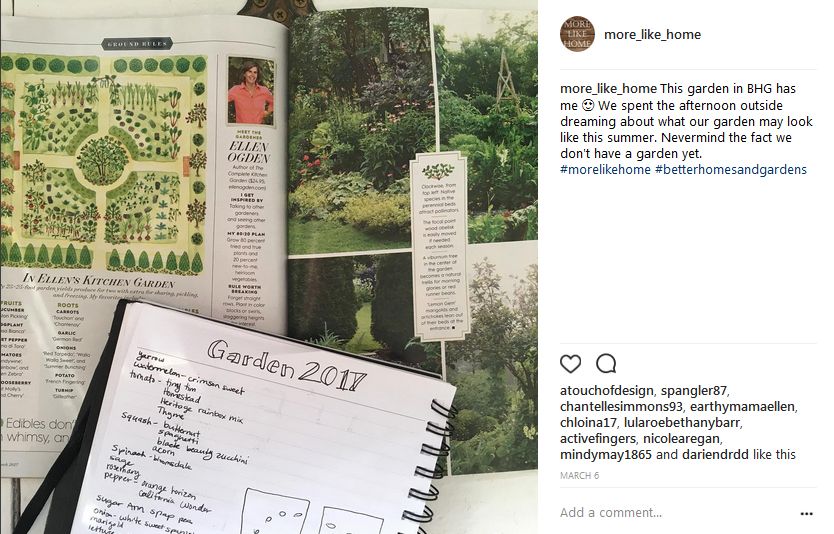
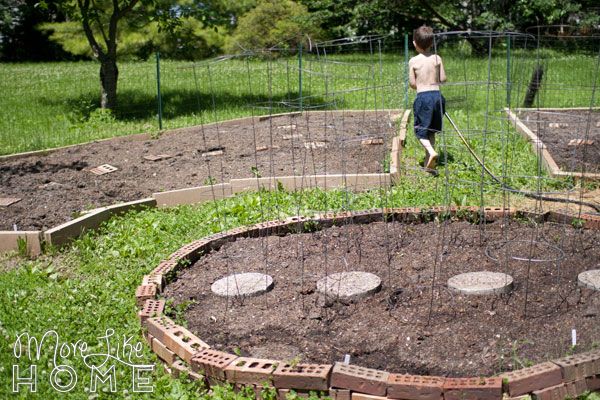
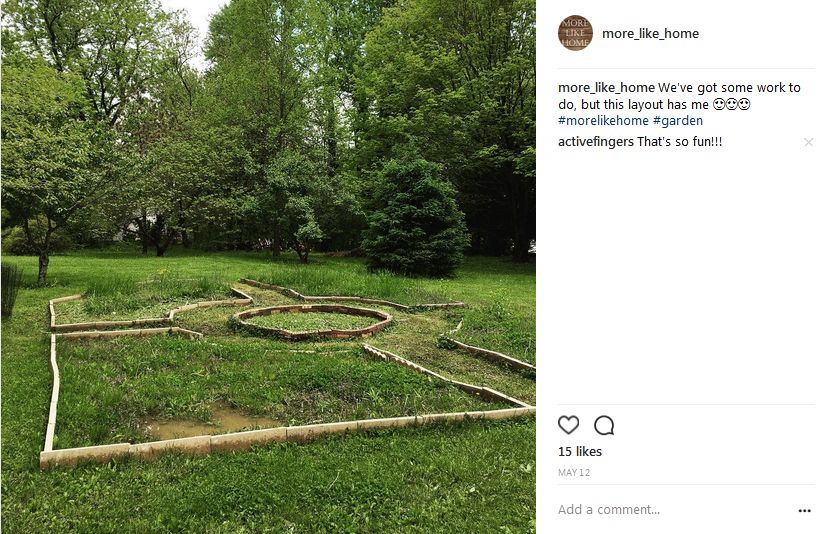
It looked so lush and peaceful. Where my plan was straight and boring, this garden was creative and flowing. I loved the curved lines, decorative elements, and the mix of flowers with veggies. And so our new garden plan was born. (we post updates like this on Instagram!) We created a pattern of brick-lined raised garden beds tucked in between a few small trees. It's the sunniest spot in the yard and seemed like the natural place for a garden.
So. Raised beds. We felt raised beds would be our best options because the ground is very clay-rich and doesn't drain well. So on top of being easier to weed and maintain, we're hoping raised beds will allow better drainage after rain and give our beds a more fertile start.
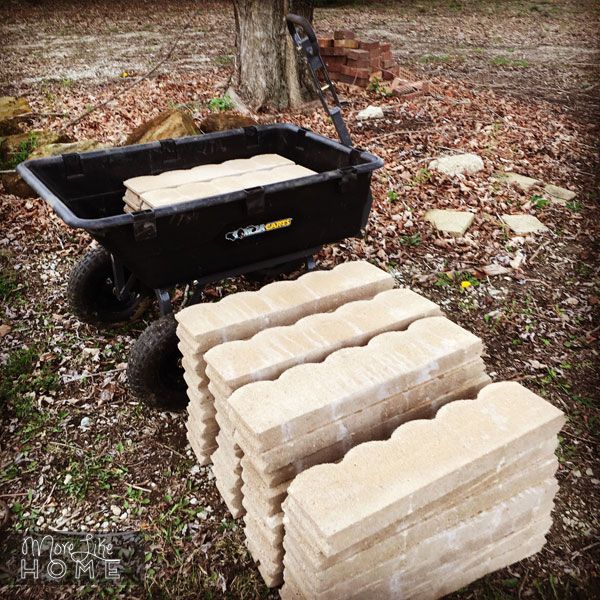
We went back-and-forth for a while, pricing out pine lumber (not weather resistant and would need replaced often), cedar boards (better than pine, but still didn't seem like a good long-term option), and cinder blocks (not pretty, but durable and the cheapest brick option). Then one Sunday after church we went wandering around Menards to do a little more price checking and stumbled across a sale on all the pavers and edgers.
We crunched some numbers and came home with a trunk full of scalloped edging bricks in a warm sandy color.
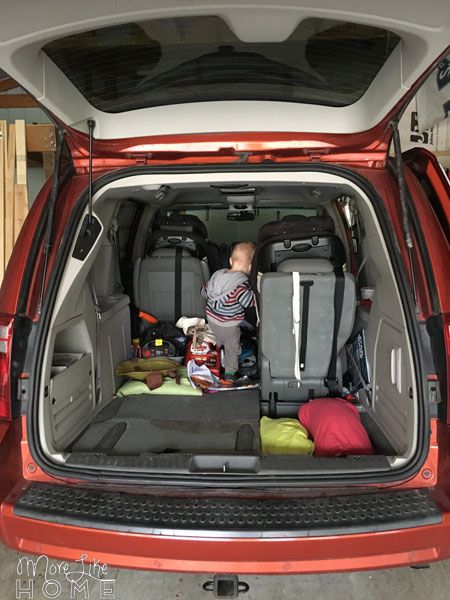
Then we went back two more times that week for more bricks (don't overload your axles or whatever, guys). 100 points if you can spot all three boys in the van:
But back to the edging bricks: they were 6" tall (perfect for raised beds) and at 16" long, the price per inch ended up being less even than cinderblocks! We paid just under $1.50 per brick, and bought around 110 bricks. So that part of the garden alone was over $160. Which is painful to type. But because we chose brick instead of wood, we're hoping this one-time investment will pay-off over time. (Shoot! They're actually on sale through 6/11/17 for only $0.99!) Yes, there were other gorgeous brick options out there, but we needed a lot of bricks so the cheapest option was our best option. And before you shoot down scalloped edgers (outdated? maybe.) we planned to put them upside down and hide the scallops anyway!
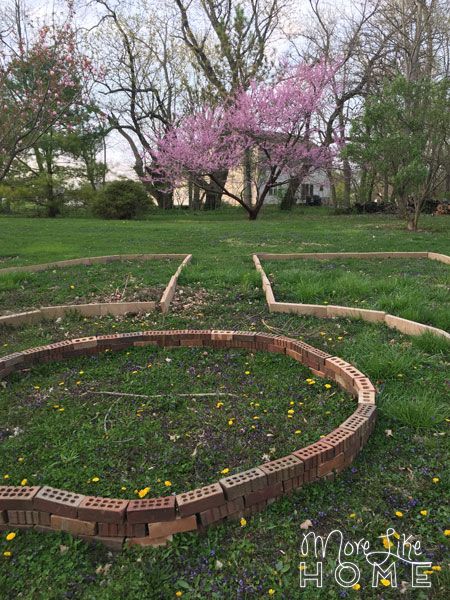
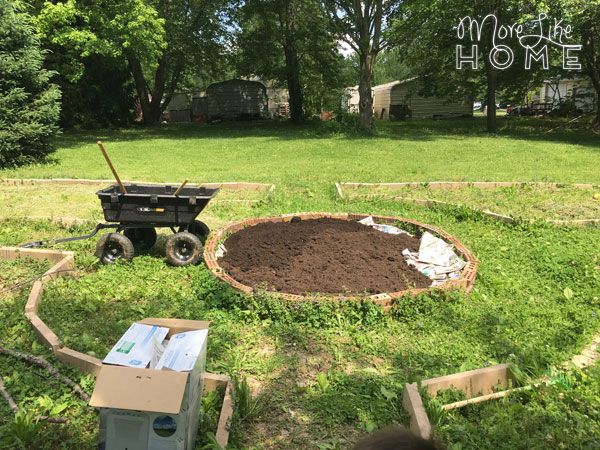
So we brought our bricks home and and used our gorilla cart to haul them to the sunny spot. I did no measuring (but had laid sticks on the ground to mark a rough layout) and just wiggled things around until I liked it. It is definitely not even or centered - a fact that made the husband cringe - but guys... I love it so much. We used old red bricks for the round center bed that a previous owner had left piled in the back of our property. It was such a charming (and free!) way to accent the larger garden beds. And we have a few left over to use as stepping stones through the larger beds!
P.S. I almost chose gray bricks, but Husband talked me into tan and he was so right. I actually love how they blend with the environment and fell like a natural addition. I think gray might have felt stark and cold.

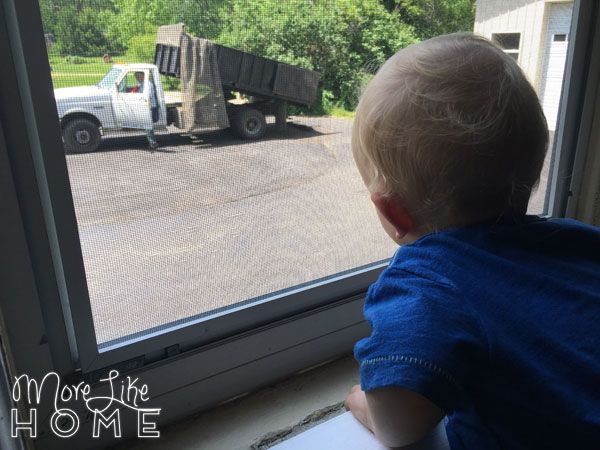
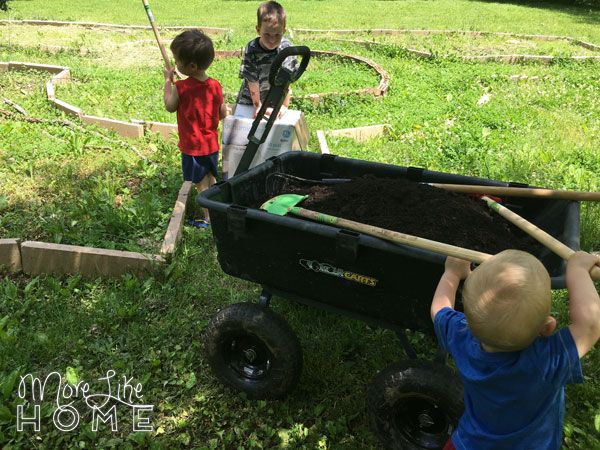
Once the beds were set up we could start calculating square footage and pricing out our options to fill them in. I knew I wanted to do a mix similar to the Square Foot Gardening method of dirt, compost, vermiculite, and peat moss. I assumed bagged soil from a home improvement store would be the way to go, but once we started adding the pricier mix-ins we found it was actually cheaper to get a similar pre-mixed load delivered from a local company. Even that would be pretty pricey, though, so we made the call to only fill about half the garden this year, and save the rest for next summer. Baby steps in the budget. We ordered 4 cubic yards (calculating that made me tired) and spent $229 including delivery. A truck dumped it in our driveway, and we were back to the gorilla cart hauling it to the garden.
Helpers love to help. At least when it involves shovels and lots of dirt.
The pile was a lot smaller than I expected. It still took us three days to get it all moved back there. There was a little bit of this going on:
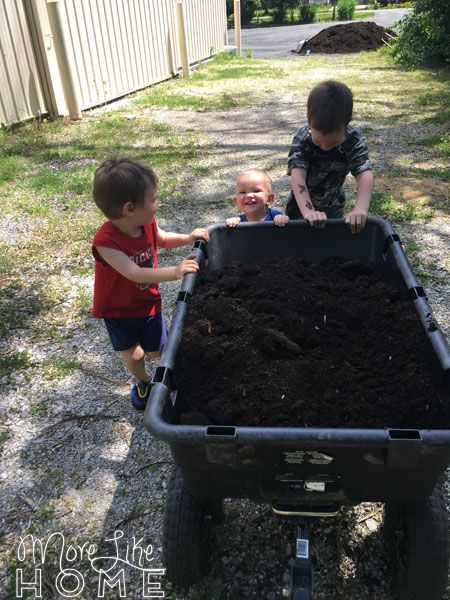
And a whole lot of this:

I read a few different opinions on raised beds and decided to try laying down a base of newspaper under the dirt (thanks to grandma for saving all the papers!). Supposedly it will kill the grass and weeds like a black weed-stop paper would do, but unlike black paper it will biodegrade over time and add back into the soil. It's also not as solid of a barrier so roots can break through if they need to (we had trouble with shallow roots in our last garden and ended up pulling the black paper back out).
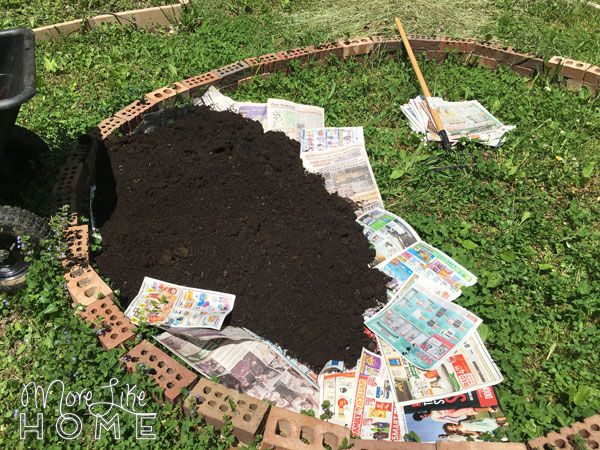
The paper was kind of a pain to work with in even a minimal amount of wind, so I'm certain there are at least a few gaps under there. Oops.
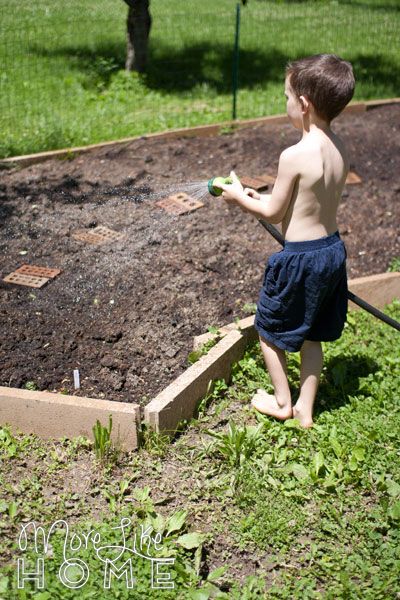
Once it was filled we got some seeds in the ground and have been watering and waiting. We already have a few kinds of beans, snap peas, cucumbers, pumpkins, and asparagus popping up! I tried
I started seeds several weeks ago for all kinds of other things - 5 kinds of tomatoes, 3 kinds of peppers, summer squash, winter squash, even artichokes! - which I've done before. But this time I put them under a light in the basement to make sure they got plenty of light. Only I didn't do any research about raising seedlings under lamps. It did not go well. They popped up quick, but after so many weeks they are still little midget plants with barely any leaves. I've moved them into real sunlight, but I'm not sure the poor guys are going to make it. Ugh. I keep thinking about all the money I wasted on the seeds and now I'll have to spend more on plants if we want any of those things.
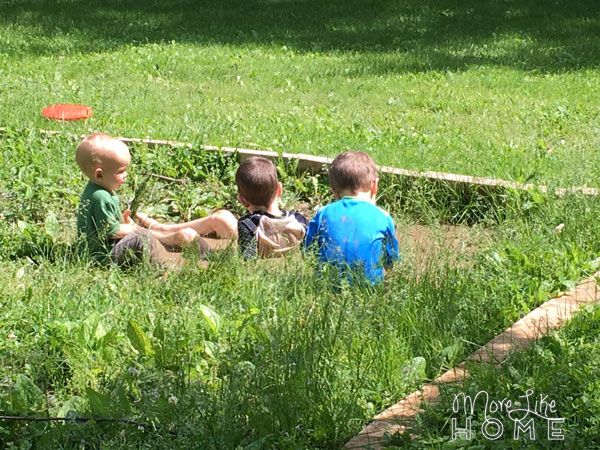
But we'll end on a happier note: we'll always leave one corner of the garden free for the boys to play and dig in. And soak in mud puddles:
That's where we're at so far. Hopefully we'll have some positive plant updates headed your way soon!
P.S. I got to watch my sister in her silk screen studio a couple weeks ago and it is amazing to see! You should check out her printed goodies on etsy!

Anyone else gardening this summer? How's is yours looking? Highlights? Failures? We'd love to celebrate (or commiserate) your gardening adventures!
I fell in love with that garden in the mag too! Its in my "future plans" folder. We dont have a good place for it in this yard.
ReplyDeleteIt's so pretty! I even planted artichokes because the article said she grows them (even though I've never grown them before and have no idea if this is their climate). :)
DeleteI've also been using bricks to make raised beds this year but on a much smaller scale. I decided to grow several different varieties of heirloom winter squashes and needed to plant them away from each other in order to keep them from cross pollinating. I didn't want till up more of our property so I decided to use bricks we had from a couple old outdoor fireplaces to make some raised beds quickly, easily and cheaply. They've worked well and I now have blue hubbard, queensland blue, long island cheese, acorn, butternut, delacota, red kuri, dark green zucchini, and pumpkin planted all around the property and all doing well. I just have two more hills of butternut and golden winter to transplant into raised beds and my squash will all be in. Now if only the same could be said of my tomatoes, carrots, beets, peas and beans. All in time.
ReplyDeleteWow! That's a great variety! I've only got two varieties of winter squash this year, but I was wondering how to keep them from cross pollinating. I love you idea to spread smaller beds around the property!
Delete