
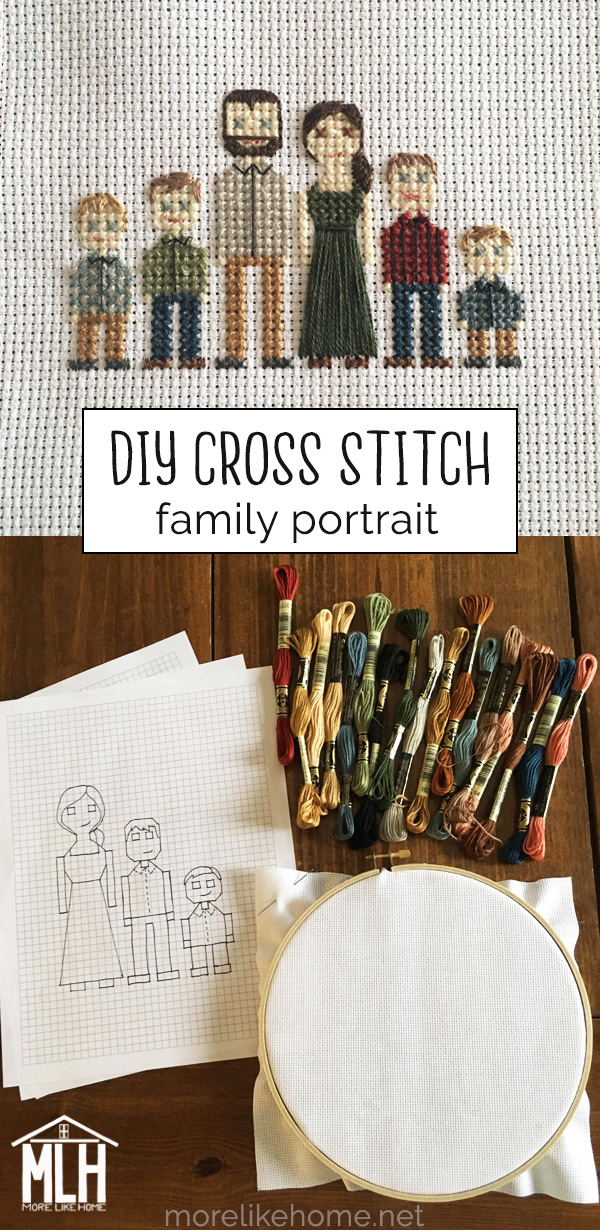
These family portraits are easy to make and easy to customize for your own family! And they are officially the first post in my 2019 Christmas Series because they make such amazing gifts for friends and family. (I just saw a cross-stitch house and I'm planning to give that a try next that would also make a great gift!).

You only need a few simple supplies to get started with cross stitch, so it's a great hobby if you have limited storage space. Here's all you need (all from the same aisle at your fave craft store):
- an embroidery hoop (The size depends on the size of your project. I used a 6" hoop for this portrait but could have gone smaller.)
- cross-stitch fabric (I buy the rolls and cut it up for multiple projects)
- an embroidery needle (larger than a standard sewing needle)
- embroidery thread (whatever colors you need for your project)
- a pattern (you can download my family portrait patterns, buy patterns in-store or on etsy, find free patterns on pinterest, or draw your own!)

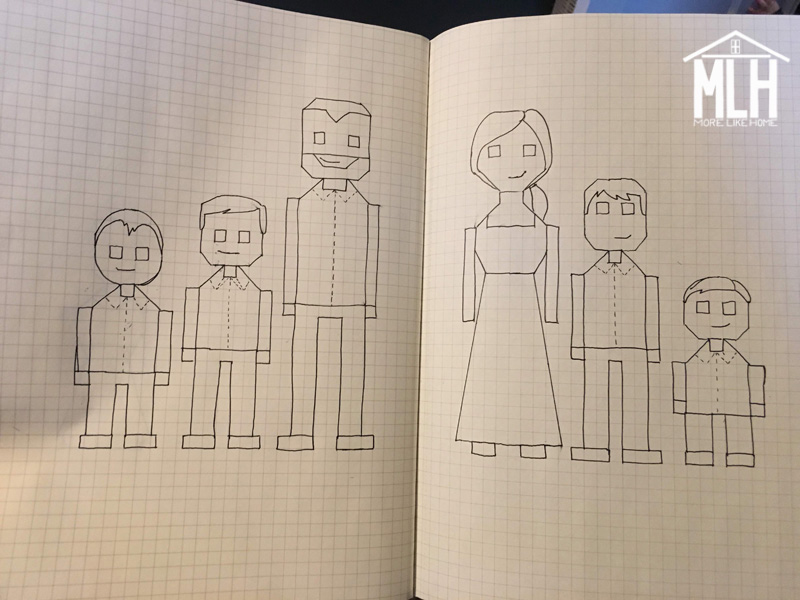
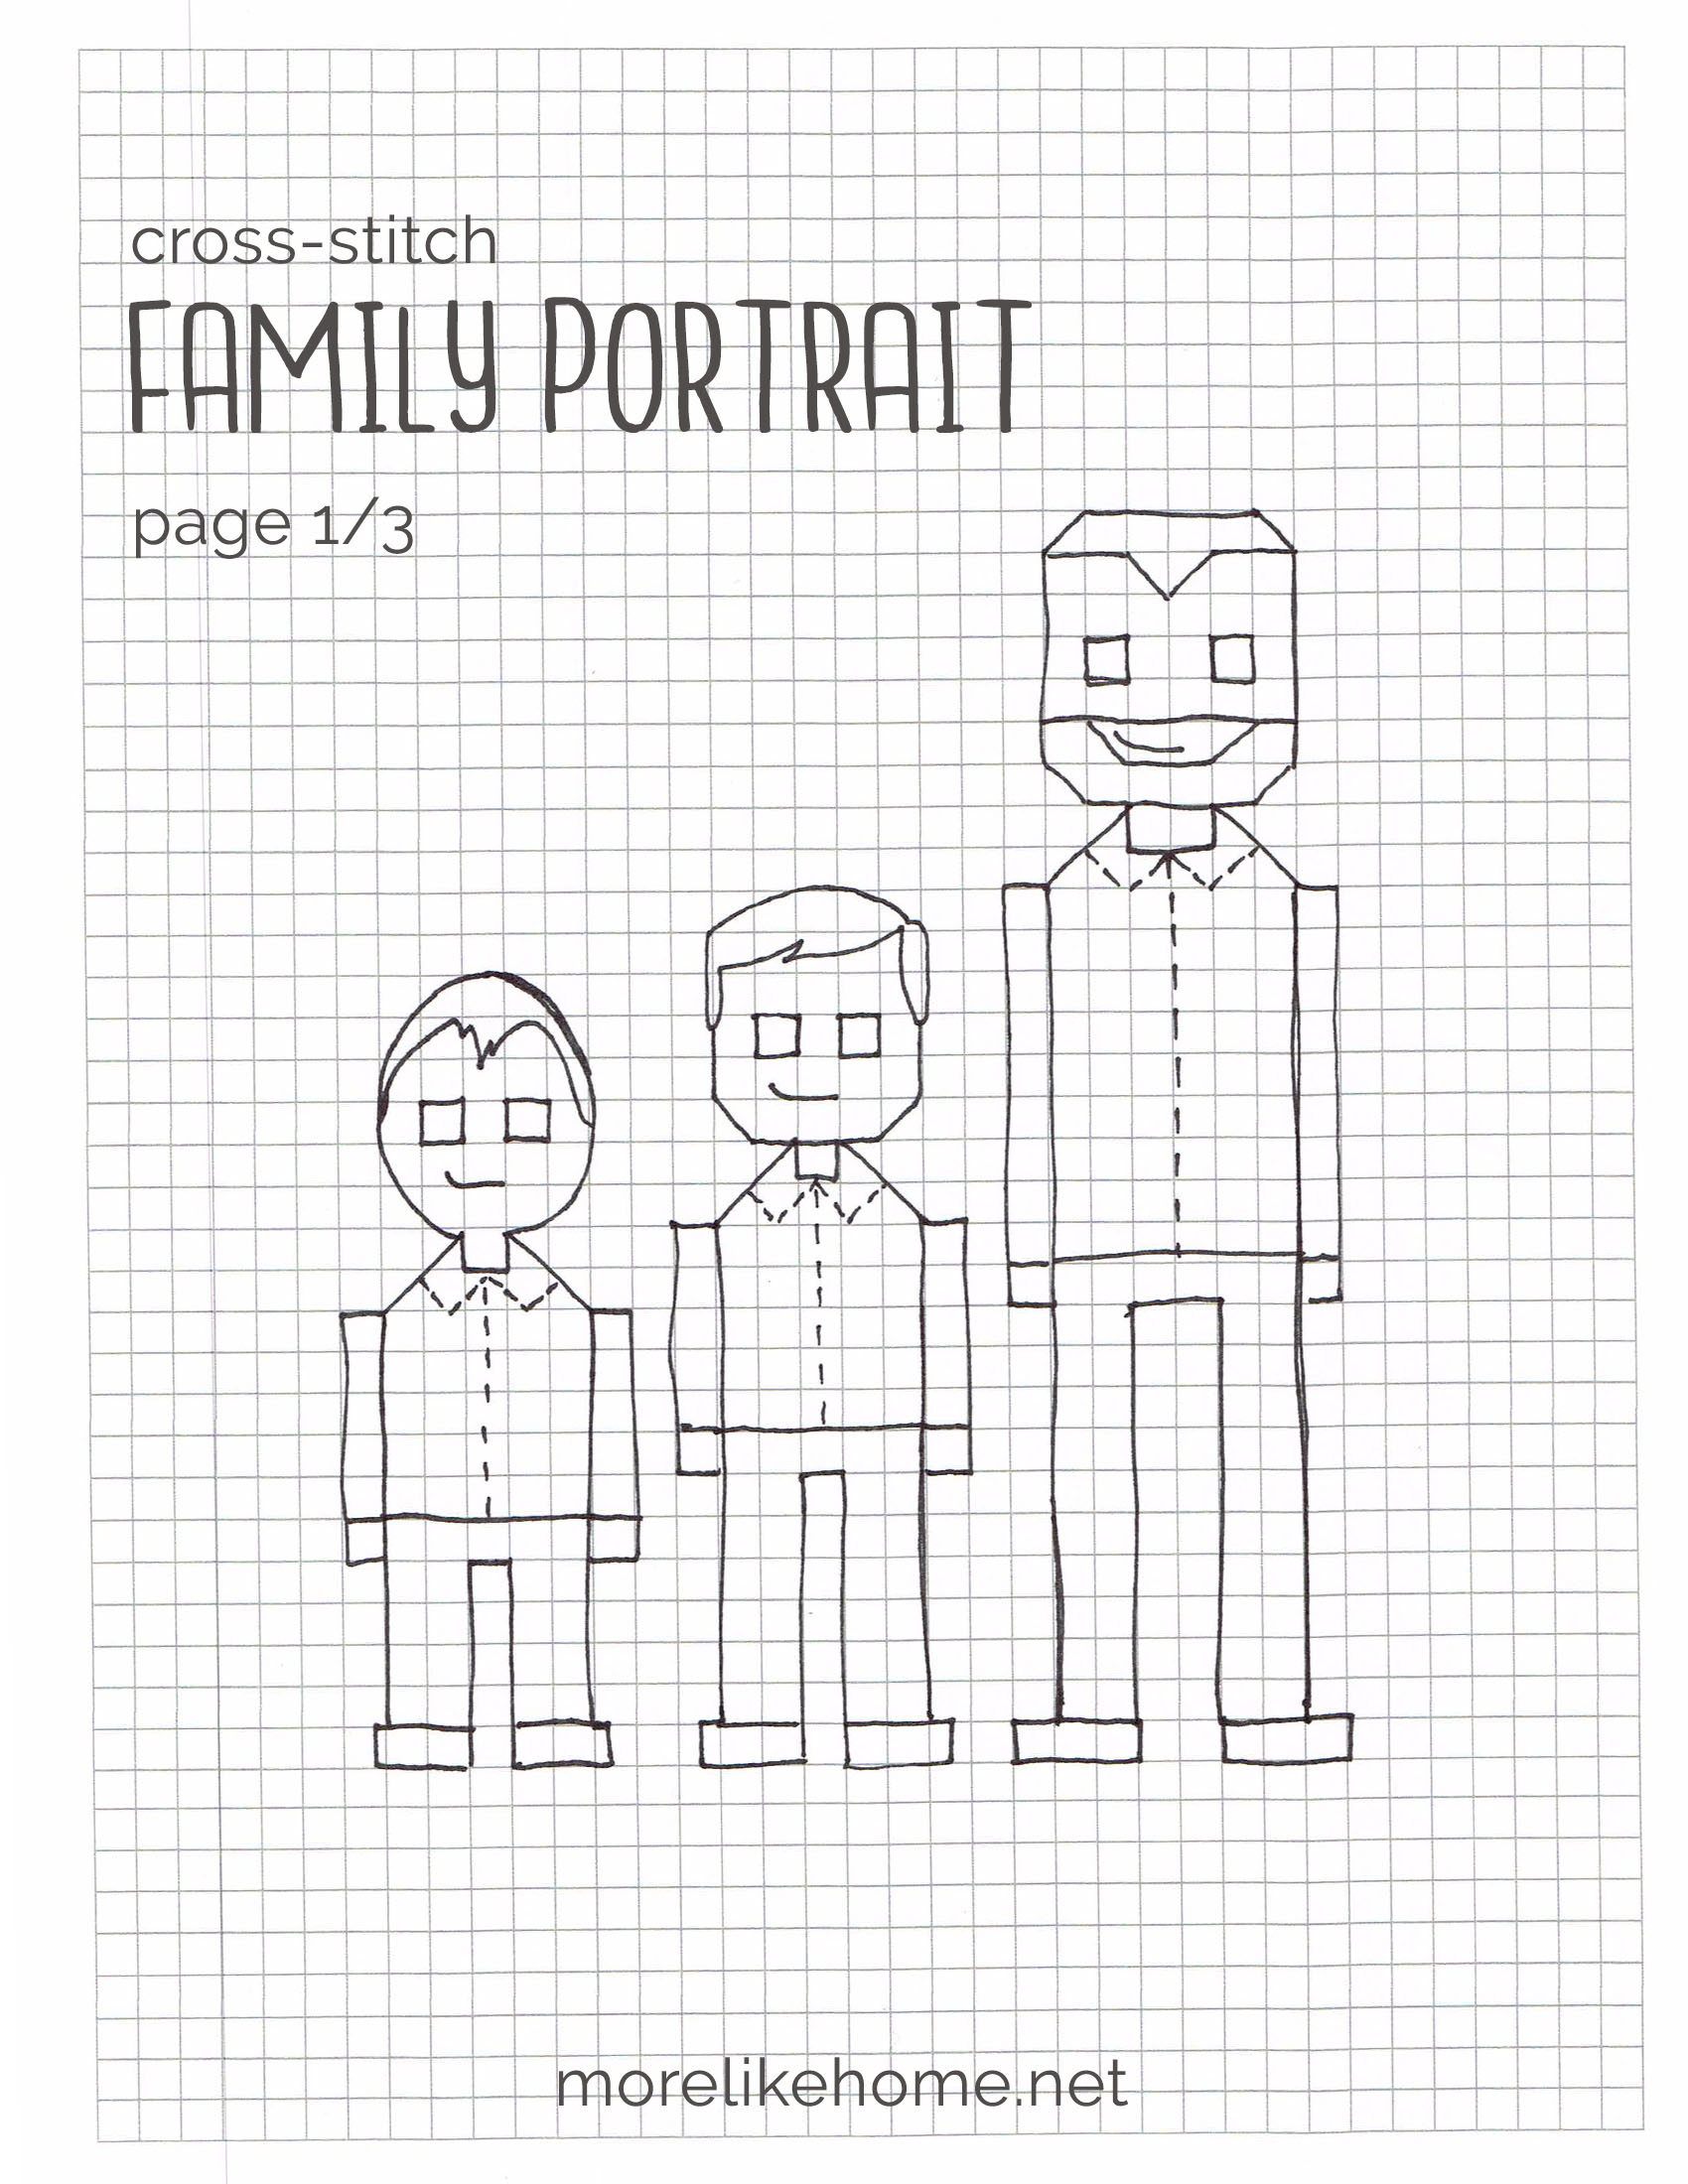
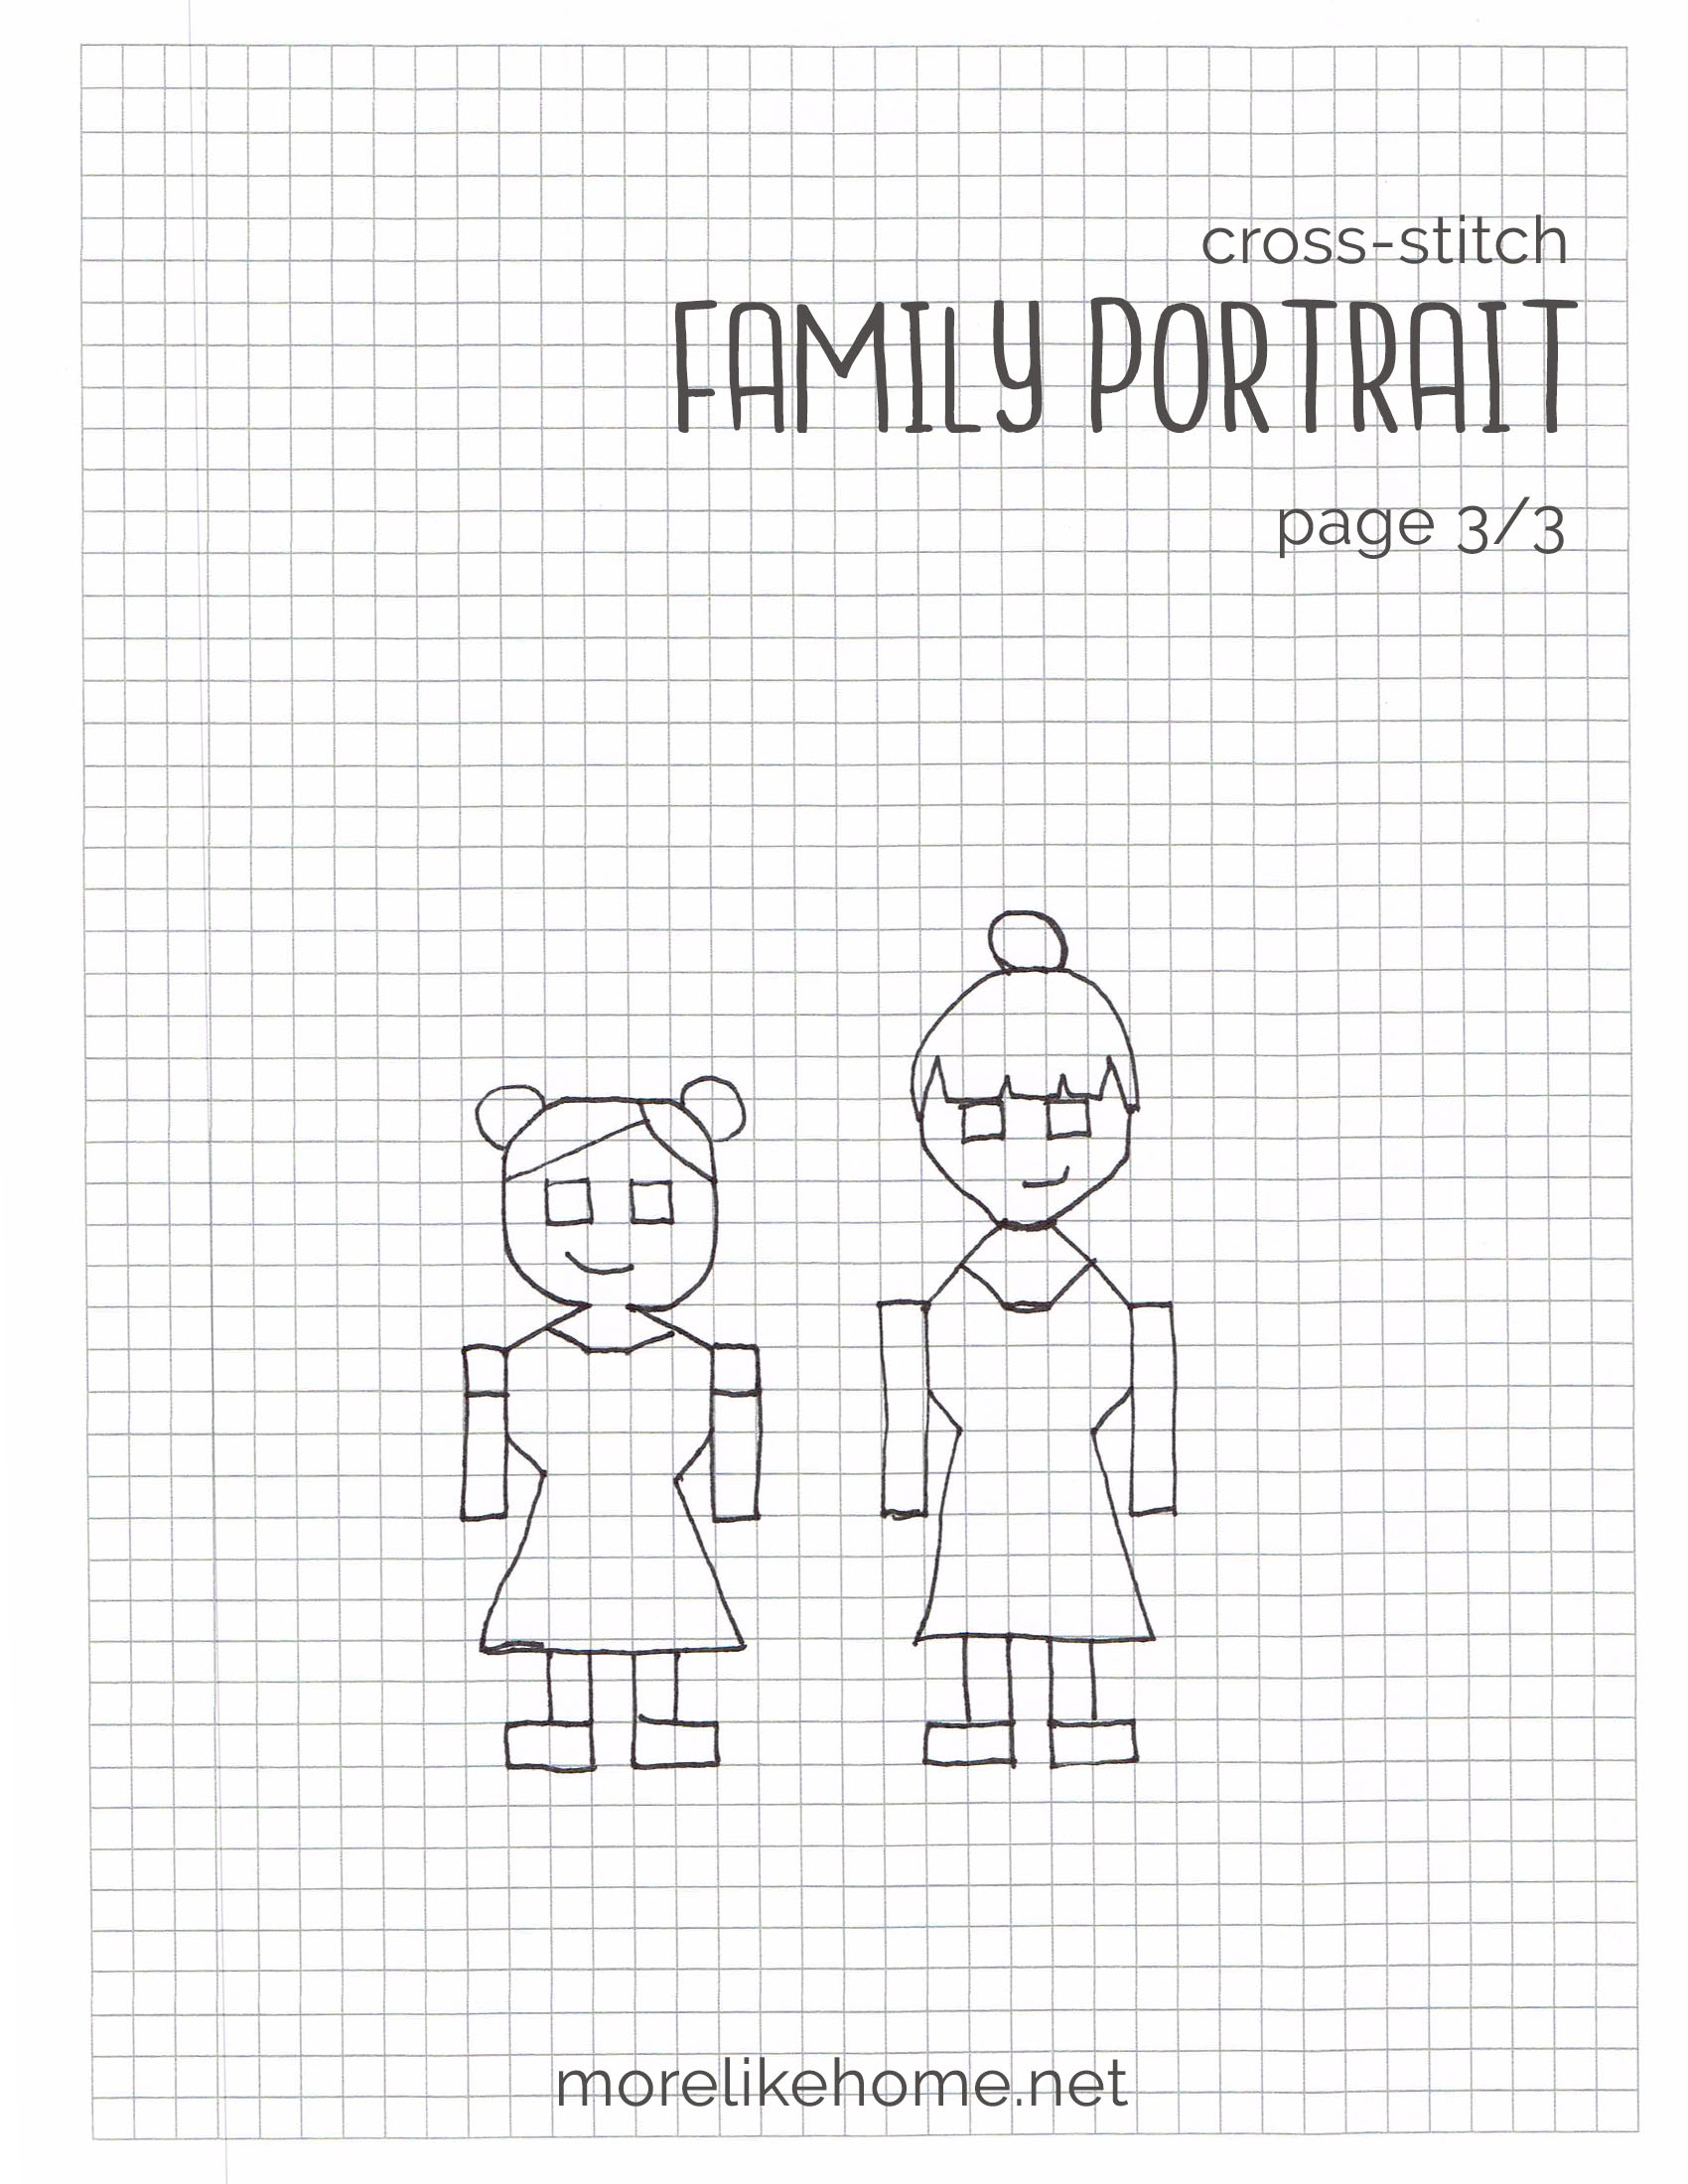
Step 1: Print the Pattern
I have a three page pattern that includes patterns for my husband and I, our boys, and my nieces. You can print them out and mix & match the characters to mimic your own family.
I also have a blank grid sheet you can download to draw your own patterns if you need to tweak anything (and you can make other size grids here).
Step 2: Color in the pattern.
This will help you determine what colors you need and help you keep track of where you're at with the stitches.

Step 3: Gather your Supplies
I like to color my pattern first and take it with me to the craft store. It helps me get a better idea of what embroidery floss colors I need. Then I love to line up all the colors and make sure they look good together - I don't want a single bright color overpowering the rest of the gang. I love these muted, earthy tones!

Step 4: Start stitching!
Put your fabric in the embroidery hoop. When you cross stitch, you want to start at the middle to make sure your design ends up centered (if your fabric is larger than your hoop, you'll have a little wiggle room when you're done to adjust if it's not perfectly centered). So find the stitch at the center of your pattern and put that first stitch in the center of your hoop.
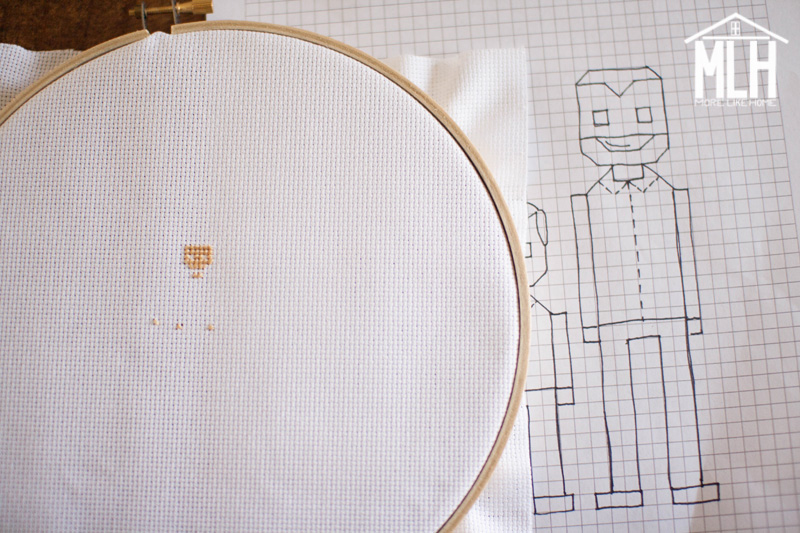
Nathan's little hand was my center starting point for this one.
The whole basis of cross stitch is summed up in little "x" stitches. You just look at the pattern grid, count how many stitches you need, and stitch them onto the fabric. So for example, after I made the first hand in the photo above I counted 6 spaces over to make the second hand since there are six stitches between them on the pattern.
And to continue making the red shirt in the next photo, I can look at the pattern and see that I need six red stitches on the next row:

So I would start by making six diagonal stitches on the fabric grid (like above). Then I work back across the row crossing the "x" to finish each stitch:

Once you get the basic "x" stitches done, you can use a straight running stitch to add details.
I don't feel like I can explain this in a non-confusing way with photos, so I made a quick video to help clarify a little better:
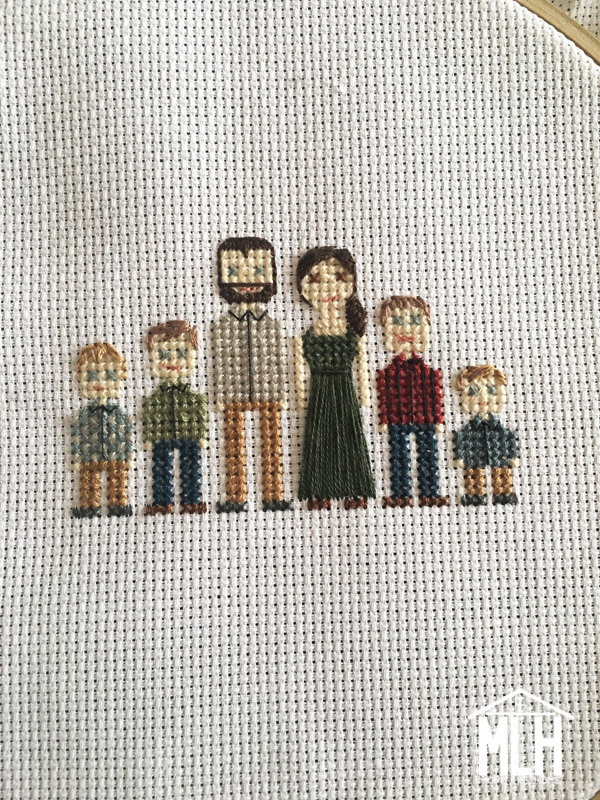
I left ours simple with just our family, but you can add all kinds of other words or decorations to make it your own! Here are a few of my favorite inspiration cross-stitch portraits:
- I love the pine trees on this portrait.
- Here are some great examples for stitching hair styles.
- Love the words + branches + dogs on this one!
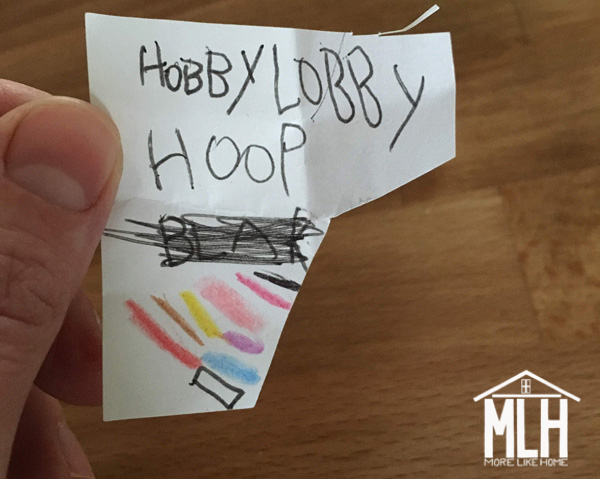
This is my 8-year-old's shopping list for his own cross stitch project, including all the colors he needs:

Let me know if you give it a try! Are you making any handmade gifts this year?
what count fabric did you use? I'm just starting and I don't know the size fabric to get.
ReplyDeleteHi! You can use any count! I like to use a smaller count because the figures will end up a little larger that way. :)
DeleteHow do you do the hair on a woman? Does the flesh color goes under the hair?
ReplyDeleteYes! I did the full head with flesh color and then added hair over top of it.
DeleteHow did you do the mother's dress?
ReplyDelete