Showing posts with label pattern. Show all posts

Tuesday, December 7

DIY Modern Farmhouse Christmas Stockings

New year, new stockings... again.... How often is it normal to get replace your stockings? Growing up we had the same stockings my whole life (my parents still use them!) and I feel like that's the normal thing to do. It's all part of the nostalgia of Christmas, right? But here I am replacing my stockings for the... fifth time? I've started from scratch every time we added a baby (since we needed to add a new stocking) but almost every time I breathed a sigh of relief that I could finally ditch stockings I didn't love and try again. Here's what I've tried so far (you can read the full saga in this post):

  1. Failed Sweater Stockings
  2. DIY Flannel Stockings - I ended up hating these. I was on a tight ($0) budget and made them out of leftover flannel from other projects that didn't match my Christmas style. I won't totally knock this idea though - I think a cute plaid set would feel wonderfully cozy!
  3. Cheap Hobby Lobby Stockings
  4. $5 Christmas Stocking Hack - I actually really liked these ones! And I honestly don't have a good reason why I didn't just make a seventh one to match for our newest addition - it was just so much red when so many of them were up there together, and! So this time I'm trying something that feels a little more organic - like a collection we can add to over time.

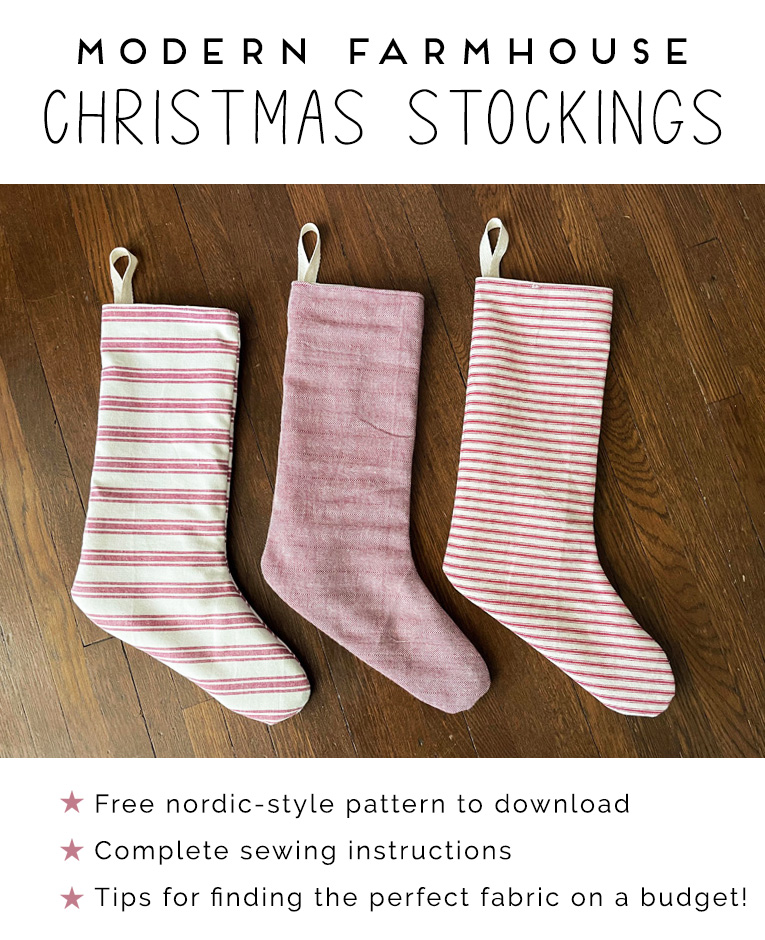
And now I'd like to introduce you to my newest stocking love: mix-and-match modern farmhouse stockings!
Thursday, December 19

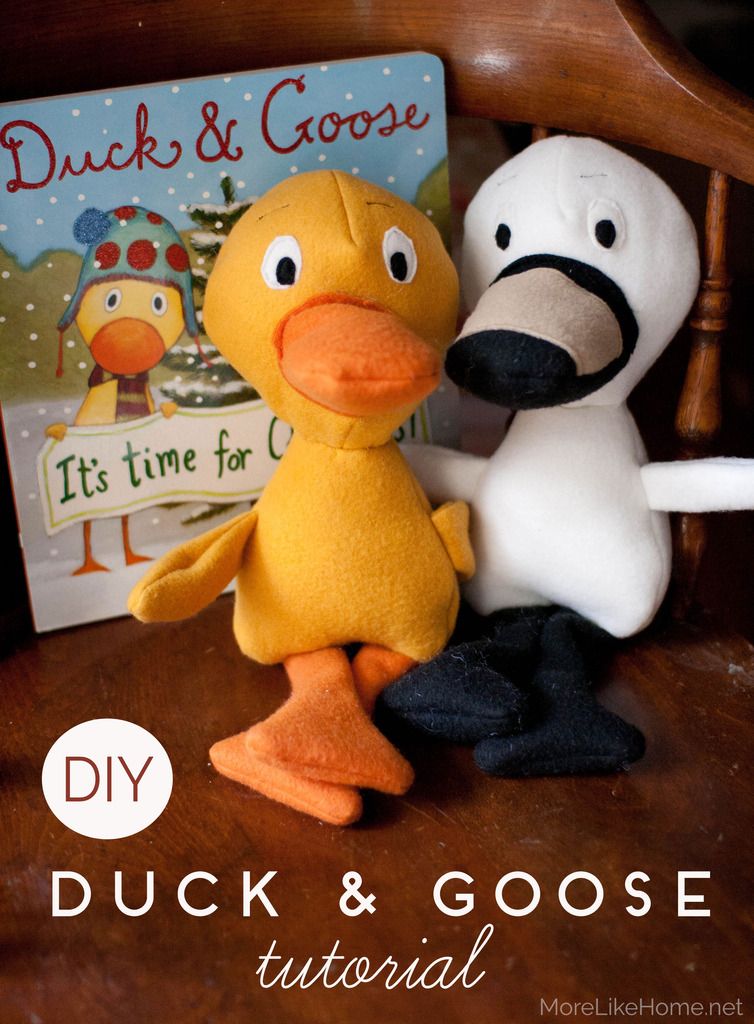
DIY Duck & Goose

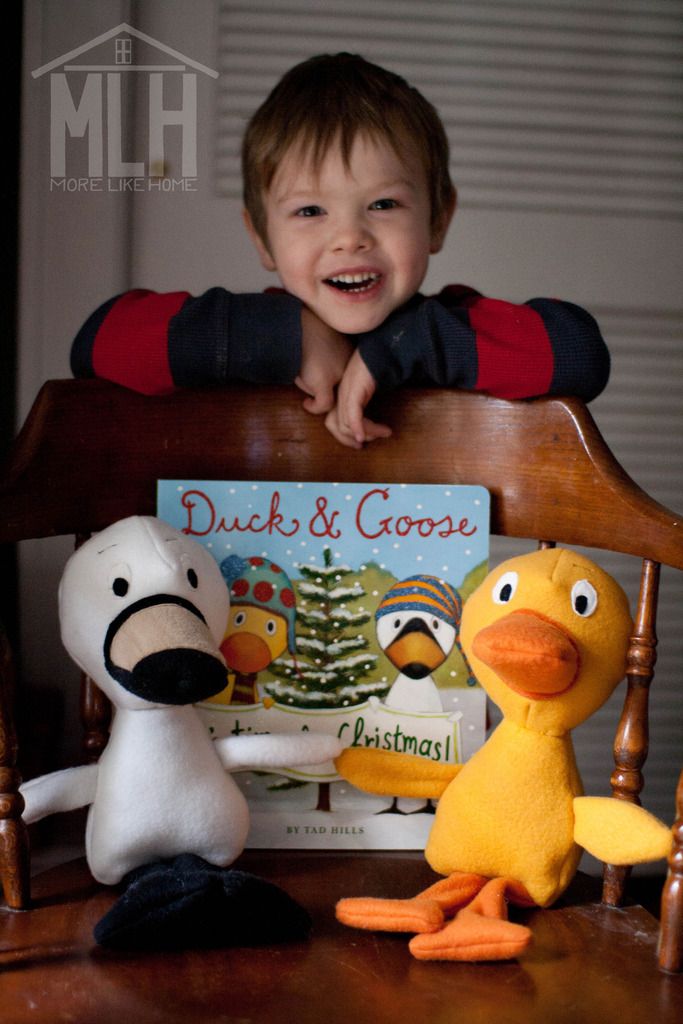
If you have kids, there's a good chance you're familiar with the Duck + Goose board books. They're so cute, and my kids have all loved them as toddlers. Two years ago m3 was completely smitten with Duck and Goose Find a Pumpkin - like read it five times a day smitten - and I knew he needed a Duck and Goose-inspired present under the tree!


I started with the Duck and Goose Christmas book, and I thought a set of plush toys would be the perfect pair with it.


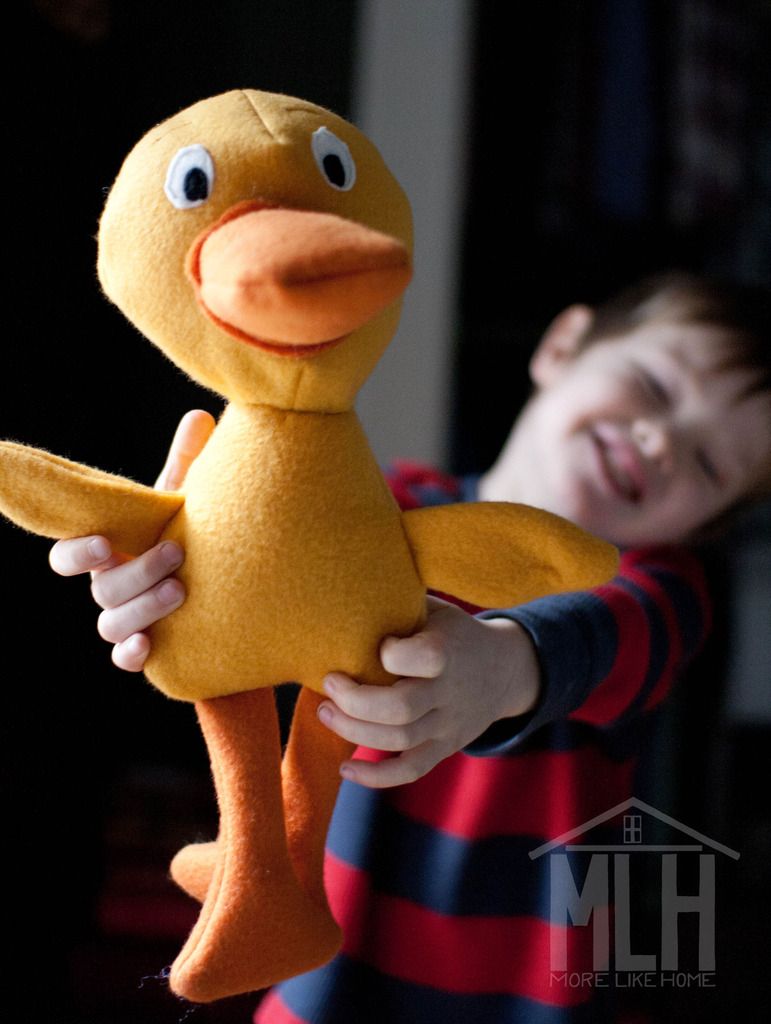
So I got to work and whipped up this sweet little set. They are the perfect size for snuggling!


Thursday, November 14

Easiest DIY Pillow Covers

Today we're going to look at a super quick and easy way to refresh a space... that also happens to be a great way to increase your holiday cheer factor. I'm talking about swapping out your pillow covers! And today I'll even show you the easiest way to make your own.

Pillow covers are one of my favorite ways to refresh a room, but did you know they're also one of the best secret weapons in seasonal decor?
  • They take minimal effort to switch out, but make a huge impact.
  • They take almost no space to store in the off-season.
  • They are easy and affordable to make!
Thursday, November 7

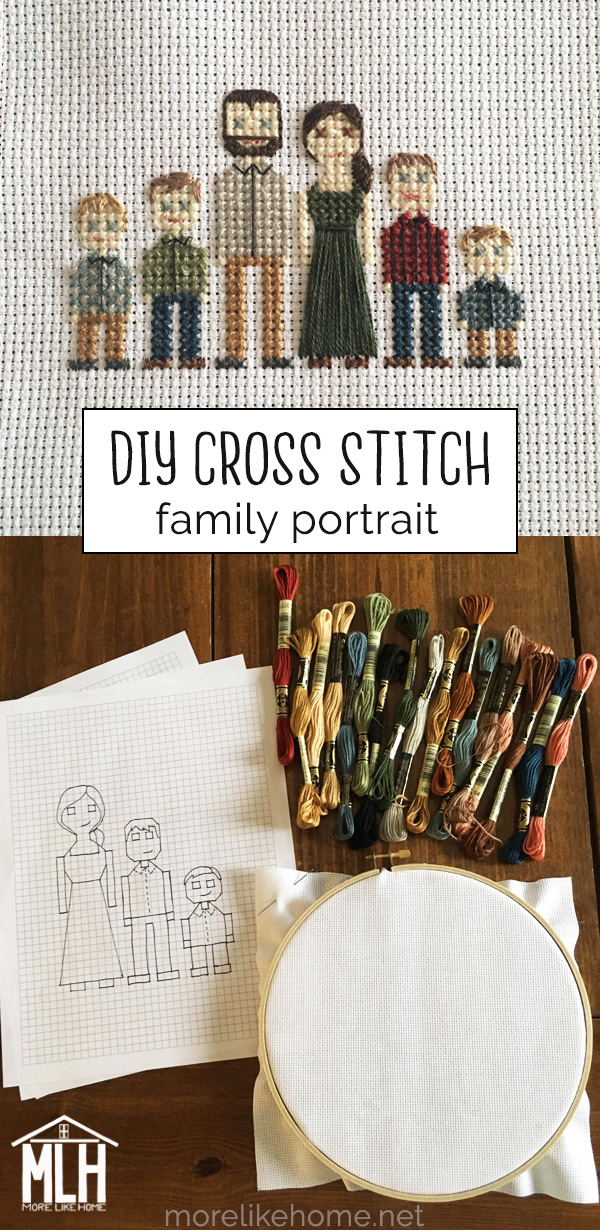
Cross-Stitch Family Portrait Tutorial

It's been a long time coming, but I'm finally putting together a tutorial for the cross stitch family portrait I shared on Instagram! If you've never tried cross stitch before, you're in luck. It's just about the easiest needlecraft out there. Seriously, my 8-year-old can do it. It's a perfect way to snuggle up and relax on a chilly evening, and make something beautiful at the same time.


These family portraits are easy to make and easy to customize for your own family! And they are officially the first post in my 2019 Christmas Series because they make such amazing gifts for friends and family. (I just saw a cross-stitch house and I'm planning to give that a try next that would also make a great gift!).


You only need a few simple supplies to get started with cross stitch, so it's a great hobby if you have limited storage space. Here's all you need (all from the same aisle at your fave craft store):
  • an embroidery hoop (The size depends on the size of your project. I used a 6" hoop for this portrait but could have gone smaller.)
  • cross-stitch fabric (I buy the rolls and cut it up for multiple projects)
  • an embroidery needle (larger than a standard sewing needle)
  • embroidery thread (whatever colors you need for your project)
  • a pattern (you can download my family portrait patterns, buy patterns in-store or on etsy, find free patterns on pinterest, or draw your own!)

Thursday, August 15

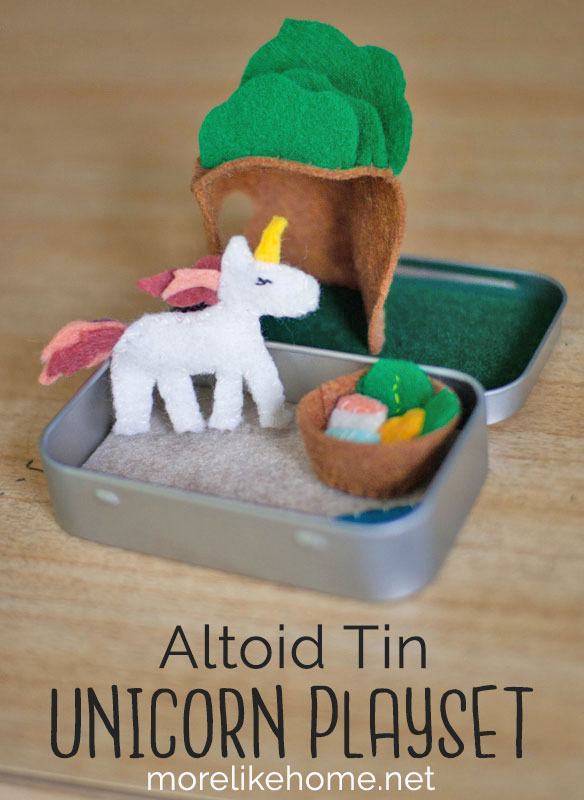
Felt Unicorn Altoid Tin Playset

You guys know I love a good DIY toy, right? (you can see our full list of toys here) Today I'm adding another installation to my DIY felt toy collection with this sweet little unicorn playset!

You can see all the other felt toy goodies here:
Today's toy is another little pocket-size set that fits in an altoid tin. It's great for on-the-go play and makes a perfect stocking stuffer!


The little unicorn lives in a little tree and has a little blanket to tuck in with.


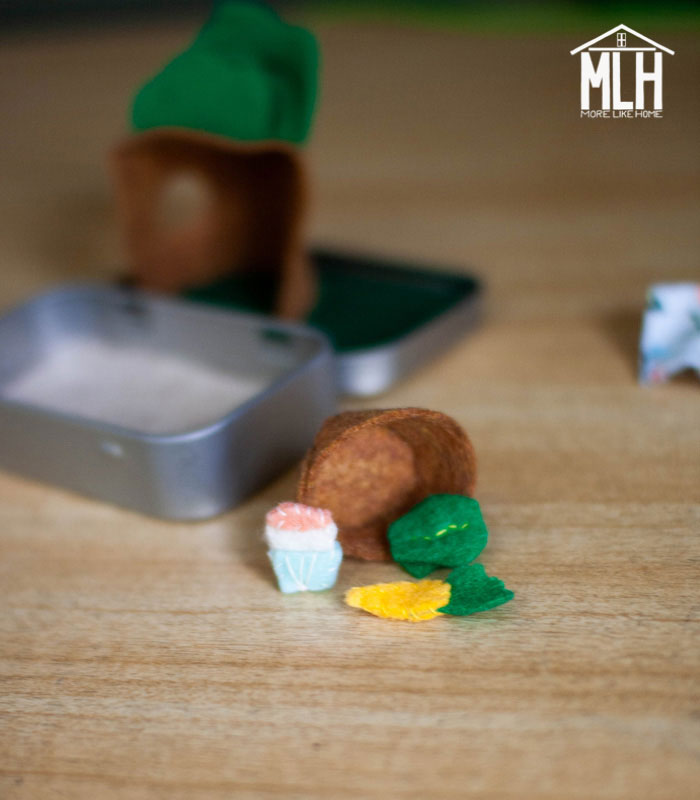
There's also a basket that holds a tiny cupcake, carrot, and lettuce.


And it all fits into the tin when you're done playing! I mean, *ahem* when the kids are done playing. But no one will judge you if you need to play with it just a little.


Sunday, October 22

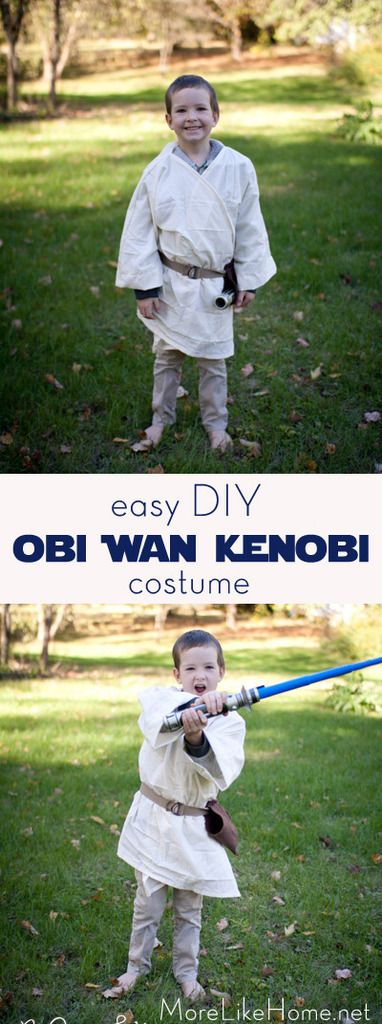
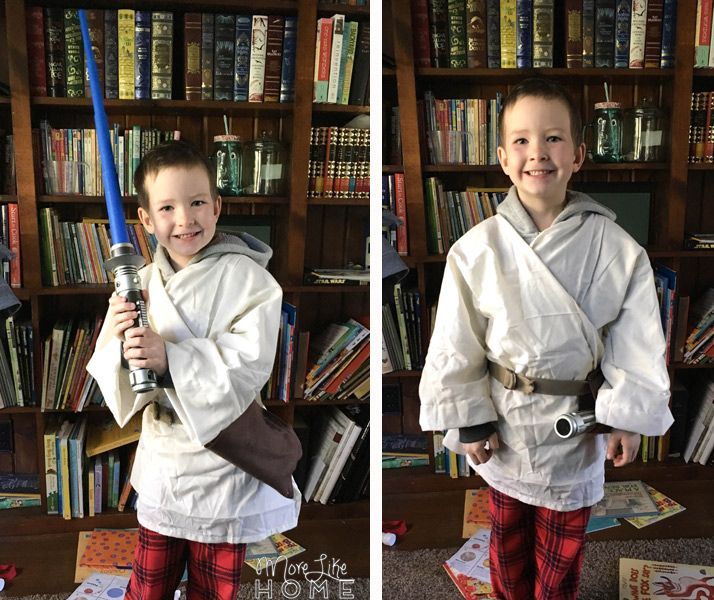
$5 Obi Wan Kenobi Costume

This boy loves all things Star Wars. His only question for halloween was "Which Star Wars guy should I be??" We thought he would go Kylo Ren, but in the end good old Obi Wan Kenobi was the winner!


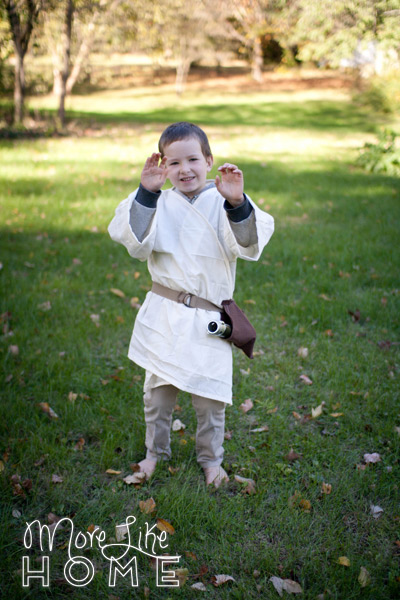
He loves his costume, and I love that we only spent about $5 to make it!

Using The Force.

One big bonus of a DIY costume is that I was able to make it big enough to fit over his coat (so his costume won't be hidden if it's chilly that night). Plus you can easily alter the size to fit any age of child.


You only need a handful of things to make your own Obi Wan Kenobi costume (in any size!):
  • an off-white sheet ($5 at Walmart)
  • matching thread
  • a piece of brown felt (less than $0.50 most places)
*We also added khaki pants he already owned, a belt he already owned, and his blue light saber to finish off the costume.

Saturday, October 21

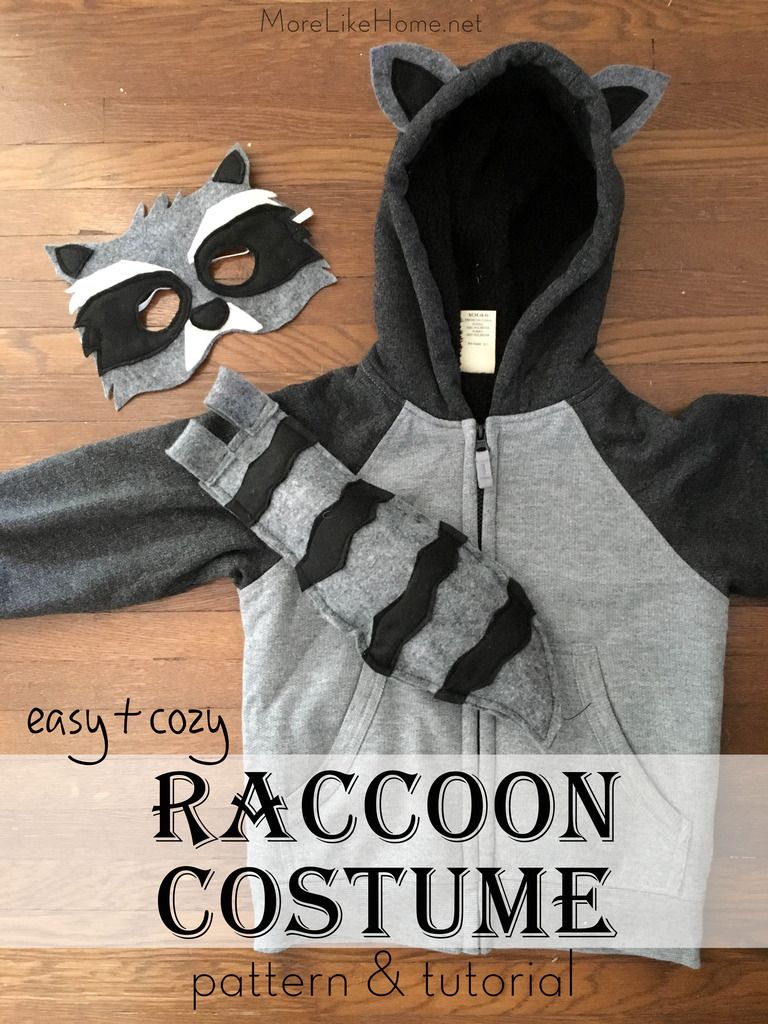
DIY Raccoon Costume {free pattern}

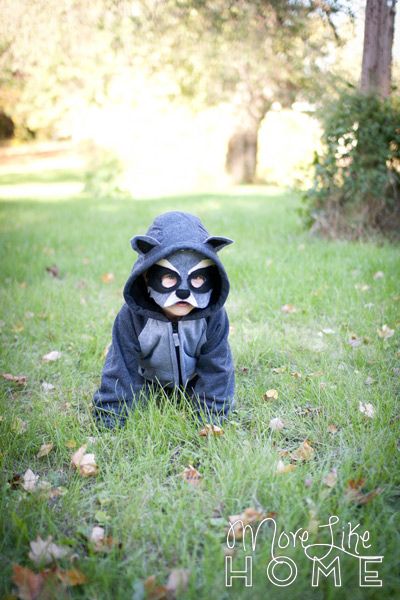
Is there anything as indecisive as a small boy deciding what to be for Halloween? I finally had to tell him "We are making costumes today. Whatever you choose right now is what you will be." After weeks of flopping from raccoon, to pumkin, to apple, to hotdog, to police officer, to minion (often all in the same day), he circled back around to good old raccoon. Thank goodness because it ended up being a really easy (and super cute) costume!


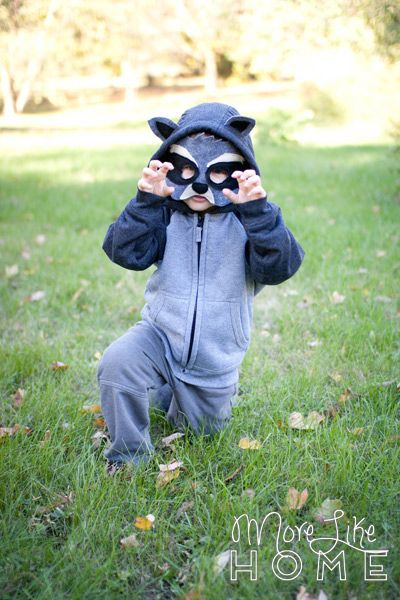
And he totally loves it. He's barely taken if off all week, and even wears it out on errands. I keep hearing things like "Look out mommy! There's a raccoon behind you!" "Watch how far raccoons can jump!" "Do raccoons eat cereal?"


This is one of those easy costumes that's made with a hoodie or jacket. Which is my favorite kind of costume. For the same $15 you can get a cheap pre-made costume, or a nice jacket he can wear for the rest of the year!


Here's all you need to make one:
  • gray hoodie or jacket
  • gray felt (we bought 1/4 yard off a bolt to have a long enough piece for the tail)
  • black felt - 1 sheet
  • white felt  - 1 sheet
  • 12" elastic (I used 1/4" braided elastic) you won't need the whole thing, but this way you're sure to have enough
  • mask pattern
  • black thread 
  • white thread
  • small amount of stuffing (optional, you can also leave the tail flat)
Raccoon Pose

Tuesday, January 31

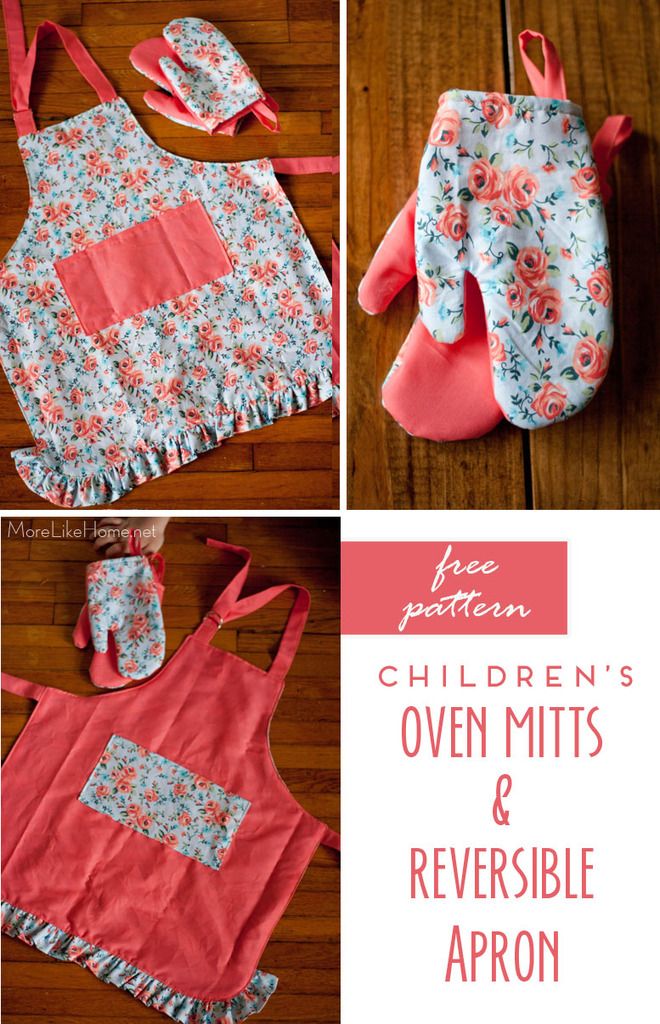
Child-size Play Oven Mitts (and reversible apron)

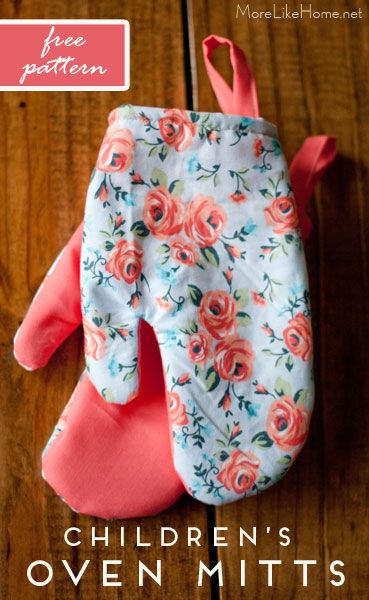
With all these boys in the house, I jump at the chance to make something floral and frilly for a little lady. So when my sister gave my niece a little play kitchen for Christmas, I was thrilled to make the sweetest little apron and oven mitt set to go with it. It's one of the most fun projects I've made in a while! And my niece loved them so much, she would hardly take them off!


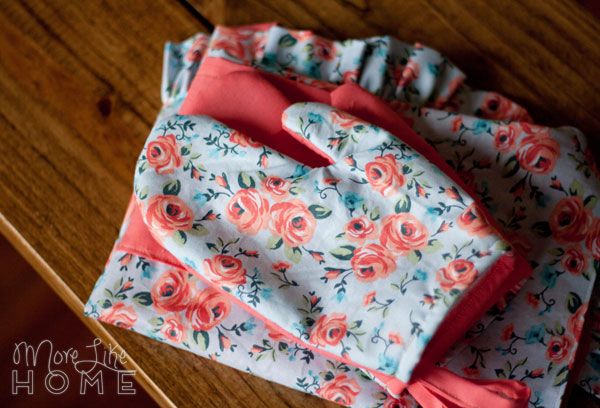
I've made aprons before, but this was my first attempt at mini oven mitts. I love how they turned out! I used the same fabric as the apron and lined them will fleece batting to help them hold their shape and feel like real oven mitts. I also added little loops for hanging them on a hook on her play kitchen.


It made such a cute little set!


I made the apron using my kid's apron pattern. It's a reversible apron with a pocket on each side, an adjustable neck strap, and a super cute ruffle around the bottom (but you can omit the ruffle if it's not your jam).

Wednesday, October 26

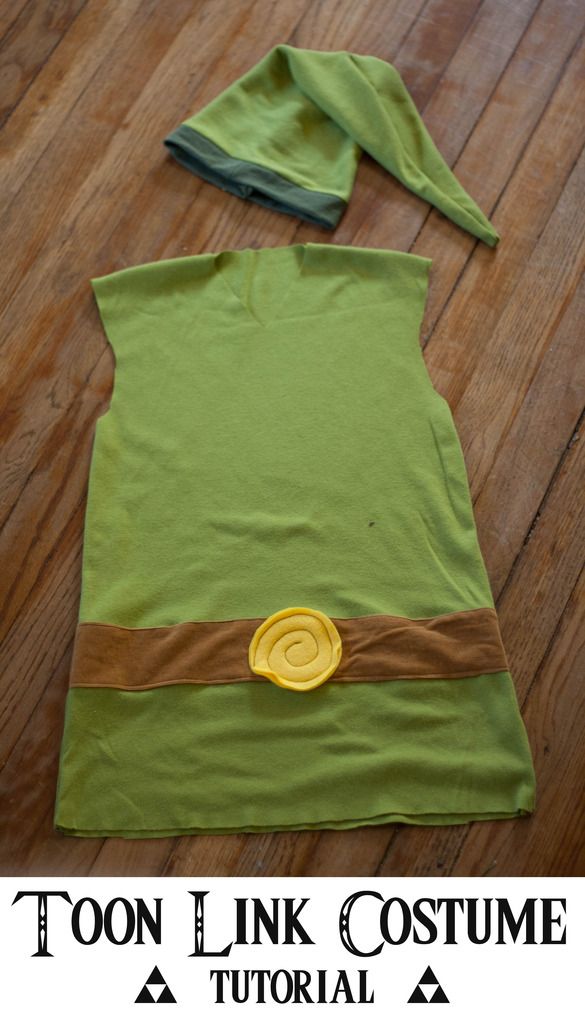
Toon Link Costume Tutorial

We have a little boy who loves Toon Link. And a variety of other super heroes, but good old Toon Link has had a few streaks as the favorite. So last year for Christmas I made up a quick Toon Link costume to stuff in his stocking. Despite being a last minute gift, it was a hit and he's still using it almost a year later! Now with halloween right around the corner, it seems like a perfect time to get this tutorial together. We're operating on Georgia time here, folks. As in me. Not the state. (you can totally pull it off in time for halloween, it's so simple!)


What you need:
  • green knit fabric (I had some sitting in my closet from a yard sale, the amount you need will depend on the size of the child... or adult)
  • a shirt to use as a size template
  • Small amount of dark green knit fabric for the hat trim (I cut up an old tshirt)
  • brown fabric for the belt (I used leftover corduroy, but just about anything would work)
  • yellow felt for the belt buckle
  • thread

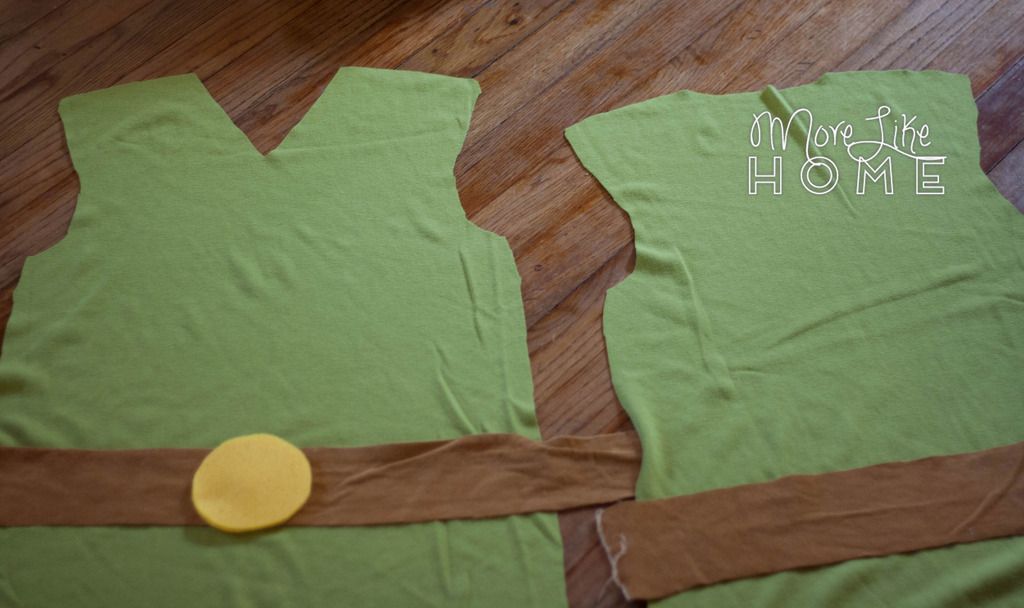
To make the top, I folded a piece of light green knit fabric in half and laid one of his shirts on top to to use as a pattern. I cut the costume a couple inches larger so he'll be able to use it for a few years, and cut the sleeves to be a tank-style top. I also cut it several inches longer than his t-shirt (since Toon Link's shirt is a little long) but... it might be a little too long. Oops. I'd go a little shorter than this next time. Use the first piece as a pattern to cut a second piece for the back.


On the front piece I cut the neck down a little more into a V. Then I laid a belt section on top of each shirt piece and lined them up at the same height. Cut strips of brown about 3" wide. If it's a woven fabric (I made the belt with left over brown corduroy), fold the raw edges under about 1/4" and press them to keep them in place. If it's a knit, you don't need to worry about fraying and can just set it in place without folding the edges under.


Tuesday, September 20

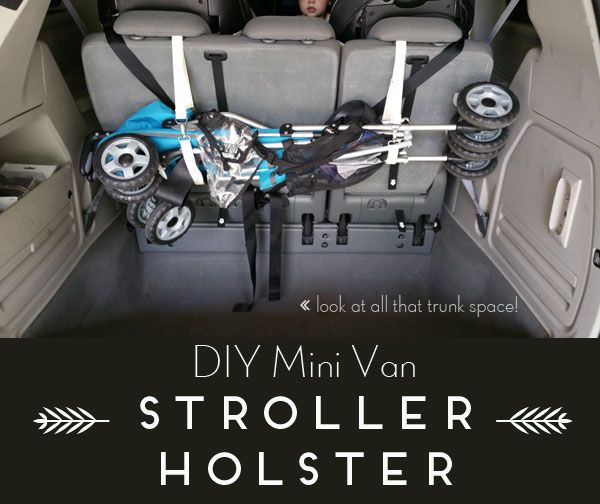
DIY Mini Van Stroller... Holster?

We always keep an umbrella stroller in the back of our van. We've been caught a few times wishing we had one with us and, frankly, we're tired of it. And tired of carrying tired kids. But when our travel stroller lays in the trunk, it takes up all the floor space and has left us pulling it in and out every time we need groceries. So we had to choose between being stuck stroller-less or wrestling with the stroller while loading groceries with three kids. I don't know which was more inconvenient. We needed a better way to have our stroller with us without using up our valuable storage space.


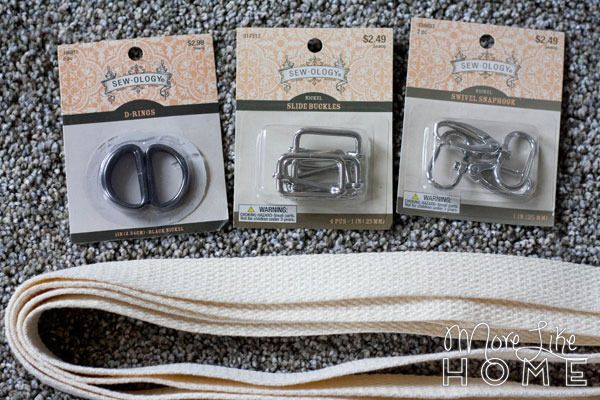
That's when I stumbled across a picture of a stroller hanging on the back of a van seat using an old belt. BOOM. That was the answer to our woes. Except without the belt, which actually seemed difficult to get the stroller into. So I bought a few simple supplies from the fabric store and got to work making our very own stroller holster. It only took about 20 minutes to make both straps! Here's what you need to make your own:
  • four 1" D-rings
  • two 1" slide buckles
  • two 1" swivel snaphooks (or any similar kind of clip) 
  • three yards of 1" webbing you can probably get by with two yards, but I bought three to be safe  (they had several colors, but I chose with white because I didn't want to risk color bleeding onto the seat upholstery)

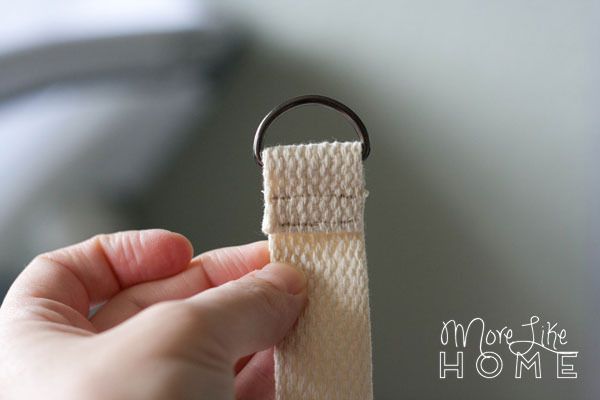
Start by cutting your webbing in half to make two straps. Thread the end of one strap through a D-ring so about 1.5" is through. Fold under the raw edge, then sew along the folded edge to lock in the D-ring. I did a second line of stitching to reinforce it:


Thursday, September 8

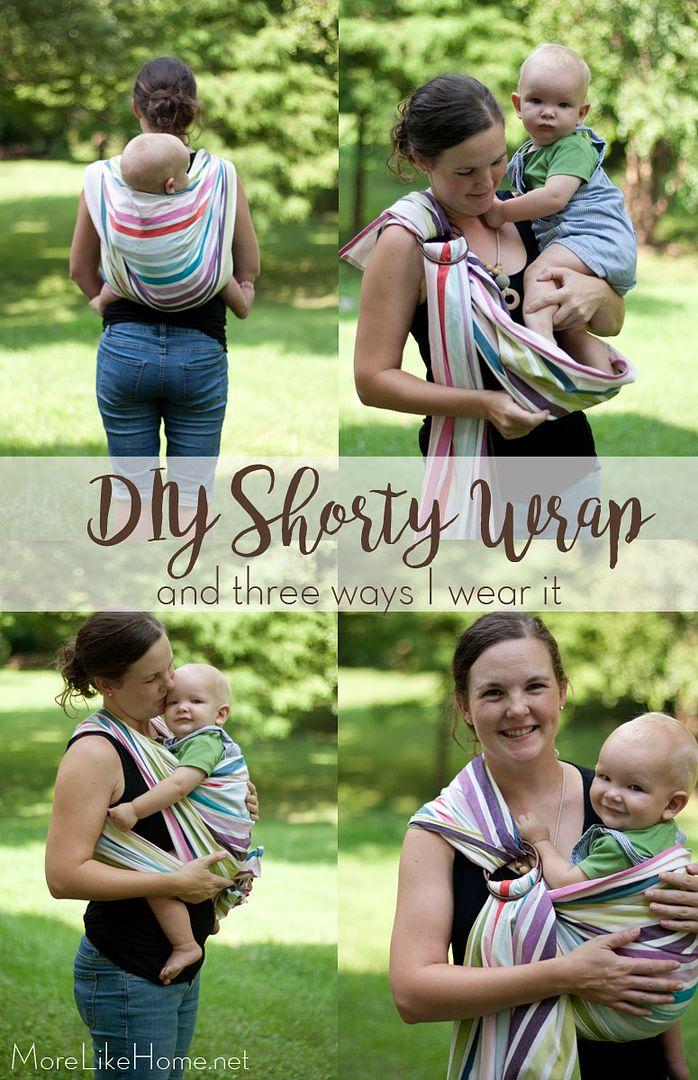
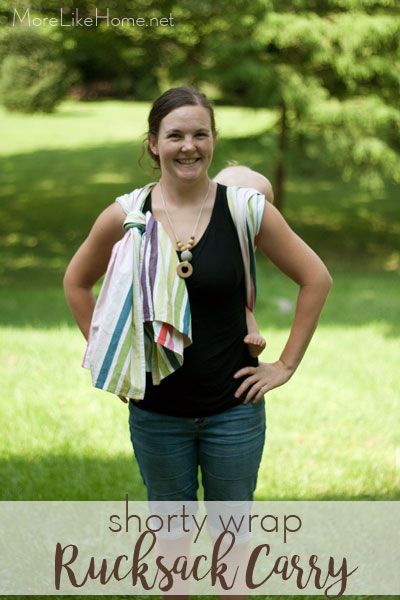
DIY Shorty Wrap (plus three ways I wear it)

Getting things done with a baby in the house can be hard. Which is one of the reasons babywearing can be a life-saver! This summer in an attempt to beat the heat I tried out a new lighter, cooler baby carrier - the shorty wrap!


I love my homemade ring sling and stretchy wraps for a newborn, but with a hefty 9 month old I've moved into more supportive waters. I've made a couple Mei Tai carriers that I haven't reached for lately (the ease-of-use is great, but I'm planning to make one with wider straps to see if I can get it a bit more comfy). So that has left me falling more in love with woven wraps. And it probably helps that Husband got me the wrap I've been dreaming of for my birthday last year. But both the dream wrap and my homemade wrap are pretty long (a size 5 and a size 7) and require several passes. More passes = more layers = more heat. So when I started thinking about something cooler for summer, a shorty seemed like it was worth a try!


A "shorty" is woven wrap that is... short. Ha. Size 4 or shorter. The one I made is only a size 2 (more info on wrap sizing here). I've actually made one shorty before using a $6 tablecloth (tutorial here) but I didn't really know how to use it and gave up pretty quickly. But a couple months ago I came across the shorty carry tutorials by Wrap You in Love, and the whole shorty world opened up before me.


Thursday, March 10

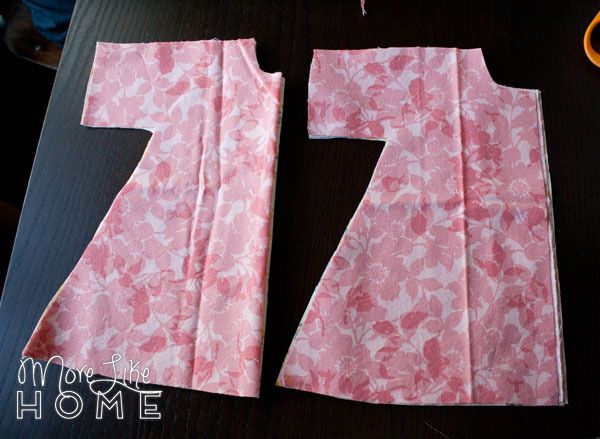
Long Sleeve Rag Doll Dress

So far this week we've made an adorable rag doll and my favorite doll dress for her. Today we're making another dress that is super simple and super versatile!


This dress (the pink one) is reversible so it's like two dresses in one! It's made from a full length pattern piece so you can save lots of time over adding a separate skirt. It has long long sleeves, but you can shorten them for a different look. You can also cut the skirt shorter and use it backwards like a jacket! So many possibilities in this little guy! Here's what you need:
  • 1/2 yard fabric (get two colors for a reversible dress)
  • thread
  • velcro, snaps, or ribbons
  • the pattern

Start by printing the pattern and cutting out the pieces:
  • 2 dress fronts (one from each fabric)
  • 4 dress backs (two from each fabric)

Monday, March 7

Rag Doll Dress Tutorial

Every good rag doll needs at least a few outfits. So today we're making my favorite rag doll dress! This dress has a tank-style top with a separate skirt piece so you can make it two-toned like the dress on the right. It's easy for little hands to put on, and cute as can be. If you don't have a doll yet, check out my Rag Doll Pattern, plus my long sleeve doll dress pattern.


Here's what you need to get started on your rag doll wardrobe:
  • 1/2 yard fabric
  • thread
  • velcro (or snaps or ribbons or buttons, but velcro will be easiest for the kids to use on their own)
  • the pattern
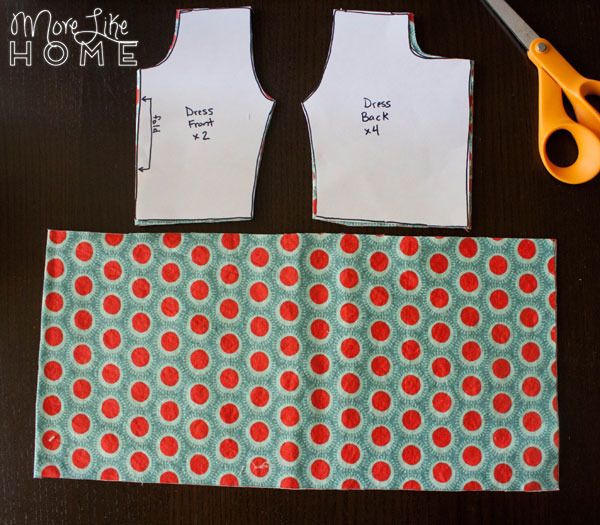
Start by printing the pattern and cutting out the following pieces:
  • 2 dress fronts
  • 4 dress backs
  • 1 skirt 7 x 30"

Sunday, March 6

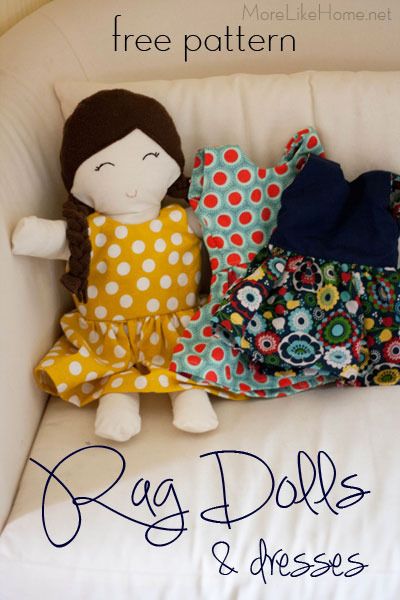
Rag Doll Tutorial

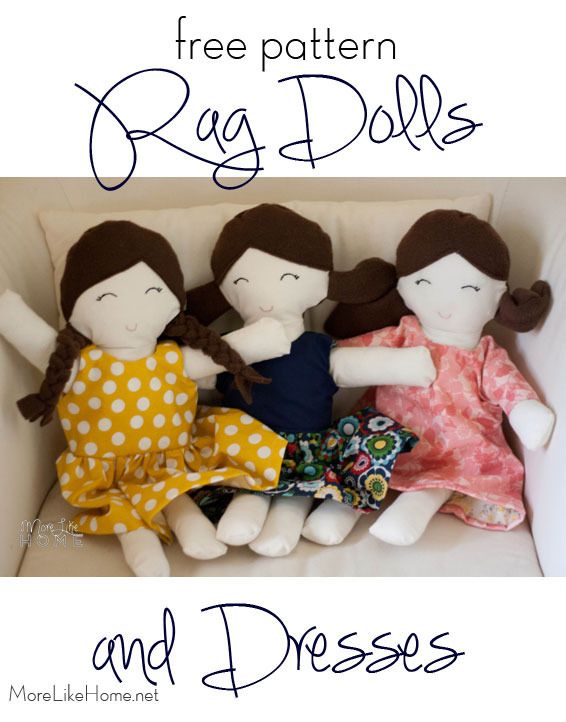
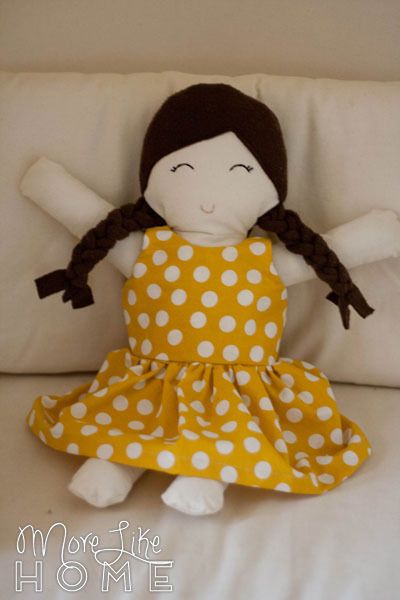
Last year was the boys' first Christmas with a little girl cousin. And when the big brother spotted a stuffed doll at the mall, he thought she just had to have it. But ohmygoodness, that was an expensive little stuffed toy. So we decided to make her one instead. He went shopping with me to find all the fabrics, I made a couple practice dolls to figure out the pattern, then he got to work making the perfect doll for his cousin. He had fun and was so proud when it was finished!


I've made another version of a little rag doll before (you can see the tutorial here) but this time I wanted something a little bigger with a more classic rag-doll look. Something perfect for a little girl to drag around and snuggle. I started by searching pinterest for the perfect pattern, but as usual there isn't anything exactly like I was picturing it in my head (I miiiiight be too picky). I found one doll by Miss Gioia that was the closest to what I was looking for and started from there. This is where we ended up:

If this doesn't make you want to play with dolls, I don't know what will.

The finished doll is about 18" tall and super snuggly! In addition to the doll, I have patterns for two different dress styles - My Favorite Doll Dress & The Long Sleeve Doll Dress. Make them in a few fabrics and you'll have a full wardrobe!


But for today, let's get started on the doll. Here's what you need:
  • 1/2 yard fabric for the body (muslin is a great cheap option, but a quilting cotton would work if you need a different color. 1/2 yard was almost enough for all three dolls.) 
  • 1/4 yard fleece for the hair (felt would work too, but it gets pills easier than fleece)
  • matching thread
  • embroidery floss (I used black for the eyes and pink for the mouth)
  • stuffing
  • the doll pattern

Sunday, December 27

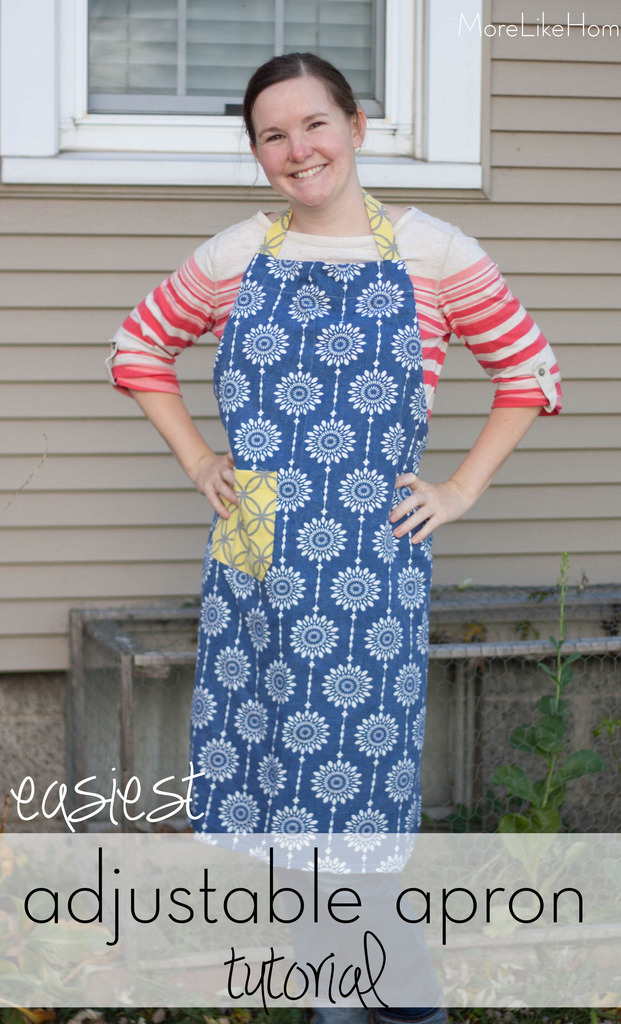
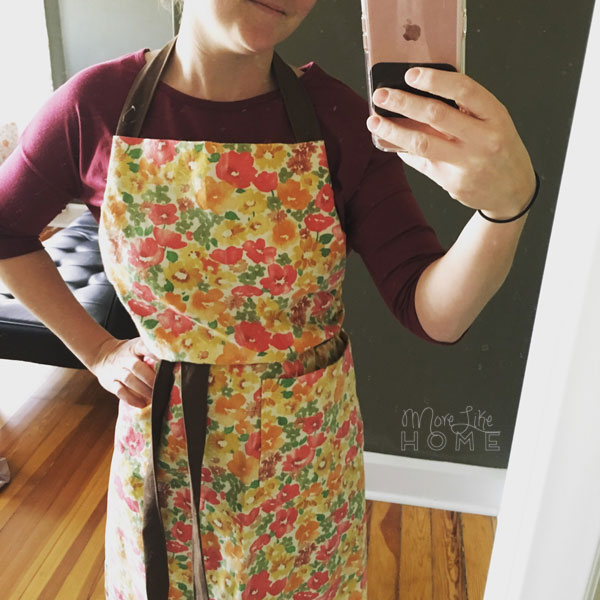
Easiest Adjustable Apron Tutorial

When my sister got married I promised to make her an apron.

Update: I looove this one I made for my mom with the same pattern. I like to wrap around my waist and tie in the front for a cuter fit. 

Every new wife needs a good apron, right? Unfortunately I always like to make things harder for myself and make up my own pattern. I want it to look just how I want it to look and I don't want to spend time looking through tutorials for one that is perfect. My first attempt totally flopped, so I put off trying again... for... two years. *shame* Sorry, Sister. But I finally got into a nesting flurry a few weeks ago and finished one!


The finished apron gives you full coverage when you're cooking. No more splatters around around a too-narrow bodice (I cook messy, okay? Don't judge.). Plus the generous size will work for most cooks. It also boasts a handy pocket and a hanging loop for when it's not in use. But most importantly, it has my #1 most desired feature in an apron: an adjustable strap. Not one you have to tie or slide through rings (you won't spend more time adjusting your apron than you spend actually cooking the food), all you have to do is pull the ties to make the neck loop shorter. And you guys... all this convenience is still pretty easy to make! This is all you need:
  • 1.75 yards main fabric (you can get more for a longer apron or less for a shorter apron)
  • 1 yard strap/pocket fabric
  • thread

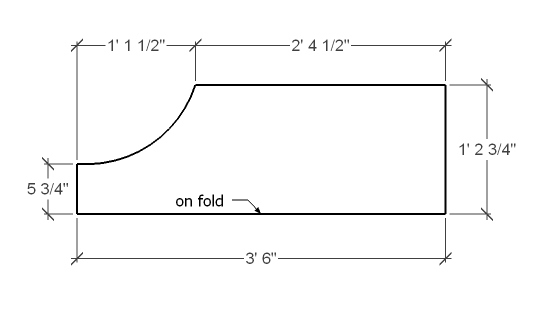
Let's start by cutting your main fabric. Cut a piece 29 1/2 x 42" for the main body. Fold the piece in half length wise and lay it with the fold facing you (see drawing below). On the left edge measure up from the bottom 5 3/4" and make a mark. On the top edge measure in 13.5" from the top left corner and make a mark. Draw a curve connecting the two marks and cut along the curved line. This is your main apron body. If you want to make your apron a little more feminine, you can curve the bottom corners of the apron.


Tuesday, December 8

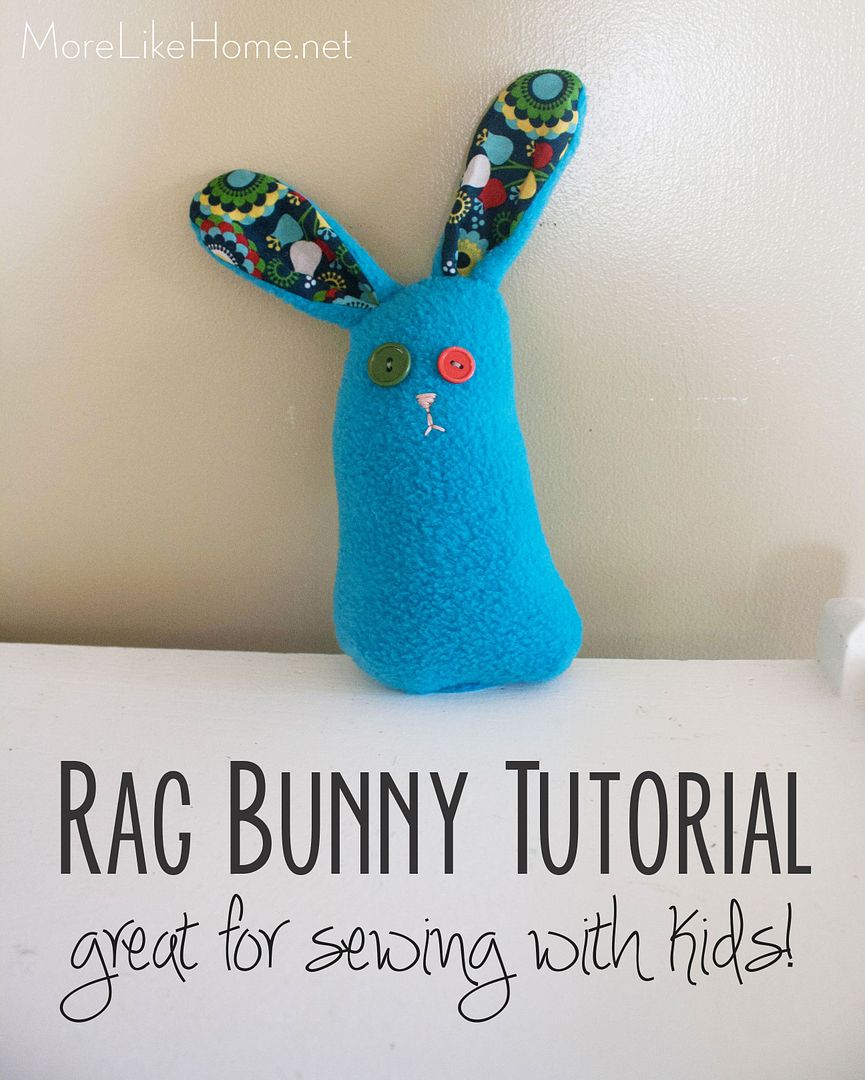
Easiest Fleece Bunny Tutorial - Sewing with Kids

A few weeks ago I was picking up some fabric for another project and as we passed the fleece Big Brother said "Oh! Can I get some of this fuzzy blue?" I told him I didn't think we needed any and we should keep moving. But then he said "But I need to make something for our baby!" How can I say no to that? Answer = I can't. So each of the brothers picked out a fleece (both picked blue) and I started brainstorming what we could make with just a quarter of a yard.


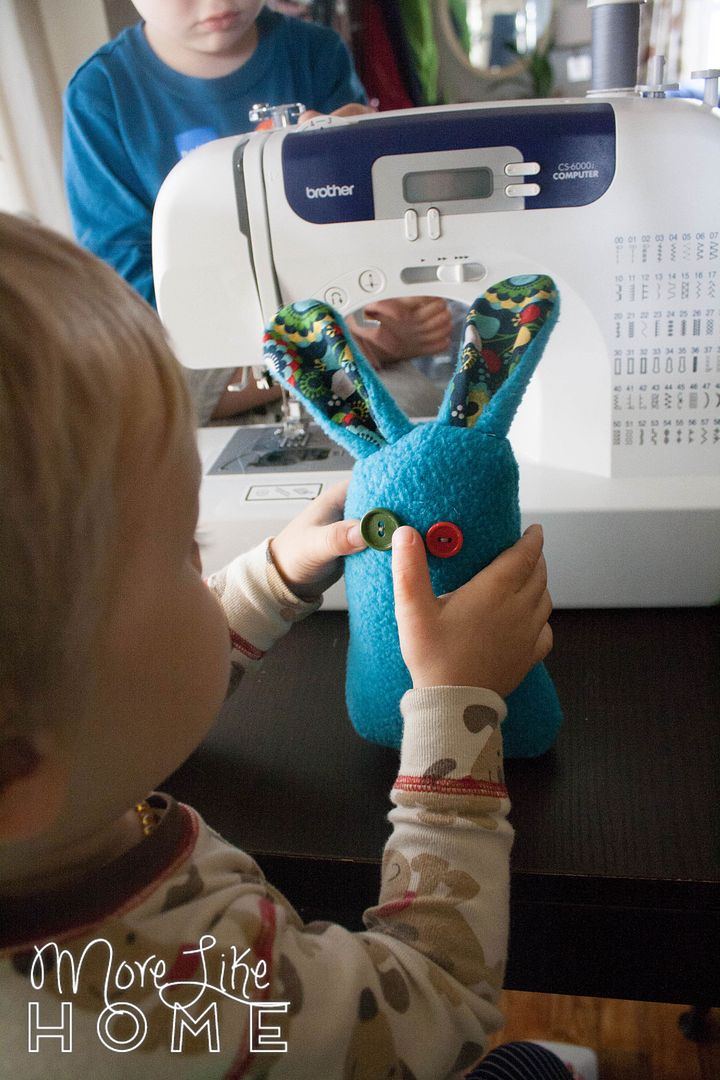
Well, it turned out my pregnant brain couldn't come up with anything. Fortunately my sister came to the rescue and sent me a picture of some adorable little fleece bunnies. Whew. These guys were so fast and so easy, and I was even sewing them with a two-year-old and a four-year-old! They are a perfect project to get started sewing with your kids. They get to try hand sewing, machine sewing, stuffing, and even drawing their own pattern. Plus this project is fast enough that mom doesn't get burnt out with all the "help."


Here's what you need to make your own fleece bunny:
  • 1/4 yard of fleece
  • scraps of quilting cotton for the ears (if you're buying some 1/8 yard is more than enough!)
  • buttons for eyes
  • embroidery floss for the nose & mouth
  • stuffing
  • thread

Start by drawing a pattern for your bunny (or you can just cut your bunny out free-style). My four year old drew our bunny pattern. He made it like the picture we saw with the top rounded and the bottom more square, but really you can do whatever bunny shape you like! I drew the ears. Just remember that you need to add extra space for seam allowances, so draw everything a little bigger than you want it to be. Our first bunny's ears were cut with the pattern and turned out a little skinny so we cut the second pair bigger. I remember my mom having my sister and I draw patterns to make our own rag dolls when we were little (I still have that doll!) so I really wanted that to be a part of this project too.


Sunday, November 1

Babywearing & Maternity Jacket Insert Tutorial

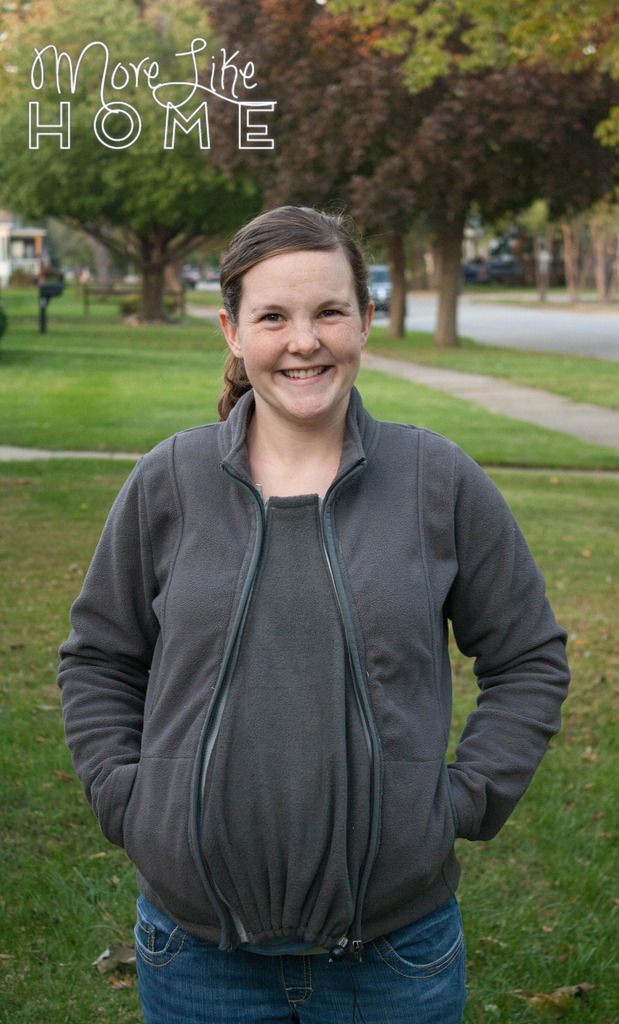
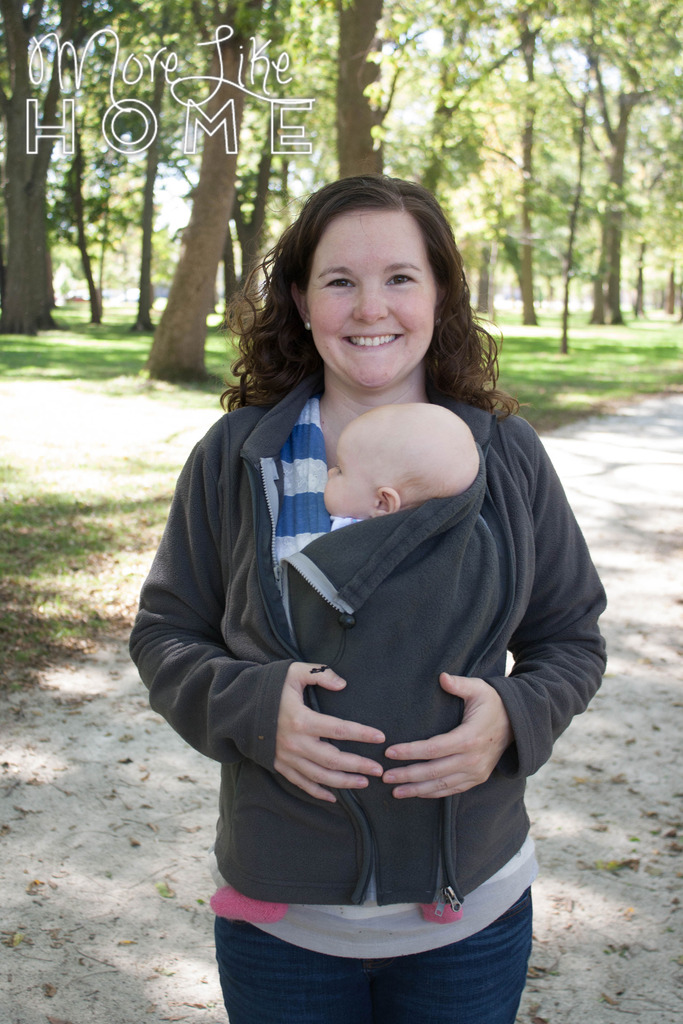
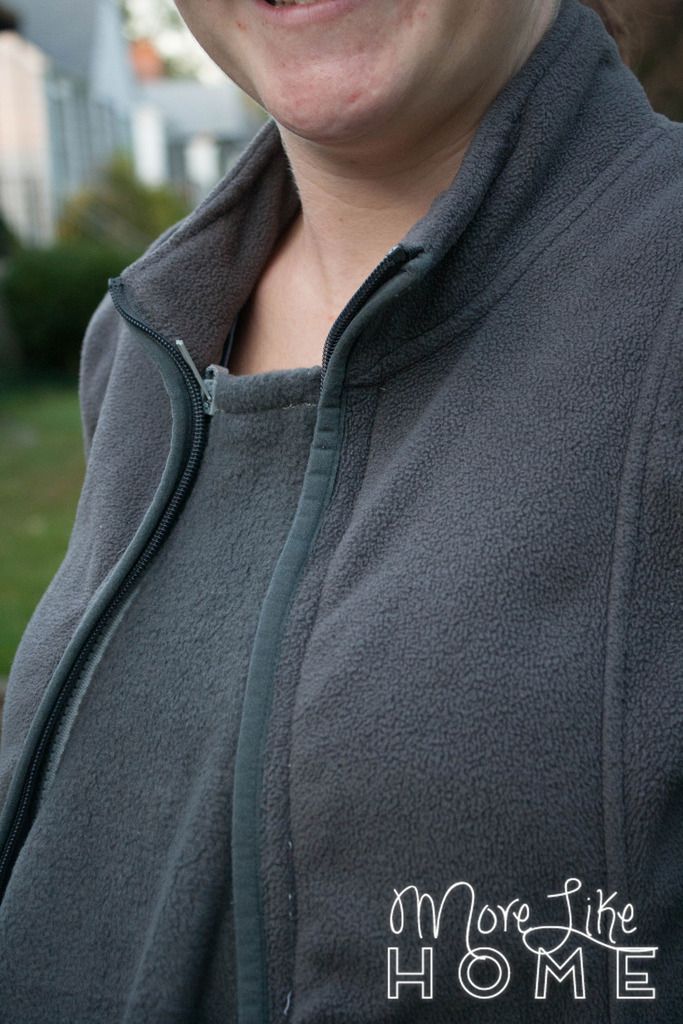
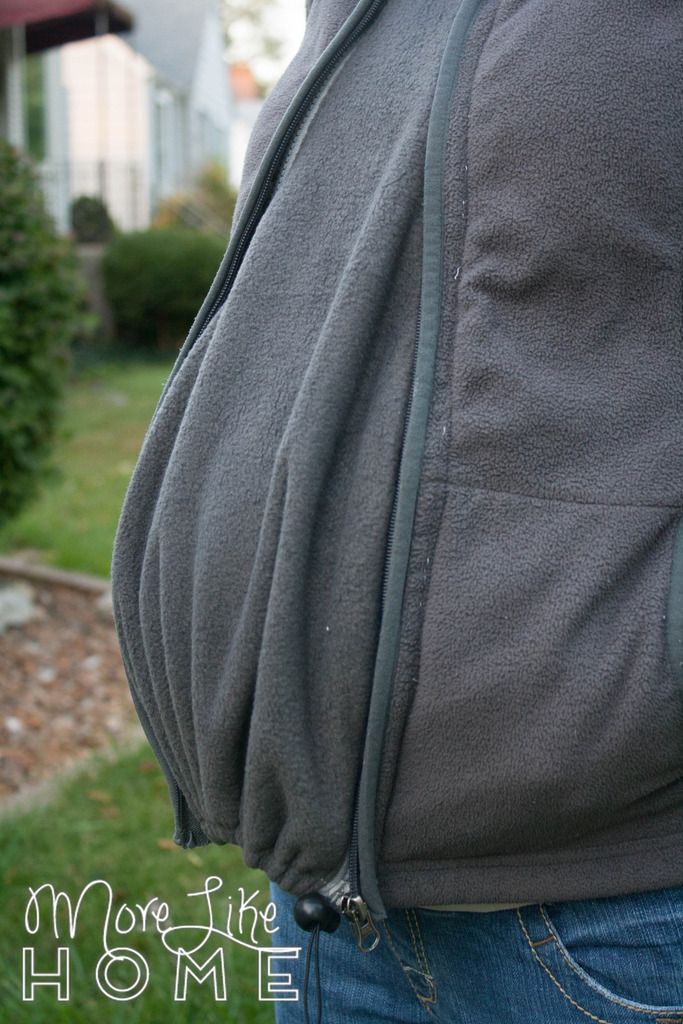
We're about to have our first cold-weather baby. Like any day now. So I've been nesting like crazy trying to get things ready around here. One of the things on my to-do list was finding an affordable baby-wearing jacket... which it turns out is no easy task! Prices started at $45 for a jacket insert and went as much as $300 for a full babywearing jacket. Yikes. So I decided the best option was to make my own. Not only did I end up with a babywearing jacket that is both easy and affordable, it also doubles as a maternity insert to keep pregnant bellies warm!


You can make an insert to work with any jacket or coat you already own, and it's reversible so you can put the wider end at the bottom for maternity use, then flip it over for more space at the top when you have a little bundle to wear. The wider end has an elastic cinch cord to help you get a good fit at any stage.


You really only need a few things to make your own babywearing jacket insert. I already had the thread and a jacket, and I spent about $15 on everything else. The fleece was on sale, so most of the cost was the zippers. If you use coupons for those you'll save quite a bit! Here's everything you nee:
  • jacket or coat
  • 1/2 yard of fleece that matches your jacket (if you want a wider insert you'll need a little more)
  • two matching 20" separating zippers (measure your jacket to see if you need a different size)
  • 1 cord stop
  • elastic cord
  • thread
Subscribe