
Check out the rest of my free building plans here.
And the bonus for me was that I made them entirely from my scrap pile! But if you don't have a stash of scraps yet, don't worry. Each planter uses just two short boards so it's still a budget-friendly project.

These planters come together super quick and it's a very simple project that's great for beginners. It just might be the easiest project on the entire blog!
Here's all you need to build your own:
- 1 - 1x2 @ 4' long
- 1 - 1x12 @ 4' long
- nails or 1 1/4" wood screws
- wood glue
- wood filler
- sanding + finishing supplies
Cut List:
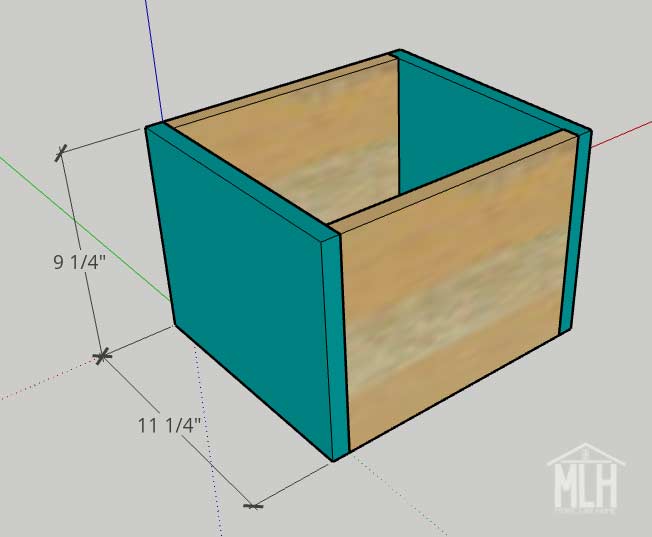
(A) 1 - 1x12 @ 9 3/4" (bottom)
(B) 4 - 1x12 @ 9 1/4" (sides)
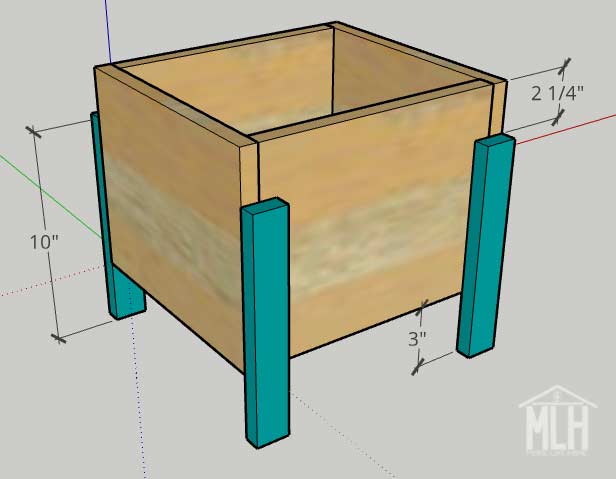
(C) 4 - 1x2 @ 10" (legs)
This cut list will make a single planter - double it if you want to build a pair!
Start by attaching two of the side boards (B) to the long edges of the bottom board (A). Use wood glue and either drill or nail through the side boards into the ends of the bottom board. I used nails for this entire project because a nail gun is too much fun.
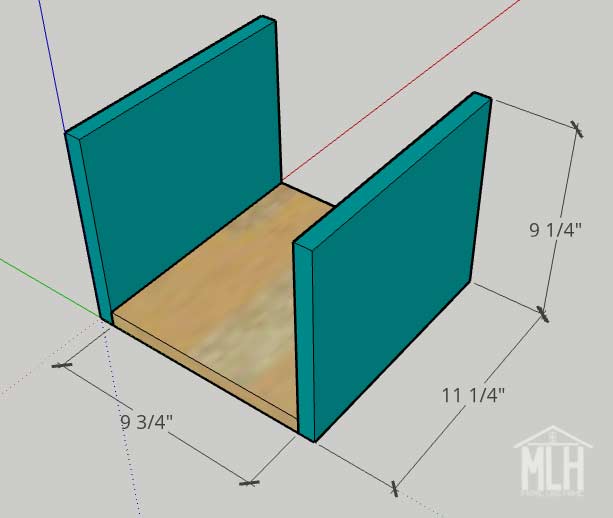
Then add the two remaining sides to the ends of the box. Drill or nail through the side boards into both the bottom board and into the side boards you installed in the previous step. Keep all the edges flush.
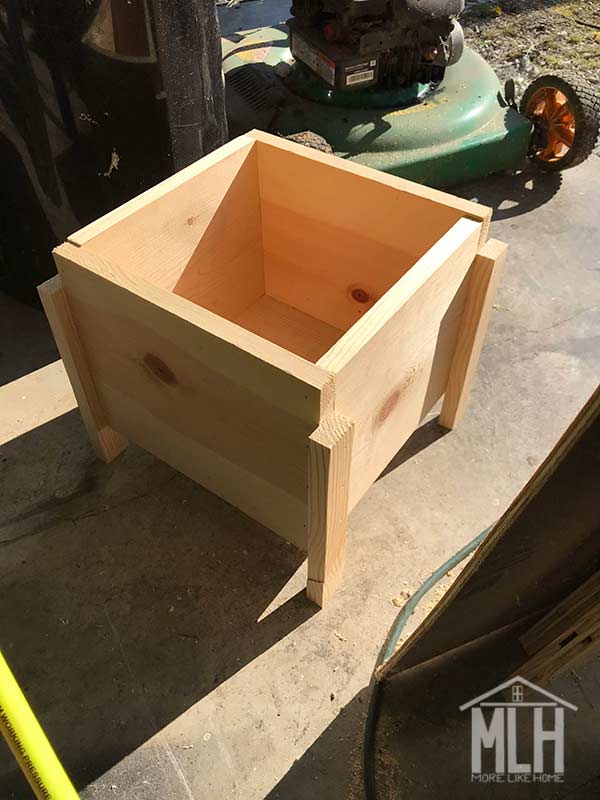
Now add the legs (C). Each leg should be set down 2 1/4" from the top edge of the box, which should leave 3" of leg to extend below the bottom. For my boxes, I slid the legs out a bit to overhang the sides of the box because it made them look a little more interesting, but you can scoot them in flush if you prefer. Nail or screw them into place (don't forget the glue!).

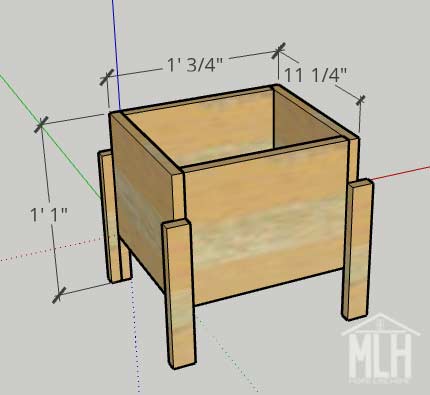
This shows the legs scooted in so they don't overhang the edges of the box:
Repeat to build a second box! Or a few more - they would be great lining the edge of a patio!

To finish your planter, fill any visible holes with wood filler (be sure to get a stainable type if you're using stain instead of paint) then sand everything down really well. This is the most important step for a professional finish! Start with a rough sandpaper, then go over everything with a medium paper, then again with fine paper. Once it's super smooth, finish it with whatever paint or stain and sealer you like. Make sure you use an outdoor sealer or paint if you'll be using your planters outside like I am!

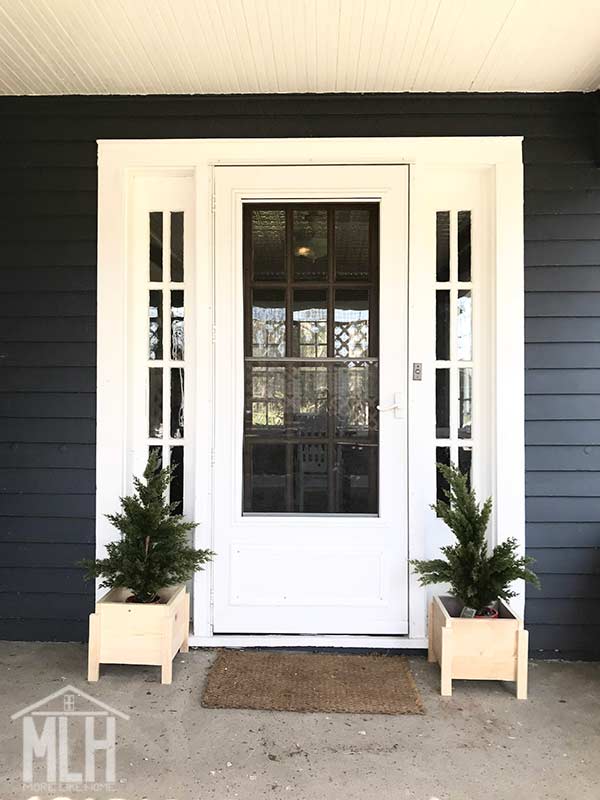
As you can see, mine are not actually finished yet. Because - surprise - I haven't decided what I want yet. I know. I'm not a fast decision-maker, guys. It took me almost a year to find the trees, even though I knew the whole time that I wanted little fake evergreen trees. Realistic ones were just so expensive! But I finally found them for a steal after Christmas. From the minute I bought them, I knew I wanted wooden planters to hide the bright red Christmas pots they are glued into (the downside of affordable trees)... and it still took me a few months to actually commit to building them. I just need a healthy amount of processing time, guys.

Luckily our porch is covered so I have a little time to decide on the finish. But I'd love to hear what you would do! I went into the project thinking I would paint them black, but now I'm leaning toward leaving them natural or staining them. What do you think?
No comments:
Post a Comment