
Ladies and Gents, this is the moment you've waited for....
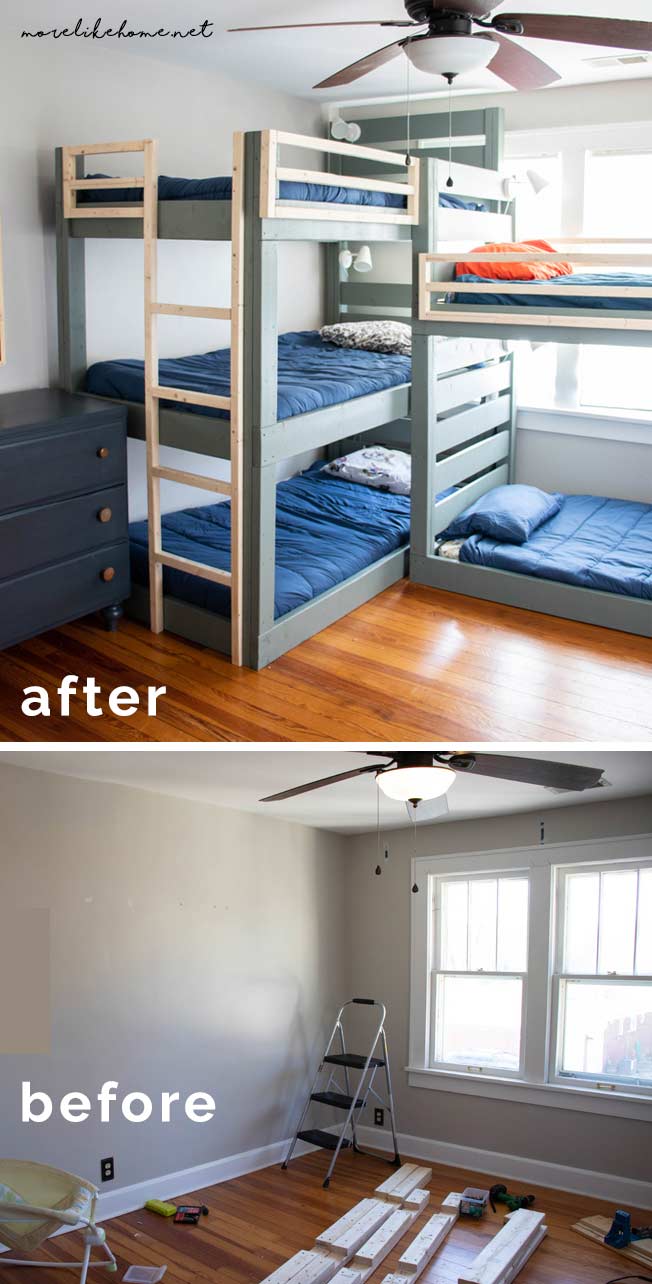
The boys bunk room is DONE and I am so excited to share it with you! This room used to be our guest room, but we realized that we could make the space work for our family so much better if we turned this into a bunk room for all five boys and turned their old (bigger) room into a dedicated play room. I don't know about you, but there are a couple things I was tired of:
- Boys playing with toys when they should be going to sleep.
- Stepping on those toys when I go in to check on them at night.
- Boys who couldn't nap while their brothers played. Or play while their brother napped.
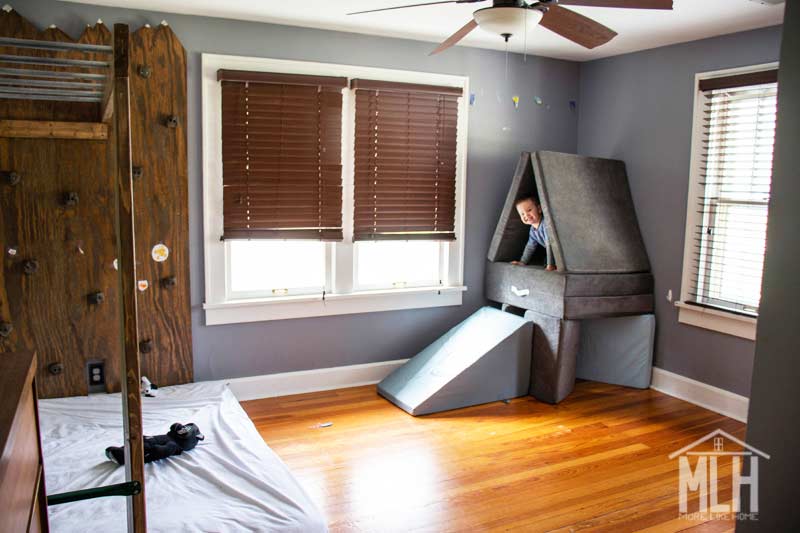
So we decided to ditch the guest room and create a dedicated sleeping space that is only for their beds, their clothes, and a their favorite books. This allows their bigger room to house the toys along with plenty of open floor space to play and, of course, the monkey bars + rockwall play area we built for them a couple Christmases ago.
Ready to see how we fit FIVE BOYS (and all their clothes) into one room? Let's check it out!
**Returning to this post more than 3 years later...we still use these bunk beds every day. They've held up great and love them as much as ever!**
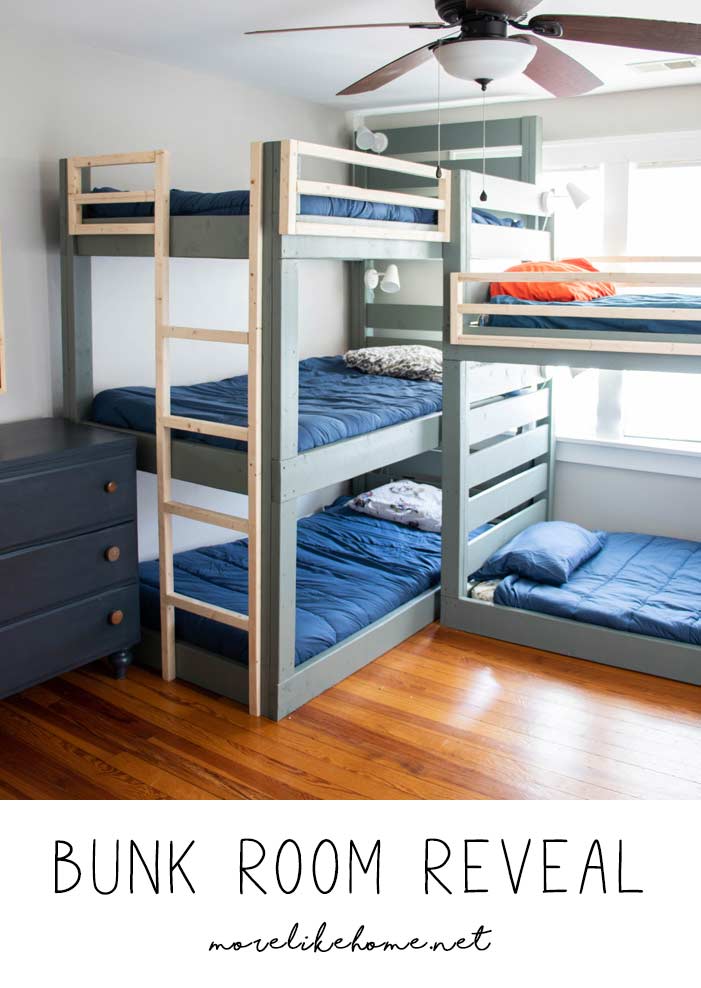
The Bunk Beds
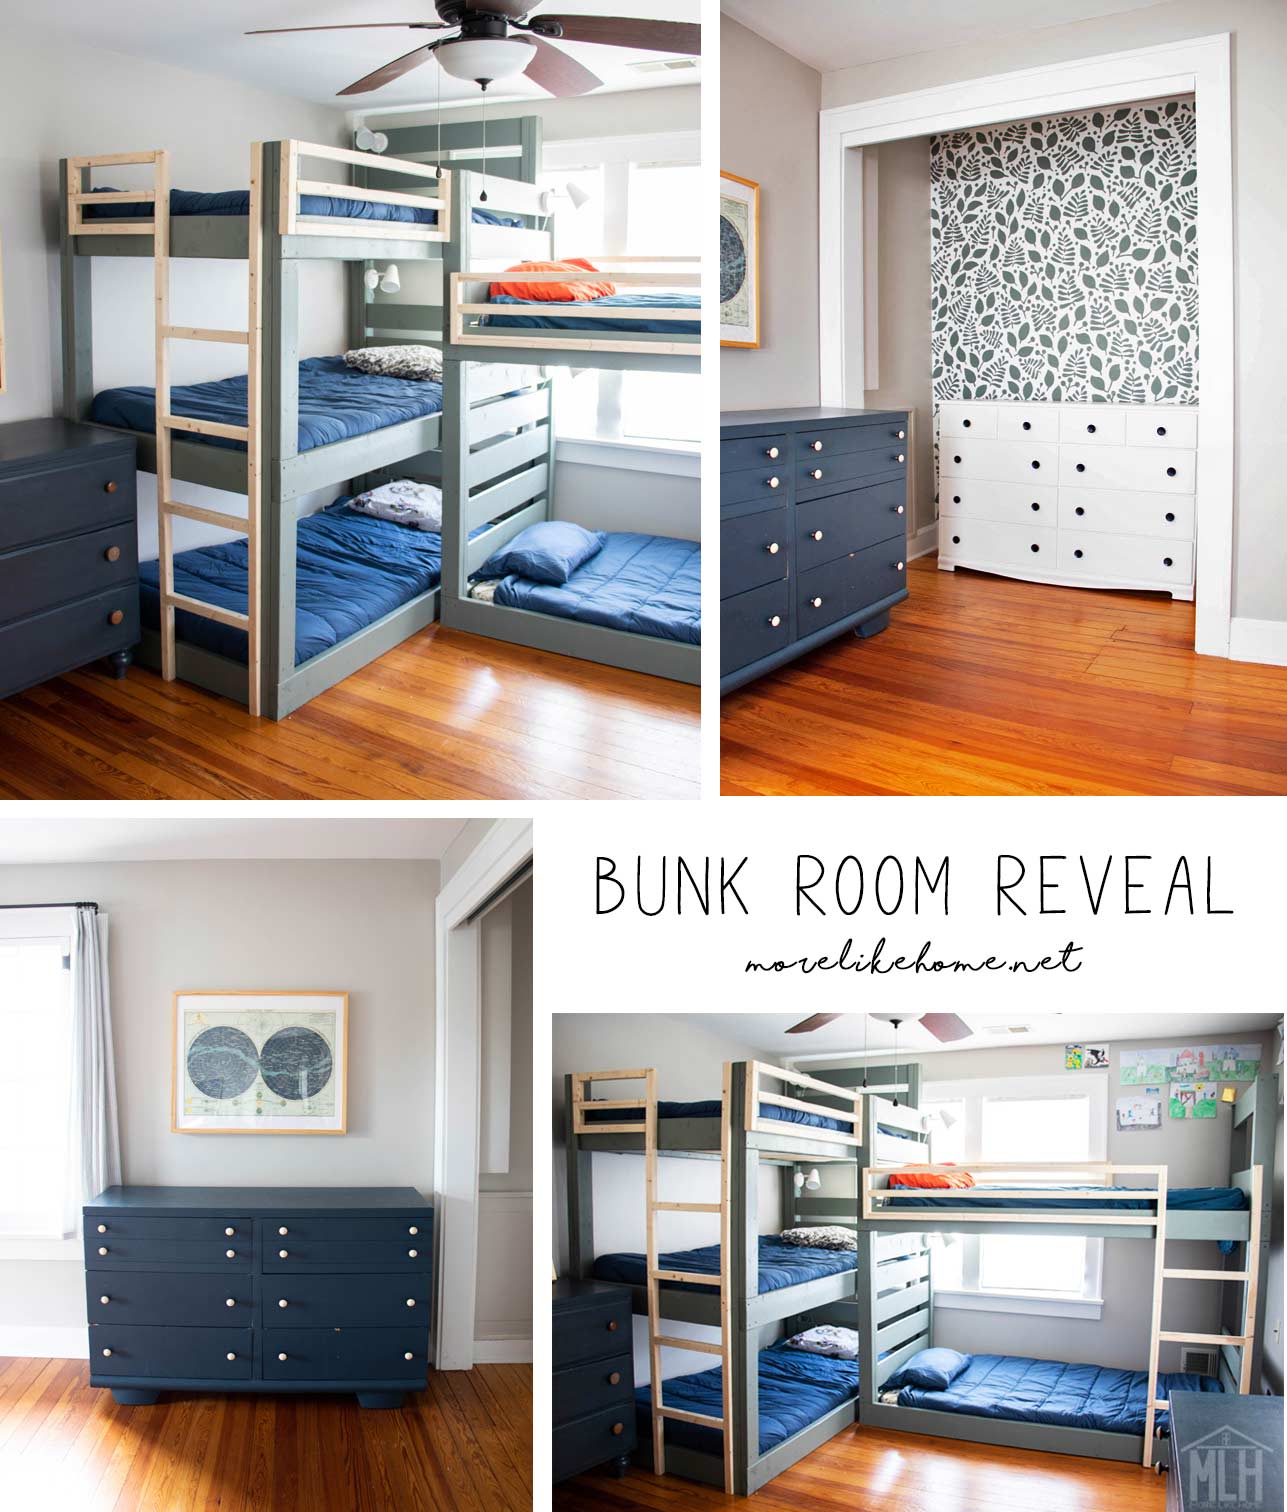
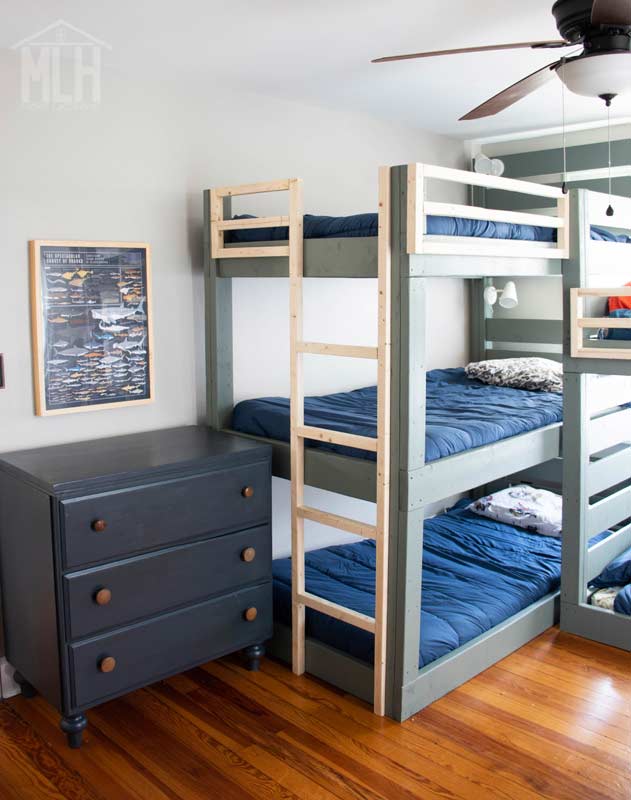
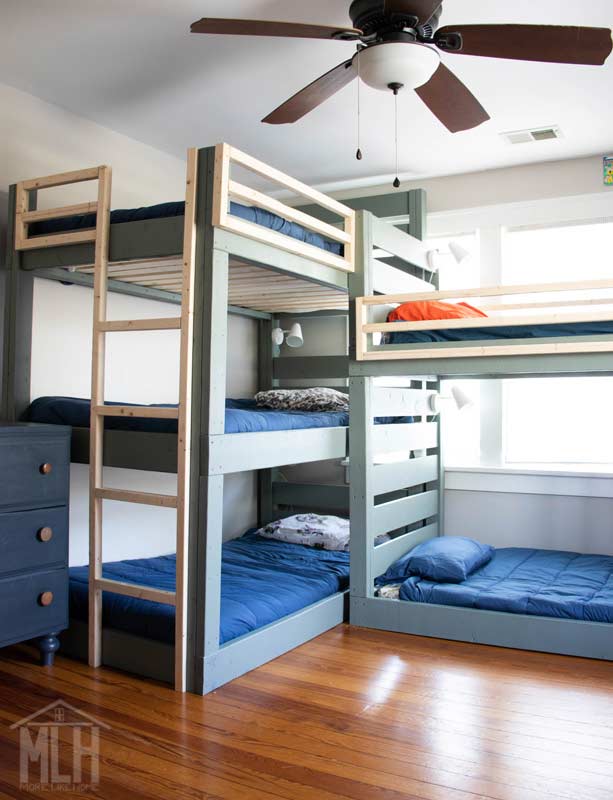
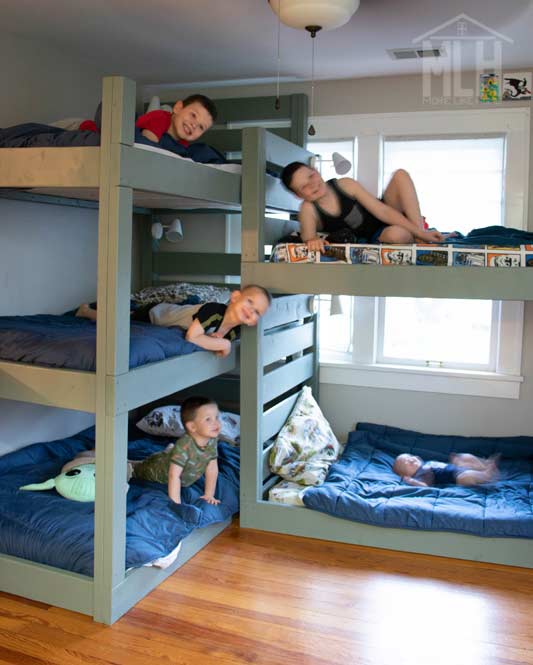
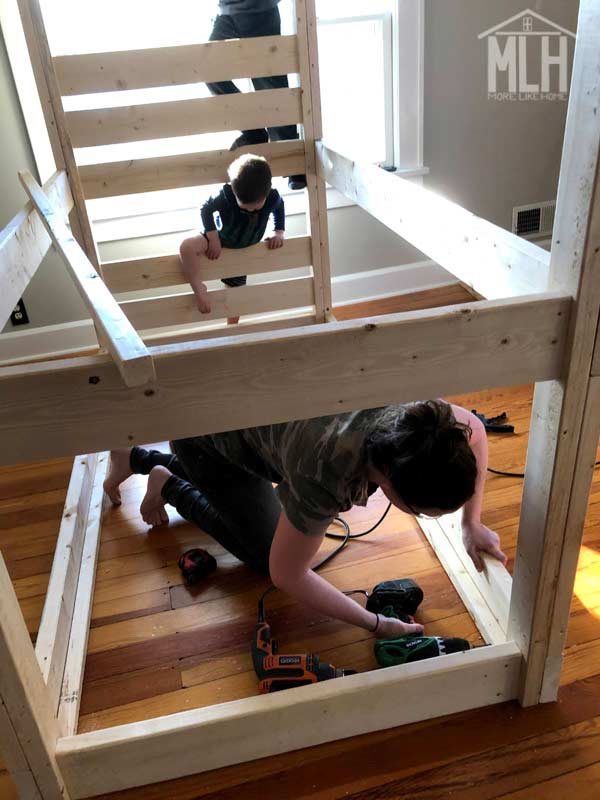
The #1 hero in this room = bunk beds. So many bunk beds. Since we had five boys to fit, we decided to go with a regular bunk and a triple bunk, and they fit just perfectly around the corner of the room! We designed them ourselves (triple bunk plans here / double bunk plans here!) and built them as two separate units so if we ever change course later and decided to split them up, we can! They also disassemble into a few large pieces for easy moving. We painted them all a muted green ("Retreat" from Lowe's) which feels perfect for a boys room without being over-powering. And I love the contrast that came with leaving the ladders and railings natural wood.

We really want each of the boys to feel like they have a space that is all their own, so we installed a light on each bed for bedtime reading (I love these $20 ikea fubbla sconces because you can adjust the brightness and they plug into the wall so you don't have to do any wiring!). We are also going to build them each a little wall-mounted bookshelf so they have a place to keep their favorite books and special things. So I guess the room isn't totally done yet.


The Bedding
We wanted the boys to have the freedom to make their beds into their own spaces, but I also didn't want the room to feel like complete chaos with whatever random bedding they would choose. So we tried to find the best balance between those two things. We started with matching navy blue comforters on all the beds ($20 each from Ikea) that keep things feeling cohesive and add a nice contrast to the light walls and bunks; then we let the boys pick out whatever sheets they wanted - so we have everything from spider man, to baby yoda, to snakes. This felt like a perfect compromise! And of course they all added their stuffies to their bunks which made them feel even more special.
Also note: we went with comforters, NOT duvet covers. The boys kick their blankets around like crazy, and if I never have to stuff another duvet cover I will be a happy lady. So we went with comforters and never looked back.

The Dressers
I'm a big fan of a good dresser. They are so versatile and are my favorite piece of furniture! But I've found over the years that having the right kind/shape of dresser makes all the difference. For the boys' room, that means low dressers (that way even the smallest boys can reach their clothes) with drawers that are nice and deep. My sweet spot is three big, roomy drawers per stack. I'll do a separate post on how we manage clothes for all these boys, how many items they have, etc. But for now, just know that each of the boys gets one stack of drawers. So this blue dresser fits clothes for two of the boys; one on each side:
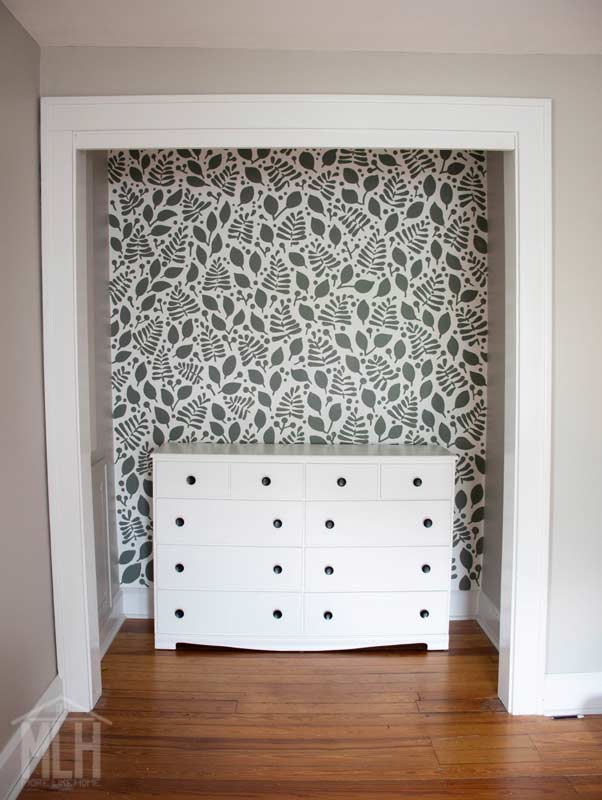
This white dresser is used the same way - it fits clothes for one boy in each half. It's actually a little shallower than what I usually look for, but since it is shared by the two littlest boys and their clothes are still so small it's working perfectly for them. We might need to look for something deeper as they get older and their clothes take up more space, but for now it's great!
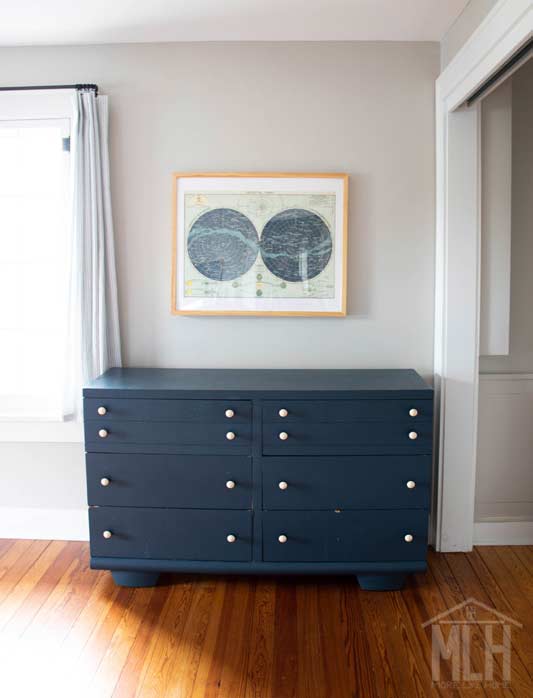
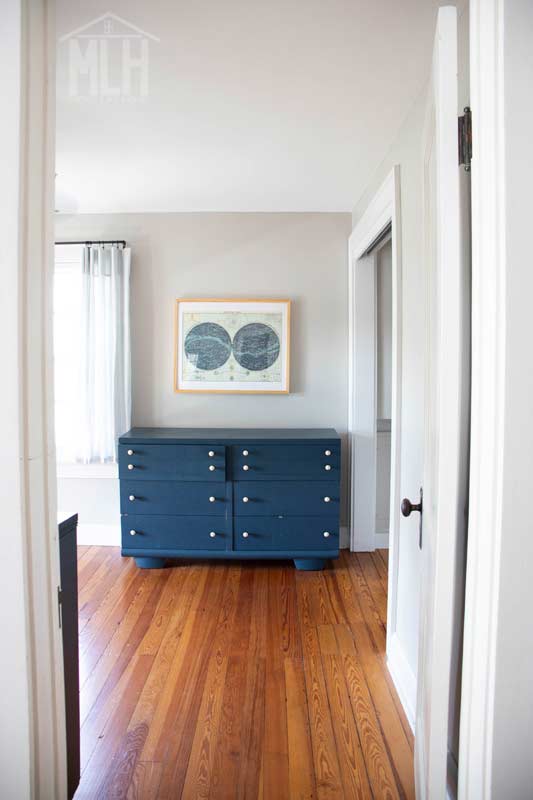
And, last but not least, we have one more single stack dresser at the end of the triple bunk. It butts right up to the door trim on the left side and just sits in this little space perfectly. This one is my absolute favorite because the drawers are so big. I also love the mix of wood handles with the dark blue dresser.

(This dresser was a curb-find that a friend found and painted for me! She also added the feet. We had this one for about a year before we started working on the boys room.)
If you read the notes I put under each of these dressers, you already know that all three of them were super-bargain second-hand finds! But there are a few important things to keep in mind:
- I didn't just go out one day and find three great dressers for three great prices. One of the hardest things about buying second-hand is the waiting. We've used other dressers over the years that didn't work as well, but we got them cheap and they did the job - and there's nothing wrong with that! We worked with what we had and saved a ton of money over buying new items while I waited to find a good fit for a good price.
- None of them looked like this when we found them. They all looked old and worn; they all needed paint and even a minor repair or two. But I looked past all that for the details that were most important and harder to change: Were they the right size and shape? Do they have big drawers? Are the drawers solid wood? Look at the bones and don't let a weird color or rough finish deter you!
- None of these are in perfect condition - they all came with their own dents and quirks, and that last one is even missing a big chunk off one of the drawer fronts - but a fresh coat of paint can mask all kinds of flaws. And you know what? Even if I bought a spotless new dresser at the store, my kids would rough it up anyway. That's life in a busy house. I'm not out anything (and I actually saved a lot!) by choosing cheap pieces that have already been loved. Remember guys - it doesn't have to be perfect to be good!!
The Closet
One of the keys to fitting everything we needed into this one room was totally reworking the closet. I'll share more of the details another day, but here's the gist: we took down the closet doors and organizers so we could put one of the dressers inside the closet space. There was nowhere else to fit it in the room, but it fits perfectly in here! My other sister came over for the weekend and hand-painted that leafy mural on the back wall with green paint leftover from the bunk beds. I do have a clothes rack and shelf to hang above this dresser. Add that to the "I Guess the Room Isn't Actually Done Yet" list. (UPDATE: Check out the finished closet here!) Here's a peek at that corner with both dressers. I was afraid it would be a bit tight between the two, but fortunately there is plenty of space:


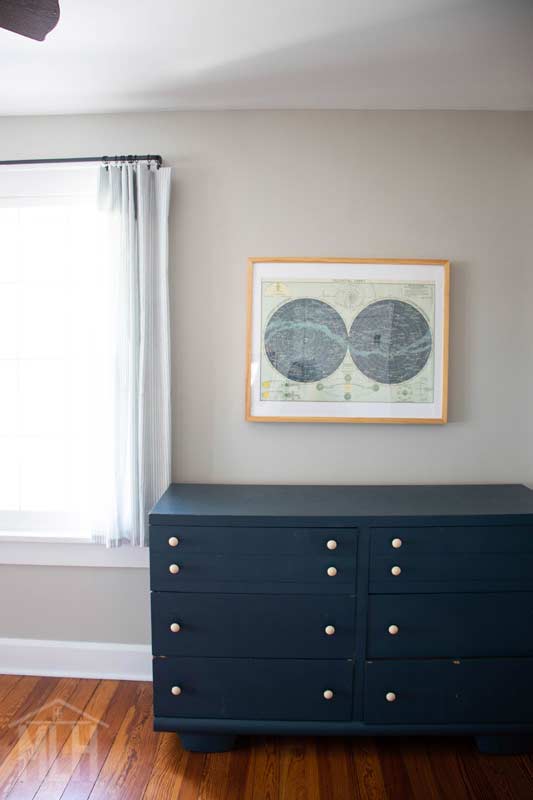
Then I used matching fabric to make a really simple curtain for the remaining window. It's just a rectangle of fabric hung with ring clips on a super cheap Walmart curtain rod. I'll make a tutorial for this one as well.


So we landed on this space as the bunk room. The bunks fit perfectly into one corner of the room, we can fit all three dressers (thanks largely to the closet revamp), there's still a good amount of floor space, and there's not really any space that's wasted. It was just the layout that made the most sense!
It also made sense in the grand scheme of our home because it left the larger room as the playroom (more room to play!), which was also the room with the best space for the monkey bars and rock wall. It also left the smallest room (with a nice leafy view) as our home office/future guest room. My husband appreciates the view while he works from home, and I appreciate that we aren't sacrificing a large amount of space for a guest room that won't be used super often. Thanks to a little careful planning, all these things clicked together like a nice little puzzle!
I just want to make sure you understand we didn't just dive into this project to make a room that was pinnable for pinnables sake. Yes, I wanted it to be cute and to reflect our style and feel like our home, but also I put a ton of thought into every aspect of this project!
And I think that's really the most important step in using your home well:
Take the time to think through your specific needs as a family and how you can best meet those needs with the spaces you have.
Don't be afraid to do some serious problem solving to find the best plan for your home and how you can accomplish that plan within your budget. And if you decide a triple bunk bed would be just the perfect thing? Well I have the plans for you right here. :)
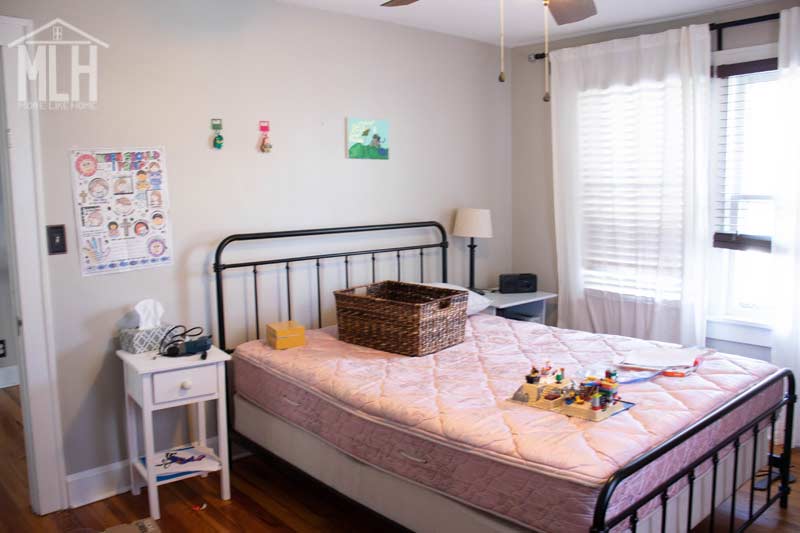
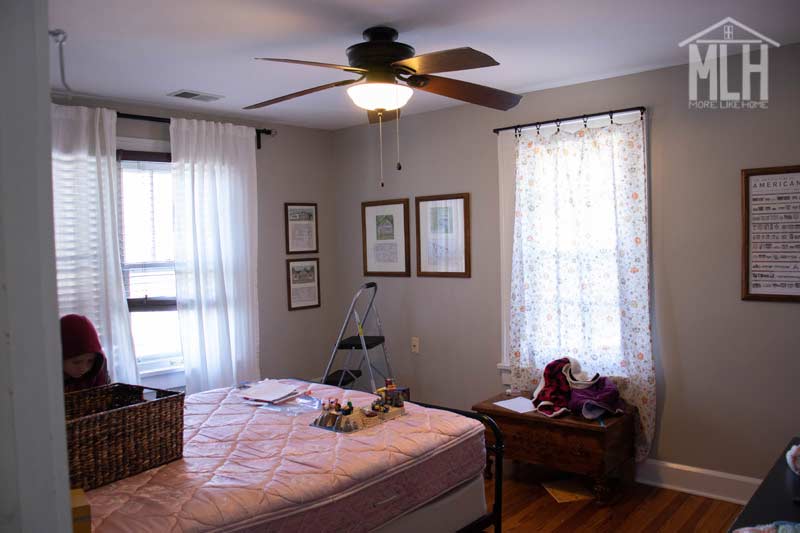
A: I don't have a great "before" of the guest room, but I snapped these (pink mattress and all!) right before we started breaking everything down to make room for the boys. It's not pretty, but it should give you a better idea about the room size we were working with. And I should probably measure it. I'll get back to you on that.
- $225 for three Ikea mattresses (we had two already)
- $100 for five comforters
- $100 for five lamps
- "new" sheets - we found most of them at the kids consignment for $5/set, but the baby yoda set was around $20
- $10 for the white dresser, plus $12 for drawer liner and $40 for paint (I started using leftover white, but ran out and had to buy more - so I bought the same shade again and it's the one I love to use all around the house, so the extra won't be wasted!)
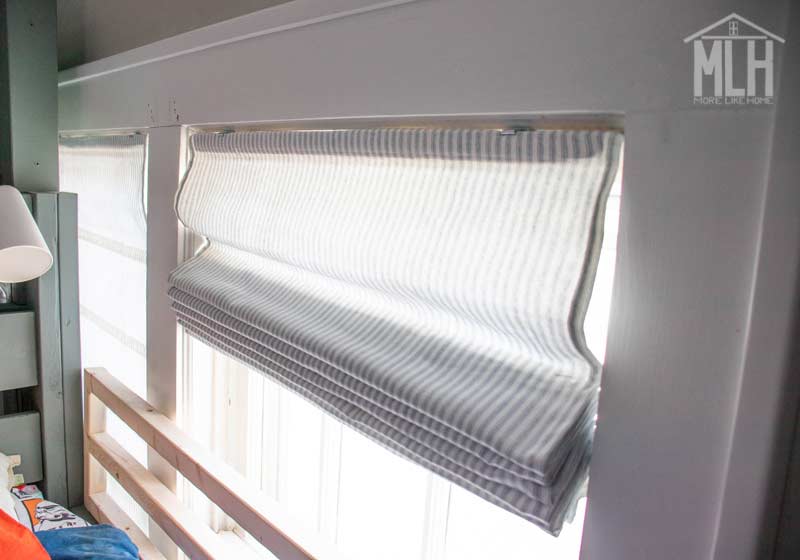
- $50 for all three window treatments
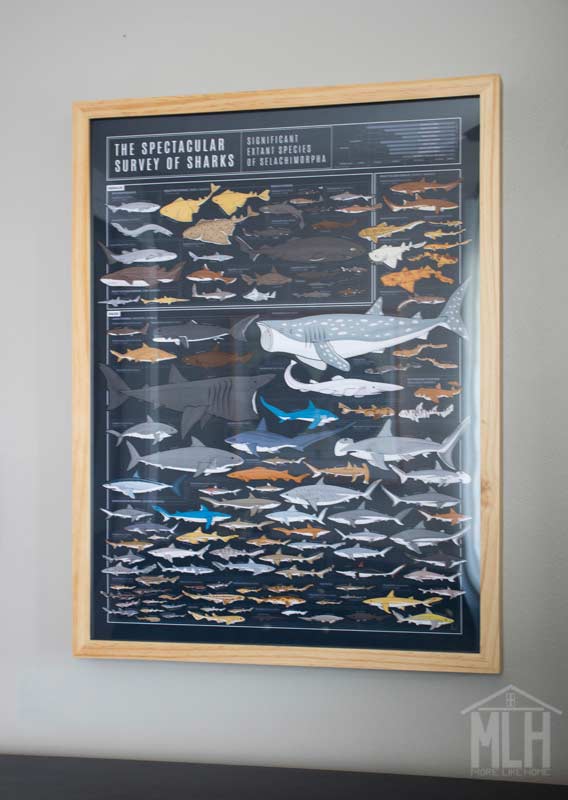
- $25 for artwork (shark poster on sale + yard sale frames)
Q: Can you tell me how you made the bunks/shades/closet?
A: YES. I've got all that in the works. How-to posts will be coming your way!
- Triple Bunk Bed Plans
- Double Bunk Bed Plans
- Window Shades (coming soon!)
- Easiest DIY curtain (coming soon!)
- Closet Makeover Reveal
- Managing Clothes for a Large Family (coming soon!)
Can't wait to share more of the details with you! And in the meantime I'd love to hear your favorite tips for kids' rooms - design, layout, storage tips - let's hear it!
This room is giving me ALL OF THE HEART EYES.
ReplyDeleteWow, such a great use of the room. Beautiful too.
ReplyDeleteBeautiful, functional, and overall just great!
ReplyDelete