
Guess it's about time for my annual blog post.
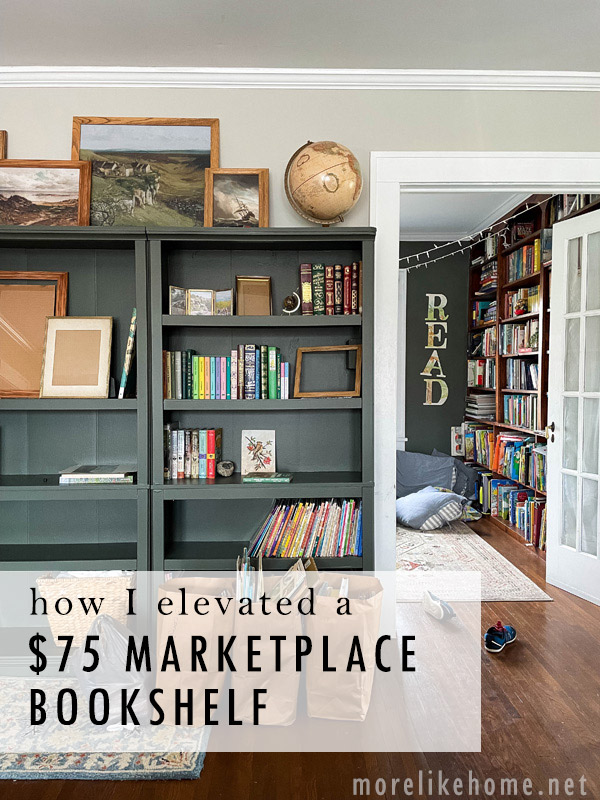
Today we're looking at a set of crappy bookshelves I snagged on Facebook Marketplace, how I spiffed them up to feel just like home, and why I now and forever hate painting laminate furniture. Buckle up, folks. It's going to be a roller coaster of emotions.
Disclaimer: I actually did this a couple years ago and stashed these photos for a rainy day so a lot may have changed in the painting world since then. But good news - I can share how they're holding up after all these years!
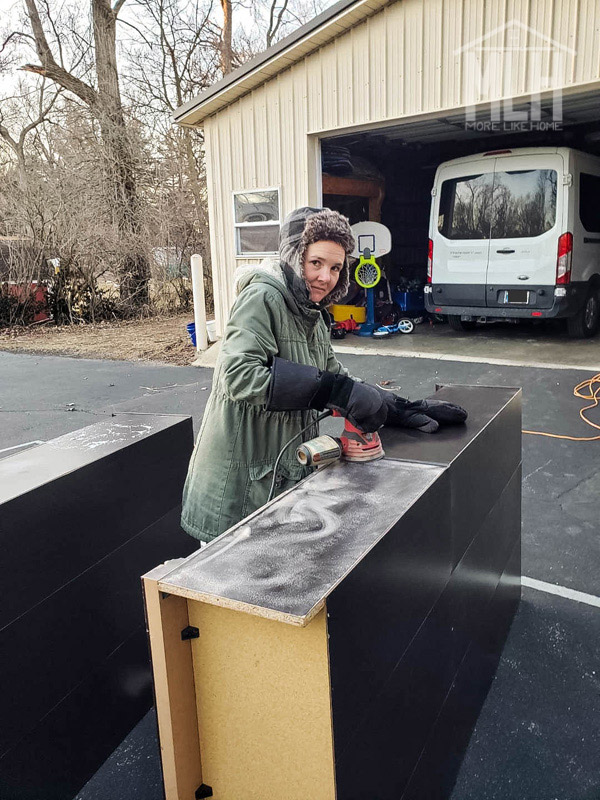
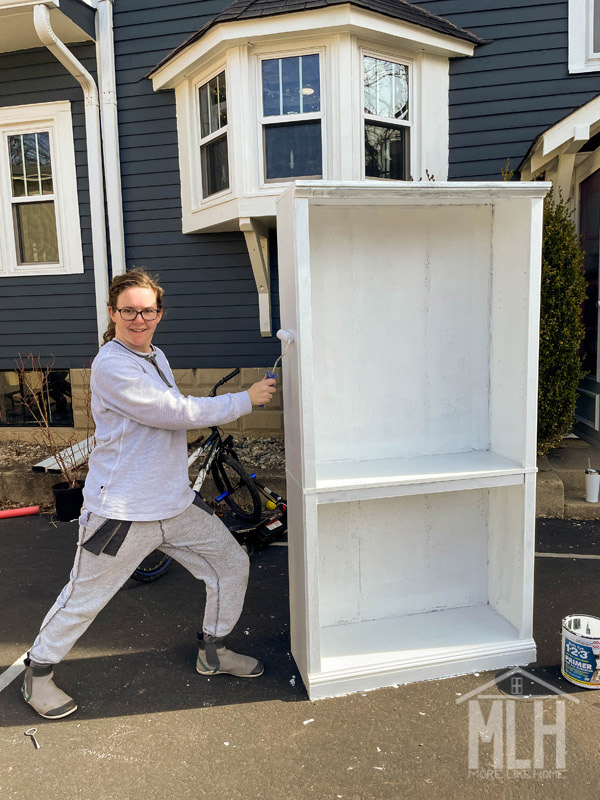
The face of regret.
I took them home, bought a special fancy primer that said it works on laminate, and went for it... only to immediately face the reality of dripping, puddling primer that did NOT, in fact, stick to laminate.
Regret.
So, I did the thing that deep in my heart I knew all along I would have to do: went out and sanded down every inch of three huge bookshelves in freezing March weather. It took forever. I was cold. And I was so discouraged, I considered leaving them on the curb and starting fresh. But in the end I powered through and got them all sanded. And primed. And painted. And they look pretty amazing.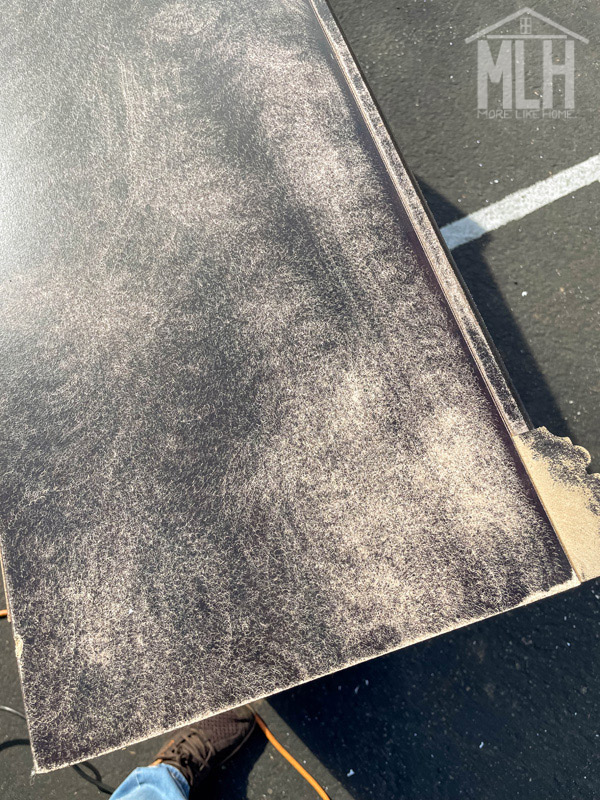
Luckily the next day was much warmer, so we were able to start the primer outside. That's spring in the midwest!
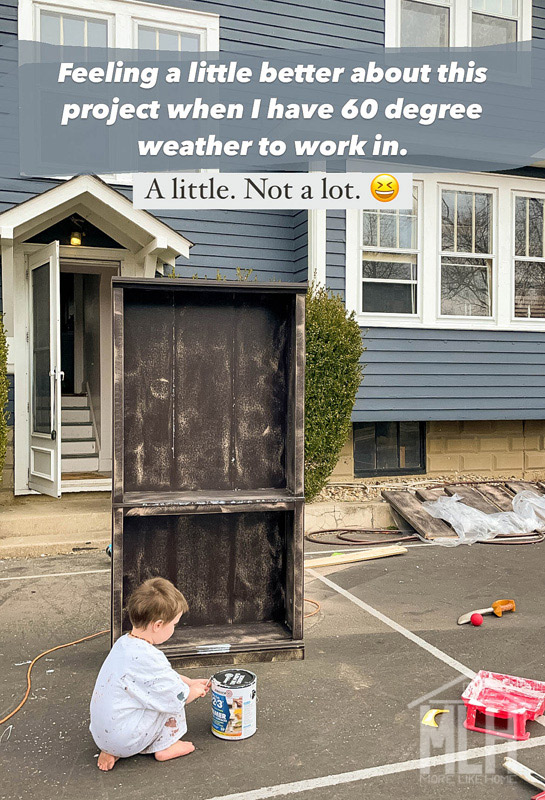
Also the next day, my sister came to town. If you have a sister you know that every overwhelming, discouraging project is suddenly much easier when she does it with you. Or for you. Either one works.
But this brings us to Step 2: Use primer, and use the best primer you can find. Like any good blogger, I don't remember the primer I used and cannot find the can, but I went to Lowe's like "what is the best primer you have." (the can in the photo says "1 2 3 Primer") Could a cheaper primer do the job? I have no idea. I've never tried. But this whole project was a pain, and I wanted to avoid as much grief as I could, so I got the good stuff. I have many regrets, but this is not one of them. So while I call these "$75 bookshelves" because that's what the shelves themselves cost, I actually spent more on the paint and primer than I did on the shelves. Whoops. Still seemed like a pretty good deal for how pretty they turned out in the end.
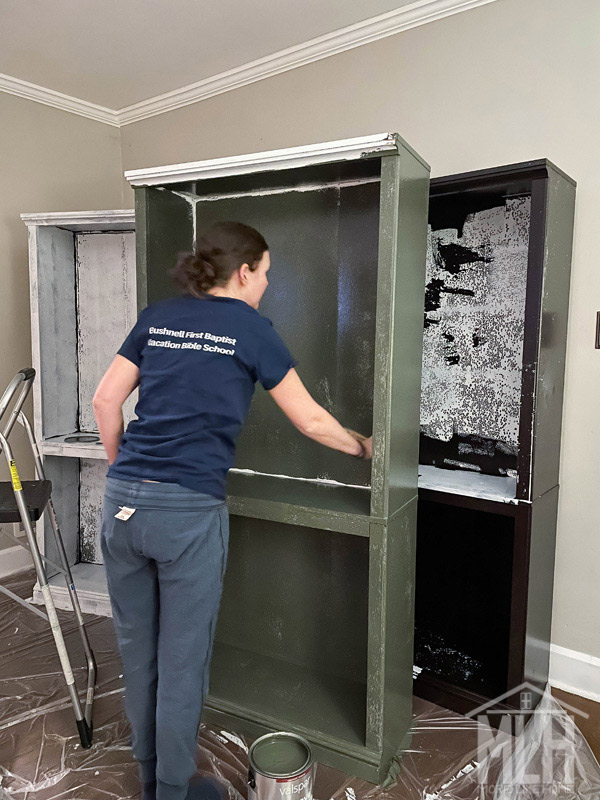
This time, the primer stuck! And then temperature dropped so we had to move everything into the living room to finish over the next two days. In the photo below you can see the first shelf I tried to prime without sanding, and the primer is just falling off (back on the right). You can also see one that's sanded with the first coat of primer (back left) and the front one that's fully primed with a coat of paint. So I guess Step 3 is just to paint it! Again, I splurged on some pretty good paint. I went a little outside my usual neutrals and greens... by going with a darker green. I know. Really mixing things up. Who even am I? And before you say it's "millennial green" or whatever the kids are calling it, just know I was painting things green long before it was cool, and I'll be doing it long after. Because it's the best.
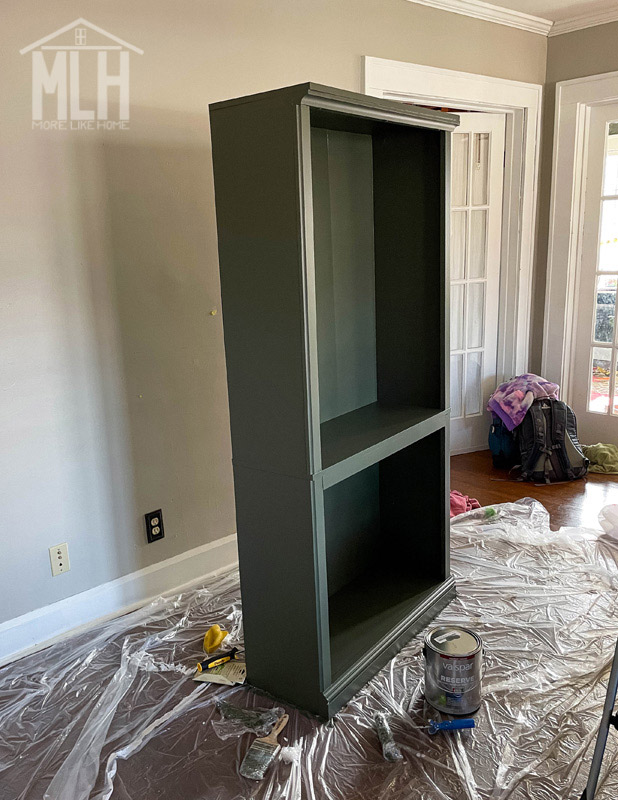
After the paint dried, I added two coats of polycrylic on all the shelf surfaces to try to protect it from the wear and tear of sliding books in and out because I still didn't totally trust it to hold up on laminate (for what it's worth, the shelves still look perfect three years later!).
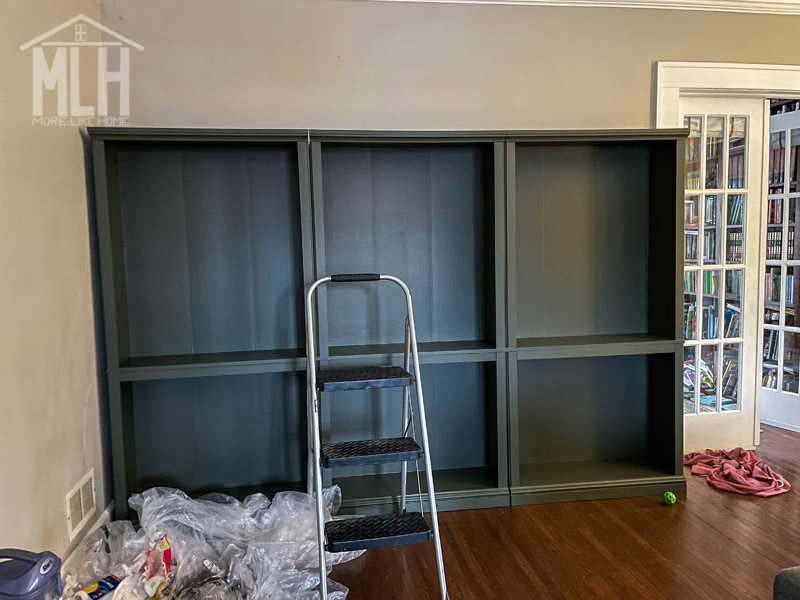
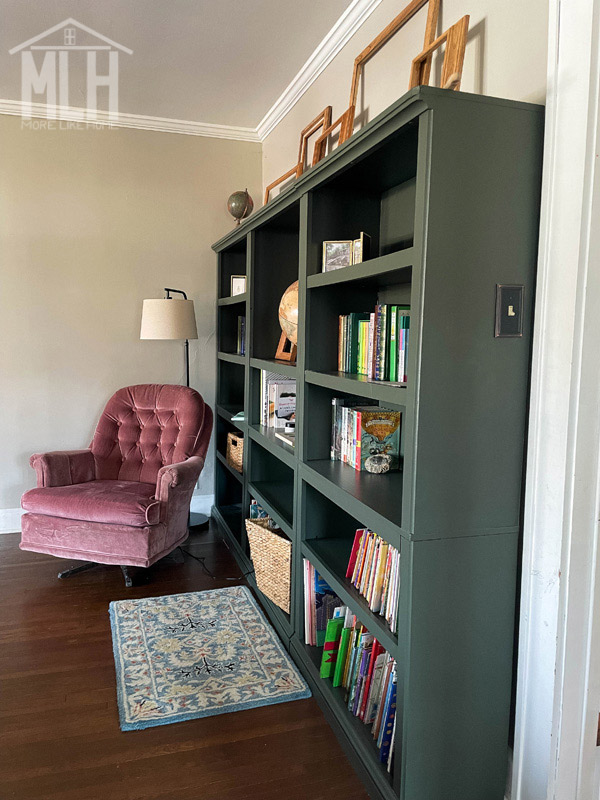
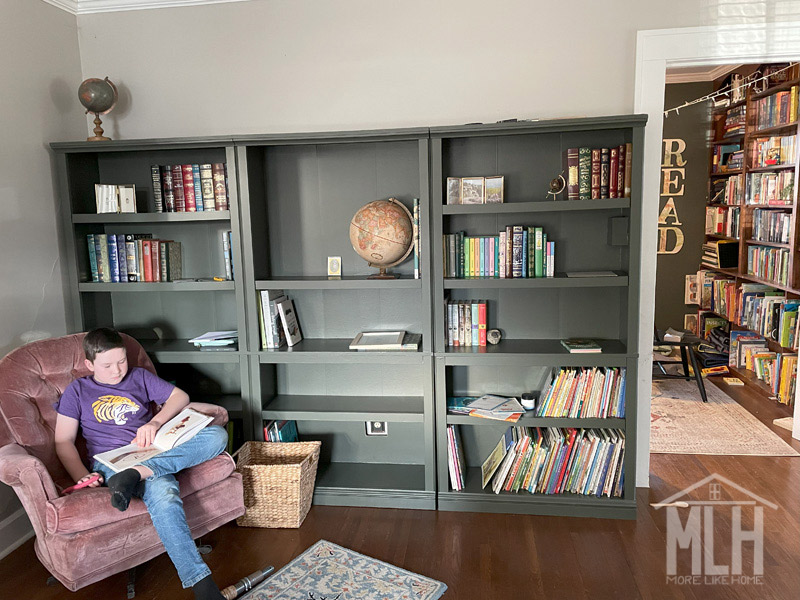
I was so naively optimistic that I left a shelf out to make a big gap for art and a globe (you can see it below). I'm happy to report that was a short-lived delusion, this bookshelf it totally full, and I've added another on the other wall. But even before all that, this was already turning into a perfect little reading corner.
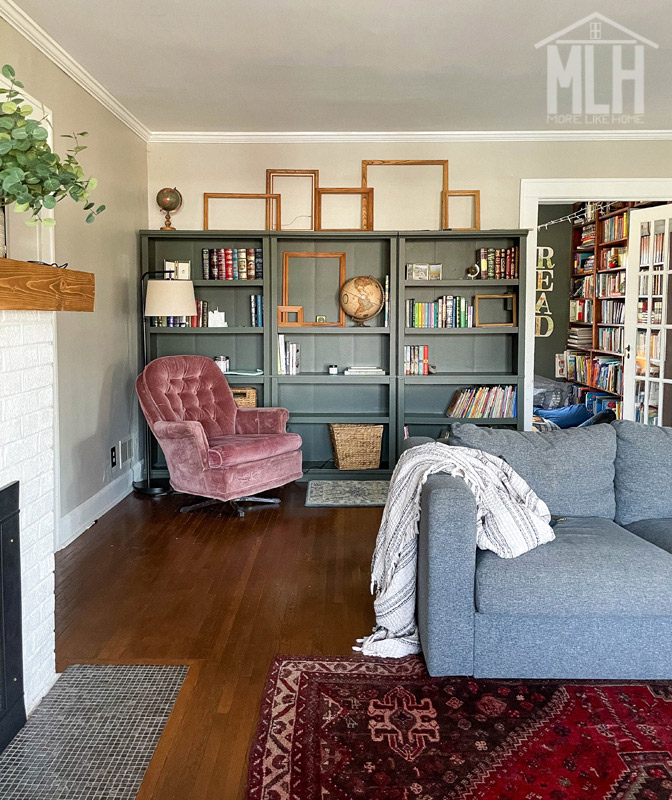
One more detail to note: I originally wanted shelves that went all the way to the ceiling, so in that respect these were not the perfect size. But it turned out great because I thrifted a handful of wooden frames to make a little gallery wall along the top! I found a frame arrangement that I liked:
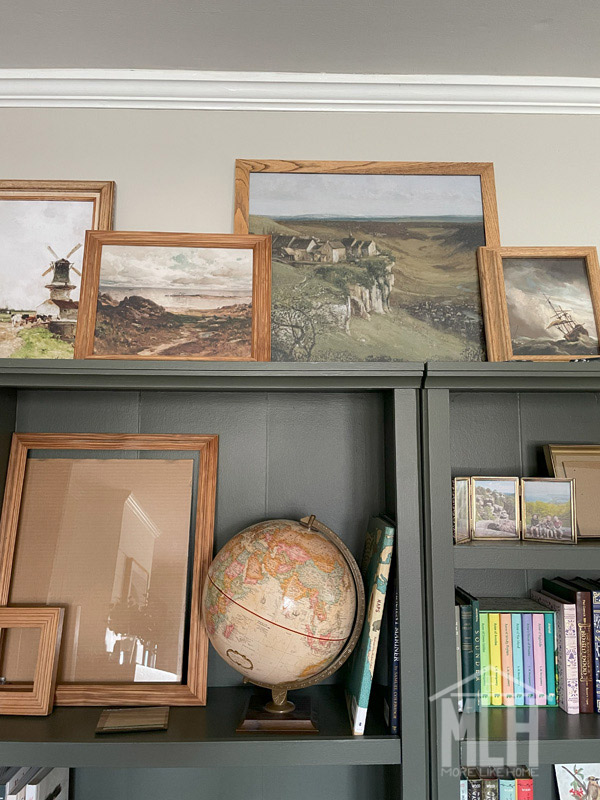
Then I bought digital downloads of paintings on Etsy (they were like $2 each) and had them printed the sizes I needed. I think I had them printed at Staples?
Then I immediately went to a library book sale with my sister where the books were $1 per bag. So naturally... I bought three bags. Which may have contributed to the loss of my artwork shelf dreams. Which was a small price to pay.
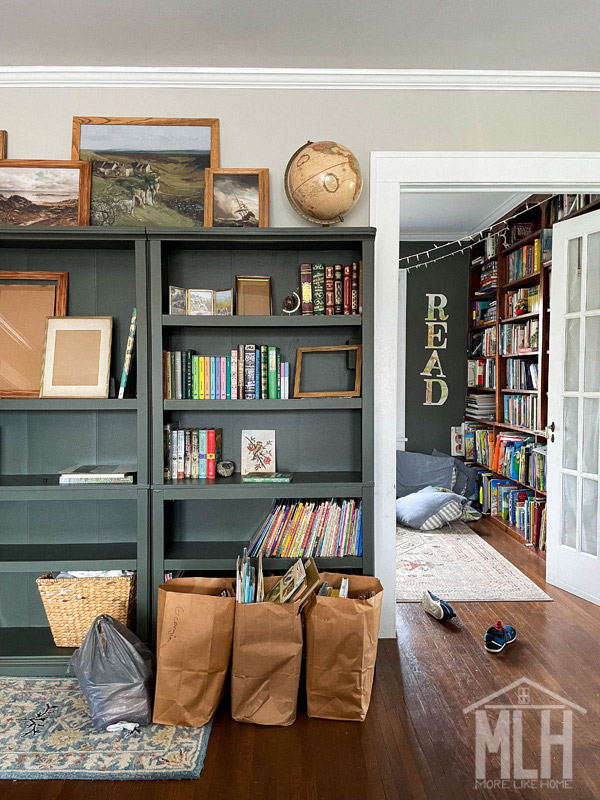
After all the grief they caused, these bookshelves have turned out to be an absolutely perfect addition to our living room. They really anchor the space and make the whole room feel so cozy and warm, not to mention all the new books we've been able to collect. Plus it has been a perfect place to display a few Lego sets, and even work on a giant macrame for my sister's wedding shower. All in all, it was in fact worth it.
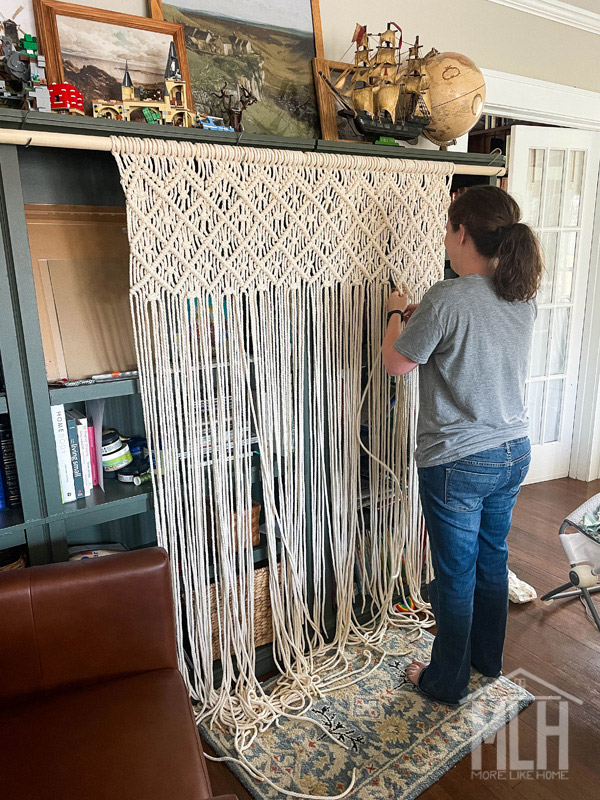
Surprisingly well! I really am shocked at how good they still look, even after so much use on the bottom shelves (where the picture books are). The only trouble we have are a couple spots around the trim that I couldn't get into with my sander, and sure enough those little corners of paint peeled off (laminate still is the worst), but everything else looks perfect and expect that if I had taken the time to sand those little spots by hand, they would have held up as well. So the moral of the laminate painting story: don't skimp on any tiny little step in the process. You will regret it. But the parts you do right just might turn out amazing. So good luck, and I hope to never do it again.

P.S. All you pro-laminate painters - keep it up. You the real MVPs.
