Paint can make a huge statement with only a small investment. Today we'll look at a several ways to use paint in your home.
There are SO many ways painting can be used to find beauty in your home. Sometimes a fresh coat of paint it all it takes to find the potential you're looking for! And it's a really affordable way to make a dramatic change - you can get a gallon of interior paint (my fave, Olympic No-VOC from Lowe's) for about $23, spray paint for anywhere from $1-6, or use craft or acrylic paints that can cost less than $1 each. Let's look at a few easy ways we can use this paint to spiff up our spaces:
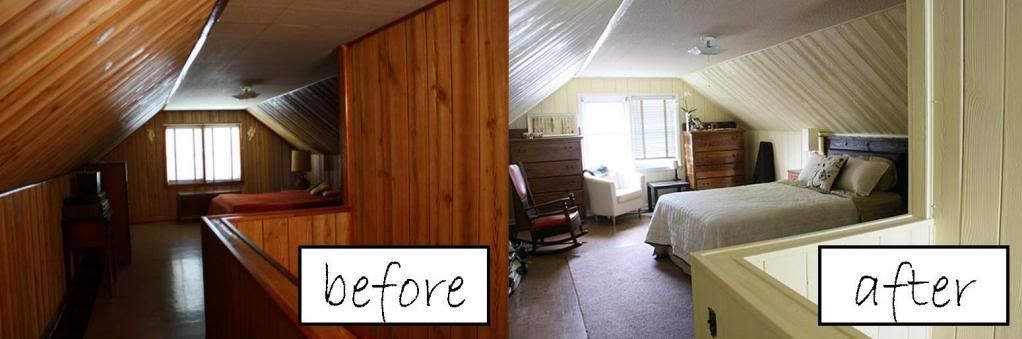
1. Paint the walls - a coat of paint is pretty easy to pull off, and can make your room instantly feel, fresher, brighter, warmer, cozier, or however else you want it to feel! Painting our master suite definitely took it from dingy old cave to bright and inviting.
2. Paint your furniture - Whether you use house paint (like we did on our yellow dresser makeover) or spray paint (like I used on the blue chair makeover) painting a piece of furniture is a super easy way to add a bold pop of color and create interest in your home.
3. Paint the cabinets - I know we all want a beautiful new kitchen, and we can have it on a budget! Just break out the paint brushes and give those cabinets the fresh new face they've been begging for. We are planning to paint our cabinets a crisp, clean white, but I also love a good splash of color like green or blue.
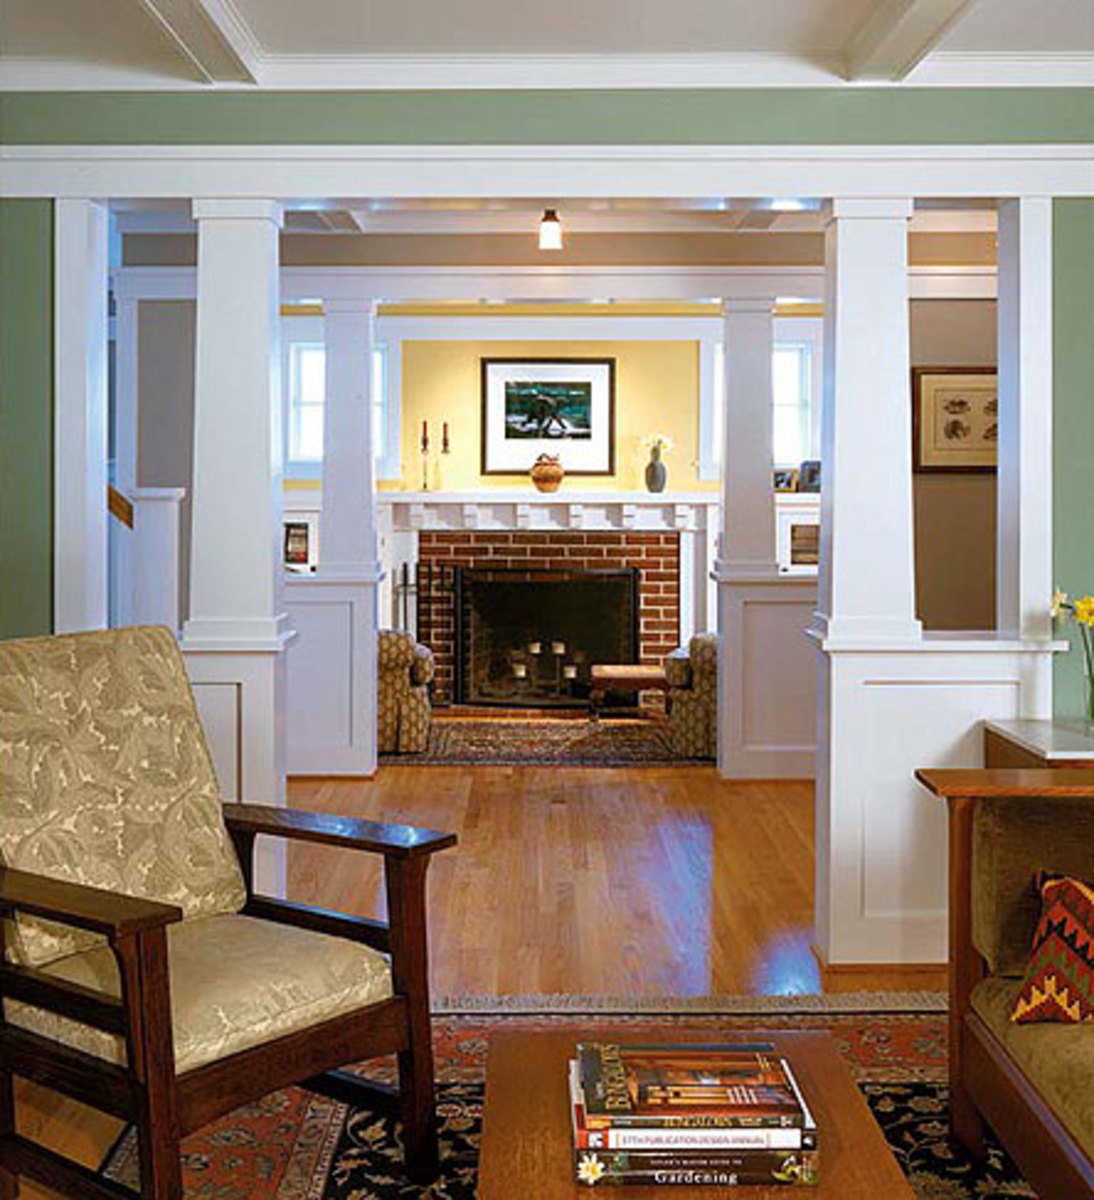
4. Paint the trim - wood trim is beautiful, but if you want to give your home a bright facelift, consider painting it bright white. Everything in your home will start to pop against it.
5. Paint some art - you don't have to have any previous art experience, so don't let that stop you! Just pick up sale frame from Michael's or Hobby Lobby, or you can even paint on paper and frame it. There are plenty of tutorials to make your own art, like this simple dot painting tutorial. Look up some inspiration pictures online, and then just go for it!
6. Paint accessories - you can find great accessories for your home, from lamps to vases to mirrors, at thrift stores or yard sales (or even already in your home!) for next to nothing. Always look at the shape and structure of accessories, because they may be just a coat of paint away from being a great piece in your home. I picked up my salt and pepper shakers knowing I would be able to dress them up with a coat of spray paint.
7. Get creative! - Don't be afraid to make a big statement with stripes, a fun pattern, or a bold color. Remember, it's just paint and worse case scenario you can just paint it again! Happy painting!
Have you painted anything to unlock its potential?
Wednesday, October 12
Tuesday, October 11
Day 11 - Look to Nature
I've never been much of a seasonal decorator (with the exception of Christmas, which you'll probably see later this year) but this fall I've started stepping it up, just a little, by looking to nature for inspiration and free decorating supplies!
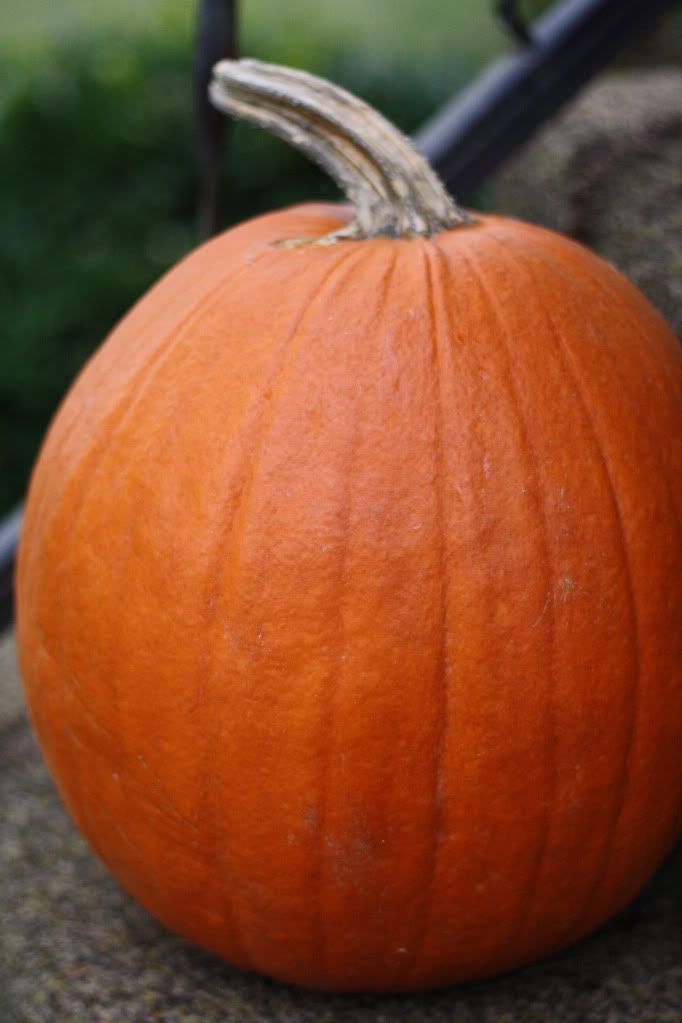
My dad and grandma grew some gourds & pumpkins this year, and my mother-in-law bought me some mums and big pumpkins for my porch.
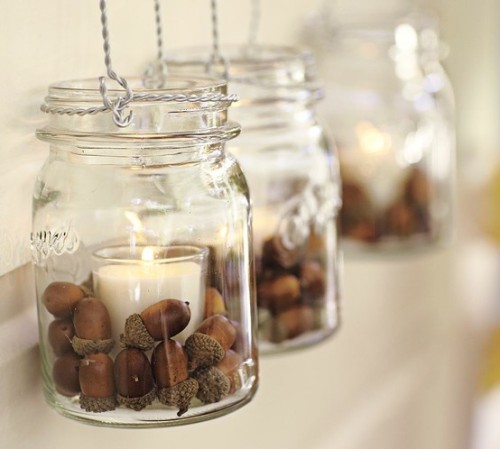
So far that is all I have to show for my fall decorating efforts, but it's a start. Since I hope to continue my decorating on a budget, I started hunting on pinterest for inspiration and found some ideas for decorating totally free! I don't have any examples of my own yet, but I definitely plan to snip some branches and collect some leaves of my own to expand my fall decorating horizons. Here are some of the great ideas I found, and there are TONS more out there!
So go take a walk in this beautiful fall weather and grab some free, fresh fall decor while you're at it (just don't go taking it from someone else's yard, okay?). Do you decorate for the changing seasons? All of them or just some? How do you do it on a budget?
My dad and grandma grew some gourds & pumpkins this year, and my mother-in-law bought me some mums and big pumpkins for my porch.
Then I threw in my one fall decoration - a wreath I picked up at Michael's on clearance last year.
So far that is all I have to show for my fall decorating efforts, but it's a start. Since I hope to continue my decorating on a budget, I started hunting on pinterest for inspiration and found some ideas for decorating totally free! I don't have any examples of my own yet, but I definitely plan to snip some branches and collect some leaves of my own to expand my fall decorating horizons. Here are some of the great ideas I found, and there are TONS more out there!
So go take a walk in this beautiful fall weather and grab some free, fresh fall decor while you're at it (just don't go taking it from someone else's yard, okay?). Do you decorate for the changing seasons? All of them or just some? How do you do it on a budget?
Monday, October 10
Day 10 - The Eye of the Beholder
Day 10 already? This is going to be another quick, falling behind post, but at least it's earlier than yesterday, right? :) My topic today is about finding great things for your home, even though someone else may have missed the potential.
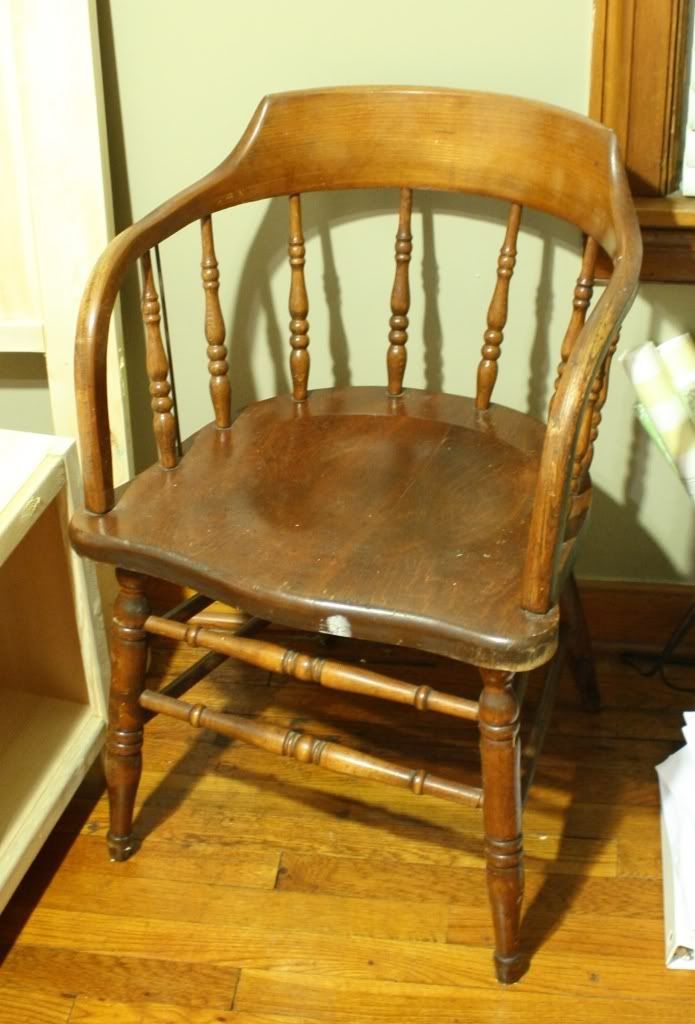
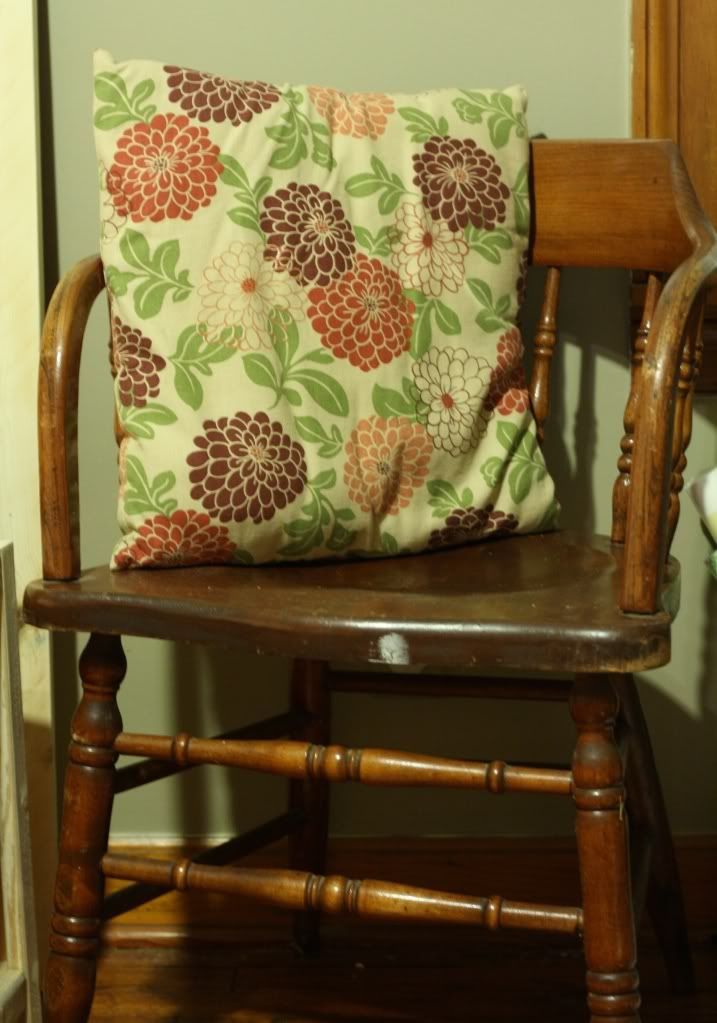
This morning my dad went out for a walk with Baby B, then came back to tell me about a chair someone had put out in the alley with the trash. I walked down to look at it and ended up bringing it home. I wasn't even sure if I liked it yet, but figured it was free and if I decided I didn't like it I could put it right back on the curb for someone else. (I know, not my best photography work. Sorry!)
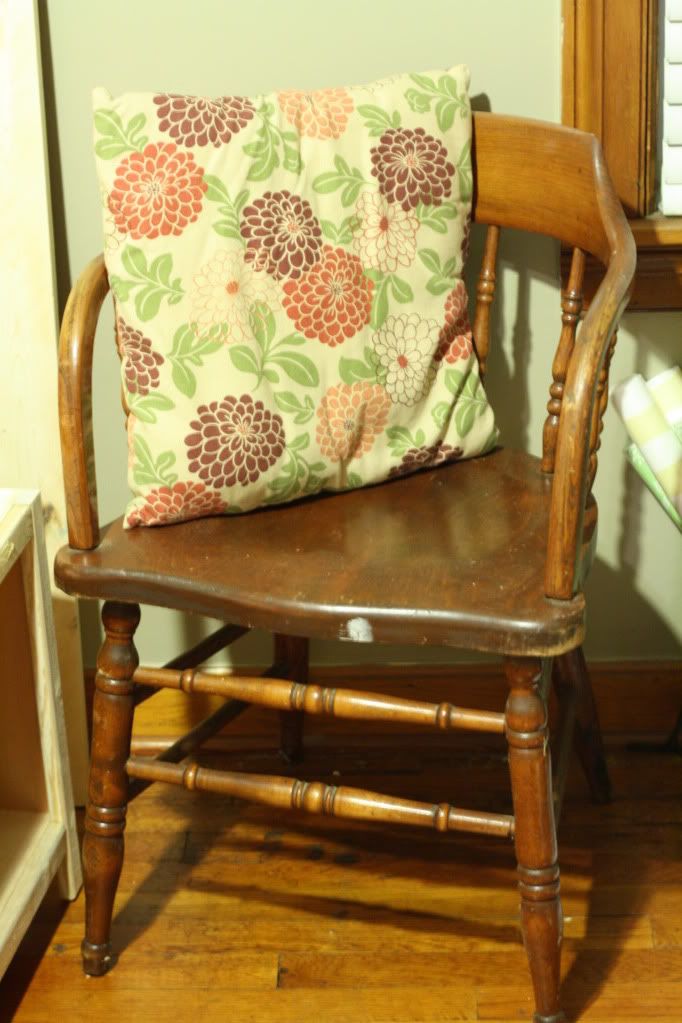
I took it inside, wiped it down, added one of my fave pillows, and decided I loved it. Especially the unique shape, which is what had me on the fence in the first place! Crazy, right? I just couldn't quite picture it working in my home until I actually got it in there.
Project Cost Breakdown:
$0 - chair from the alley
Total: FREE! Somebody's trash was my treasure!
My dad is also the one who found my desk on someone's curb and picked it up for me. I gave it a little TLC and it has been an important part of my office ever since!
So the moral of today's story is that someone else's trash could turn out to be your treasure! Keep your eyes open because you never know when you'll stumble across something great. And remember not to fully judge something before you get it home because you could be surprised by how well it works (or doesn't work) in your space.
Have you ever found treasure among someone else's trash? Or found potential that someone else missed?
This morning my dad went out for a walk with Baby B, then came back to tell me about a chair someone had put out in the alley with the trash. I walked down to look at it and ended up bringing it home. I wasn't even sure if I liked it yet, but figured it was free and if I decided I didn't like it I could put it right back on the curb for someone else. (I know, not my best photography work. Sorry!)
I took it inside, wiped it down, added one of my fave pillows, and decided I loved it. Especially the unique shape, which is what had me on the fence in the first place! Crazy, right? I just couldn't quite picture it working in my home until I actually got it in there.
Project Cost Breakdown:
$0 - chair from the alley
Total: FREE! Somebody's trash was my treasure!
My dad is also the one who found my desk on someone's curb and picked it up for me. I gave it a little TLC and it has been an important part of my office ever since!
So the moral of today's story is that someone else's trash could turn out to be your treasure! Keep your eyes open because you never know when you'll stumble across something great. And remember not to fully judge something before you get it home because you could be surprised by how well it works (or doesn't work) in your space.
Have you ever found treasure among someone else's trash? Or found potential that someone else missed?
Sunday, October 9
Day 9 - Throw Pillow Change-up
Sorry for the late post today. Family in town + a sick baby = a momma who's falling behind! (I like to think I'll do better tomorrow, but no promises. :) So this evening we're just going to take a quick look at one of my favorite ways to spruce up a space. Throw pillows!
I love the way throw pillows can really make a room come together and feel complete. I also love that with a quick switch-a-roo to new pillows the whole room can feel fresh and new. And even more, I love it when pillows can coordinate with seasonal decor and colors. But I know that none of us really want to spend money buying new pillows all the time, or storing them while they are out of rotation. And the good news is, we don't have to! So today we are going to look at making simple pillow cases for our throw pillows, so we can keep using the same old pillows but give them a new look whenever we want (and save tons of $$$ and space in the process!
This is so much more efficient than buying whole new pillows! To start with, you can check out this tutorial I made on making simple covers for throw pillows. It will give you the details on how to turn any pillows, like these from my old bedding set...
...into spiffy new pillows that actually match your decor! It is probably the easiest thing I know how to sew, and a great place to start if you are a beginner!
Project Cost Breakdown:
$2.00 - 1 yard of fabric (from WalMart)
$0 - pillows (already had them)
Total: $2.00
And yes, those old red pillows really are in there. Here is proof:
So you can definitely make any old pillow work in your home in a fresh new way. The tutorial I mentioned is for basic, simple pillow cases, but it could pretty easily be dressed to make all kinds of fancy pillow cases. Here are a couple examples from pinterest I would love to try:
Really, the possibilities are endless. So go find those pillows around you home and unlock their potential! It's amazing what a difference it will make! Maybe try something with yellows and reds for fall? Or maybe with a leaf applique? What ideas do you have for dressing up throw pillows?
I love the way throw pillows can really make a room come together and feel complete. I also love that with a quick switch-a-roo to new pillows the whole room can feel fresh and new. And even more, I love it when pillows can coordinate with seasonal decor and colors. But I know that none of us really want to spend money buying new pillows all the time, or storing them while they are out of rotation. And the good news is, we don't have to! So today we are going to look at making simple pillow cases for our throw pillows, so we can keep using the same old pillows but give them a new look whenever we want (and save tons of $$$ and space in the process!
This is so much more efficient than buying whole new pillows! To start with, you can check out this tutorial I made on making simple covers for throw pillows. It will give you the details on how to turn any pillows, like these from my old bedding set...
...into spiffy new pillows that actually match your decor! It is probably the easiest thing I know how to sew, and a great place to start if you are a beginner!
Project Cost Breakdown:
$2.00 - 1 yard of fabric (from WalMart)
$0 - pillows (already had them)
Total: $2.00
And yes, those old red pillows really are in there. Here is proof:
So you can definitely make any old pillow work in your home in a fresh new way. The tutorial I mentioned is for basic, simple pillow cases, but it could pretty easily be dressed to make all kinds of fancy pillow cases. Here are a couple examples from pinterest I would love to try:
Really, the possibilities are endless. So go find those pillows around you home and unlock their potential! It's amazing what a difference it will make! Maybe try something with yellows and reds for fall? Or maybe with a leaf applique? What ideas do you have for dressing up throw pillows?
Subscribe to:
Posts (Atom)