
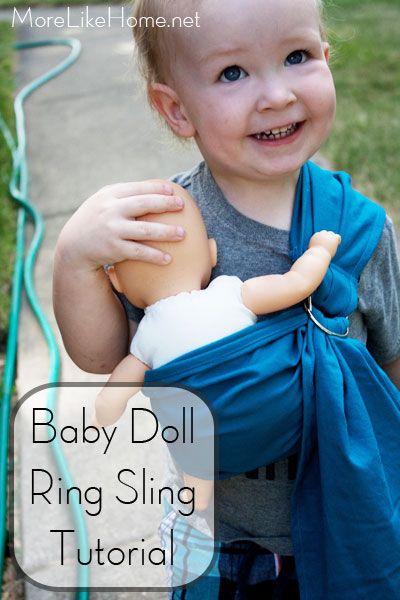
After I made my rings sling in preparation for Baby Brother, I knew I wanted to make a doll sized version for Big Brother as well. It's a great way to help your bigger kids feel involved when there is a new baby. It's actually been great - he loves to wear his baby doll when I'm wearing the baby! Today I'm sharing a tutorial so you can make a sling for your little copycat, too.
Here's what you need to make one:
- 17 x 45 " piece of fabric (you should be able to get it out of 1/2 yard but it depends on how straight the cuts are and how much your fabric shrinks, so I would get a bit more to be safe on the width and your tail my end up just a little shorter. It doesn't really matter what kind of fabric since it won't actually have to hold much weight. Make sure you wash & dry it before you start sewing.)
- thread
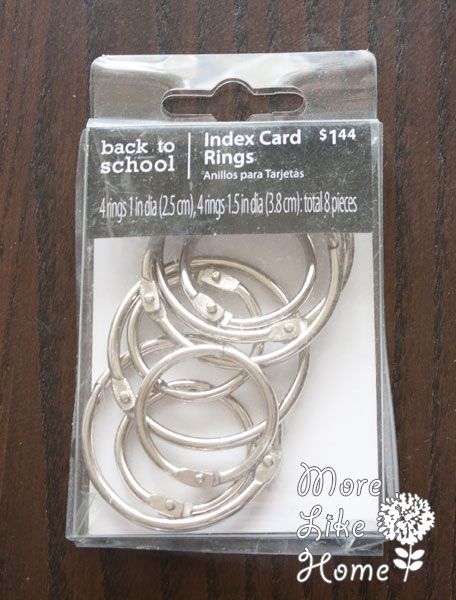
- rings (you can buy small rings from slingrings.com, but I just used these cheapy binder rings)
My finished sling is about 15 x 41" and fits my 2.5 year old. You can get more fabric and adjust the sizing a bit to fit an older child (for a longer tail I'd suggest 1.5 yards of fabric so you can cut it out lengthwise, for more width you would just need to get 3/4-1 yard instead).
Just like with my ring sling I started by hemming both long edges with a basic rolled hem. Fold the raw edge under 1/2", then 1/2" again and stitch right along the folded edge. You can iron it if you want, but I just folded it as I went.

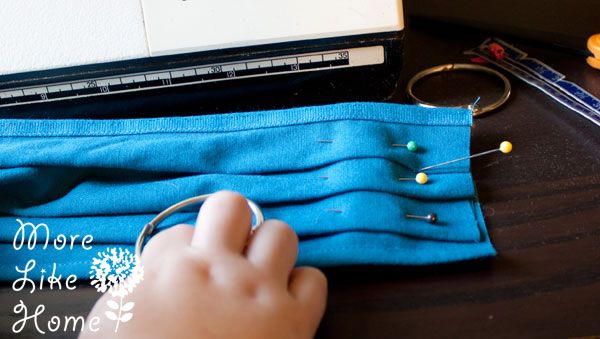
Once both edges are hemmed you can make the pleats on one end (you can see more how details on how I did it in the original tutorial). I just eyeballed it this time to make it look pretty, each pleat is about 3/4" wide and the whole thing ended up about 3" wide. Watch out for tiny helpful hands!
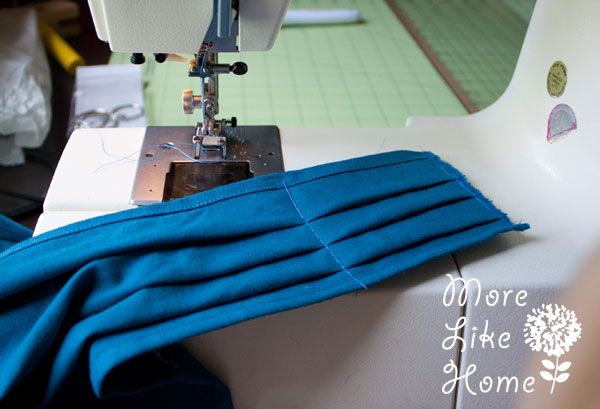
With my pleats in place I did a tight zig zag stitch along the raw edge to keep it from unraveling (or you could serge it if you have a serger). This also shows the back side of my pleats... not as pretty as the front.

Then I did a basting stitch about 4" down just to hold my pleats in place.
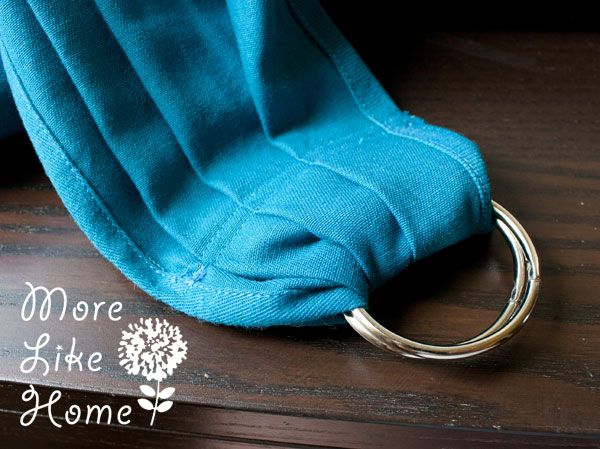
I fed the pleated end through both rings and folded it down to my basting line (wrong sides together).
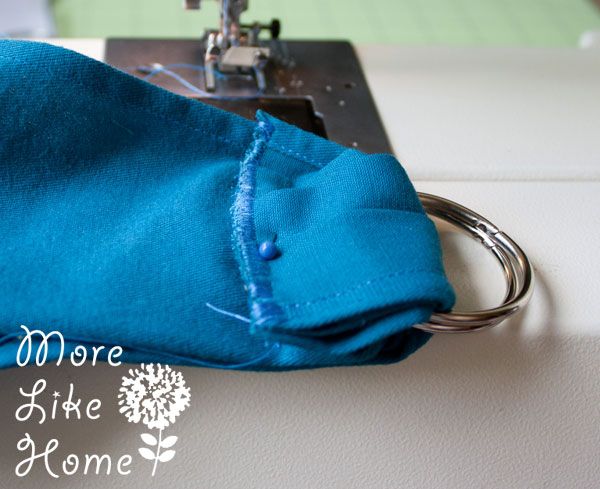
Then I stitched right along the ziz-zagged edge, and a second line 1/4" above that.
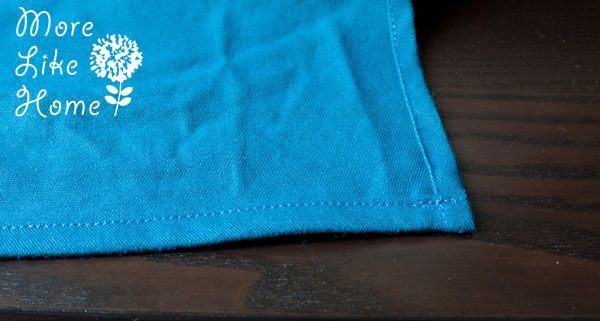
Then I hemmed the tail by folding it under 1/2", then 1/2" again and sewing along the folded edge (if you aren't sure on the length try it on your kiddo first. you can cut it to the length you like and then hem.)
Then just thread the tail through the rings like I did with my original ring sling. And that makes a super basic baby doll ring sling! You could always make it more fun by using a printed fabric, or by adding and accent fabric or ruffles to the end of the tail. Have fun with it, and I'm sure your kids will thank you!
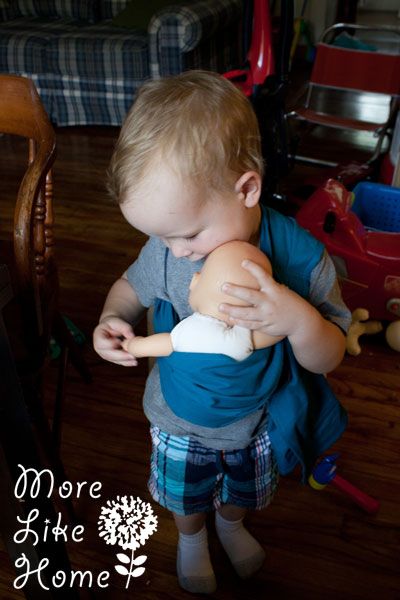
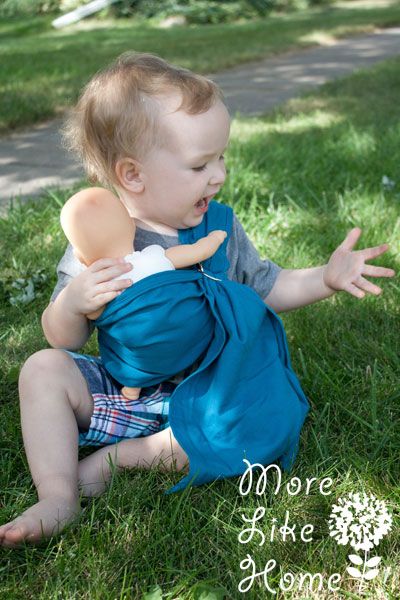
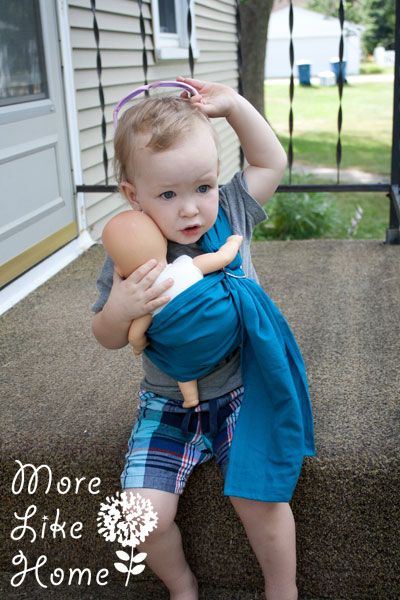
And now for your viewing pleasure... I give you Big Brother, the sling model.

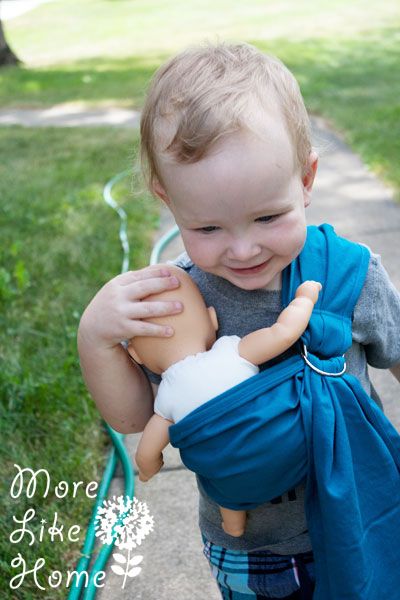
"There's grass on my haaaand!!!"
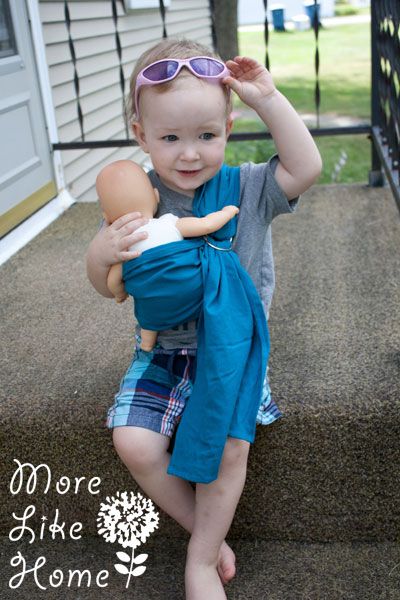
Ready for his close up:
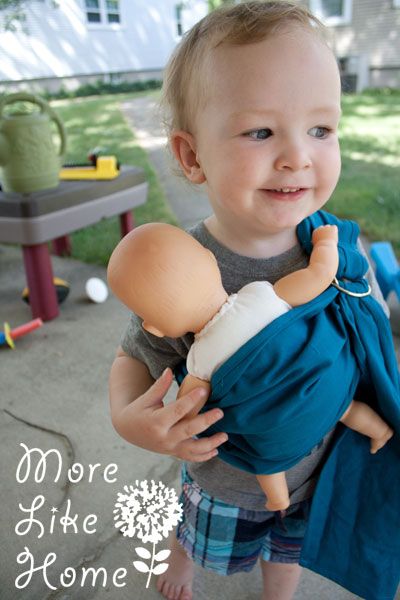
Maybe "sling salesman" is more like it. Chatter chatter chatter.
He's worried that you haven't made one for your kids yet.
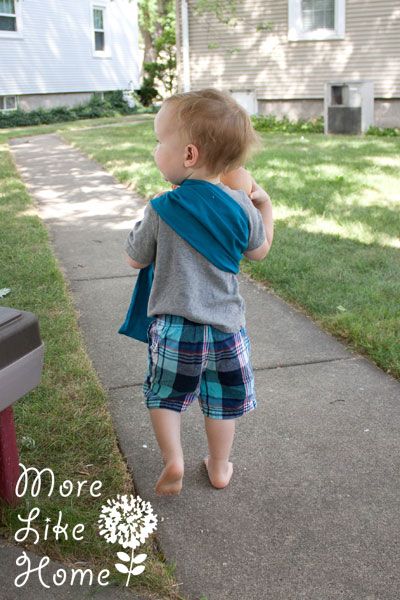
And the back view, heading down the sidewalk catwalk. Can it PLEASE be summer now?
Remember to always keep the baby's head supported.
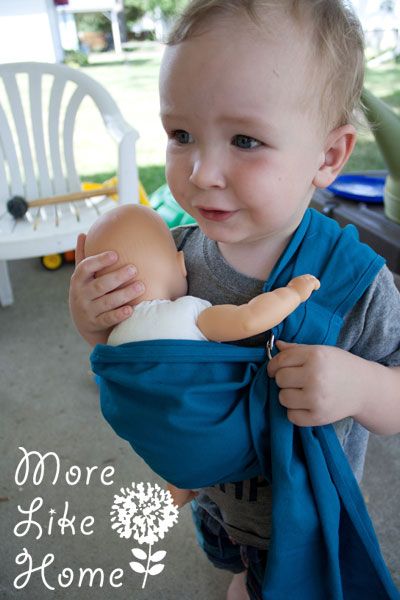
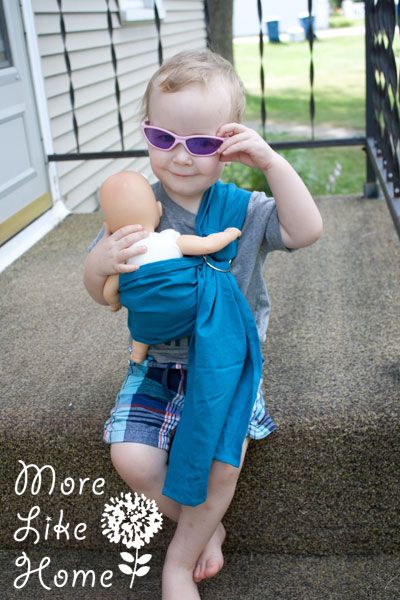
Time for a new picture spot...

... and a new style.
We took him shopping for a baby doll to practice before Baby Brother came, and he LOVED it. Until he decided he liked real brother better.
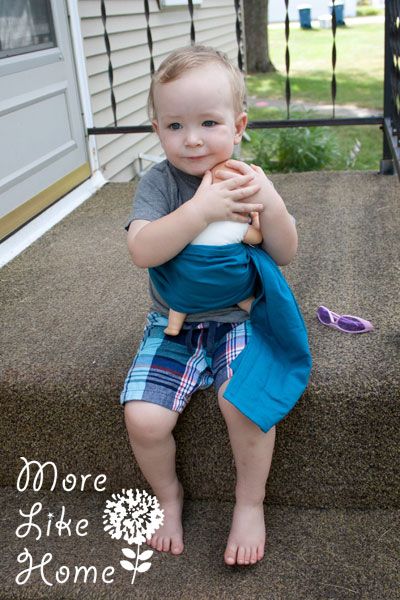
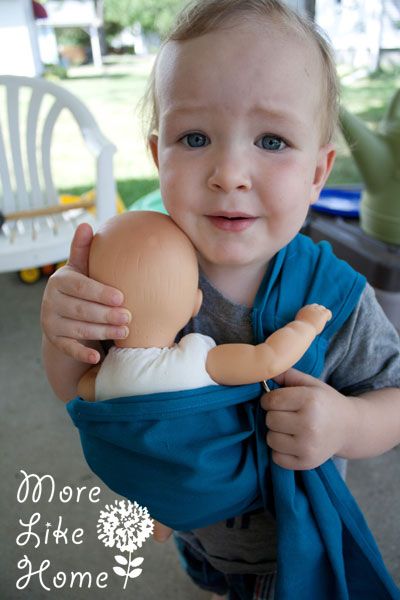
Oh those lips.
And the last one...
Anyone else made baby carriers for your kids?

thank you for this tutorial. I was able to make it during one wash cycle. I do need to find a fabric without a wrong side so it looks better...as you mentioned. This was super easy thanks to your excellent pictures. Your son is darling!
ReplyDeleteThank you! And WOW - you're fast. I hope you guys have a lot of fun the sling!
DeleteJust finished making one for my granddaughters 3rd birthday,along with nappy-bag, dolly's toy, play wipes & changing mat! her (baby) doll arrives Sat. & real life baby brother or sister in September;) Thanks for your great tutorial, easy to follow with the pictures & your little boy is a treasure.
ReplyDeleteWhat a great gift set! I would have LOVED that as a little girl. :) I'm glad you enjoyed the tutorial!
DeleteThank you for sharing that you used binder rings! I was wondering if I really needed to try to hunt down sling rings. :) My little guy will love this.
ReplyDeleteYou're welcome! :)
DeleteThank you for the photo tutorial. I'm trying to decide whether to use rings or to stitch it as a loop piece that goes over your head. Granddaughter is 5 & could handle the rings so....Leaning towards the rings so that I don't have to worry about it being too small or too big & it would fit her longer. Your little guy is adorable---loved your captions!
ReplyDeleteThanks! I definitely recommend the rings. My boys (all sizes) have been using this for years. It's so easy to adjust it to fit any of them! :)
Delete