
When my sheets arrived I started by washing & drying them. Then I set to work on the fitted sheet first (since it was smaller and I could cut the flat to match whatever the final size would be). I started by cutting right along the corner seams so the corners opened up flat like this:

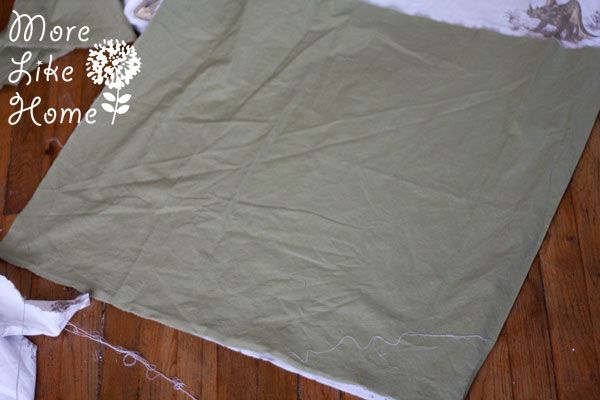
Now you need to get rid of that wonky corner cut out so you have a nice square piece to work with. I knew I needed all the width I could get to pull off two full curtain panels, so I cut off the bottom and top edge straight across. The easiest way to get a straight line is to make a little snip at your starting point...
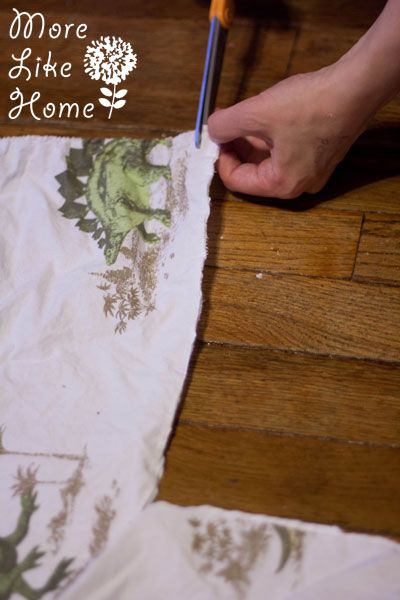
... then rip it! You'll be left with a nice rectangle that's wider than it is tall.

Use the fitted sheet as a template to cut your flat sheet to the right size. Lay it on top and cut the flat sheet to the same height (you can leave the width alone, it's okay if it's a little wider or narrower). Then fold each sheet in half and press a crease along the fold. Cut along the crease to split each sheet into two curtain panels.
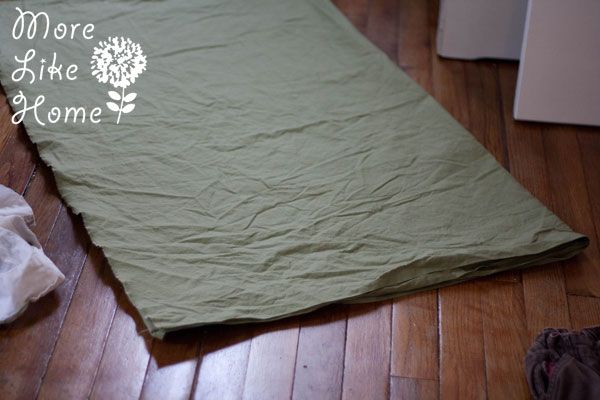
If you're happy with the length of your sheets, you can go ahead and hem all the edges. If you want them a little longer, like I did, you'll need a little extra fabric to add to the bottom of each panel. I went with plain green that matched some of the dino colors, but you could do another print if you're feeling adventurous! I added 2' of fabric to make sure they were plenty long (you can cut off any extra when you hem) so for each panel I cut a piece the same width as the panel and 2' long.
If you use the full width of the sheets, like I did, you can leave the hemmed edges alone so you don't have to re-sew them later. Just make sure that before you attach the green you rip out the hem a couple inches (like the pic below) and cut your green wide enough to reach all the way to the edge.
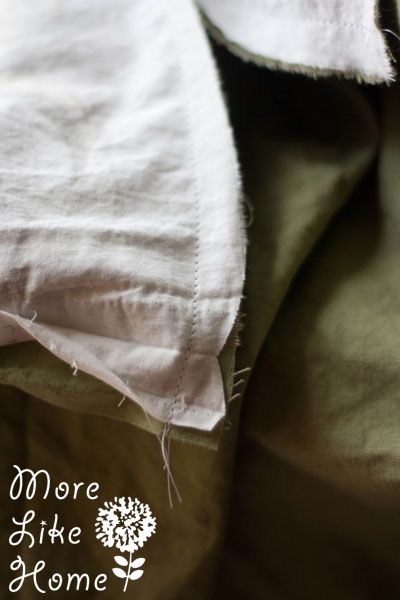
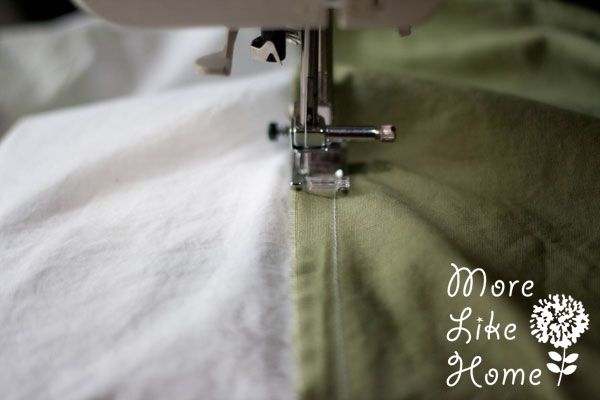
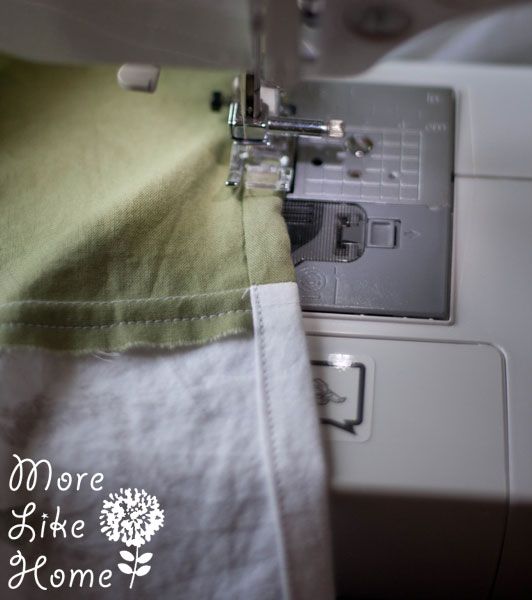
Lay the green panel face-down on the bottom end of the curtain panel. Make sure all the edge are lined up. Then sew along the bottom edge with a 1/2" seam allowance.
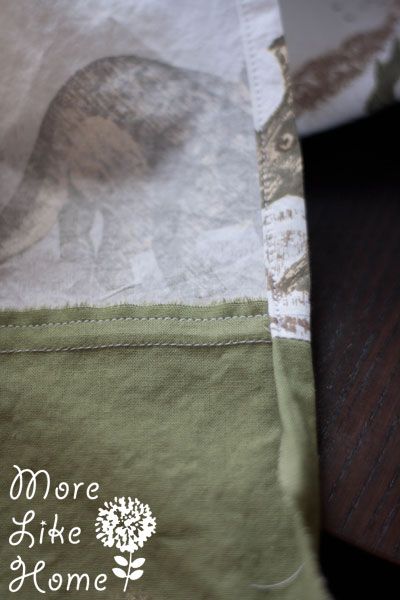
Then open it up and flip it over so you can see the seam allowance you just made. Lay it flat and press the seam allowance up toward the top of the curtain. Then sew along the top edge of the seam allowance (see the pic below) This will keep it tidy and give your curtain a nice finished look.
Next you can hem any raw sides and the top edge. I did a simple 1/2" hem by folding the edge under 1/2", then 1/2" again and sewing right along the folded edge. You can press it before sewing if you want, but I'm usually in a hurry and just roll it as I go. I was feeling extra fancy so I used white thread for the top portion of the curtain.
And switched to green thread for the bottom. Remember you're not hemming the bottom yet, just the sides and top.
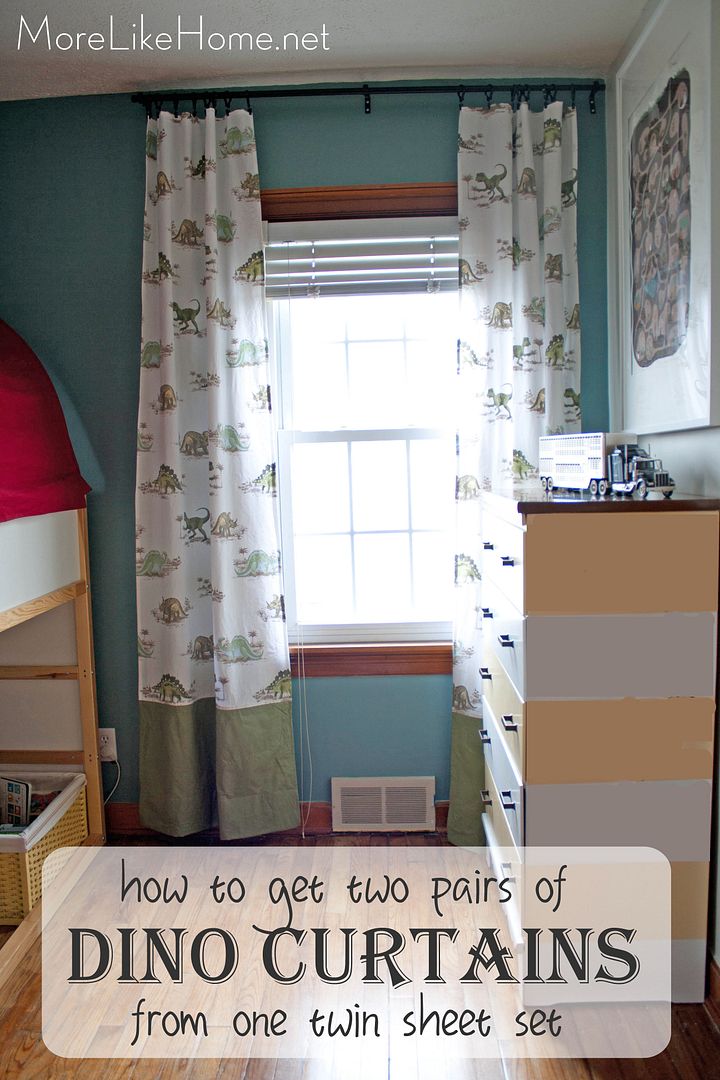
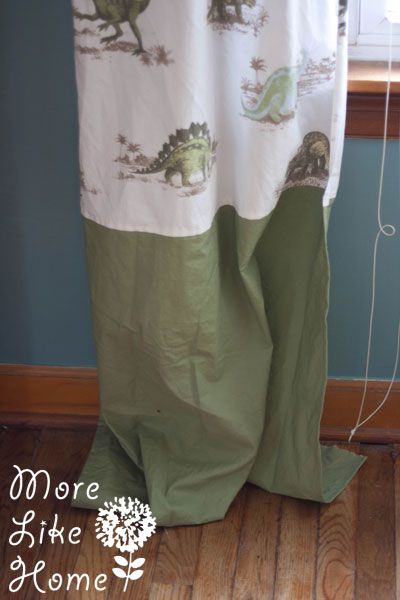
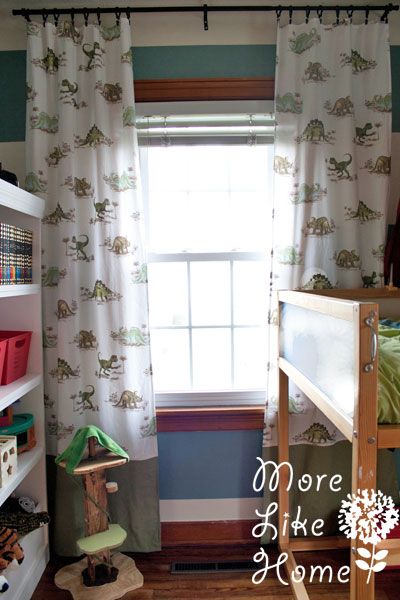
Once those edges are hemmed you can clip on some curtain rings and hang the curtains. As you can see we have some hemming to do at the bottom!
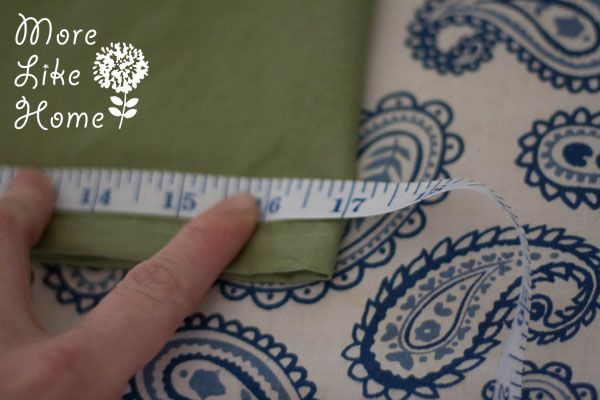
In the past I've folded the bottom edge up and pinned it while they are hanging, but this time I tried something a little easier. I just measured from the floor to the top of the green panel (measure at a couple points across the panel to make sure it is level so your hem doesn't end up wonky. If you are doing multiple curtain panels make sure you measure each one in the spot you plan to hang it). Mine was 18" to the floor.

I like to leave about 1" of clearance so I laid my curtain panels out on the ironing board and folded the bottom edge up until it was 17" from the top of the green panel, then I pressed along the bottom edge.
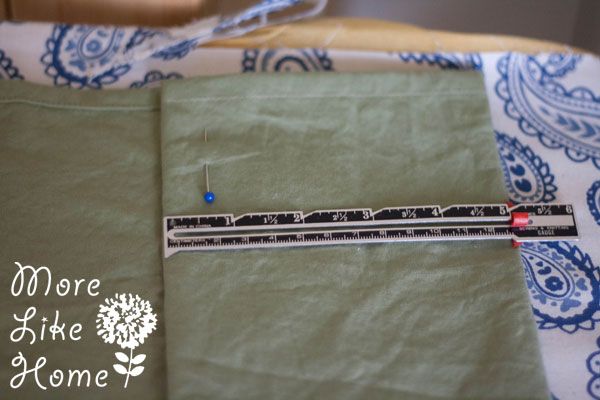
Then I folded the raw edge under (see pic below). To make sure they all looked even and neat I folded them all under at 5" from the bottom edge. Then I just sewed along that folded edge and I was done!
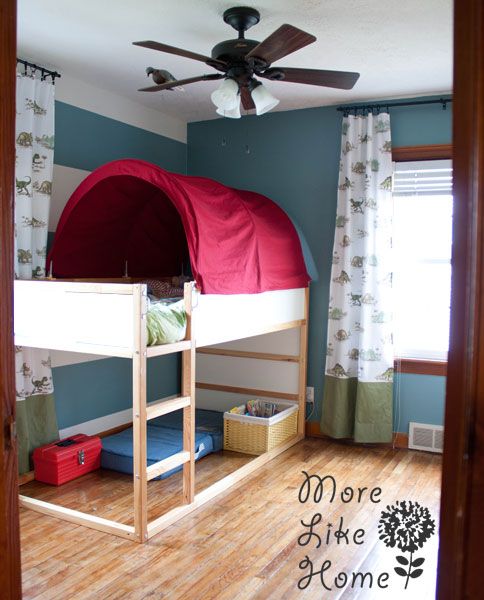
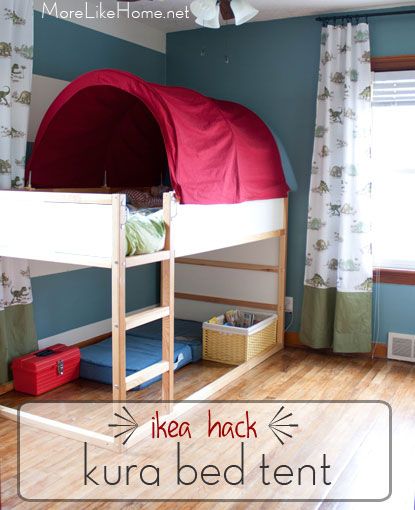
These curtains added a splash of boyish fun and made the room feel finished. And I love that the boys can grow with these for awhile since they are super bright or cartoony.
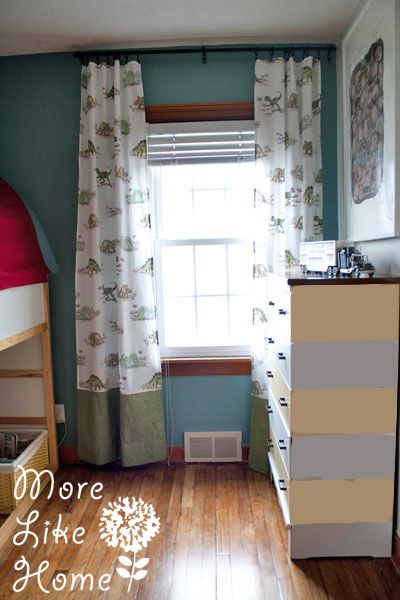
And the light feel works great to balance some of the larger pieces and darker colors in the room.
Pottery Barn doesn't have these dino curtains right now (I don't know if they will have them again or not?) but they have some of the best sheets I've seen and there are several that would make wonderful curtains for a boy's room. These car sheets are one of my current faves:
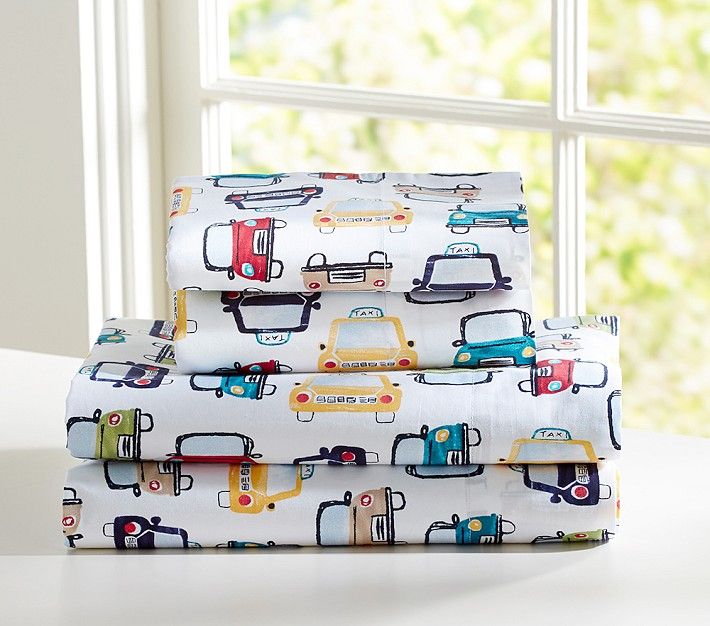
Hopefully they still have them when you're reading this, they seem to change sheets pretty often.
As far as sewing projects go this one is pretty simple (all straight lines!) and it's a great way to add a unique and personal touch. And don't forget, it's a really easy thing to update as your kids grow!
And don't forget you can see more of our boys' room makeover here, and see how we hacked an Ikea bed tent here.
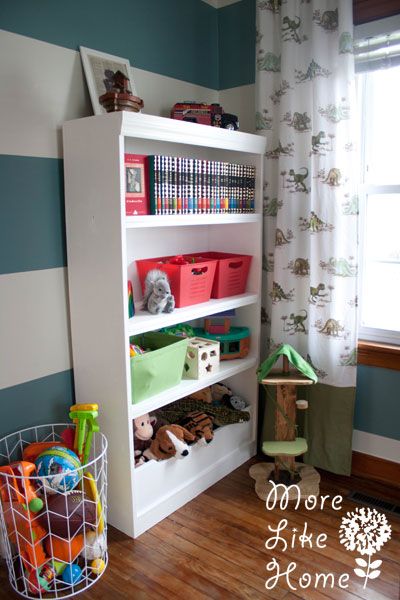
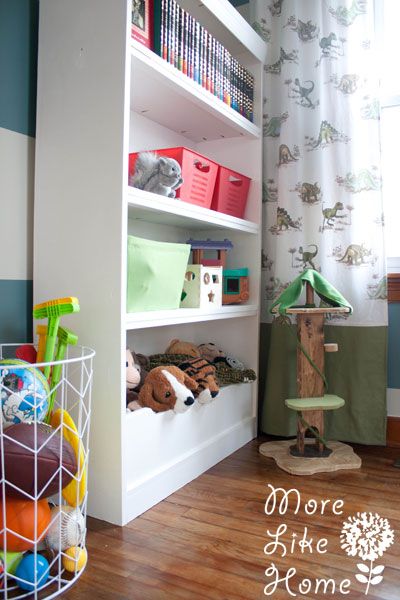
We're working on plans for our big boy bookcase, but in the mean time you can make your own wooden animal treehouse here.
Who else is working on a room for your boys? What is your favorite DIY project for a boy's room? And I'd love to hear if anyone has made curtain from sheets (we used thrifted curtains in our master bedroom)!

No comments:
Post a Comment