

So yes... I did fall off the 31 day train. It was a series of failed projects in a row that had me spending way to much time working and not enough time with my family (not to mention things that keep the house running like dishes and, you know, cooking). So I had to step back a bit to get the focus back on my priorities. But with that said I'm still working on finishing the series, just at a slower pace, and I hope to have it all caught up next week. So... this project is the last of men's week and it's inspired by my own dear Husband. It's a yummy homemade hot chocolate mix.
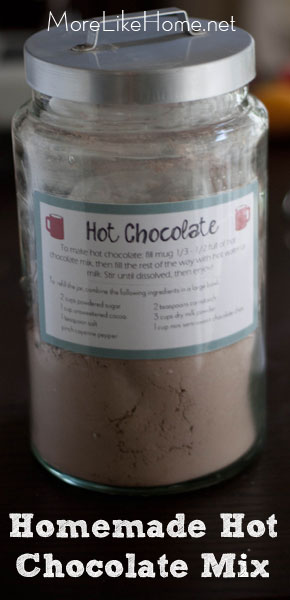
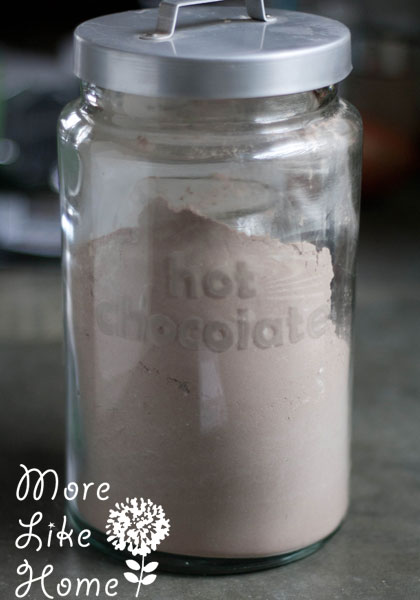
I think Husband's favorite thing about cold weather is hot chocolate. The man could drink it by the gallon. So I thought a great gift for him would be a yummy homemade version. I have a big jar I can keep stocked all winter long.
It's also nice to save some money with a homemade recipe, plus I know exactly what's going into it!
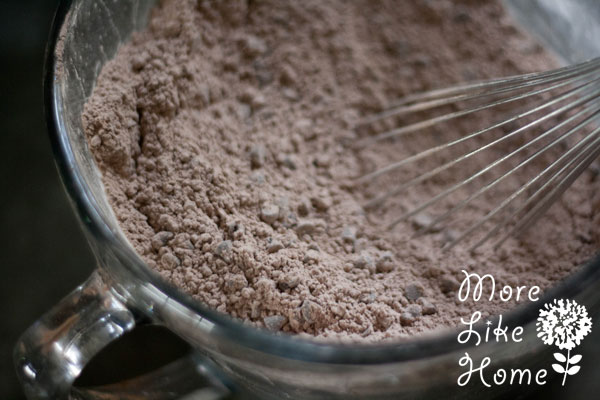
To make the hot chocolate, just mix the following ingredients and store them in an air-tight jar:
- 2 c. powdered sugar
- 1 c. unsweetened cocoa powder
- 1 tsp. salt
- 2 tsp. cornstarch
- pinch cayenne pepper
- 3 cups dry milk powder
- 1 c. mini semi-sweet chocolate chips
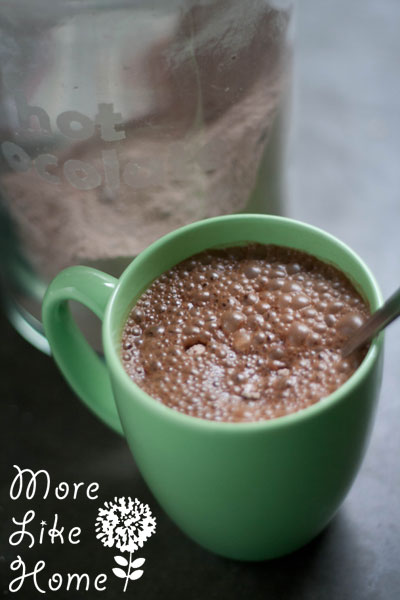
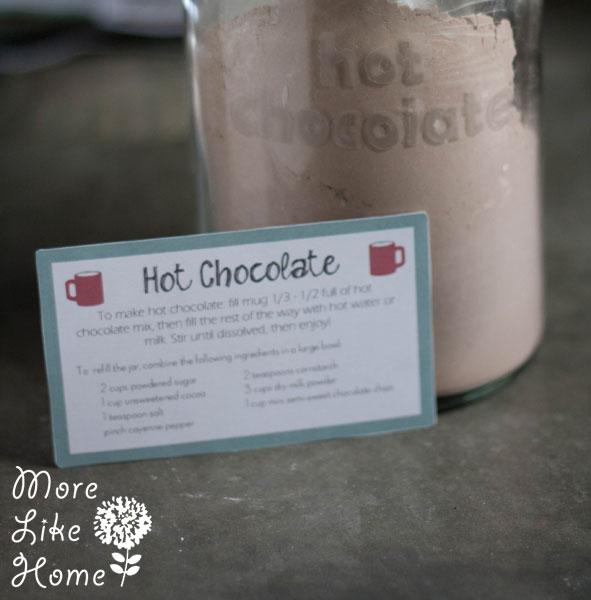
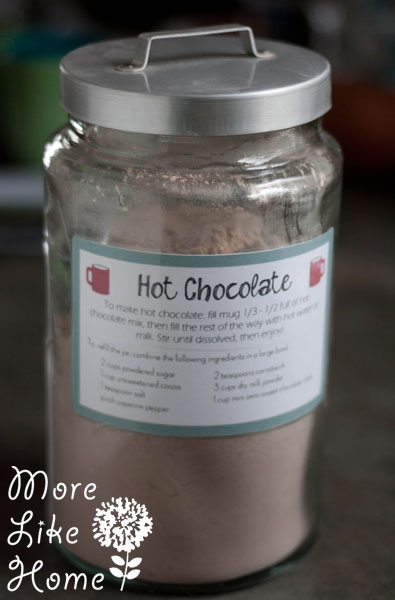
To make hot chocolate, just fill a mug 1/3 - 1/2 with the mix, then fill the rest of the way with hot water and stir until dissolved. If you'll be keeping a jar refilled like us, I made a recipe card sized printable you can download (just print if off and cut out the cards). This would be a great one-time gift in a smaller jar, but it's also great as a gift that keeps on giving if you use a jar big enough to hold the whole batch and include a copy of the recipe card with it! Let your friends keep a steady supply too!
Get the recipe card printable here.
You can be done at that point, just with the yummy hot chocolate mix. But I wanted to do a little more and label my jar with a frosted glass look. This is why I'm now 4 days behind schedule. Oh my word. It turns out you can't get actual etching stuff anymore, at least not in the craft stores around here. All they have are a variety of "frosting paints" with pretty disappointing results. Boo. I started with this paint from Hobby Lobby:

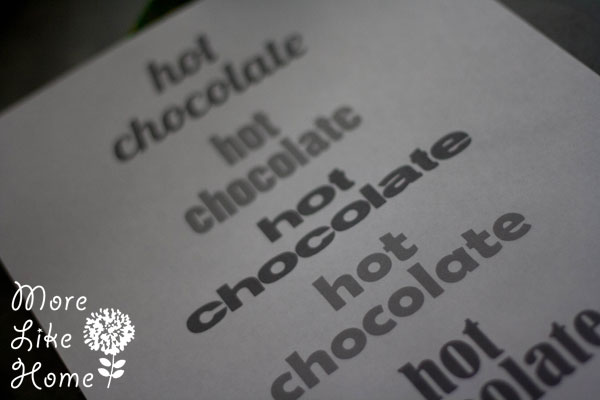
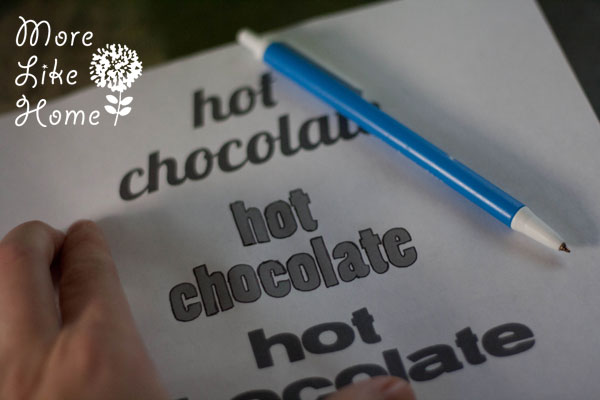
I made a sheet with several font options you can use as a template (download the page here).
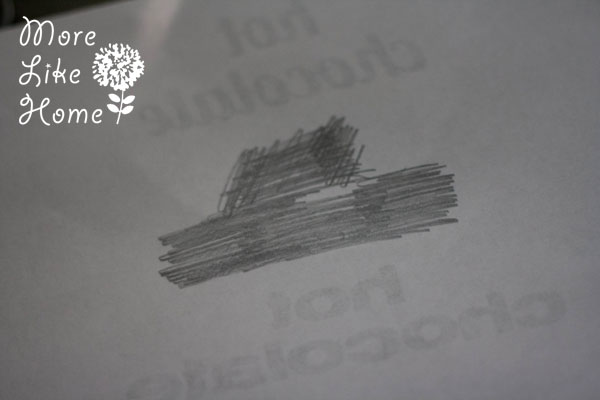
I used a pencil to color the back of the paper where my favorite font was.
Then I cut a piece of contact paper a little bigger than the words. (you can get contact paper at Dollar Tree)
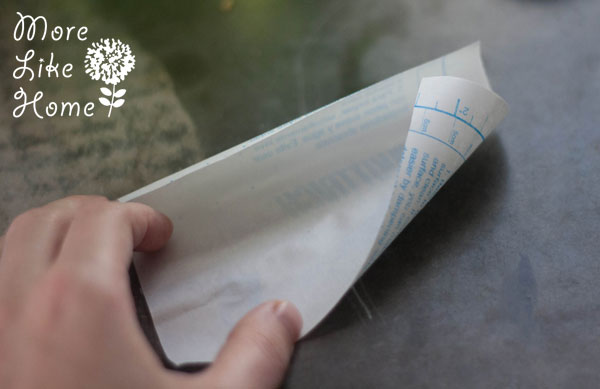
I laid the paper on top of the contact paper and used a pen to firmly outline the words.
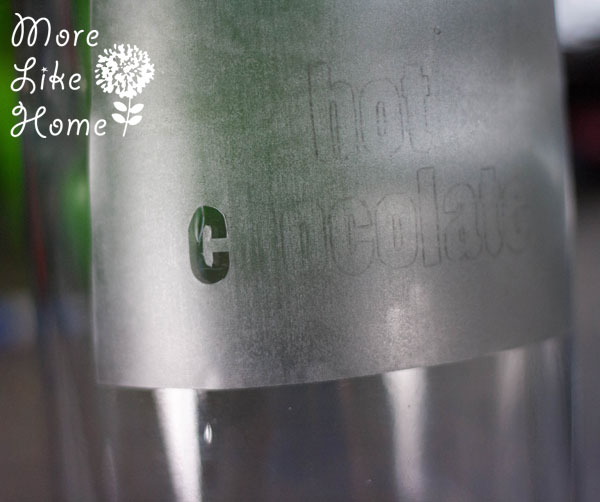
This left a pencil outline on the contact paper.

I stuck the contact paper on my jar (I found the pencil was much harder to see once it was on the glass, so I definitely recommend tracing over the pencil with a pen or sharpie before putting it on the jar!) and used an exacto knife to cut out the letters. So far, so good. Right? I ended doing this three times over a couple days. Ohmyword.
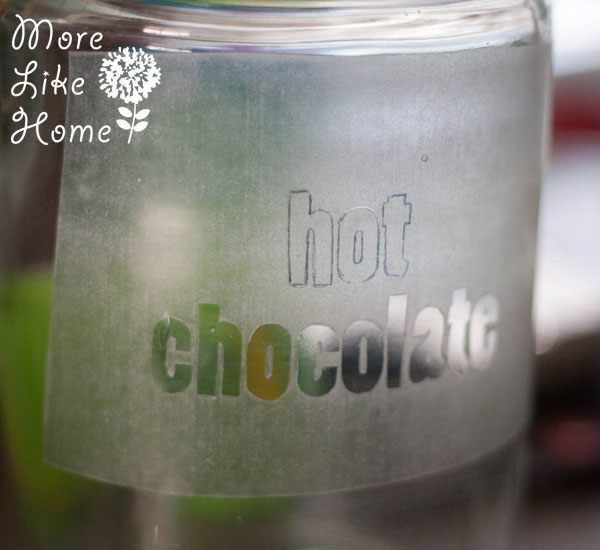
This one is traced in pen and shows up much better. The trickiest part of this was leaving the centers of the o's, a's and e's.
Then I painted over the stencil. The first time I let it dry like the directions said, and the paint peeled off with the contact paper. The second time I tried peeling it off right away and the paint ran. Then I abandoned the mission and went Joann Fabric, Michaels, Lowe's, and finally to Menards where we found a glass frosting spray paint.

So I made another stencil and spray painted it.
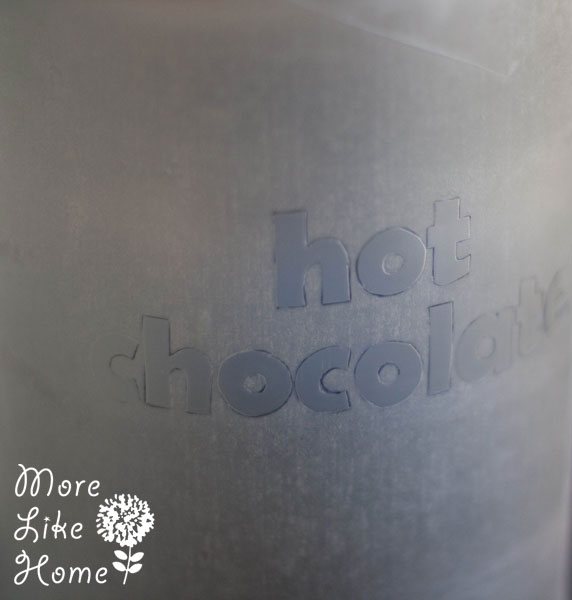
I let it dry and peeled off the contact paper... and was left with these raggedy edges. And that's when I gave up. Maybe if I peeled it off sooner it would have turned out better? But at this point I decided it wasn't worth the time I was putting into it and just left it. And guess what...
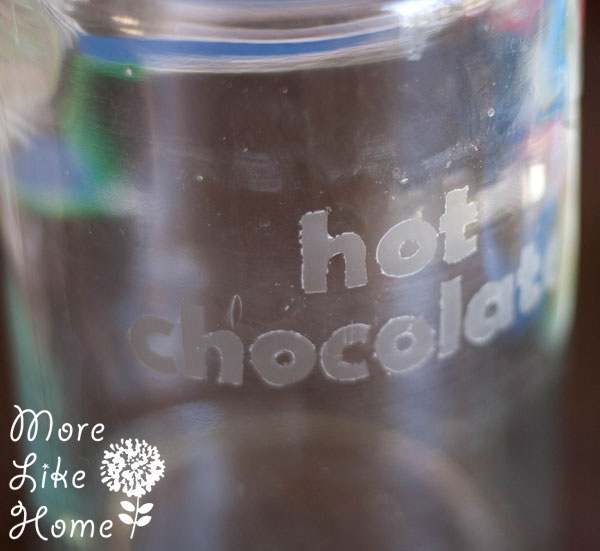
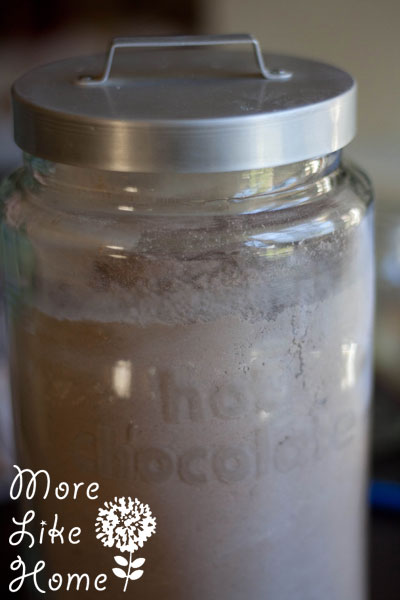
You can't even hardly see the thing once the jar is full. Hello, huge waste of time. If I did it again, I would try the Martha stewart glass enamels that you bake after painting. Probably one of the metallic colors since I'm going for a manly gift.
But for now I decided to just tape one of the recipes cards to the jar instead. It labels it and keeps the recipe right there when I need to refill the jar! Just like with the spice rub, I covered the whole label with packing tape to protect it from water and messes in the kitchen.
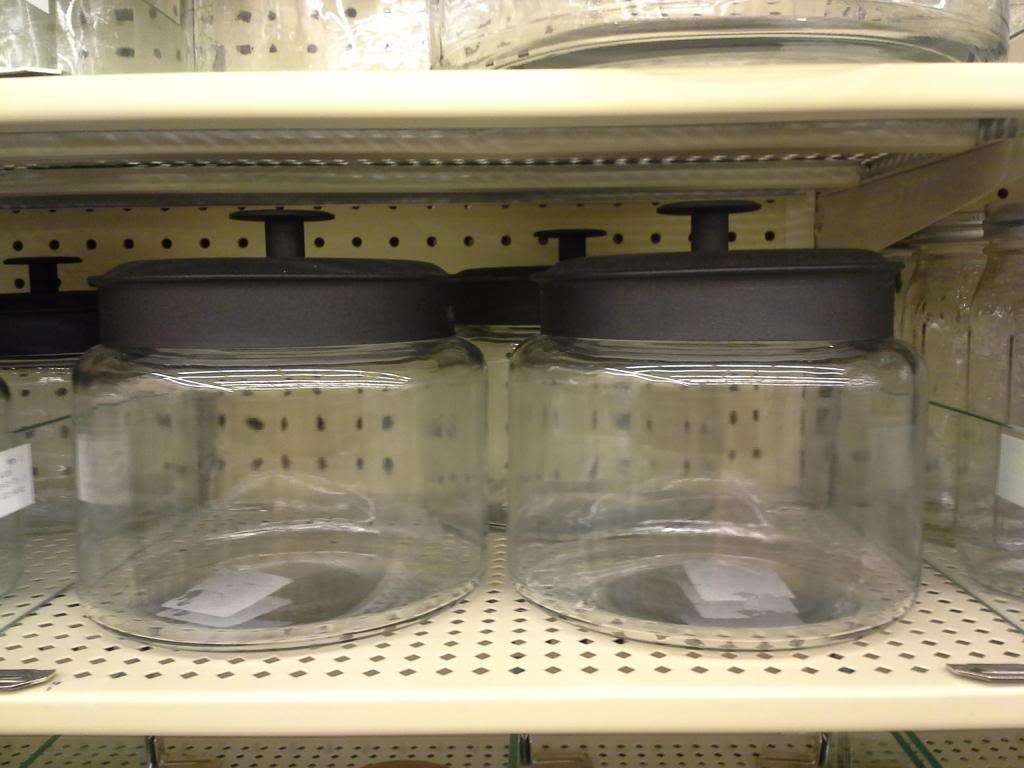
I'm not sure about the full cost of this project, because I don't know exactly how much the ingredients are. I used an Ikea jar we already had, but I know Hobby Lobby has lots of great jars too, in all kinds of styles! And if you use a 40% off coupon or wait for them to go on sale for 50% off you can get a great deal. A jar similar to mine would be about $2.50 on sale. And I fell in love with these wider jars with wrought iron lids that I think were around $10 on sale:
But it's just the cost of whatever jar you buy plus the dry ingredients, and we had all of those on hand except the dry milk. Granted we'll have to stock up on them to get us through the winter, but it surely has to beat the $10 jars of pre-made mix at the store!

He learned the hard way that mama was right about the cocoa powder. Yucky. But he could eat these chocolate chips all day!

I know I keep saying this, but seriously. HOW IS HE SO BIG???

Now go make a big batch of hot chocolate for all the guys on your list! And let the kids help. It's a mess, but that's not such a bad thing. :)

Bring him to my house! I will feed him chocolate chips by the handful.
ReplyDeleteDefinitely a keeper. Oh, and so is the recipe and jar project. :)
ReplyDeleteHa ha, I agree 100%! ;)
DeleteIs that the same recipe mom used to do?
ReplyDeleteNot the same, but yummy!
Deleteadd mini peppermint chips and sooo yummy :)
ReplyDeleteThat sounds great! I'll have to give it a try!
DeleteDo you think I could add Sea Salt Caramel Chips instead of regular chocolate chips to make it Salted Caramel Hot Chocolate? I'd rather not do the heat the sugar, mix and let harden step..lol. Thx!
ReplyDeleteOh my goodness, this sounds delicious! I haven't tried any other kinds of chips, but I don't see why they wouldn't work. I'm going to have to give sea salt caramel a try ASAP!
Delete